

Unlock the secrets to precise and beautiful TIG welds with our comprehensive guide to Tip Tig welding. This guide will walk you through everything from understanding the fundamentals and setting up your equipment to mastering the intricate torch manipulation and filler metal application. Whether you’re a beginner or looking to refine your skills, you’ll learn how to achieve cleaner, stronger, and more aesthetically pleasing TIG welds.
Key Takeaways
- Understanding the Basics: Tip Tig welding is a specific technique within TIG welding that focuses on precise torch control and filler rod manipulation for optimal weld quality and appearance.
- Essential Equipment: Proper setup of your TIG welder, including gas flow, amperage, and tungsten selection, is crucial for successful Tip Tig welding.
- Torch Manipulation: Mastering the subtle movements of the TIG torch is key, involving consistent arc length, precise torch angle, and steady advancement along the joint.
- Filler Rod Control: Dip feeding the filler rod into the puddle consistently and without touching the tungsten is a hallmark of good Tip Tig technique.
- Joint Preparation: Thorough cleaning and preparation of the base metal are non-negotiable for achieving a clean and strong Tip Tig weld.
- Material Specifics: Different metals (like steel, aluminum, and stainless steel) require specific settings and slight variations in technique for optimal Tip Tig results.
- Troubleshooting Common Issues: Recognizing and addressing common problems like porosity, undercut, and tungsten contamination will significantly improve your weld quality.
Tip Tig Welding: The Art of Precision
TIG welding, also known as Gas Tungsten Arc Welding (GTAW), is renowned for its ability to produce high-quality, precise, and aesthetically pleasing welds. It’s the go-to method for industries where appearance and strength are paramount, such as aerospace, automotive, and custom fabrication. Within the broader TIG welding landscape, there’s a specific technique that many welders strive to master, often referred to as “Tip Tig welding.” While not a formally defined “type” of TIG welding like AC or DC, “Tip Tig welding” generally refers to the *art of meticulous torch and filler rod control* that leads to superior results. This guide is designed to break down this refined technique, helping you understand the nuances and achieve those enviable, clean, and strong TIG welds.
You’ll learn how to set up your TIG welder for optimal performance, understand the critical role of tungsten and shielding gas, and develop the precise hand-eye coordination needed for exceptional arc control and filler metal application. We’ll cover everything from the initial arc strike to the final tie-off, with practical tips to help you conquer common challenges.
Understanding the Fundamentals of Tip Tig
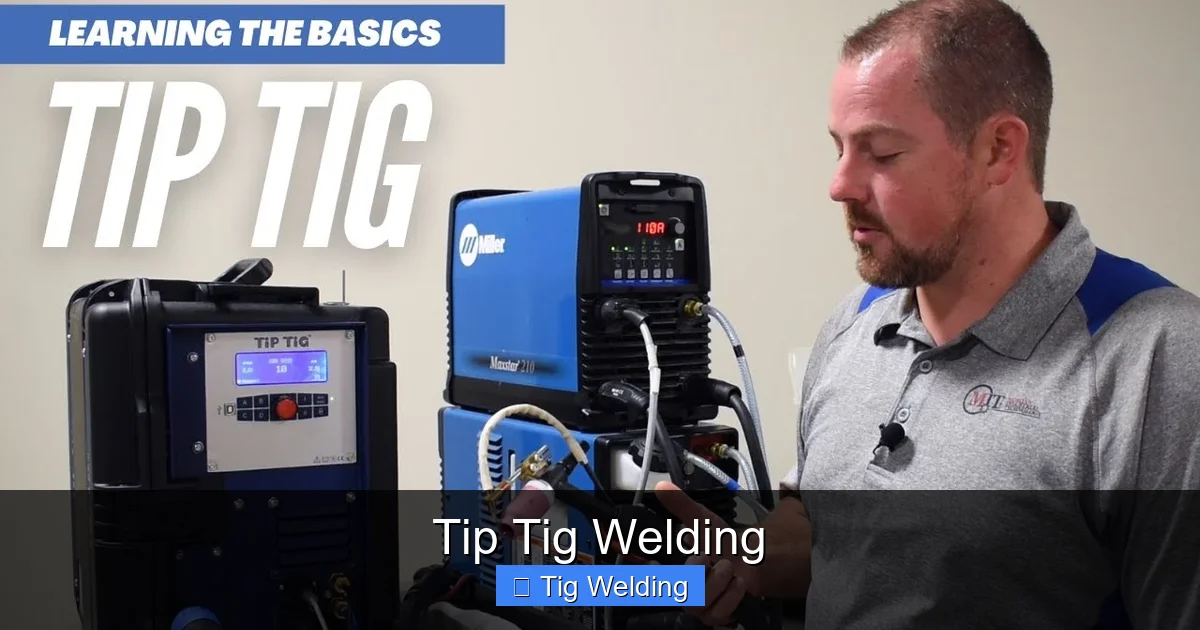
Visual guide about Tip Tig Welding
Image source: i.ytimg.com
At its core, Tip Tig welding is about control. It’s about having such a fine command over your torch and filler rod that you can dictate the exact shape, size, and penetration of your weld puddle. This level of control allows for cleaner welds, less post-weld cleanup, and a reduced chance of defects. Think of it as the difference between a broad brushstroke and a fine-tipped pen – Tip Tig is the pen.
The Role of the TIG Torch
Your TIG torch is your primary tool. It delivers the electrical current to create the arc, feeds the shielding gas to protect the molten puddle from atmospheric contamination, and is your conduit for applying filler metal (if you’re using it). In Tip Tig welding, every subtle movement you make with the torch is intentional.
Shielding Gas: Your Invisible Protector
Shielding gas, typically pure argon for most TIG applications on steel and aluminum, is crucial. It creates an inert atmosphere around the arc and the molten puddle, preventing oxidation and contamination. Too little gas, and your weld will be porous and weak. Too much, and you can create turbulence that draws in air or causes other defects. For Tip Tig, a consistent and appropriate gas flow is paramount. You’ll want to ensure your flow rate is dialed in – usually around 10-20 CFH (cubic feet per hour), but this can vary based on your torch, joint type, and ambient conditions. A good indicator is seeing the gas cone around the tungsten without excessive turbulence.
Tungsten Electrode: The Heart of the Arc
The tungsten electrode is what carries the current to the workpiece. It’s non-consumable, meaning it shouldn’t melt into your weld. The type of tungsten you use and how you prepare it significantly impact arc stability.
* **Types of Tungsten:**
* Pure Tungsten (Green Band): Primarily used for AC welding of aluminum and magnesium. It softens easily.
* Thoriated Tungsten (Red Band): A very common and versatile choice for DC welding of steel and stainless steel. It has good arc stability and starts easily.
* Ceriated Tungsten (Grey Band): Another good DC electrode, offering good arc stability and starting, often considered a safer alternative to thoriated.
* Lanthanated Tungsten (Gold or Blue Band): Excellent all-around choice for both AC and DC welding. Offers superior arc starting, stability, and longevity. This is often a favorite for those seeking precise control.
* Sharpening Your Tungsten: For DC welding, the tungsten should be ground to a sharp point. This concentrates the arc, making it easier to control. Use a dedicated grinding wheel (never one used for metal cutting) and grind longitudinally to avoid creating a “dog bone” shape that can cause arc wander. For AC welding, the tip is often ball-shaped, but for Tip Tig, especially on thinner materials, a pointed tungsten can offer more precision even on AC. Always ensure your tungsten is clean and free of contamination.
Setting Up Your TIG Welder for Tip Tig
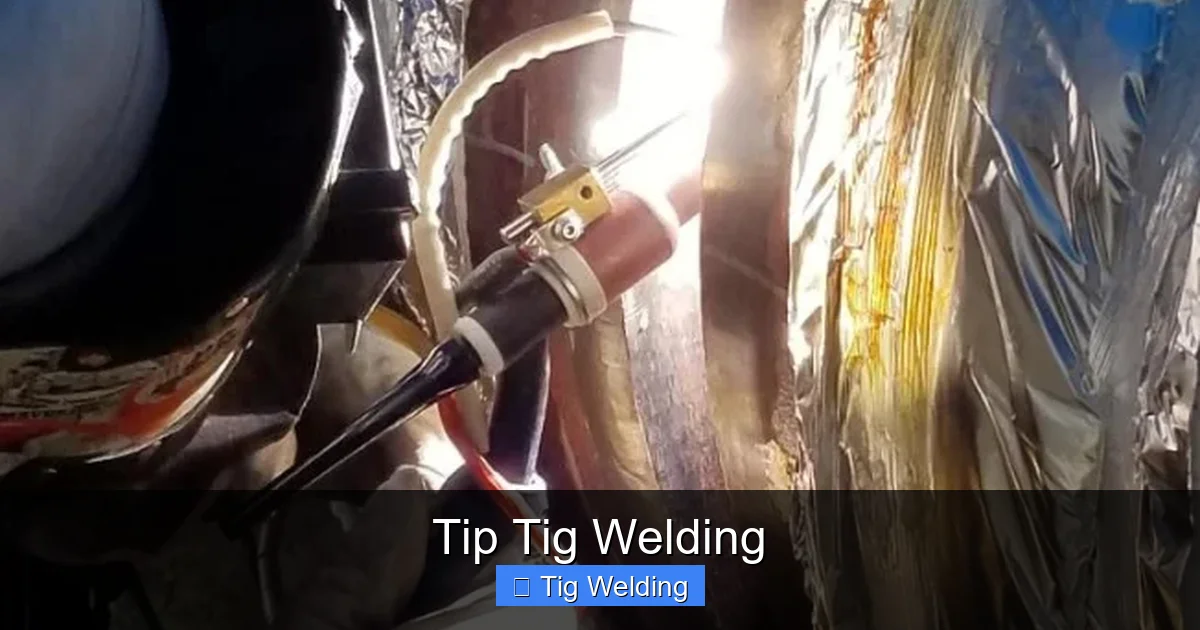
Visual guide about Tip Tig Welding
Image source: tiptigusa.com
Precise settings are the foundation of good Tip Tig welding. Every material and thickness will require a slightly different approach, but here are general guidelines to get you started.
Amperage Control: The Key to Puddle Size
Your amperage setting dictates the heat input. For Tip Tig, you want enough heat to create a molten puddle quickly but not so much that you blow through the material or create an overly large, unmanageable puddle.
* **Rule of Thumb:** A common starting point for mild steel is approximately 1 amp per thousandth of an inch of material thickness. So, for 1/8″ (0.125″) steel, you might start around 125 amps. However, this is just a starting point.
* **Foot Pedal Control:** The beauty of TIG welding lies in its variable amperage control, usually via a foot pedal or a thumb control on the torch. This allows you to “feather” the heat, managing the puddle size and penetration as you weld. For Tip Tig, you’ll be making constant, subtle adjustments with your pedal.
AC vs. DC Current
* DCEN (Direct Current Electrode Negative): This is the standard for welding steel, stainless steel, and most exotic metals. It provides deep penetration and a focused arc. This is where Tip Tig shines for many.
* AC (Alternating Current): Primarily used for aluminum and magnesium. It offers a cleaning action that breaks up the oxide layer on these metals. While more challenging to achieve the same level of fine control as DCEN, Tip Tig principles still apply for precise puddle management.
Pre-flow and Post-flow Settings
* Pre-flow: This is the time the shielding gas flows *before* the arc is struck. A few seconds of pre-flow (0.5-1 second) helps to purge the nozzle and establish a stable gas shield from the start.
* **Post-flow:** This is the time the shielding gas continues to flow *after* the arc is broken. This is critical to prevent contamination as the weld metal cools and solidifies. For Tip Tig, a sufficient post-flow (5-15 seconds, depending on the material and heat) is essential to protect that beautiful, shiny weld bead.
The Tip Tig Welding Technique: Step-by-Step
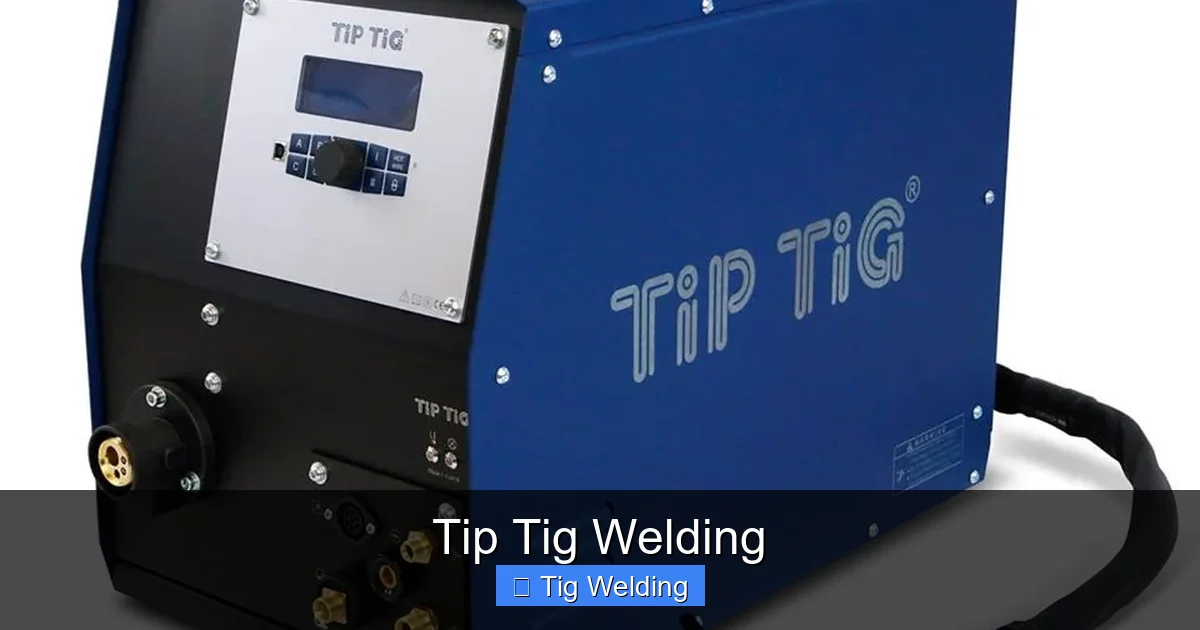
Visual guide about Tip Tig Welding
Image source: tiptigusa.com
Mastering the physical act of Tip Tig welding involves a combination of precise torch movement, filler rod control, and strategic puddle management.
Step 1: Joint Preparation – The Unsung Hero
Before you even think about striking an arc, your joint must be meticulously prepared. This is non-negotiable for clean, strong welds, especially with Tip Tig.
* **Cleaning:** Remove all mill scale, rust, paint, oil, and any other contaminants from the base metal. Use a stainless steel wire brush dedicated *only* to the material you’re welding (never use a brush used on carbon steel for stainless steel, as it will cause contamination). For aluminum, use a separate brush and degrease with a suitable solvent.
* **Beveling (if necessary):** For thicker materials, proper beveling ensures full penetration. Ensure the bevel faces are clean.
* **Fit-up:** Ensure your parts are properly aligned and fit together as intended. Gaps can lead to inconsistent welds.
Step 2: Striking the Arc
There are two main ways to strike an arc:
* **Scratch Start:** Similar to starting a gas lighter, you quickly scratch the tungsten electrode across the workpiece and immediately lift it to establish the arc. This is generally discouraged for precise work as it can contaminate the tungsten.
* **Lift Arc Start:** You touch the tungsten to the workpiece, then smoothly lift it a small distance (about the diameter of your tungsten) to initiate the arc. This is the preferred method for Tip Tig as it’s cleaner and offers more control over the initial arc.
Once the arc is struck, immediately establish your desired arc length.
Step 3: Torch Angle and Arc Length
* **Torch Angle:** For most flat welding, you’ll want to hold your torch at a slight angle, usually 5-15 degrees, in the direction of travel. This helps push the molten puddle along and directs the shielding gas effectively.
* **Arc Length:** This is where “Tip Tig” really comes into play. You want to maintain a very consistent and short arc length – typically about the diameter of your tungsten electrode. A short arc provides a more focused and intense heat, allowing for better control of the puddle. Too long an arc leads to a wider, flatter bead with less penetration and increased risk of contamination.
Step 4: Filler Rod Manipulation (Dip Feeding)
This is arguably the most critical element of Tip Tig technique.
* **Dipping:** The filler rod is dipped into the leading edge of the molten puddle, just enough to add material. The key is to be consistent and rhythmic.
* **No Touching!** Never touch the filler rod to the tungsten electrode. This will contaminate your tungsten, cause arc instability, and contaminate your weld.
* **Feeding Rhythm:** The rate at which you dip the filler rod should correspond to the rate at which you’re advancing the torch and the speed at which the puddle is forming and solidifying. Imagine a steady beat: move the torch, dip the rod, move the torch, dip the rod.
* **Rod Angle:** Hold the filler rod at a relatively shallow angle to the workpiece, allowing it to feed smoothly into the puddle.
Step 5: Puddle Control and Advancement
* **Observing the Puddle:** Constantly watch the molten puddle. It should be a fluid, glowing pool that you are guiding. The edges should be clean, and the weld should be wetting out evenly onto the base metal.
* **Maintaining a Consistent Puddle:** Your goal is to maintain a consistent puddle size and shape as you move. This is achieved through your amperage control (foot pedal) and your filler rod additions.
* **”Dragging” vs. “Pushing”:** For steel, you generally “drag” the torch, meaning the torch is angled slightly in the direction of travel, pushing the puddle along. For aluminum, you might “push” slightly, especially on thinner materials, to help with heat dissipation and prevent melting through.
Step 6: Tie-Off and Crater Filling
As you reach the end of your weld, it’s important to properly “tie off” to prevent cracks.
* **Backstepping (Optional):** Some welders briefly backstep into the last bit of their weld to ensure good fusion.
* **Crater Filling:** Before breaking the arc, briefly bring the amperage down (using your foot pedal) and add a small amount of filler rod to fill the crater (the dip at the end of the weld). This prevents the formation of a stress riser that could lead to cracking. Then, maintain post-flow.
Practical Tips for Tip Tig Excellence
* Practice, Practice, Practice: Tip Tig is a skill that requires a lot of repetition. Start on scrap pieces of metal.
* Master One Material First: Begin with mild steel, as it’s generally more forgiving. Once you’re comfortable, move on to stainless steel or aluminum.
* Use the Right Filler Rod: Ensure your filler rod diameter is appropriate for the base material and thickness. A general rule is to match the filler rod diameter to about half the thickness of the material.
* Maintain Good Posture: A comfortable, stable stance will help reduce fatigue and improve your fine motor control. Brace yourself if needed.
* Listen to Your Welder:** Pay attention to the sound of the arc. A stable, consistent hum indicates a good arc. Sputtering or crackling can indicate contamination or incorrect settings.
* Use Two Hands (if possible): Many experienced welders use their non-dominant hand to steady the filler rod, while their dominant hand manipulates the torch.
Troubleshooting Common Tip Tig Issues
Even with the best intentions, you might encounter issues. Here’s how to address them:
* **Porosity (Tiny holes in the weld):**
* Cause:** Insufficient shielding gas, drafts, dirty base metal, or contaminated filler rod.
* Fix: Increase gas flow, shield the weld from drafts, clean the base metal thoroughly, use clean filler rod, and ensure proper post-flow.
* **Undercut (A groove melted into the base metal next to the weld bead):**
* Cause:** Too much amperage, moving too quickly, or incorrect torch angle.
* Fix: Reduce amperage, slow down your travel speed, adjust your torch angle to push the puddle slightly.
* **Lack of Fusion (Weld metal not properly bonding with the base metal):**
* Cause:** Insufficient heat, moving too quickly, or dirty base metal.
* Fix: Increase amperage, slow down travel speed, ensure meticulous cleaning.
* **Tungsten Inclusions (Pieces of tungsten in the weld):**
* Cause:** Touching the tungsten to the workpiece or filler rod, or arc instability.
* **Fix:** Ensure a clean arc strike, maintain a consistent arc length, and never let the filler rod touch the tungsten. If contaminated, re-grind your tungsten or replace it.
* **Warping:**
* Cause:** Excessive heat input, especially on thin materials.
* Fix:** Use lower amperage, consider intermittent welding (stitch welding), use a heat sink (copper or aluminum backing bar), or clamp the material securely.
Conclusion
Tip Tig welding is more than just a technique; it’s a mindset of precision and control. By understanding the fundamental principles of TIG welding, meticulously preparing your materials, and practicing precise torch and filler rod manipulation, you can elevate your TIG welding skills to a new level. The journey to mastering Tip Tig welding is ongoing, but with dedication and the knowledge gained from this guide, you’ll be well on your way to producing welds that are not only strong but also exceptionally clean and visually appealing. Remember, patience and practice are your greatest allies. So, fire up your TIG welder, focus on your technique, and enjoy the art of creating beautiful, precise welds.