

This comprehensive guide will walk you through everything you need to know about using a Lincoln TIG welding machine. From initial setup and understanding controls to mastering different welding techniques and troubleshooting common issues, you’ll gain the confidence to achieve professional-quality TIG welds. Discover the versatility and precision of Lincoln TIG welders.
Lincoln TIG Welding Machine: A Comprehensive How-To Guide
Welcome to the ultimate guide for mastering your Lincoln TIG welding machine! TIG (Tungsten Inert Gas) welding is renowned for its precision, control, and ability to produce incredibly clean and strong welds. Whether you’re a beginner taking your first steps into the world of TIG welding or an experienced fabricator looking to optimize your Lincoln TIG welder’s performance, this guide has you covered. We’ll break down everything from understanding your machine’s features to executing perfect welds and tackling common challenges.
Lincoln Electric is a globally recognized leader in welding technology, and their TIG welders are celebrated for their reliability, advanced features, and user-friendly design. With a Lincoln TIG welding machine, you unlock the potential for creating stunning welds on a wide range of metals, including steel, stainless steel, aluminum, and more. Get ready to elevate your welding skills!
Key Takeaways
- Understand Your Lincoln TIG Welder: Familiarize yourself with the various controls and settings on your specific Lincoln TIG machine to optimize performance for different applications.
- Proper Setup is Crucial: Learn the correct procedures for connecting your TIG welder, setting up your gas, and preparing your workpiece for a safe and effective welding session.
- Master TIG Welding Techniques: Develop fundamental TIG welding skills, including torch angle, filler rod manipulation, and arc control, to create strong and aesthetically pleasing welds.
- Select the Right Tungsten and Filler Metal: Understand how to choose the appropriate tungsten electrode and filler metal based on the base metal and desired weld characteristics for optimal results.
- Troubleshoot Common Issues: Identify and resolve frequent problems encountered during TIG welding, such as arc instability, porosity, and incomplete fusion, to maintain weld quality.
- Safety First Always: Prioritize safety by using proper personal protective equipment (PPE) and understanding safe operating practices when working with your Lincoln TIG welding machine.
Understanding Your Lincoln TIG Welding Machine
Before you strike an arc, it’s essential to get acquainted with your specific Lincoln TIG welding machine. While models vary, most share common controls and functionalities. Take some time to read your owner’s manual – it’s your best friend for understanding the nuances of your particular unit.
Key Controls and Settings
- Amperage Control: This is arguably the most critical setting. It dictates the heat input into your weld. Lincoln TIG welders often offer precise amperage control, sometimes through a dial on the machine or even a foot pedal. A higher amperage delivers more heat, leading to deeper penetration, while lower amperage provides less heat for thinner materials or delicate work.
- Pulsing Controls: Many Lincoln TIG machines feature pulsing capabilities. Pulsing alternates between a high peak amperage and a lower background amperage. This helps control heat input, reduce distortion, and can improve bead appearance, especially on thinner materials or out-of-position welds. You’ll typically adjust peak amperage, background amperage, pulse frequency (how fast it pulses), and pulse width (how long it stays at peak amperage).
- AC Balance (for Aluminum): When welding aluminum, you’ll encounter the AC Balance control. This adjusts the ratio of cleaning action (to break through aluminum oxide) to penetration. A higher cleaning percentage (e.g., 70-80%) provides more cleaning but less penetration. A lower cleaning percentage (e.g., 50-60%) offers deeper penetration but less cleaning. Finding the right balance is key for welding aluminum effectively.
- AC Frequency (for Aluminum): This control influences the arc cone’s shape and penetration when welding aluminum. Higher frequencies (e.g., 150 Hz and above) result in a narrower, more focused arc, leading to deeper penetration and less arc wander. Lower frequencies produce a wider, softer arc, which can be beneficial for specific applications.
- Gas Flow Rate: This setting controls the flow of shielding gas (usually Argon for TIG) from the regulator. Proper gas flow is vital to protect the molten weld pool from atmospheric contamination.
- Post-Flow Time: After you release the trigger or lift the torch, the shielding gas continues to flow for a set period. This post-flow time allows the weld puddle to cool and solidify under a protective gas shield, preventing oxidation.
Setting Up Your Lincoln TIG Welding Machine
A proper setup is the foundation of successful TIG welding. This involves connecting all the necessary components and ensuring everything is in working order.
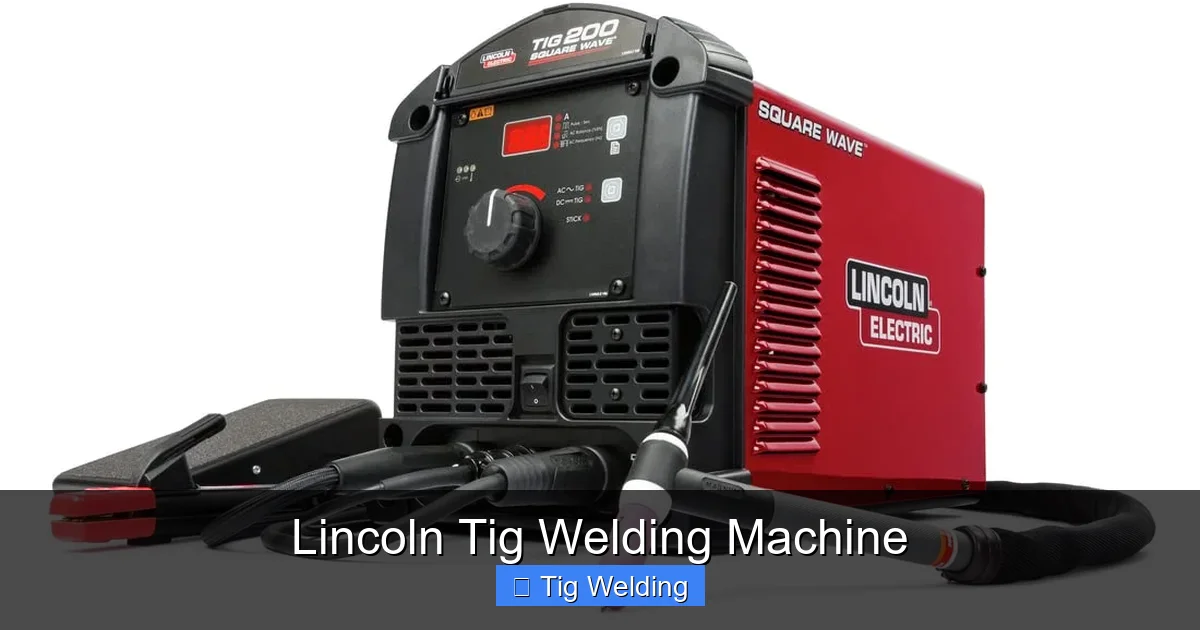
Visual guide about Lincoln Tig Welding Machine
Image source: m.media-amazon.com
Connecting the Power Source
Ensure your Lincoln TIG welding machine is connected to an appropriate power source. This typically involves a dedicated circuit with the correct voltage and amperage rating as specified in your machine’s manual. Always follow electrical safety guidelines and consult a qualified electrician if you have any doubts.
Setting Up the Shielding Gas
- Cylinder Connection: Securely attach the gas regulator to your Argon cylinder. Open the cylinder valve slowly to pressurize the regulator.
- Torch Connection: Connect the gas hose from the regulator to the inlet on your TIG welding machine or torch.
- Flow Rate Adjustment: With the cylinder valve slightly open, adjust the regulator to the desired gas flow rate. For most TIG applications, a flow rate of 10-20 cubic feet per hour (CFH) is common. Your owner’s manual or a welding guide will provide specific recommendations.
Preparing Your Workpiece and Tungsten Electrode
- Cleanliness is Key: TIG welding demands meticulously clean base metals. Remove all dirt, grease, oil, paint, rust, and any other contaminants from the area you’ll be welding. A stainless steel wire brush or a degreaser is usually sufficient.
- Tungsten Electrode Selection and Grinding: The tungsten electrode conducts the arc but does not melt. It needs to be made of a specific alloy. Common types include pure tungsten (red band), 2% thoriated (yellow band), and 2% ceriated (gray band). For DC welding (steel, stainless steel), thoriated or ceriated tungsten is preferred. For AC welding (aluminum), pure tungsten or a blend is often used.
- Grinding for DC: For DC welding, grind the tungsten to a sharp, pointed tip. This creates a stable, focused arc. Use a dedicated grinder (not one used for metal grinding) to avoid contamination.
- Grinding for AC: For AC welding of aluminum, the tungsten tip is typically ground to a slightly rounded or balled end. This helps stabilize the arc.
- Torch and Electrode Holder: Insert the prepared tungsten electrode into the collet within your TIG torch. Ensure it’s held securely, with only about 1/4 to 1/2 inch of tungsten protruding from the ceramic cup.
Mastering TIG Welding Techniques
Now that your Lincoln TIG welding machine is set up, it’s time to learn the fundamental techniques. Patience and practice are crucial here.

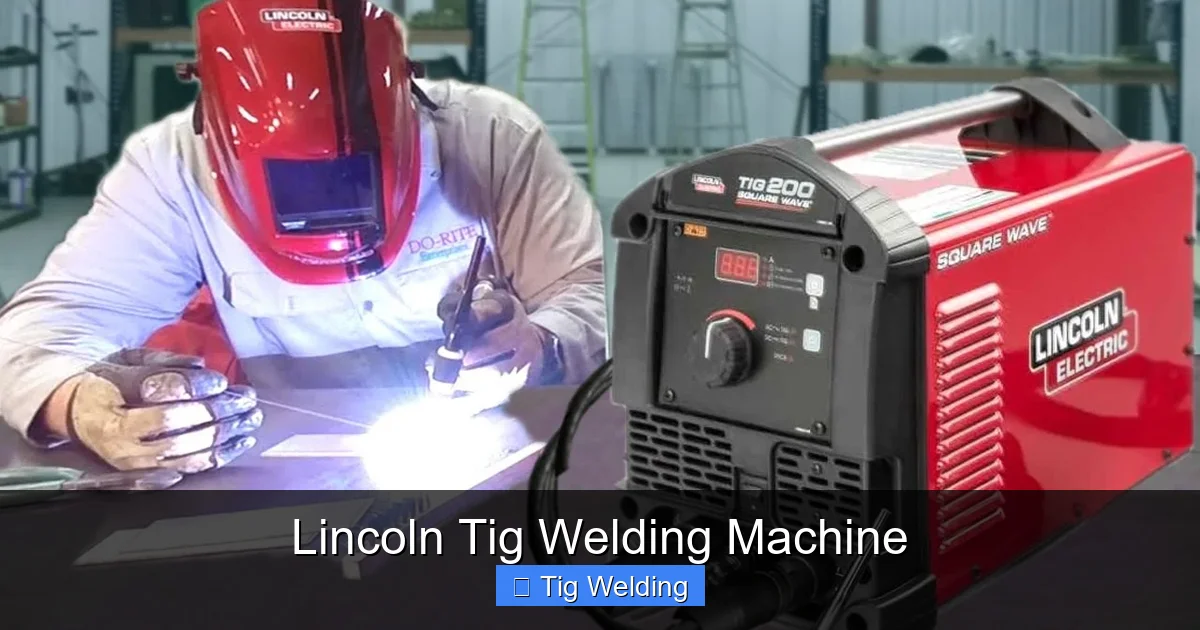
Visual guide about Lincoln Tig Welding Machine
Image source: spectrumweldingsupplies.co.uk
The Arc Start
There are a few ways to initiate the arc:
- High-Frequency (HF) Start: Most Lincoln TIG welders have a high-frequency start. When you press the torch trigger, the machine sends out a high-frequency spark that jumps the gap between the tungsten and the workpiece, initiating the arc without physical contact. This is the most common and preferred method.
- Lift Arc Start: Some machines offer a lift arc start. You briefly touch the tungsten to the workpiece and then lift it slightly. The machine senses the contact and creates the arc. This method is less prone to contaminating the tungsten with metal particles but can be trickier to master.
Torch Angle and Movement
Maintain a consistent torch angle. For most TIG welding, an angle of 5-15 degrees in the direction of travel is ideal. This helps direct the shielding gas and the arc effectively onto the weld puddle.
Filler Metal Addition
This is where TIG welding truly shines in terms of control. The filler metal is added separately from the arc using a filler rod.
- Dipping Technique: As the weld puddle forms, gently dip the filler rod into the front edge of the molten pool. Add filler metal in small increments, almost as if you’re “dabbing” it into the puddle.
- Rhythm and Consistency: Develop a rhythm between torch movement, filler rod addition, and arc length. This consistency is key to creating uniform bead appearance and penetration.
- Avoid Contamination: Never touch the filler rod to the tungsten electrode, as this will contaminate both and lead to a poor weld.
Maintaining the Correct Arc Length
The arc length is the distance between the tungsten tip and the workpiece. A consistent, short arc length (around the diameter of the tungsten) generally produces the most stable arc and best weld quality. A long arc can lead to spatter, porosity, and a wider, flatter bead with less penetration.
Welding Different Materials
- Steel and Stainless Steel (DC): Use direct current electrode negative (DCEN). This provides good penetration and a focused arc. A common shielding gas is 100% Argon.
- Aluminum (AC): Use alternating current (AC). As discussed earlier, you’ll need to adjust AC balance and frequency to find the right settings for cleaning and penetration. 100% Argon is the standard shielding gas.
Practical Tips for Better TIG Welds
- Start with a Practice Piece: Before welding your actual project, grab some scrap pieces of the same material and practice your arc start, puddle control, and filler rod addition.
- Listen to the Arc: The sound of the TIG arc can tell you a lot. A steady, consistent hum indicates a good arc. Sputtering or crackling can signal issues with gas flow, contamination, or incorrect settings.
- Control Your Heat: If you’re noticing excessive melt-through or distortion, reduce your amperage or try using the pulsing function.
- Weld Position Matters: Flat welds are the easiest. Practice out-of-position welding (horizontal, vertical, overhead) as you gain confidence. These require more precise control of gravity’s effect on the molten puddle.
- Invest in Quality Consumables: Using good quality tungsten electrodes, filler metals, and gas will significantly improve your welding results.
Troubleshooting Common TIG Welding Issues
Even with the best Lincoln TIG welding machine, you might encounter problems. Here are some common issues and how to address them:
Visual guide about Lincoln Tig Welding Machine
Image source: i.ytimg.com
Porosity (Small Holes in the Weld)
Cause: Contamination of the weld puddle, insufficient shielding gas, or dirty filler metal.
Solution: Ensure your base metal and filler rod are perfectly clean. Verify your shielding gas flow rate and ensure the gas lens on your torch is not damaged. Make sure you have adequate post-flow time. Keep the torch nozzle a safe distance from the weld puddle to allow proper gas coverage.
Incomplete Fusion or Lack of Penetration
Cause: Too little amperage, too fast travel speed, insufficient preheating (for some materials), or poor joint preparation.
Solution: Increase amperage, slow down your travel speed, ensure the joint is properly beveled, and preheat thicker materials if necessary.
Tungsten Inclusion (Pieces of Tungsten in the Weld)
Cause: Touching the filler rod to the tungsten, or the tungsten being too close to the weld puddle.
Solution: Maintain a consistent distance between the filler rod and the tungsten electrode. Keep the tungsten electrode at the correct distance from the workpiece. If tungsten gets contaminated, stop welding and re-grind or replace the tungsten.
Arc Instability or Wander
Cause: Incorrect gas flow, contaminated tungsten, improper AC balance/frequency settings (for aluminum), or improper grounding.
Solution: Check your gas flow, grind or replace your tungsten, adjust AC settings, and ensure a clean, solid ground connection.
Conclusion
Your Lincoln TIG welding machine is a powerful tool capable of producing some of the finest welds imaginable. By understanding its controls, setting it up correctly, and diligently practicing fundamental techniques, you’ll be well on your way to achieving professional-quality results. Remember to always prioritize safety, keep your materials clean, and don’t be afraid to experiment with settings on scrap material. The journey of mastering TIG welding is rewarding, and with a quality Lincoln TIG welder by your side, the possibilities are endless. Happy welding!