

Setting up a MIG welder is essential for safe and effective welding. This guide walks you through the entire process, from choosing the right settings to safety precautions. Whether you’re a beginner or need a refresher, you’ll learn everything needed to get started with MIG welding confidently.
How to Set Up a MIG Welder
If you’re new to welding or just starting with a MIG welder, getting everything set up correctly is crucial. Proper setup ensures strong, clean welds and keeps you safe during the process. In this comprehensive guide, you’ll learn how to prepare your MIG welder step-by-step, from choosing the right settings to safety tips. Let’s dive in and get your MIG welder ready for action!
Key Takeaways
- Understand your MIG welder: Familiarize yourself with the main components and controls of your machine.
- Select the right consumables: Choose compatible wire, tips, and shielding gas for your project.
- Prepare your workspace: Ensure a clean, well-ventilated area with proper safety equipment.
- Set the correct parameters: Adjust voltage, wire feed speed, and gas flow for optimal welds.
- Practice safety precautions: Always wear protective gear and follow safety guidelines.
- Troubleshoot common issues: Learn how to fix poor welds, porosity, or wire feeding problems.
1. Understand Your MIG Welder
Know the Main Components
Before you start, familiarize yourself with the key parts of your MIG welder:
- Power switch: Turns the machine on and off.
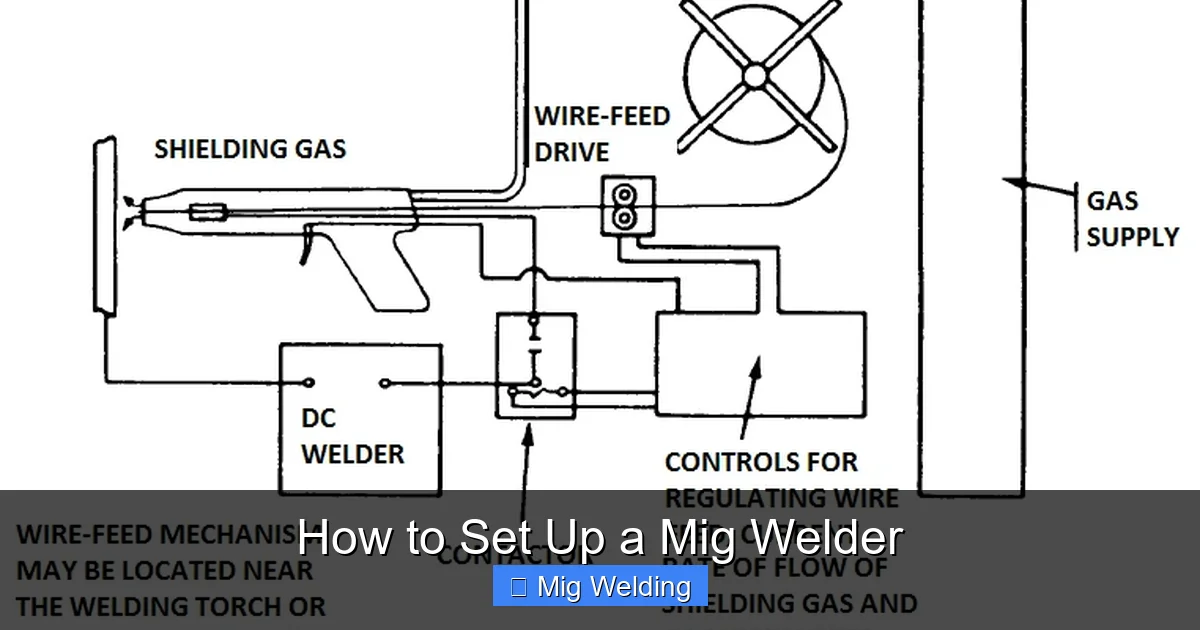
- Wire feed mechanism: Feeds the welding wire continuously.
- Voltage control: Adjusts the arc length and weld penetration.
- Wire feed speed control: Regulates how fast the wire moves during welding.
- Gas regulator and hose: Controls the flow of shielding gas.
- Gun or torch: The part that directs the wire and gas to the workpiece.
Read the Manual
Every MIG welder model is slightly different. Always read your user manual to understand specific features and safety instructions.
2. Gather the Necessary Consumables and Safety Equipment
Select the Right Wire
Choose the appropriate welding wire based on your project:
Visual guide about How to Set Up a Mig Welder
Image source: i2.wp.com
- Solid wire: Common for most MIG welding tasks. Choose the diameter (e.g., 0.023″, 0.030″) based on your material thickness.
- Flux-cored wire: No gas needed, suited for outdoor work or rusted materials.
Choose the Correct Shielding Gas
Most MIG welders use a mix of argon and CO2. Typical choices include:
- 75% Argon / 25% CO2: Good for general-purpose welding.
- 100% CO2: Cheaper, faster welds but more spatter.
Safety Equipment
- Welding helmet: Protects your eyes and face from sparks and UV rays.
- Gloves and protective clothing: Keeps you safe from burns and hot metal.
- Proper ventilation: Prevents inhalation of fumes.
3. Prepare Your Workspace
Choose a Safe Location
Set up in a well-ventilated area, free of flammable materials. Use a welding table or stable surface.
Visual guide about How to Set Up a Mig Welder
Image source: garagewelding.com
Organize Your Tools
Keep all your tools, consumables, and safety gear within reach. Clear the workspace of clutter to avoid accidents.
4. Connect and Set Up Your MIG Welder
Attach the Wire Spool
- Open the wire spool compartment.
- Place the wire spool onto the spool holder, ensuring it spins freely.
- Feed the wire through the liner and into the contact tip.
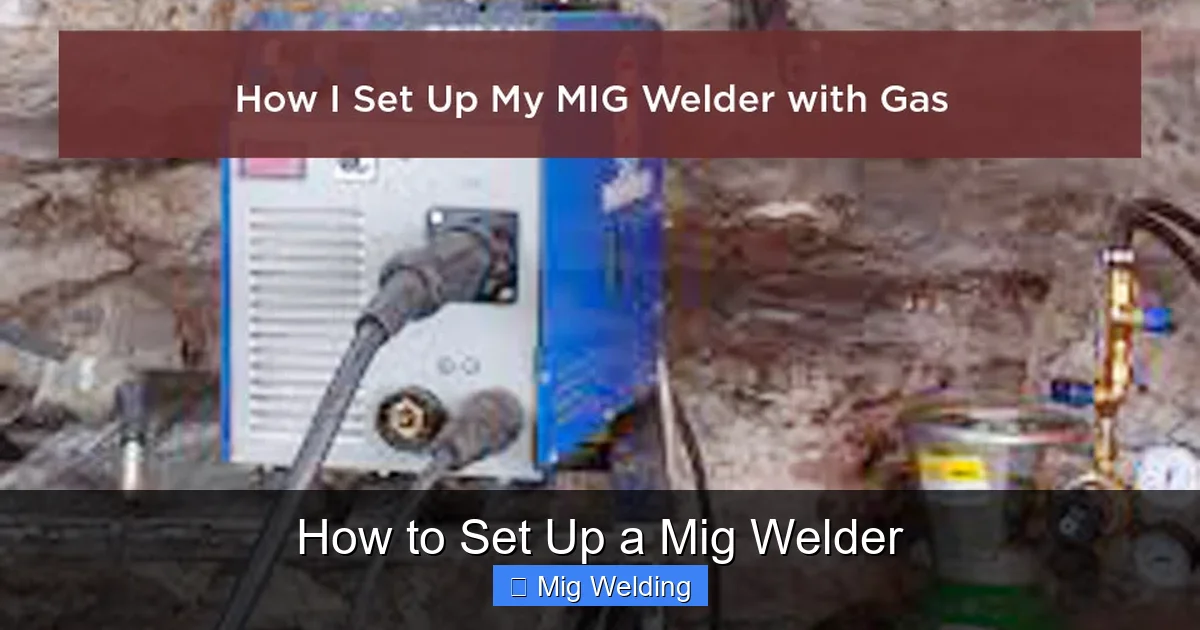
Connect the Gas Line
- Attach the gas regulator to your shielding gas cylinder.
- Connect the regulator hose to your MIG welder’s gas inlet.
- Open the gas cylinder valve slowly.
Set the Voltage and Wire Feed Speed
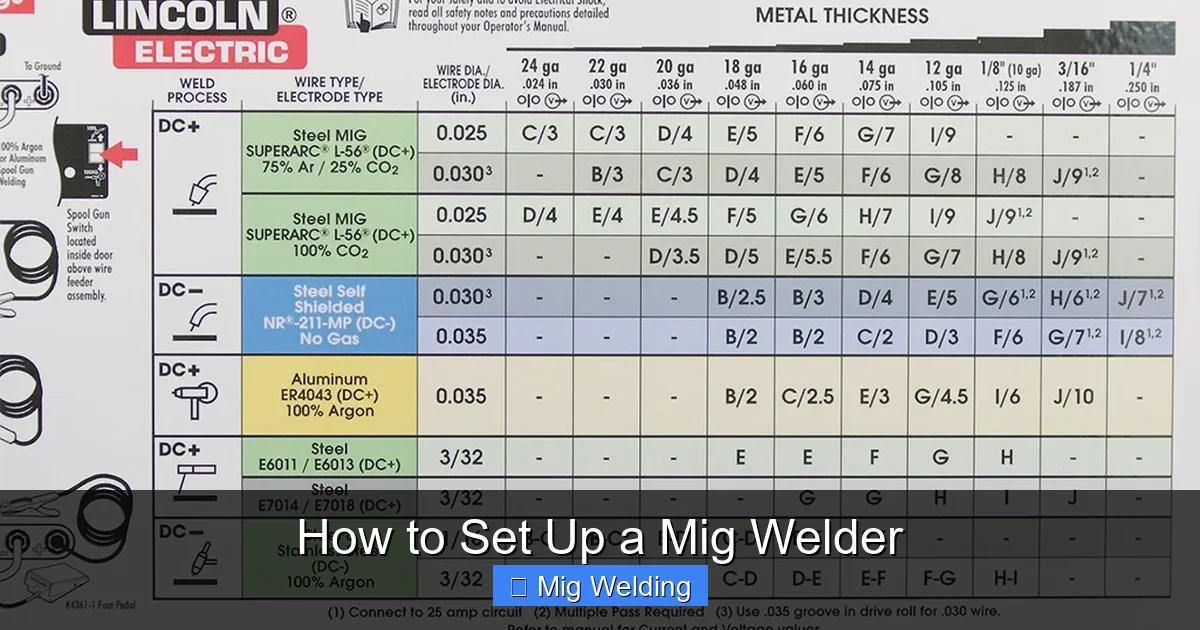
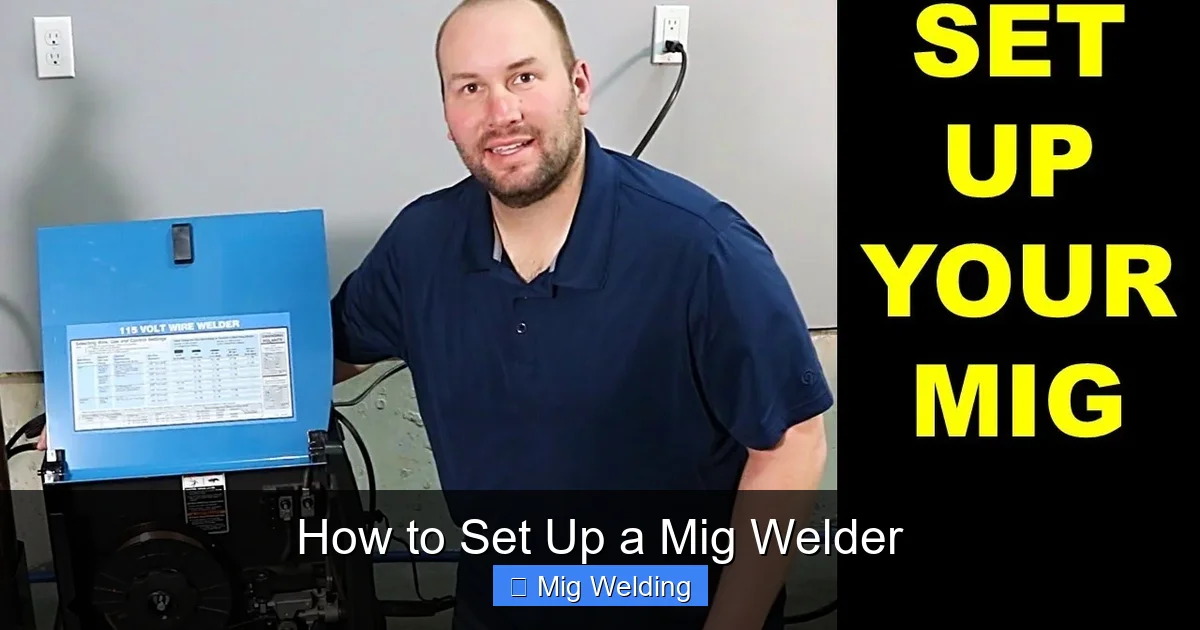
Start with recommended settings based on your wire size and material thickness. Usually, your welder’s manual provides a chart. For example:
Visual guide about How to Set Up a Mig Welder
Image source: i.ytimg.com
- Voltage: 18-22V for thin steel
- Wire feed: 3-6 meters per minute
5. Adjust the Shielding Gas Flow
Set the Gas Flow Rate
Adjust the flow regulator to typically 20-25 cubic feet per hour (CFH). This prevents porosity and ensures a clean weld.
Perform a Test Run
Before welding, do a small test on scrap metal to confirm your settings. Adjust as needed for smooth, stable arc and clean welds.
6. Practice Welding Techniques
Starting to Weld
- Hold the gun at a 15-20 degree angle.
- Maintain a steady hand and consistent distance from the workpiece.
- Start the arc by pressing the trigger and move smoothly along the weld joint.
Common Welding Tips
- Keep a consistent speed for even welds.
- Match your travel speed with your wire feed rate.
- Use short, overlapping passes for thicker materials.
7. Troubleshooting Common Issues
Porosity or Holes in the Weld
This can be caused by contaminated surface, incorrect gas flow, or moisture in the wire. Clean the metal, check your gas flow, and store wire properly.
Wire Feeding Problems
If wire jams or skips, check for tangled spool, bent liner, or incorrect tension. Adjust the tension knob for smooth feed.
Poor Weld Penetration
Increase voltage or wire feed speed slightly. Ensure proper angle and steady movement.
8. Final Tips and Safety Reminders
Always wear your safety gear, work in a ventilated area, and turn off your welder when not in use. Regularly inspect your equipment for wear and tear. Practice makes perfect—start with small projects and gradually take on bigger ones.
Conclusion
Setting up your MIG welder properly is the foundation of successful welding. By understanding the components, selecting the right consumables, and adjusting your settings correctly, you’ll produce stronger, cleaner welds. Remember, safety always comes first. With patience and practice, you’ll become confident in your MIG welding skills. Happy welding!
