

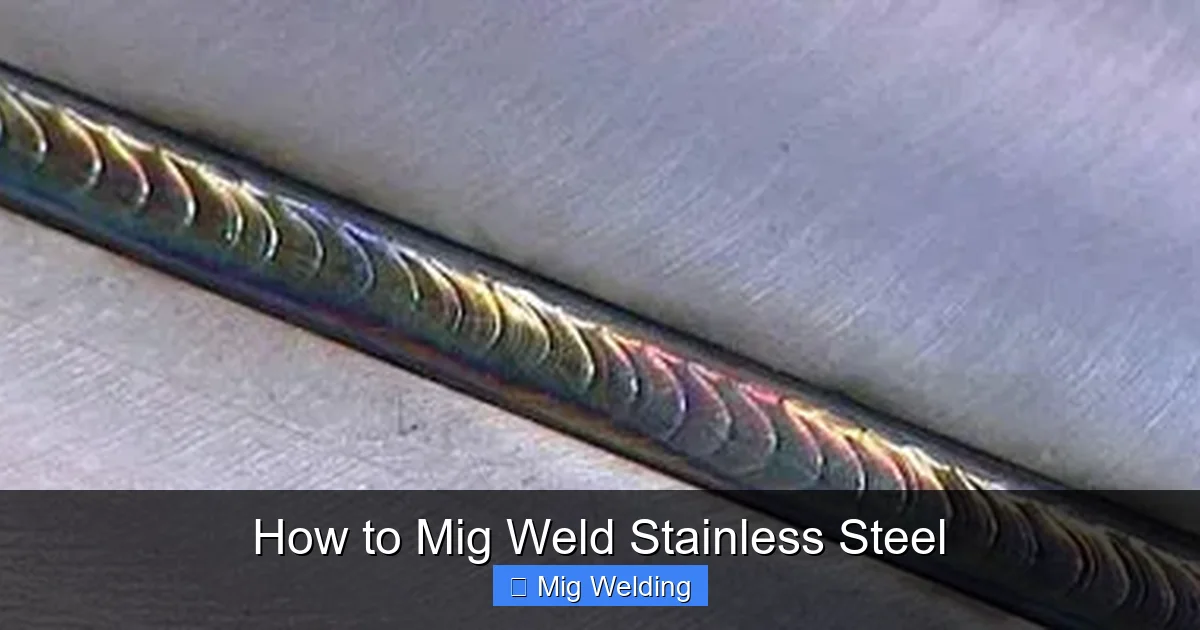
Welding stainless steel with a MIG welder can be straightforward when you understand the right techniques and settings. This guide will walk you through the entire process, from preparing your materials to finishing your welds, ensuring strong, clean results every time.
How to MIG Weld Stainless Steel
MIG welding stainless steel is a popular choice for many DIYers and professionals. It’s fast, efficient, and produces clean, strong welds when done properly. In this guide, you’ll learn everything you need — from selecting the right materials to finishing your welds — so you can confidently MIG weld stainless steel.
Key Takeaways
- Use the right wire: Select ER308L or ER316L stainless steel MIG wire for best results.
- Proper shielding gas: Use a mixture of 98% Argon and 2% Oxygen for optimal weld quality.
- Adjust welding parameters: Set the correct voltage, wire feed speed, and travel speed for clean, strong welds.
- Prepare your materials: Clean stainless steel thoroughly to remove contaminants that can cause weld defects.
- Practice good technique: Maintain a steady hand, correct angle, and consistent speed during welding.
- Post-weld cleaning: Remove any oxidation or discoloration with a stainless steel brush or pickling paste.
Understanding MIG Welding for Stainless Steel
MIG (Metal Inert Gas) welding uses a consumable wire electrode and shielding gas to protect the weld pool from contamination. When welding stainless steel, it’s crucial to use the correct wire and gas mixtures to avoid corrosion and ensure durability.
Tools and Materials Needed
- MIG welder: Capable of welding stainless steel with adjustable settings.
- Stainless steel wire: ER308L or ER316L wire is recommended.
- Shielding gas: 98% Argon / 2% Oxygen mixture, or pure Argon for some applications.
- Protective gear: Welding helmet, gloves, protective clothing, and eye protection.
- Cleaning tools: Stainless steel brush, grinder, or pickling paste.
- Clamps and fixtures: To hold your workpieces securely.
Step-by-Step Guide to MIG Welding Stainless Steel
1. Prepare Your Work Area and Materials
Ensure your workspace is clean, well-ventilated, and free of flammable materials. Lay out your tools and materials, and wear your protective gear.
Visual guide about How to Mig Weld Stainless Steel
Image source: cdn.sheetstainlesssteel.com
Visual guide about How to Mig Weld Stainless Steel
Image source: weldersadvice.com
Tip: Always work in a clean environment to prevent contamination of the stainless steel surface.
2. Clean and Prepare the Stainless Steel Surface
Remove any dirt, oil, rust, or mill scale from the stainless steel. Use a stainless steel brush or grinder to clean the area thoroughly.
Tip: Avoid touching the cleaned surface with bare hands to prevent contamination. Use clean gloves or tools.
3. Set Up Your MIG Welder
- Wire selection: Install ER308L or ER316L stainless steel wire spool.
- Gas settings: Connect your gas cylinder and set the flow rate to around 20-30 CFH (cubic feet per hour).
- Welding parameters: Adjust voltage and wire feed speed according to the thickness of your material. For example:
- Thin stainless steel (16-20 gauge): Voltage 14-16V, wire feed 200-250 IPM.
- Thicker material (1/8 inch or more): Voltage 18-20V, wire feed 300-350 IPM.
4. Practice Your Technique
Before welding your actual pieces, practice on scrap stainless steel. Focus on maintaining a consistent travel speed and a steady hand. Keep the gun at a 10-15 degree angle in the direction of travel.
5. Begin Welding
Hold the MIG gun approximately 1/4 inch from the workpiece. Start the arc and move steadily along the joint, maintaining a consistent speed. Use a weaving motion if necessary for wider welds.
Practical tip: Keep the wire tip slightly ahead of the molten pool to ensure proper filler metal deposition.
6. Monitor and Adjust Settings as Needed
If you notice porosity, excessive spatter, or weak welds, adjust your settings accordingly. Increasing shielding gas flow or reducing travel speed can improve weld quality.
7. Finish and Clean the Weld
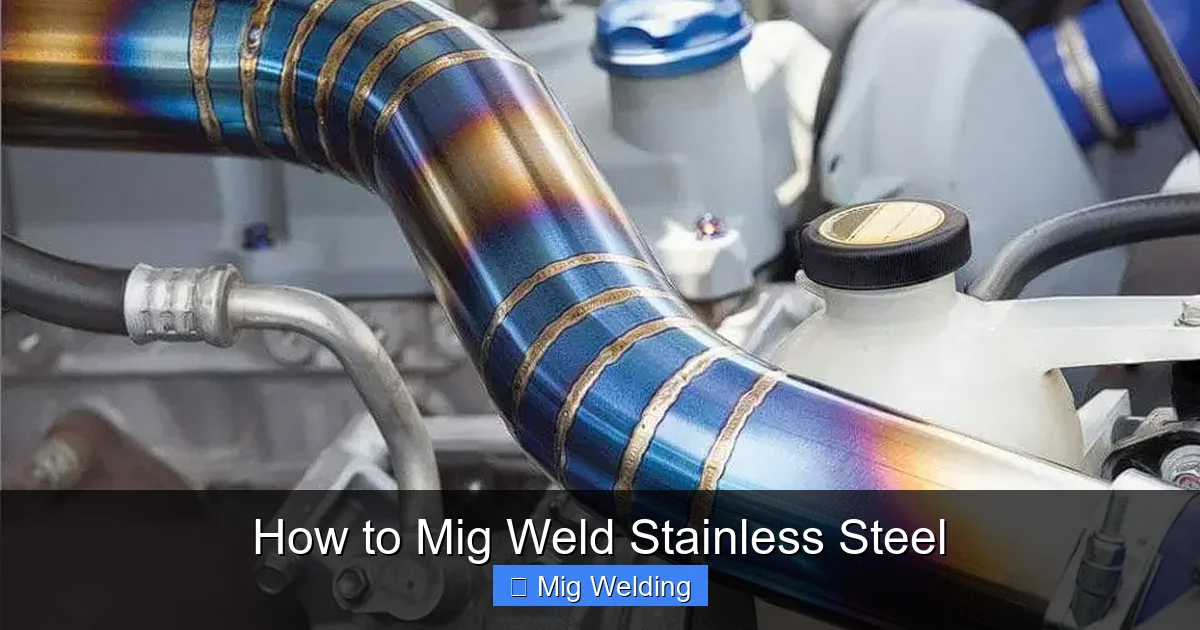
Allow the weld to cool slightly, then inspect for defects. Use a stainless steel brush to remove oxidation or discoloration. If necessary, grind the weld smooth or apply a pickling paste to restore corrosion resistance.
Practical Tips for Successful Stainless Steel MIG Welding
- Use the right wire: Never substitute stainless steel wire with mild steel wire.
- Maintain clean surfaces: Contaminants are the enemy of quality welds.
- Adjust your technique: Keep a steady hand and consistent speed.
- Control heat input: Too much heat can cause warping or burn-through.
- Use proper shielding gas: The right mixture prevents oxidation and porosity.
- Practice makes perfect: Don’t rush your first few welds; take your time to perfect your technique.
Troubleshooting Common Issues
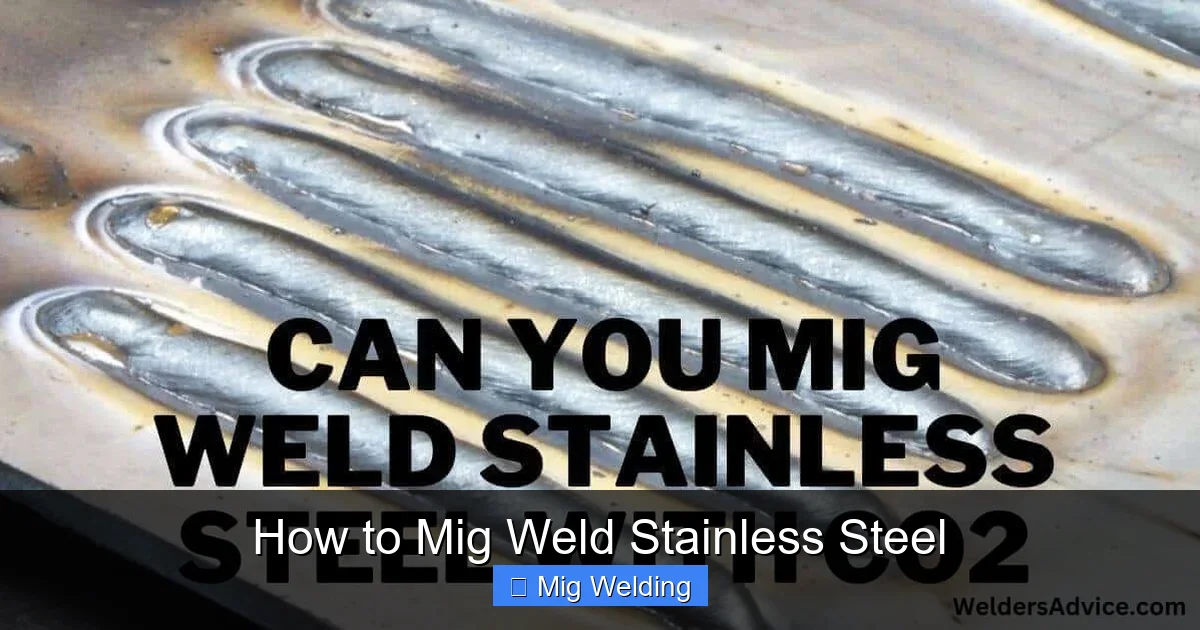
- Porosity in welds: Usually caused by contaminated surface or insufficient shielding gas flow. Clean the surface thoroughly and check your gas flow rate.
- Cracking or weak welds: Often due to incorrect heat settings. Increase or decrease voltage and wire feed speed as needed.
- Discoloration or oxidation: Post-weld cleaning is essential. Use a stainless steel brush or pickling paste to restore appearance and corrosion resistance.
- Spatter: Adjust wire speed and gas flow, and ensure correct gun angle.
Conclusion
MIG welding stainless steel can be simple and effective once you understand the right materials, settings, and techniques. Always prioritize cleanliness, use the appropriate wire and gas, and practice your skills. With patience and attention to detail, you’ll produce strong, clean welds that last.

Visual guide about How to Mig Weld Stainless Steel
Image source: finemetalworking.com
Remember, safety first. Wear your protective gear, work in a well-ventilated area, and take your time to get each weld right.
Happy Welding!
Now you’re ready to tackle your stainless steel projects with confidence. Keep practicing, and don’t be afraid to experiment with settings to find what works best for your specific application!
