

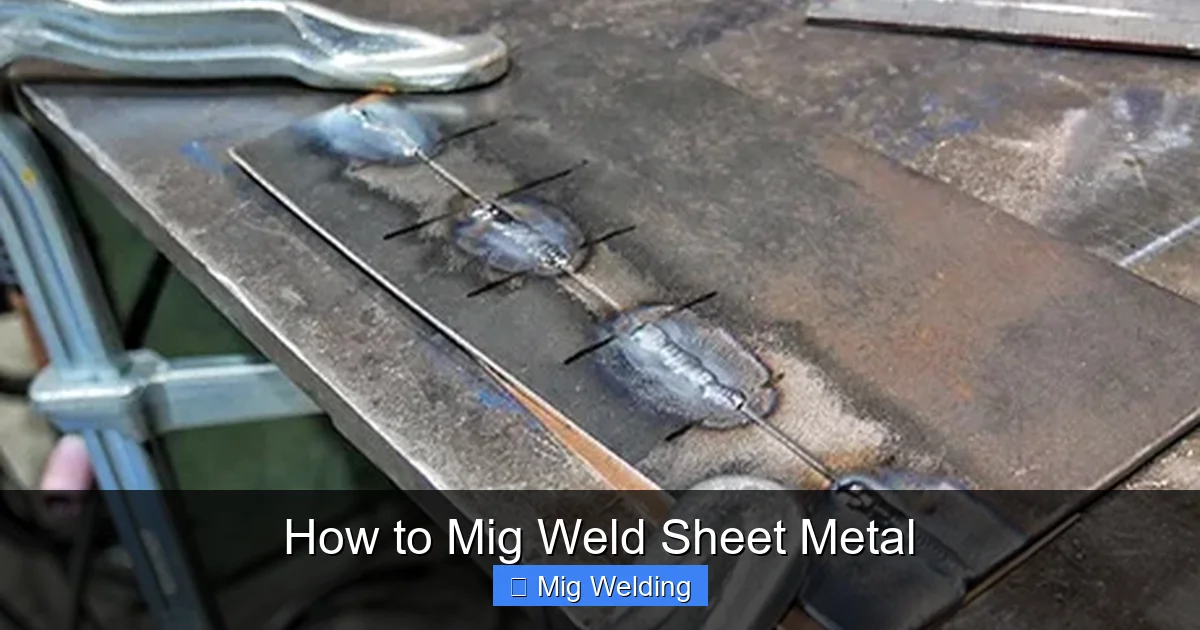
Learning how to MIG weld sheet metal is essential for many DIY projects and professional repairs. This guide walks you through the process, from setting up your welder to finishing your welds. Whether you’re a beginner or looking to improve your skills, you’ll find practical tips to create strong, clean welds on thin metal sheets.
How to MIG Weld Sheet Metal
MIG welding is a popular method for welding sheet metal because it’s fast, clean, and relatively easy to learn. Whether you’re repairing a car, building a metal project, or doing fabrication work, knowing how to MIG weld sheet metal is a valuable skill. In this guide, you’ll learn the essential steps, tips, and techniques to get professional-looking results.
Key Takeaways
- Proper Equipment: Use a MIG welder suitable for thin metal and ensure your equipment is in good condition.
- Material Preparation: Clean the sheet metal thoroughly to remove rust, paint, and debris for optimal weld quality.
- Correct Settings: Adjust voltage, wire feed speed, and shielding gas for thin sheet metal to prevent burn-through.
- Technique: Use a steady hand and maintain the right travel speed for smooth, strong welds.
- Safety: Always wear proper safety gear, including gloves, helmet, and protective clothing.
- Practice: Practice on scrap metal to perfect your technique before working on your project.
Understanding MIG Welding and Sheet Metal
Metal Inert Gas (MIG) welding, also called Gas Metal Arc Welding (GMAW), involves feeding a continuous wire electrode through a welding gun and shielding it with inert gas. This process melts the wire and base metal, creating a strong bond.
Sheet metal is thin, often less than 1/8 inch thick. Welding such thin material requires precision to prevent burn-through, warping, or weak welds. Proper settings and technique are crucial for success.
Equipment and Materials Needed
- MIG welder: Ensure it’s capable of fine, precise welding suitable for sheet metal.
- Welding wire: Use a soft, small-diameter wire like 0.023” or 0.030” ER70S-6 or ER70S-3 for thin metal.
- Shielding gas: Typically a mix of 75% Argon / 25% CO2 or pure CO2 for good penetration and smooth welds.
- Protective gear: Welding helmet, gloves, long sleeves, and protective clothing.
- Cleaning tools: Wire brush or grinder to clean the metal surface before welding.
- Clamps and supports: To hold the sheet metal steady during welding.
Step 1: Prepare the Sheet Metal
Clean the Surface
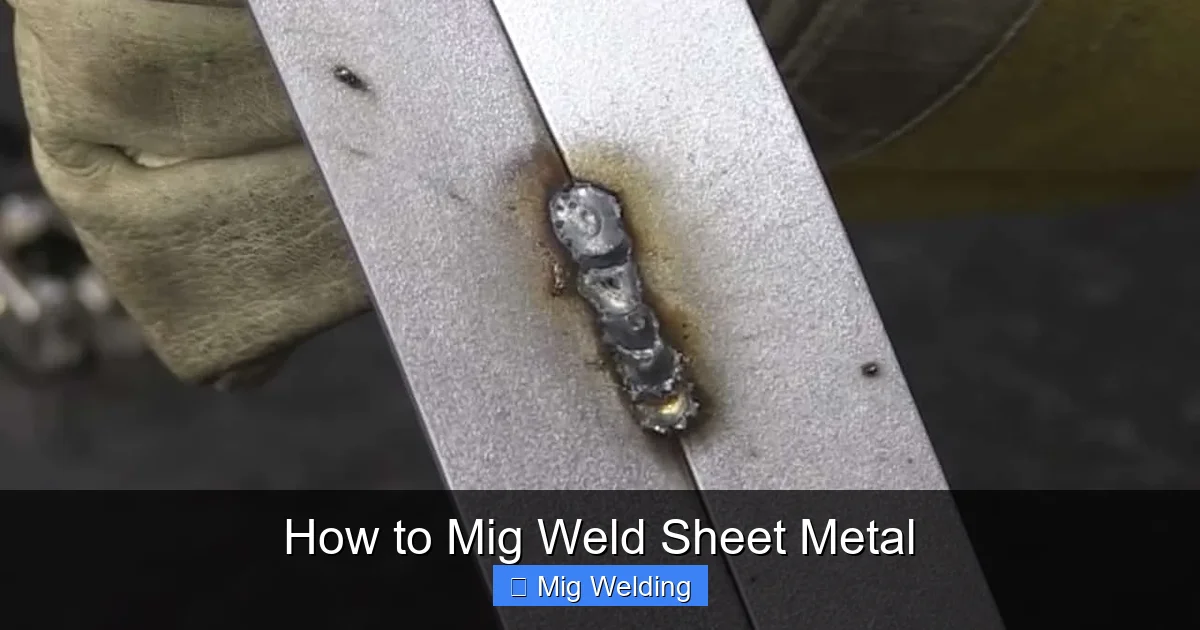
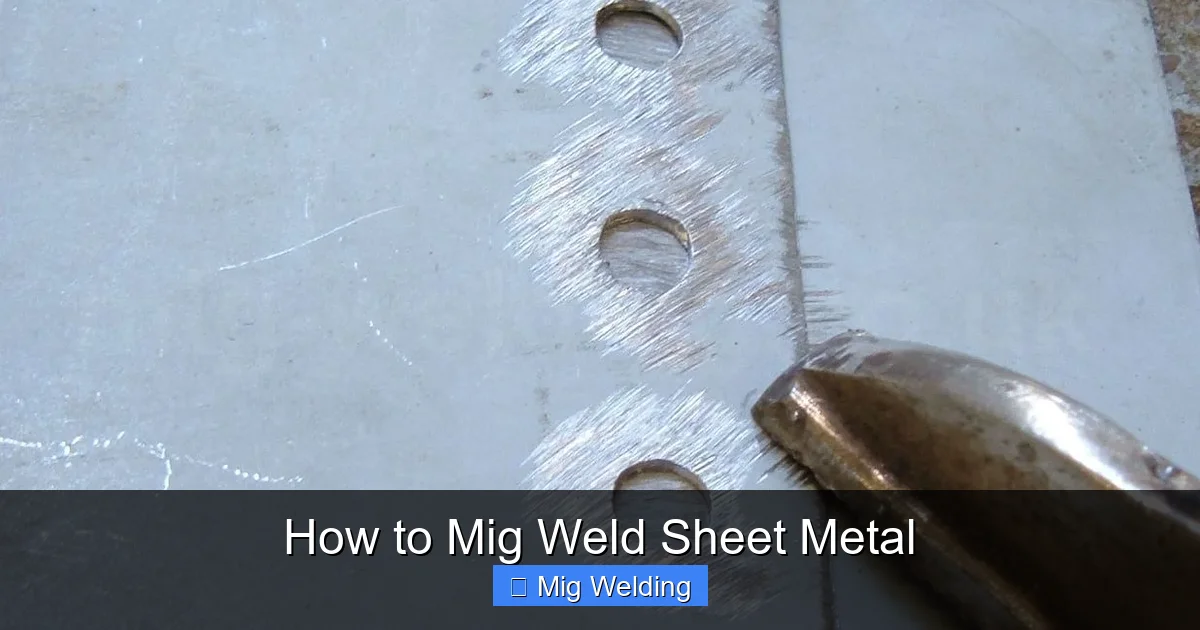
Start by cleaning the metal thoroughly. Remove rust, paint, oil, and debris with a wire brush or grinder. Clean surfaces ensure good weld penetration and prevent contamination.
Visual guide about How to Mig Weld Sheet Metal
Image source: weldguru.com
Visual guide about How to Mig Weld Sheet Metal
Image source: weldingproperty.com
Arrange and Clamp
Position the sheet metal pieces as needed and clamp them securely. Use supports to prevent warping or movement during welding. Proper alignment is key for neat, strong welds.
Step 2: Set Up Your MIG Welder
Select the Correct Settings
Adjust your welder for thin metal. Typical settings include:
Visual guide about How to Mig Weld Sheet Metal
Image source: mig-welding.co.uk
- Voltage: Usually between 14-18 volts, depending on your welder and metal thickness.
- Wire feed speed: Faster for thicker metal, slower for thin sheets.
- Shielding gas: Use a 75/25 mix or pure CO2, depending on your machine and desired weld quality.
Test on Scrap Metal
Before welding your actual piece, do a test weld on scrap sheet metal. Adjust your settings until you get a smooth, consistent bead without burn-through or spatter.
Step 3: Welding Technique
Position and Comfort
Hold the welding gun comfortably with both hands. Keep a steady, comfortable stance. Maintain a 15-20 degree angle relative to the workpiece.
Maintain Proper Distance
Keep the gun tip about 1/4 inch from the metal surface. Too close causes burn-through; too far causes poor weld quality.
Use a Steady Travel Speed
Move the gun smoothly along the weld joint at a consistent speed. Too slow can cause burn-through, too fast may result in weak welds.
Welding in Shorter Passes
For thin sheet metal, weld in small segments, allowing each to cool slightly before moving on. This prevents warping and burn-through.
Step 4: Finishing the Weld
Once the weld is complete, let it cool naturally. Inspect for uniformity, penetration, and any signs of burn-through or porosity.
If needed, grind down rough edges or excess welds with a wire wheel or grinder for a clean finish. You can also paint or coat the weld area to protect it from corrosion.
Tips for Successful MIG Welding on Sheet Metal
- Use the right wire diameter: Smaller wires like 0.023” are better for thin metal.
- Adjust your voltage and wire speed: Too high voltage or wire speed increases risk of burn-through.
- Maintain good fit-up: Gaps should be minimal and even for strong welds.
- Practice on scrap: Developing your technique on scrap helps prevent mistakes on your project.
- Control heat input: Use shorter welds and cooling pauses to avoid warping.
Troubleshooting Common Problems
Burn-Through
Reduce voltage, increase wire speed, or slow down travel speed. Use smaller weld segments and allow cooling periods.
Porosity (holes in weld)
Check shielding gas flow. Ensure there are no leaks, and keep the gun close to the workpiece.
Inconsistent Bead
Maintain steady hand and travel speed. Practice your technique on scrap to improve consistency.
Weld Warping or Distortion
Weld in small sections, use clamps, and let the metal cool between passes.
Conclusion
Welding sheet metal with MIG is a skill that improves with practice. Focus on proper preparation, settings, and technique for the best results. Remember to always prioritize safety and take your time to get clean, strong welds. With patience and effort, you’ll be able to tackle various projects confidently.
Final Thoughts
Learning how to MIG weld sheet metal opens up many possibilities, from automotive repairs to artistic projects. Keep practicing, stay safe, and enjoy the process of creating durable, professional-looking welds. Happy welding!
