

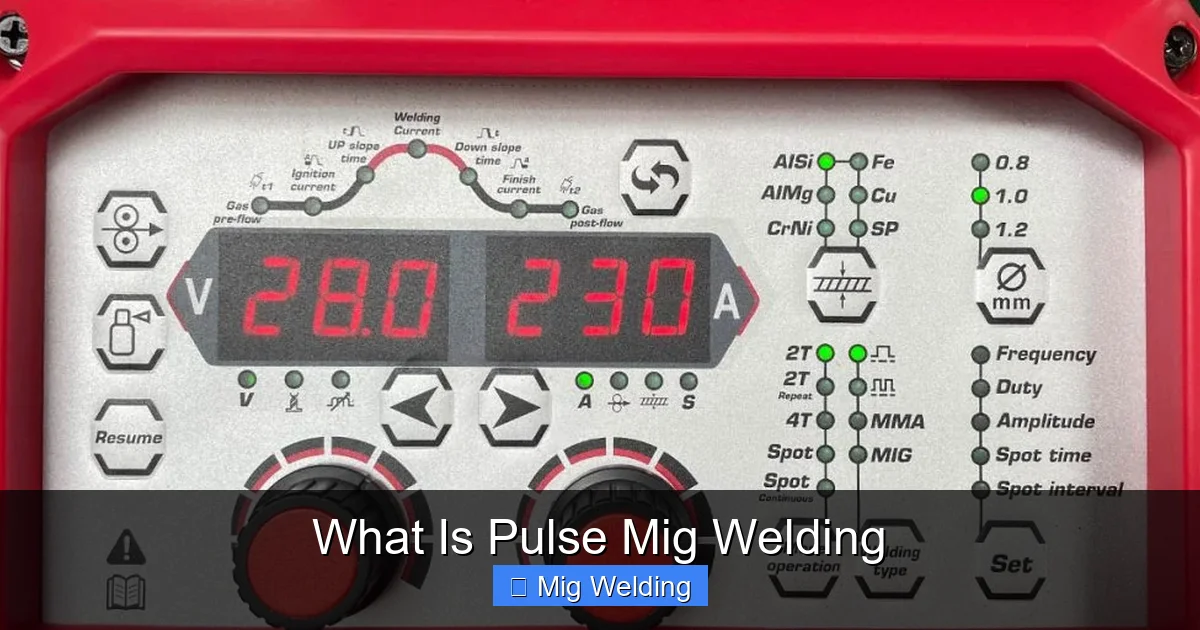
Pulse MIG welding is an advanced welding technique that offers improved control and cleaner welds. This guide explains what pulse MIG welding is, how it works, and how you can use it effectively to enhance your welding projects.
What Is Pulse MIG Welding
Welding is a skill that combines art and science. Among the many techniques, Pulse MIG welding stands out for its ability to produce high-quality, clean welds with less heat distortion. If you’re new to welding or looking to improve your skills, understanding pulse MIG welding can be a game-changer. In this guide, we’ll explore what pulse MIG welding is, how it works, and how to use it effectively for different projects. By the end, you’ll have a solid grasp of this advanced technique and how it can benefit your welding tasks.
Key Takeaways
- What is Pulse MIG Welding: A welding process that uses pulsed electrical current to control heat input and improve weld quality.
- How It Works: Alternates between high and low current levels to stabilize the arc and reduce spatter.
- Benefits: Produces cleaner welds, reduces heat distortion, and allows for precise control on thin materials.
- Suitable Materials: Ideal for stainless steel, aluminum, and other non-ferrous metals.
- Equipment Needed: A MIG welder with pulse capabilities, appropriate shielding gas, and safety gear.
- Learning Curve: Slightly more complex than traditional MIG welding but offers better results once mastered.
What Is Pulse MIG Welding?
Pulse MIG welding is an advanced form of Metal Inert Gas (MIG) welding that uses a pulsed electrical current instead of a constant one. Traditional MIG welding supplies a steady current that melts the wire and creates the weld pool. In contrast, pulse MIG welding alternates between high and low current levels rapidly. This pulsing allows for better control of the heat input, resulting in cleaner, more precise welds.
How Does Pulse MIG Welding Work?
The Basics of Pulsed Current
In pulse MIG welding, the welder’s power source switches between two main settings: a high peak current and a low background current. The high peak current melts the wire and creates the weld pool, while the low background current maintains the arc without excessive heat. This cycle repeats very quickly, often thousands of times per second.
Visual guide about What Is Pulse Mig Welding
Image source: weldguru.com
The Role of the Shielding Gas
The shielding gas protects the weld pool from contaminants in the air. Common gases include argon, helium, or a mix. In pulse MIG welding, the gas flow helps stabilize the arc during the pulsing cycle, ensuring a clean and consistent weld.
Benefits of Pulse MIG Welding
- Reduced Spatter: The pulsed current minimizes the amount of molten metal that splatters, leading to cleaner workpieces.
- Better Control on Thin Materials: The pulsing allows precise heat input, preventing burn-through on delicate metals.
- Less Heat Distortion: Because the process controls heat more effectively, it minimizes warping and distortion.
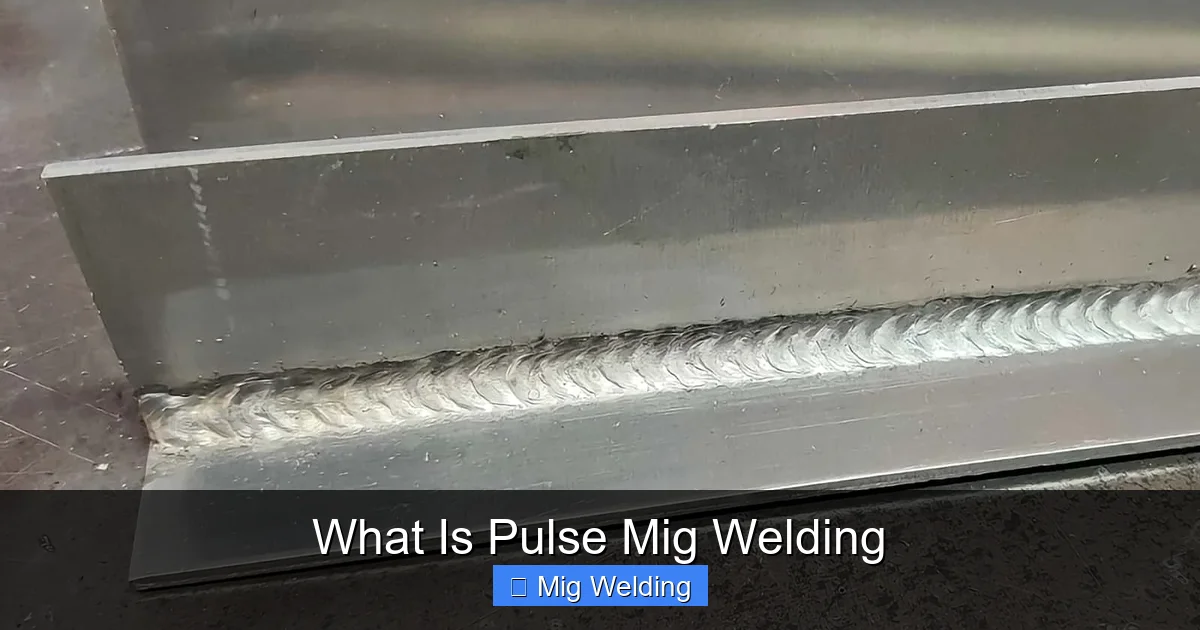
- Improved Weld Quality: Produces smoother, more uniform weld beads with better penetration.
- Versatility: Suitable for a wide range of metals, including aluminum and stainless steel.
Equipment Needed for Pulse MIG Welding
- Pulse MIG Power Source: A welder capable of pulsed welding modes. Many modern MIG welders include this feature.
- Welding Wire: Choose the right wire for your material (e.g., ER4043 for aluminum).
- Shielding Gas: Usually argon or a mix like argon-helium, depending on the material.
- Safety Gear: Welding helmet, gloves, protective clothing, and proper ventilation.
Step-by-Step Guide to Using Pulse MIG Welding
Step 1: Prepare Your Workspace
Ensure your workspace is clean, well-ventilated, and free of flammable materials. Gather all your equipment and safety gear before starting.

Visual guide about What Is Pulse Mig Welding
Image source: weldguru.com

Visual guide about What Is Pulse Mig Welding
Image source: weldguru.com
Step 2: Set Up Your Welding Machine
- Select the Pulse Mode: Turn on your welder and choose the pulsed MIG welding mode.
- Adjust Settings: Set the appropriate voltage, wire feed speed, and pulse parameters based on your material and thickness. Consult your welder’s manual or a welding chart for guidance.
Step 3: Prepare Your Materials
- Clean the Metal: Remove rust, grease, and paint to ensure good weld quality.
- Clamp the Materials: Secure your workpieces firmly to prevent movement during welding.
Step 4: Set Up Your Shielding Gas
Attach the gas cylinder and set the flow rate as recommended (typically around 20-30 CFH). Ensure there are no leaks.
Step 5: Practice on Scrap Metal
Before welding your main project, practice on scrap pieces. Adjust settings as needed to get a stable arc and smooth weld bead.
Step 6: Start Welding
- Position the Gun: Hold the welding gun at a 10-15 degree angle.
- Begin Welding: Squeeze the trigger, move steadily along the joint, and control your speed for consistent results.
Step 7: Finishing and Inspection
Allow the weld to cool naturally. Inspect for uniformity, penetration, and spatter. Make adjustments if necessary for future passes.
Practical Tips for Effective Pulse MIG Welding
- Maintain Proper Gun Angle: Keep a steady angle to ensure even welds.
- Control Travel Speed: Moving too fast can cause weak welds; too slow can cause excess heat.
- Adjust Pulse Settings: Experiment with peak and background current to suit your materials and project.
- Use Proper Shielding Gas: Always use the recommended gas for your material to prevent oxidation.
- Regularly Inspect Equipment: Check cables, nozzles, and gas lines for damage or leaks.
Troubleshooting Common Issues
Porosity in Welds
This often results from contaminated surfaces or inadequate shielding gas flow. Ensure your materials are clean and gas flow is steady.
Inconsistent Arc or Welding Spatter
Verify your settings, especially pulse parameters. Also, check your wire feed and contact tip for damage or wear.
Weak Penetration
Increase voltage or wire feed speed slightly. Ensure proper gun angle and steady travel speed.
Conclusion
Pulse MIG welding is a powerful technique that offers many advantages over traditional MIG welding. It provides greater control, cleaner welds, and the ability to work on delicate materials. While it may seem complex at first, with practice and proper setup, you’ll be welding like a pro in no time. Whether you’re a hobbyist or a professional, mastering pulse MIG welding can significantly improve your results and expand your welding capabilities.
Final Tips
- Start with the recommended settings and tweak gradually.
- Practice on scrap metal before tackling your main project.
- Always prioritize safety and proper equipment maintenance.
