


Welding aluminium with a MIG welder may seem challenging, but with the right tools and techniques, you can achieve strong, clean welds. This guide walks you through each step, from preparing your materials to troubleshooting common issues, making aluminium welding accessible even for beginners. Master aluminium welding with confidence and improve your projects today.
Key Takeaways
- Use the correct equipment: Ensure your MIG welder is suitable for aluminium welding and equipped with a spool gun if necessary.
- Choose the right wire and gas: Use a 4043 or 5356 aluminium wire and pure argon or argon-rich shielding gas for optimal results.
- Prepare your materials: Clean aluminium thoroughly to remove oxidation and contaminants before welding.
- Set the proper welding parameters: Adjust voltage, wire feed speed, and shielding gas flow for a smooth weld.
- Practice good technique: Maintain consistent travel speed and proper torch angle to achieve clean, strong welds.
- Troubleshoot common issues: Learn how to address porosity, spatter, or weak welds to improve your results.
Introduction
Welding aluminium with a MIG welder can open up a world of possibilities for DIY projects, repairs, and fabrication. Aluminium is lightweight, corrosion-resistant, and highly versatile, making it a popular choice in many industries. However, welding aluminium presents unique challenges, such as its high thermal conductivity and tendency to oxidize quickly. This guide will walk you through the entire process of welding aluminium with a MIG welder, from preparation to finishing. Whether you’re a beginner or looking to refine your skills, you’ll find practical tips and expert advice to help you succeed.
Understanding the Basics of MIG Welding Aluminium
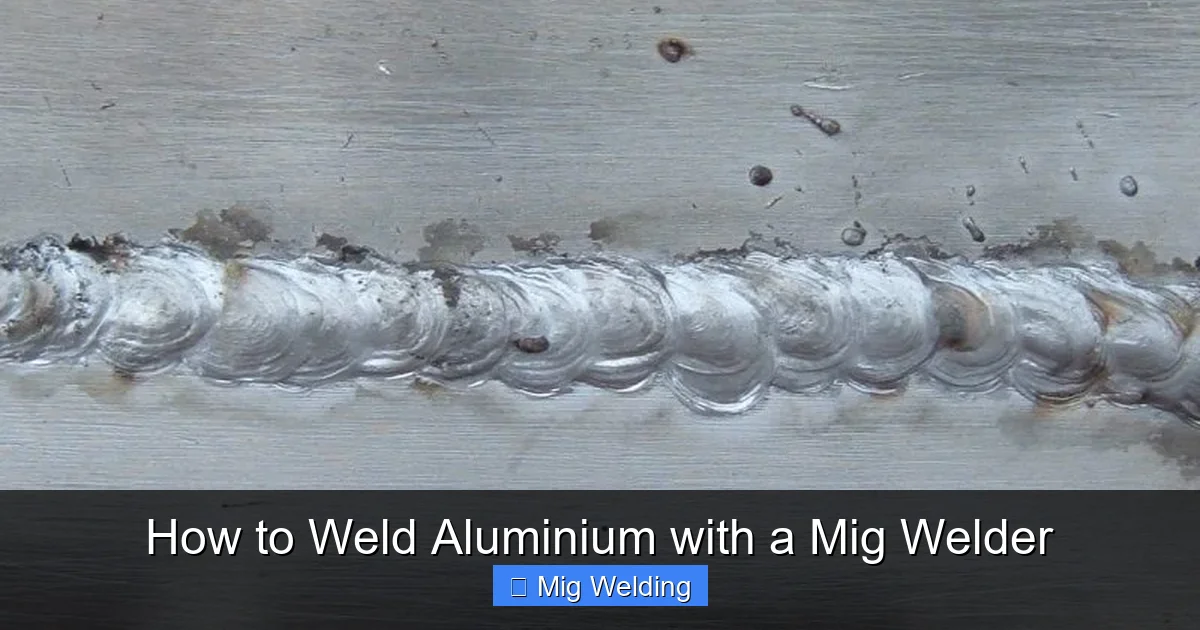
MIG (Metal Inert Gas) welding uses a continuous wire feed and shielding gas to protect the weld pool. When welding aluminium, special considerations come into play:
Visual guide about How to Weld Aluminium with a Mig Welder
Image source: mig-welding.co.uk
- Aluminium’s high thermal conductivity means it cools quickly, requiring precise heat control.
- Oxidation forms a tough aluminium oxide layer that must be removed before welding.
- Using the correct wire, gas, and equipment is crucial for a strong, clean weld.
Before starting, ensure your MIG welder is capable of aluminium welding. Some welders require modifications or accessories like a spool gun for better control and feeding of aluminium wire.
Step 1: Gather Your Tools and Materials
Essential Equipment
- MIG welder: Ensure it can handle aluminium wire and has adjustable settings.
- Spool gun: Highly recommended for feeding aluminium wire smoothly.
- Aluminium wire: Use 4043 or 5356 alloy, depending on your application.
- Shielding gas: Pure argon or an argon-helium mix for better penetration.
- Cleaning tools: Wire brushes or stainless steel brushes specifically for aluminium.
- Protective gear: Welding helmet, gloves, apron, and safety glasses.
- Clamps and fixtures: To hold your workpiece steady.
Step 2: Prepare Your Workpiece
Cleaning and Surface Preparation
Aluminium oxidizes rapidly, forming a tough layer that prevents proper welding. Proper cleaning is essential:
Visual guide about How to Weld Aluminium with a Mig Welder
Image source: materialwelding.com
Visual guide about How to Weld Aluminium with a Mig Welder
Image source: weldguru.com
- Use a dedicated wire brush or stainless steel brush to remove oxidation from the surface.
- Wipe the area with a clean cloth soaked in acetone or a similar solvent to remove grease or oils.
- Limit handling of the cleaned area to prevent re-oxidation.
Make sure your workpiece is securely clamped to prevent movement during welding.
Step 3: Set Up Your Equipment
Configure the Welder
- Select the correct wire: Load the 4043 or 5356 aluminium wire spool onto your spool gun or wire feeder.
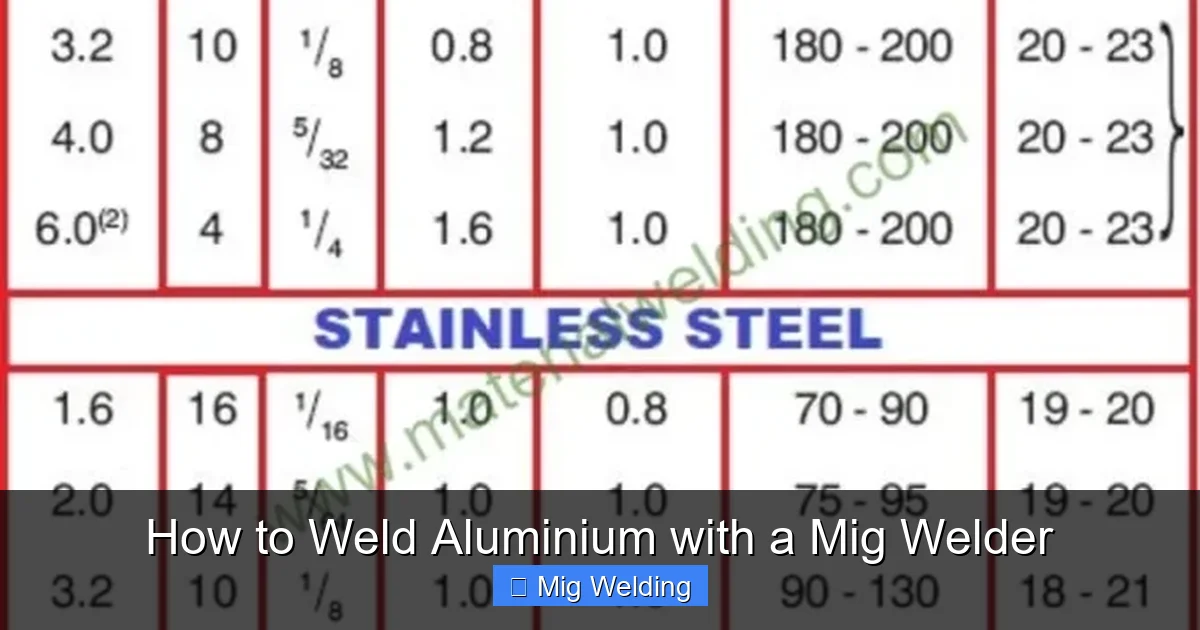
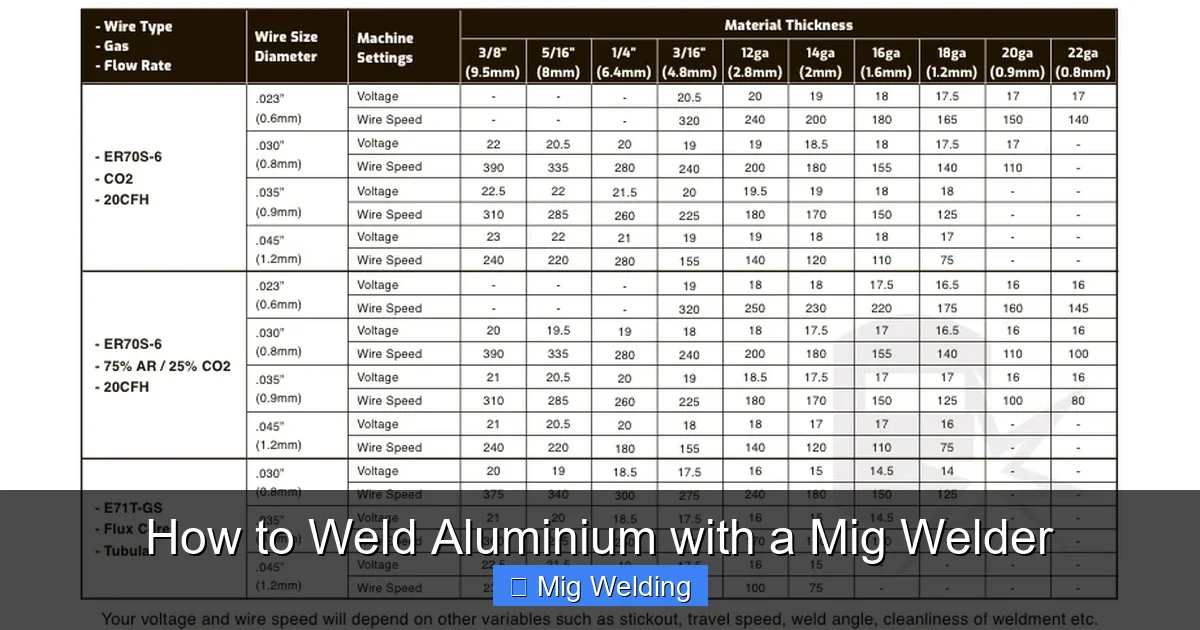
- Adjust the wire feed speed: Typically between 2-4 inches per second, but consult your welder’s manual for specifics.
- Set the voltage: Usually between 15-20 volts, depending on the thickness of the aluminium and your welder’s capabilities.
- Gas flow rate: Set to about 20-25 CFH (cubic feet per hour) of pure argon or argon mixture.
- Install the spool gun: Attach securely and ensure smooth wire feeding.
Step 4: Practice and Test
Before welding your actual workpiece, practice on a scrap piece of aluminium. Test different settings to find the optimal combination for clean, strong welds. Watch for issues like spatter, porosity, or weak welds, and adjust accordingly.
Step 5: Welding Technique
Starting Your Weld
- Position yourself comfortably with a steady hand.
- Hold the torch at approximately a 10-15 degree angle to the workpiece.
- Maintain a consistent travel speed—too slow can cause burn-through; too fast can weaken the weld.
- Start the arc slightly ahead of the joint, then move along smoothly.
Welding Process
- Keep the wire tip close to the work surface—about 1/8 inch.
- Use a weaving motion if necessary for wider gaps, but generally maintain a straight, steady movement.
- Ensure continuous shielding gas coverage to prevent oxidation.
- Adjust your speed and angle as needed for different joint types.
Step 6: Finishing Your Weld
Once the weld is complete, allow it to cool naturally. Do not disturb the joint while cooling to prevent cracks. After cooling:
- Use a wire brush to clean any remaining oxidation or spatter.
- If necessary, grind or file the weld for a smooth finish.
- Inspect the weld for defects such as porosity, cracks, or weak spots.
Troubleshooting Common Welding Issues
- Porosity or holes: Caused by contaminated surface or insufficient shielding gas. Ensure proper cleaning and gas flow.
- Spatter: Usually due to incorrect voltage or too high wire feed speed. Adjust settings accordingly.
- Weak welds: May be from low heat, slow travel speed, or poor technique. Increase heat slightly and practice steady movement.
- Oxidation or discoloration: Confirm proper shielding gas coverage and clean surface thoroughly before welding.
Conclusion
Welding aluminium with a MIG welder is a skill that improves with practice. By choosing the right equipment, preparing your materials carefully, and following proper techniques, you can produce strong, clean aluminium welds. Remember to start with small practice projects, troubleshoot issues promptly, and always prioritize safety. With patience and persistence, you’ll master aluminium welding and expand your fabrication capabilities.
Additional Tips for Success
- Use a spool gun for better wire feeding and control.
- Work in a well-ventilated area to avoid inhaling fumes.
- Keep your equipment clean and maintained for consistent results.
- Stay relaxed and steady to maintain a uniform weld bead.
Safety Precautions
- Always wear appropriate protective gear—helmet, gloves, and apron.
- Ensure proper ventilation when welding indoors.
- Be aware of hot surfaces and molten metal during and after welding.
- Follow your equipment manufacturer’s safety instructions.
