

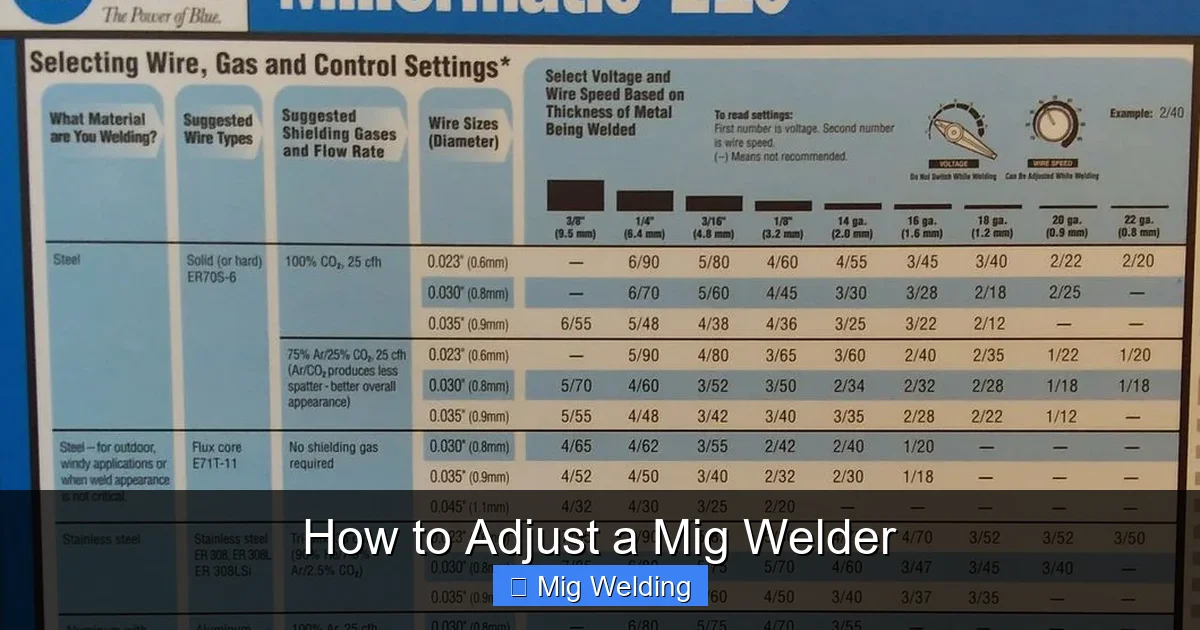
In this guide, you’ll learn how to properly adjust a MIG welder for optimal welding performance. From setting the correct wire speed to adjusting voltage, we’ll walk you through each step. Whether you’re a beginner or looking to refine your skills, this guide will help you achieve cleaner, stronger welds with confidence.
How to Adjust a MIG Welder
If you’re new to MIG welding or just want to improve your welds, understanding how to adjust your MIG welder is essential. Proper adjustments ensure strong, clean, and professional-looking welds. In this comprehensive guide, we’ll walk through the key steps to fine-tune your MIG welder for the best results. Whether you’re welding steel, aluminum, or other metals, mastering these adjustments will boost your confidence and craftsmanship.
Key Takeaways
- Understand the main settings: Learn about voltage, wire feed speed, and gas flow to optimize your welds.
- Start with manufacturer recommendations: Use the welder’s manual as a baseline for initial adjustments.
- Adjust voltage for bead size: Higher voltage creates wider, hotter beads; lower voltage produces narrower, cooler welds.
- Set the correct wire feed speed: Too fast or slow can cause defects; find the right balance for your wire and material.
- Check and adjust gas flow: Proper shielding gas flow prevents weld contamination and ensures clean welds.
- Troubleshoot common issues: Learn how to fix porosity, spatter, or weak welds by adjusting your settings accordingly.
Understanding Your MIG Welder
Before diving into adjustments, it’s important to understand the main components and settings of your MIG welder. The primary controls you’ll work with are:
- Voltage: Controls the heat and arc length.
- Wire Feed Speed: Determines how fast the wire is fed into the weld pool.
- Gas Flow Rate: Regulates the shielding gas that protects the weld from contamination.
- Wire Type and Diameter: Different wires require different settings.
Most MIG welders have dials or digital controls for these parameters. Knowing how each affects your weld is key to making proper adjustments.
Step 1: Preparing Your Workspace and Equipment
Ensure Safety First
Before adjusting your MIG welder, wear appropriate safety gear: welding helmet, gloves, protective clothing, and eye protection.
Visual guide about How to Adjust a Mig Welder
Image source: maker-hub.georgefox.edu
Check Your Equipment
- Inspect cables, hoses, and connections for damage.
- Ensure your shielding gas cylinder is secured and has enough gas.
- Use a clean work surface free of flammable materials.
Proper preparation prevents accidents and ensures smooth adjustments.
Step 2: Set the Correct Voltage
Start with Manufacturer Guidelines
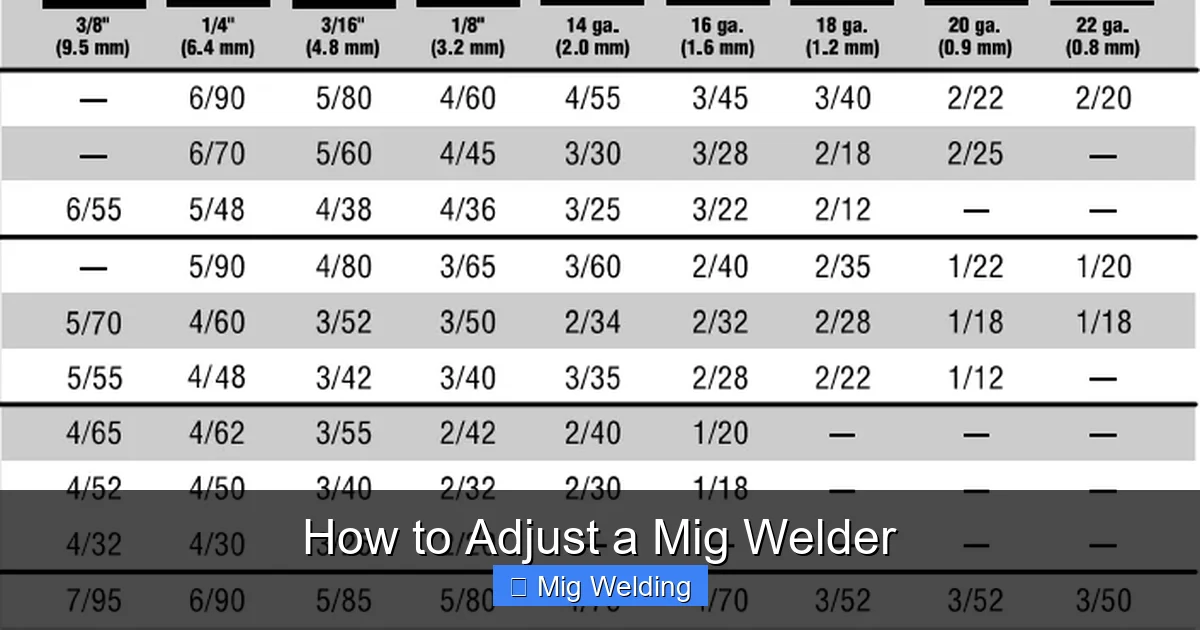
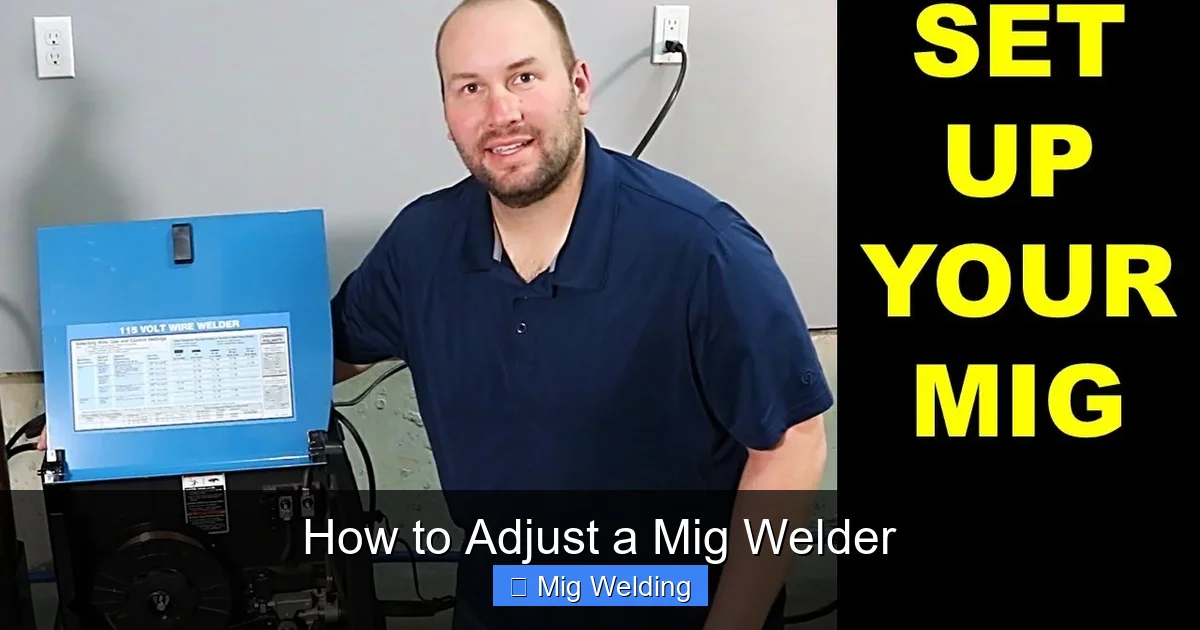
Consult your welder’s manual or the wire packaging for recommended voltage settings based on the wire size and material thickness.
Visual guide about How to Adjust a Mig Welder
Image source: i.ytimg.com
Adjust Voltage
- Turn the voltage dial clockwise to increase heat for thicker materials.
- Reduce voltage for thinner materials to prevent burn-through.
For example, welding 1/8 inch steel might require around 18-20 volts, while thinner steel (1/16 inch) might need 14-16 volts.
Tip
Use a scrap piece to test the bead. Adjust the voltage until you get a smooth, slightly convex weld bead without excessive spatter or burn-through.
Step 3: Set the Wire Feed Speed
Matching Wire Speed with Voltage
The wire feed speed should be compatible with your voltage setting. Too fast or too slow can cause poor weld quality.
Visual guide about How to Adjust a Mig Welder
Image source: weldingpros.net
Adjusting Wire Feed
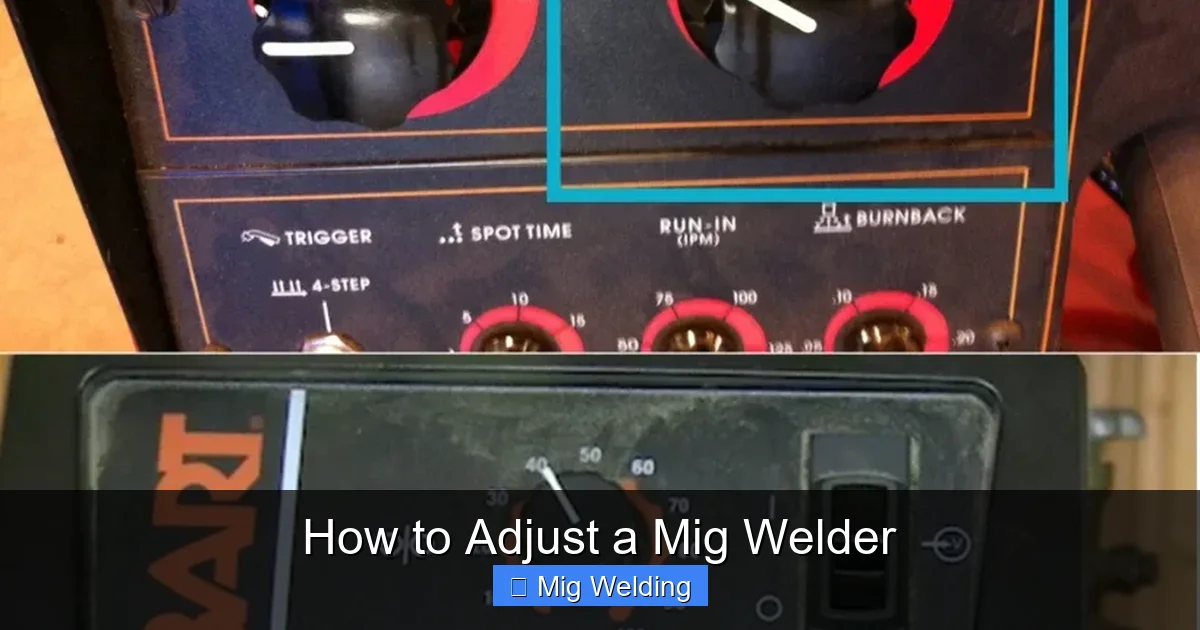
- Start with the manufacturer’s recommended wire feed rate, usually specified in inches per minute (IPM).
- Increase or decrease gradually while observing the weld pool.
For example, a typical setting might be 250-350 IPM for 0.035-inch wire.
Tips for Proper Wire Feed
- If you notice excessive spatter or a shaky arc, reduce the wire feed speed.
- If the wire burns back into the tip or causes poor penetration, increase the wire feed speed.
Step 4: Adjust the Gas Flow Rate
Optimal Gas Settings
The ideal shielding gas flow rate typically ranges from 20-30 CFH (cubic feet per hour). Check your welder’s manual for specific recommendations.
Setting the Gas Flow
- Open the gas regulator valve and set the flow rate using the flow meter.
- Adjust until you see a steady, gentle stream of gas without turbulence or excessive turbulence.
Common Mistakes to Avoid
- Too high gas flow can cause turbulence and introduce contaminants.
- Too low flow may result in inadequate shielding, leading to porosity.
Step 5: Fine-Tuning and Testing
Once initial settings are in place, perform test welds on scrap metal similar to your project material. Observe the weld bead:
- Look for a smooth, consistent bead with good penetration.
- Check for spatter, porosity, or excessive burn-through.
Adjust the voltage, wire feed, or gas flow as needed based on your observations. Small incremental changes yield the best results.
Step 6: Troubleshooting Common Issues
Porosity in Welds
This often indicates contamination or insufficient shielding gas. Check for leaks, ensure proper gas flow, and clean your workpiece.
Excessive Spatter
Reduce voltage or wire feed speed. Also, verify your gas flow rate and ensure the correct gas type.
Weak or Incomplete Penetration
Increase voltage and wire feed speed gradually. Ensure your workpiece is clean and properly grounded.
Burn-Back or Wire Sticking
Reduce wire feed speed and check your contact tip for wear or damage. Keep the tip clean and replace if necessary.
Conclusion
Adjusting a MIG welder may seem complex at first, but with practice, it becomes second nature. Remember to start with manufacturer recommendations, perform test welds, and make small adjustments. Properly tuned settings lead to stronger, cleaner welds and a safer welding experience. Keep practicing, stay safe, and enjoy your welding projects!
Additional Tips
- Maintain clean workpieces for better weld quality.
- Use the appropriate wire and gas combination for your material.
- Keep your equipment well-maintained and regularly inspect components.
