

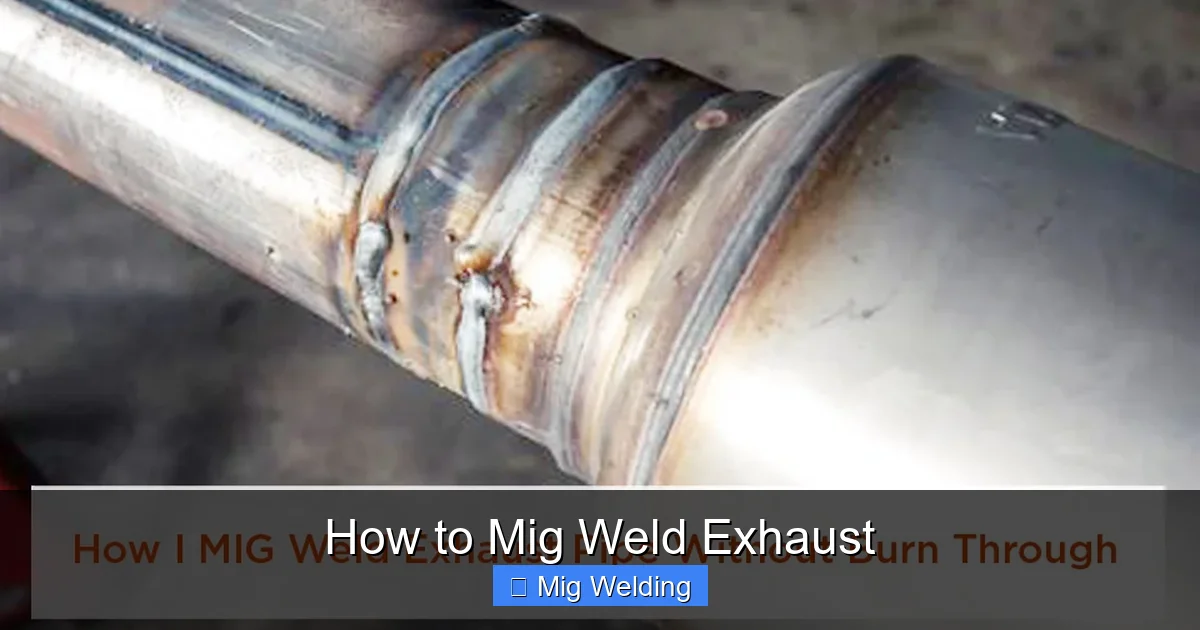
Learning how to MIG weld exhaust is a valuable skill for automotive repairs and customizations. This guide walks you through the necessary tools, safety tips, and detailed steps to achieve strong, clean welds on exhaust systems, whether you’re a beginner or experienced welder.
Key Takeaways
- Preparation is key: Properly clean and fit the exhaust parts before welding for the best results.
- Choose the right equipment: Use a suitable MIG welder, shielding gas, and wire for exhaust welding.
- Safety first: Always wear protective gear and work in a well-ventilated area.
- Set correct parameters: Adjust voltage, wire feed speed, and gas flow based on material thickness.
- Practice good technique: Use steady hand movements and proper torch angle for clean, strong welds.
- Inspect your welds: Check for leaks, cracks, and proper coverage before finishing.
- Troubleshoot common issues: Recognize and fix problems like porosity, weak welds, or warping.
Introduction
If you’re interested in repairing or customizing your exhaust system, learning how to MIG weld exhaust pipes is a great skill to have. MIG welding (Metal Inert Gas welding) is popular because it’s fast, clean, and relatively easy to learn. Whether you’re fixing a leak, attaching new sections, or creating a custom exhaust, this guide will walk you through the entire process step-by-step.
In this tutorial, you’ll learn about the necessary tools, safety precautions, preparation tips, and welding techniques to produce durable, professional-quality welds on exhaust pipes. Let’s get started!
Understanding MIG Welding for Exhausts
MIG welding uses a continuous wire fed through a welding gun, combined with a shielding gas, to melt and fuse metal parts. It’s ideal for exhaust systems because it creates clean, strong welds suitable for high-temperature environments. Metal choices often include stainless steel or aluminized steel, common materials in exhaust fabrication.
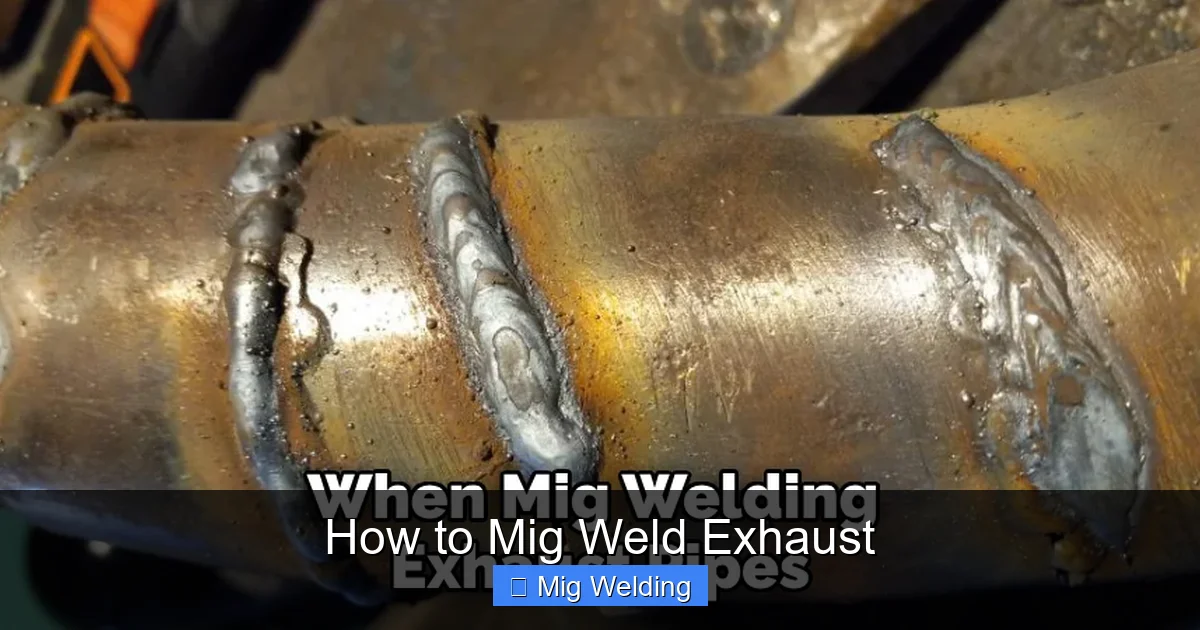
Visual guide about How to Mig Weld Exhaust
Image source: metalfixes.com
Before beginning, ensure you have the right equipment, safety gear, and a clean workspace. Now, let’s dive into each step to make your exhaust welding project a success.
Step 1: Gather Your Tools and Materials
Essential Equipment
- MIG welder: Preferably with adjustable voltage and wire feed controls.
- Shielding gas: Typically 75% argon and 25% CO2 for stainless steel or mild steel.
- Welding wire: ER70S-6 for mild steel or ER308L for stainless steel.
- Protective gear: Welding helmet, gloves, flame-resistant apron, and safety glasses.
- Clamps and supports: To hold exhaust parts steady during welding.
- Wire brushes and grinders: For cleaning surfaces before welding.
- Measuring tools: Tape measure, marker, and calipers for precise cuts and fits.
Step 2: Prepare Your Workspace and Materials
Safety First
Ensure your workspace is well-ventilated to avoid inhaling harmful fumes. Remove any flammable materials, and set up a welding cart or sturdy workbench. Always wear your safety gear before starting.
Visual guide about How to Mig Weld Exhaust
Image source: weldingpros.net
Visual guide about How to Mig Weld Exhaust
Image source: beginnerweldingguide.com
Preparing the Exhaust Parts
- Clean the surfaces: Use wire brushes or grinders to remove rust, paint, oil, or dirt from the areas to be welded.
- Fit the pieces: Position the exhaust pipe sections together, ensuring a tight fit. Use clamps to hold parts securely.
- Check alignment: Make sure the parts are aligned properly to prevent weak welds or leaks.
Step 3: Set Up Your MIG Welder
Adjust Voltage and Wire Feed
- Set the voltage according to the thickness of your exhaust pipes. For most exhaust welding, 14-18 volts works well.
- Adjust wire feed speed to ensure a steady, smooth weld. Typically, 150-200 inches per minute (ipm).
Connect Shielding Gas
- Attach the gas regulator to your gas cylinder and connect it to your MIG welder.
- Set the gas flow rate to about 20-25 cubic feet per hour (CFH).
Step 4: Practice and Test
Before welding your exhaust, practice on scrap metal. Make a few test welds to ensure your settings produce clean, consistent beads. Adjust as needed.
Step 5: Welding the Exhaust
Starting the Weld
- Put on your safety gear.
- Position the exhaust pipe securely using clamps.
- Hold the MIG gun at about a 10-15 degree angle, pointing into the joint.
- Press the trigger to start the wire feed and create a small puddle.
Making the Weld
- Maintain a steady hand and keep the gun moving smoothly along the joint.
- Keep the welding arc length about the same as the diameter of the wire—usually 1/4 inch.
- Use a weaving or circular motion if needed to fill gaps evenly.
- Pour the weld bead evenly along the joint, avoiding excessive heat or buildup.
Tips for a Strong Weld
- Maintain consistent travel speed for uniform welds.
- Keep the gun tip close but not touching the metal.
- Use short, controlled welds to prevent warping or burn-through.
Step 6: Finishing Your Weld
- Allow the weld to cool naturally.
- Use a wire brush or grinder to clean slag or spatter from the weld bead.
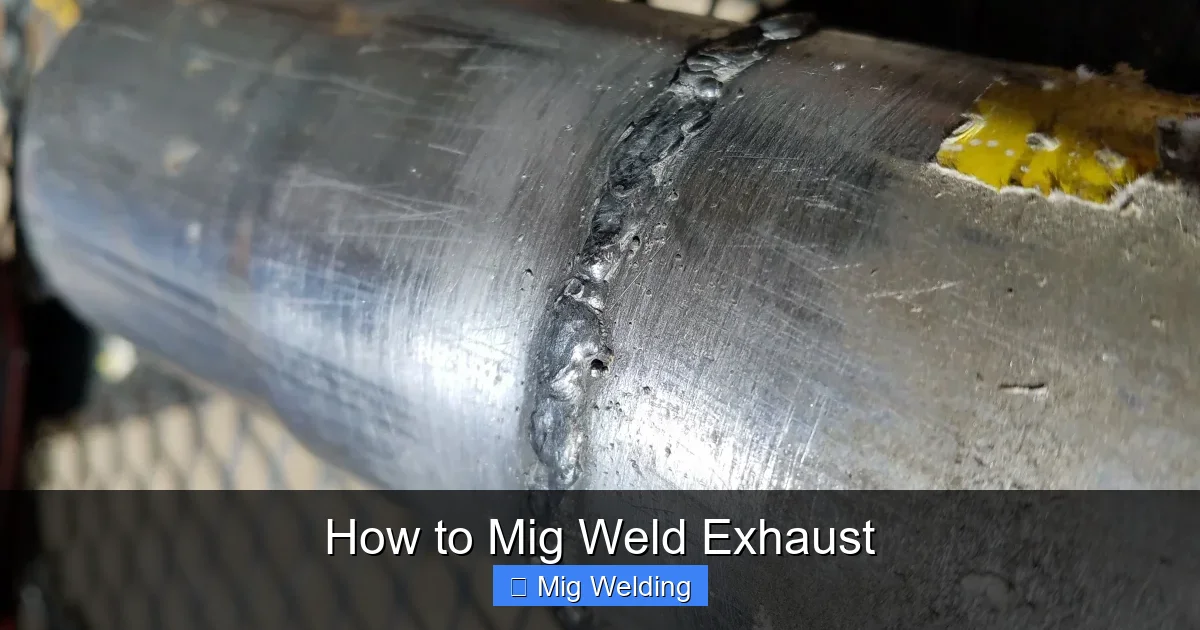
- Inspect the weld for gaps, cracks, or porosity.
- If necessary, make additional passes to fill gaps or improve strength.
Step 7: Testing and Final Inspection
- Check for leaks by spraying soapy water on the weld area; bubbles indicate leaks.
- Listen for hissing sounds if the exhaust is pressurized.
- Conduct a visual inspection for cracks, weak spots, or warping.
Troubleshooting Common Issues
- Porosity or holes: Usually caused by contaminated surfaces or incorrect shielding gas flow. Clean thoroughly and check gas supply.
- Weak welds: May result from insufficient heat or poor settings. Increase voltage or wire feed slightly.
- Warping or burn-through: Use lower heat settings, shorter welds, and proper cooling techniques.
Conclusion
Mastering how to MIG weld exhaust pipes opens up many DIY possibilities for your vehicle. With proper preparation, safety, and technique, you can produce durable, professional-looking welds. Practice makes perfect, so don’t be discouraged if your first few attempts aren’t flawless. Keep practicing, follow safety protocols, and you’ll soon be welding like a pro!
Additional Tips for Success
- Always double-check your settings before starting.
- Work in a clean, well-ventilated area.
- Take your time—rushing can lead to mistakes or weak welds.
- Consider watching tutorial videos for visual guidance.
