

TIG welding stainless exhausts offers a precise and clean weld that ensures durability and performance. With proper technique and equipment, you can achieve professional-quality results even as a DIY enthusiast. Whether you’re customizing your exhaust or repairing a leak, mastering TIG welding is essential for a high-quality finish. This guide covers everything you need to know to get started, from equipment to technique tips.
Key Takeaways
- Proper Equipment: Use a high-quality TIG welder, suitable tungsten, and compatible shielding gas for stainless steel.
- Preparation: Clean and prep the stainless steel thoroughly to ensure strong, clean welds.
- Technique: Maintain a steady hand, proper torch angle, and consistent travel speed for optimal results.
- Heat Control: Manage heat input carefully to prevent warping or burn-through, especially on thin sections.
- Safety: Always wear appropriate PPE and work in a well-ventilated area to handle fumes and UV radiation safely.
- Practice: Practice on scrap pieces to perfect your technique before working on your exhaust system.
Quick Answers to Common Questions
Question 1?
What is the best type of tungsten electrode for welding stainless steel exhausts?
Lanthanated or ceriated tungsten electrodes are ideal for stainless steel because they provide stable arcs and last longer than thoriated electrodes, which are less safe.
Question 2?
How do I prevent warping when TIG welding stainless exhaust pipes?
Use lower heat settings, maintain steady travel speed, clamp pipes securely, and avoid overheating specific areas to minimize warping.
Question 3?
What shielding gas should I use for stainless steel TIG welding?
Pure argon or a mix of argon with a small percentage of helium provides good cleaning and heat transfer, resulting in better weld quality.
Question 4?
How can I improve the appearance of my stainless exhaust welds?
Ensure proper cleaning, good fit-up, steady hand movement, and controlled heat input. Practice on scrap to refine your technique.
Question 5?
What safety precautions should I take when TIG welding stainless steel?
Always wear PPE, work in a ventilated area, ensure proper grounding, and protect your eyes and skin from UV radiation and fumes.
📑 Table of Contents
Introduction to TIG Welding Stainless Exhaust
If you’re into automotive customization or repair, you know that a good exhaust system is key to performance and sound. When it comes to installing or repairing stainless steel exhausts, TIG welding (Tungsten Inert Gas welding) is often the best choice. Unlike other welding methods, TIG welding provides clean, precise, and strong welds, making it ideal for stainless steel pipes and manifolds.
Whether you’re a hobbyist or a professional, mastering TIG welding for stainless exhausts can seem daunting at first. But with the right equipment, techniques, and safety practices, you can produce professional-quality welds that last. In this guide, we’ll walk through everything you need to know to get started with TIG welding stainless exhausts, from choosing gear to perfecting your welding technique.
Understanding TIG Welding for Stainless Steel
What is TIG Welding?
TIG welding is a versatile welding process that uses a non-consumable tungsten electrode to produce the weld. It employs a shielding gas—usually argon—to protect the weld area from contamination. This process allows for precise control, making it perfect for thin materials like exhaust pipes.
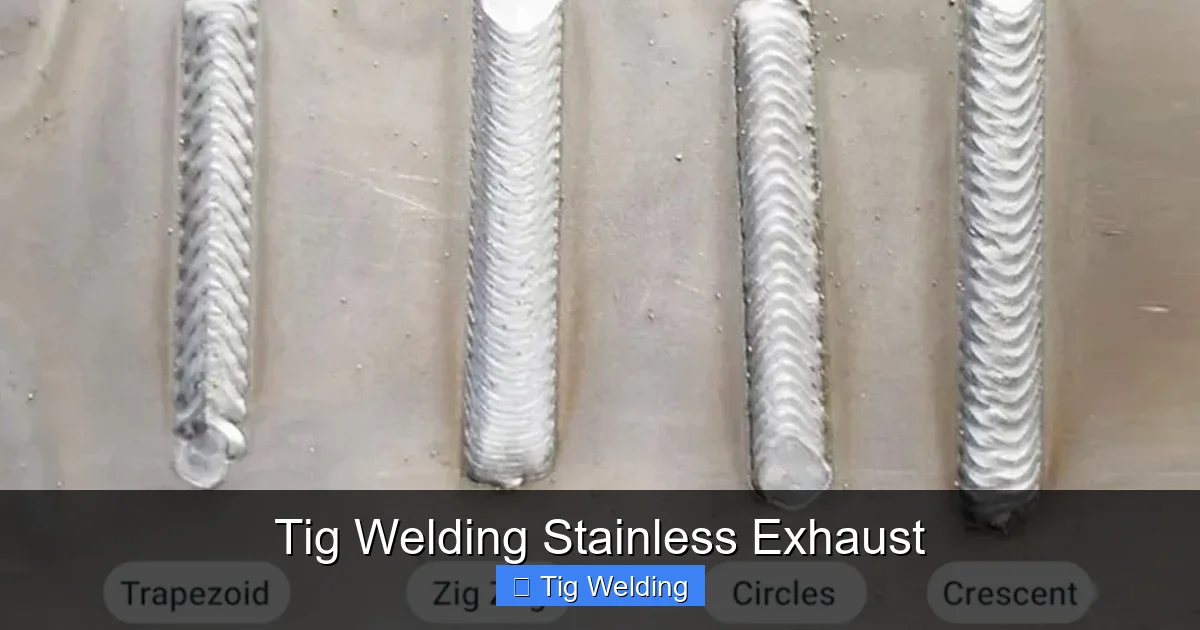
Visual guide about Tig Welding Stainless Exhaust
Image source: weldingproperty.com
Why Use TIG for Stainless Exhausts?
- Clean Finish: TIG welds are smooth and aesthetically pleasing, which is important for visible exhaust components.
- Strong and Durable: Properly welded stainless steel can withstand heat, corrosion, and vibrations.
- Less Distortion: With heat control, TIG minimizes warping, especially on thin-walled pipes.
- Versatility: TIG can weld different stainless steel alloys, ideal for custom exhaust setups.
Essential Equipment and Materials
Welding Machine
Choose a high-frequency TIG welder capable of AC/DC output. For stainless steel exhausts, an AC/DC TIG welder provides better cleaning and penetration. Look for models with adjustable settings for amperage, pulse, and frequency.
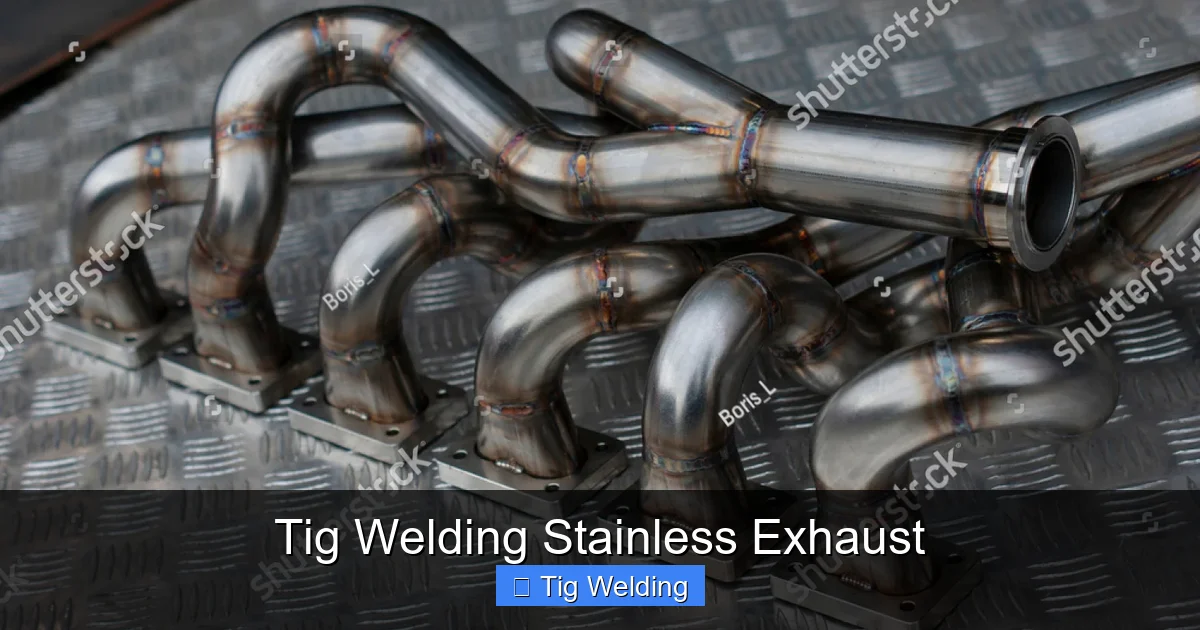
Visual guide about Tig Welding Stainless Exhaust
Image source: shutterstock.com
Welding Tungsten Electrodes
- Types: 2% thoriated, lanthanated, or ceriated tungsten electrodes are common. For stainless, lanthanated or ceriated tend to be safer and last longer.
- Size: 1/16″ or 3/32″ diameter is typical for exhaust pipe welding.
Shielding Gas
Pure argon or argon mixed with small amounts of helium provides good heat and cleaning properties. Use a flow rate of 15-20 CFH (cubic feet per hour).
Filler Rods
- Material: 304 or 308 stainless steel filler rods match most exhaust pipes.
- Diameter: 1/16″ or 3/32″ rods are common for exhaust fabrication.
Additional Tools
- Protective gear: welding helmet, gloves, apron
- Clamps and fixtures to hold pipes securely
- Wire brushes and grinders for cleaning
Preparing Stainless Steel Exhaust Components
Cleaning and Surface Preparation
Proper preparation is vital for quality welds. Clean the stainless steel thoroughly to remove oil, dirt, and oxidation. Use a stainless steel brush or grinder to clean the area just before welding. Avoid using carbon steel tools on stainless steel to prevent contamination.
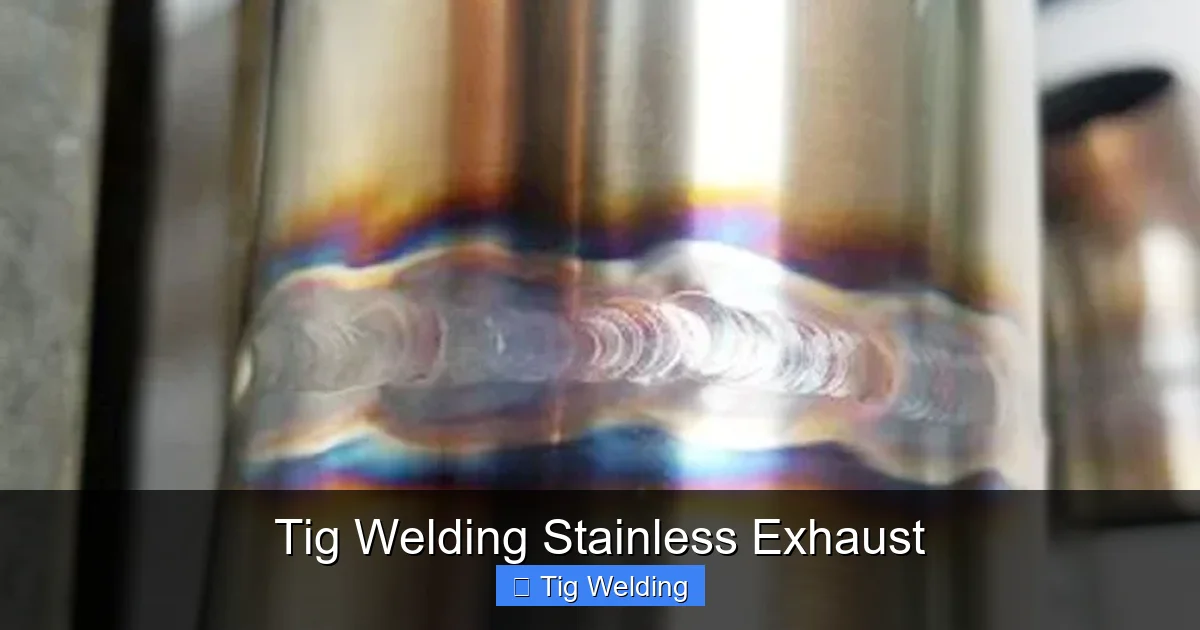
Visual guide about Tig Welding Stainless Exhaust
Image source: weldingproperty.com
Fit-Up and Clamping
Ensure tight, gap-free fit-up of the pipes. Use clamps or fixtures to hold the pipes in position. Proper fit-up minimizes gaps, reducing the need for excessive heat or filler material.
Practice on Scrap
Before welding your actual exhaust, practice on scrap pieces. This helps you dial in your settings and develop a steady hand.
Executing the TIG Weld on Stainless Exhausts
Setting Up the Machine
- Set the amperage according to the material thickness. Thin pipes (~16 gauge) may require 50-70 amps, while thicker pipes need more.
- Adjust the frequency and balance for cleaning and penetration. Higher frequency gives a concentrated arc, while the balance controls cleaning action versus penetration.
Welding Technique
- Start with a Clean Surface: Tackle one joint at a time, ensuring cleanliness.
- Maintain Proper Torch Angle: Keep the torch at approximately 15-20° from vertical, pointing into the weld joint.
- Control Travel Speed: Move steadily to avoid overheating or cold welds. Too slow can cause burn-through, too fast may result in poor fusion.
- Use Filler Rods Properly: Feed filler smoothly into the weld pool, maintaining a consistent bead.
Common Challenges and Solutions
- Porosity: Ensure shielding gas coverage is complete and free of drafts.
- Cracks or Incomplete Fusion: Adjust heat and travel speed; ensure proper fit-up.
- Warping: Use proper heat control and clamp pipes securely.
Finishing and Quality Checks
Cleaning the Weld
After welding, clean the weld area with a stainless steel wire brush or grinder to remove oxidation and ensure a shiny, clean finish.
Inspecting the Weld
- Check for uniformity, smoothness, and absence of porosity or cracks.
- Use a magnifying glass if necessary for close inspection.
Performing a Leak Test
Use soapy water or a leak detector spray around the welds to identify any leaks. Fix leaks immediately by re-welding if needed.
Safety Tips and Best Practices
- Wear PPE: Always use a welding helmet, gloves, and protective clothing.
- Ventilation: Work in a well-ventilated area to avoid toxic fumes.
- UV Protection: Shield your eyes and skin from UV radiation emitted during welding.
- Electrical Safety: Ensure proper grounding and avoid working in wet conditions.
Conclusion
TIG welding stainless exhausts can seem challenging at first, but with the right tools, preparation, and technique, you can achieve professional results. The key lies in clean surfaces, steady hands, and proper heat control. Whether you’re customizing your car or repairing an exhaust leak, mastering TIG welding helps you create durable, visually appealing welds that last under harsh conditions.
Remember, practice makes perfect. Take your time, stay safe, and don’t be afraid to experiment on scrap pieces before working on your actual exhaust system. With patience and dedication, you’ll be welding stainless steel exhausts like a pro in no time!
Frequently Asked Questions
What is TIG welding, and why is it suitable for stainless exhausts?
TIG welding uses a non-consumable tungsten electrode and shielding gas to produce precise, clean welds. It’s suitable for stainless exhausts because it provides strong, visually appealing joints with minimal distortion.
Can I weld stainless steel exhaust pipes with a beginner TIG welder?
Yes, but it requires practice. Starting with a quality TIG welder that offers adjustable settings will help you learn and improve your weld quality over time.
How do I clean stainless steel before welding?
Use a stainless steel wire brush or grinder to remove oil, dirt, and oxidation. Clean the area just before welding to prevent contamination and ensure good weld quality.
What are common issues during TIG welding stainless exhausts?
Common problems include porosity, cracks, warping, and incomplete fusion. These are usually caused by improper preparation, contamination, or incorrect settings.
How long does a stainless steel exhaust weld typically last?
With proper technique and quality materials, TIG welds on stainless steel exhausts can last for years, resisting corrosion, heat, and vibrations.
Is it necessary to post-weld treat stainless steel exhausts?
Generally, no. However, cleaning the weld area and inspecting for defects is recommended. In some cases, passivation may be used to restore corrosion resistance.