

TIG welding vertical is a key skill for welders aiming for precise, strong welds on vertical surfaces. This guide covers essential techniques, equipment tips, and safety advice to help you master vertical TIG welding for professional results.
Key Takeaways
- Proper torch angle: Maintain a consistent angle to control heat and weld quality.
- Optimal filler addition: Add filler metal gradually to prevent sagging and ensure weld strength.
- Adjusting welding parameters: Use the right amperage and shielding gas flow for vertical positions.
- Pre-weld preparation: Clean and secure your workpiece for smooth welding.
- Technique mastery: Use a steady hand and controlled motion for consistent vertical welds.
- Safety always: Wear appropriate PPE and ensure proper ventilation during welding.
Quick Answers to Common Questions
Question 1?
What is the main challenge of vertical TIG welding?
The main challenge is controlling the molten metal against gravity to prevent sagging or dripping, requiring precise technique and settings.
Question 2?
What welding position is most common for vertical TIG welding?
The most common are uphill (bottom to top) and downhill (top to bottom), depending on the project and desired weld quality.
Question 3?
What equipment adjustments are important for vertical welding?
Lower amperage settings, proper torch angle, and adequate shielding gas flow are essential for good vertical TIG welds.
Question 4?
How can I prevent porosity in my vertical TIG welds?
Ensure thorough cleaning of the workpiece, proper shielding gas coverage, and avoidance of contaminants like oil and rust.
Question 5?
Is uphill or downhill welding better for vertical TIG welding?
Both have their uses; uphill welding is better for deep penetration and strong welds, while downhill is faster but requires more control to prevent defects.
📑 Table of Contents
Introduction to TIG Welding Vertical
Welding vertically with TIG (Tungsten Inert Gas) is both an art and a science. It requires skill, patience, and a good understanding of the process to produce clean, strong welds on vertical surfaces. Whether you’re working on automotive parts, structural components, or artistic projects, mastering vertical TIG welding can elevate your craftsmanship.
Many beginners find vertical TIG welding challenging because of gravity and heat control. But with practice and proper technique, you can overcome these hurdles. In this guide, we’ll explore everything you need to know to confidently weld vertically using TIG methods, ensuring professional results every time.
Understanding Vertical TIG Welding
What is Vertical TIG Welding?
Vertical TIG welding involves performing the weld on a vertical surface—either ascending (uphill) or descending (downhill). Unlike flat or horizontal welding, vertical welding demands careful control of heat input, filler metal addition, and torch positioning to prevent issues like sagging, burn-through, or cold welds.
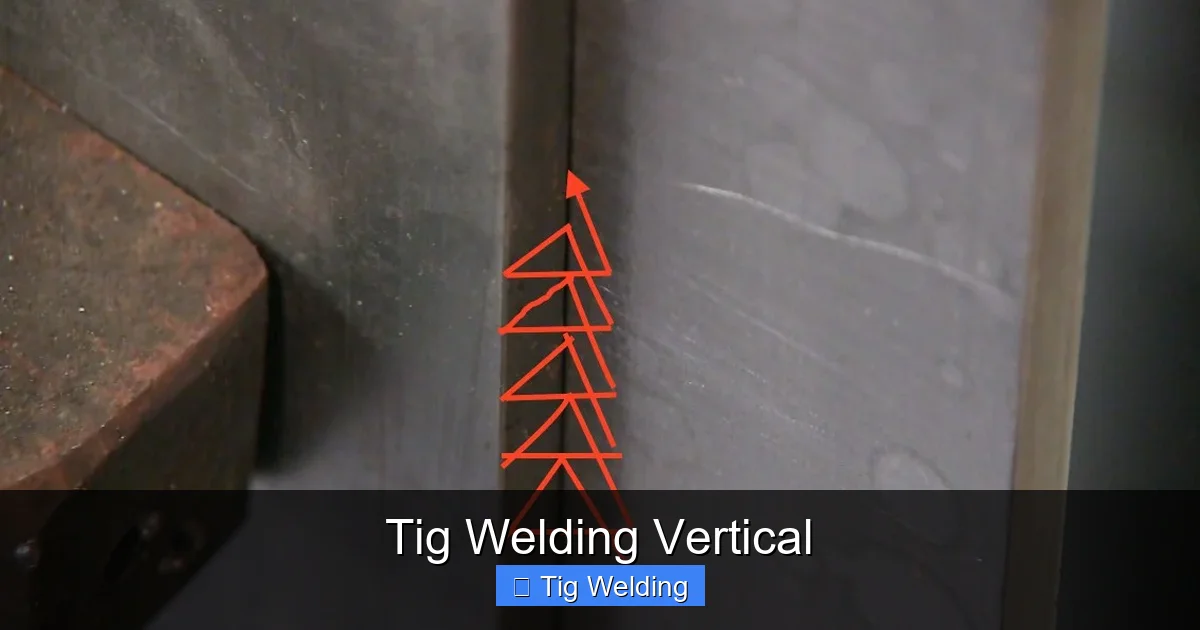
Visual guide about Tig Welding Vertical
Image source: weldingtipsandtricks.com
The goal is to create a consistent, strong weld bead that adheres well despite gravity pulling molten metal downward. This requires a specific technique and adjustments to your welding settings.
Equipment and Settings for Vertical TIG Welding
Choosing the Right Equipment
- TIG Welder: Use a welder capable of precise amperage control, preferably with AC/DC options depending on material.
- Filler Rod: Select a filler metal compatible with your base metal, typically 100% tungsten electrodes for stability.
- Shielding Gas: Pure argon or a mix (like 90% argon/10% CO2) ensures clean welds and good arc stability.
- Comfortable Torch and Gloves: A comfortable, well-balanced torch and good gloves improve control during vertical welding.
Setting Parameters
Adjust your welder settings based on the metal thickness and position. Typical parameters for vertical welding include:
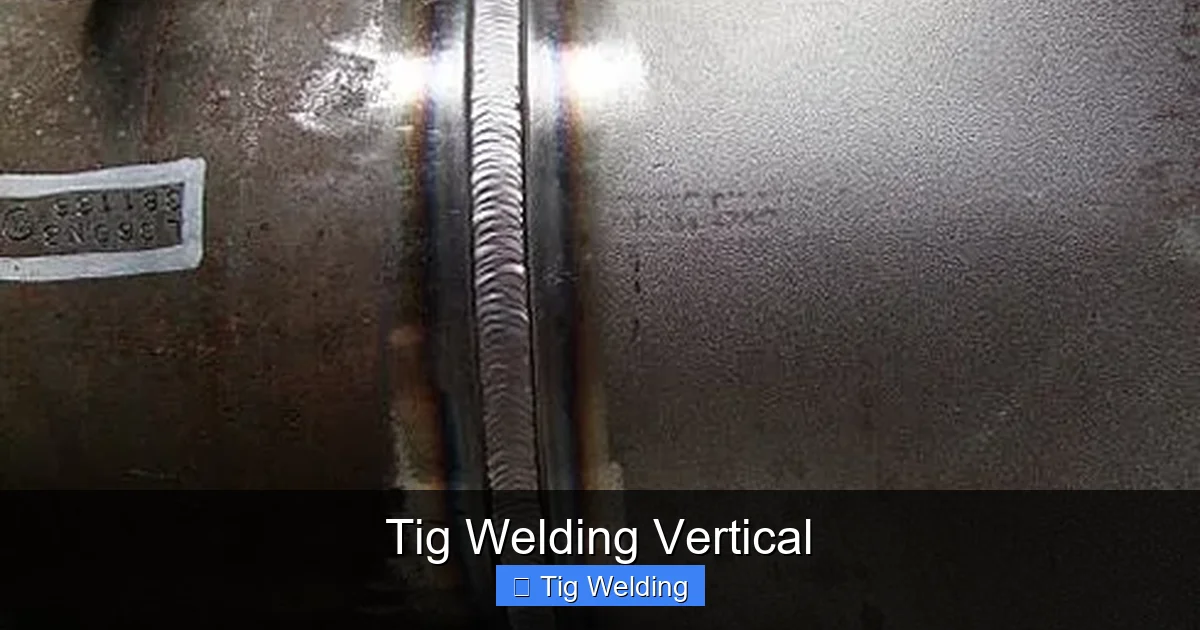
Visual guide about Tig Welding Vertical
Image source: 4.bp.blogspot.com
- Amperage: Use a lower amperage than flat welding to prevent excessive heat buildup (generally 15-30% lower).
- Flow Rate: Keep shielding gas flow at around 15-20 CFH to protect the weld pool.
- Wave Pattern: Use a slight weaving or circular motion for better heat distribution.
Techniques for Successful Vertical TIG Welding
Pre-weld Preparation
Before starting, clean your workpiece thoroughly. Remove rust, oil, and dirt with a wire brush or grinder. Secure the metal firmly to prevent movement during welding. Proper preparation minimizes defects and helps maintain consistent weld quality.
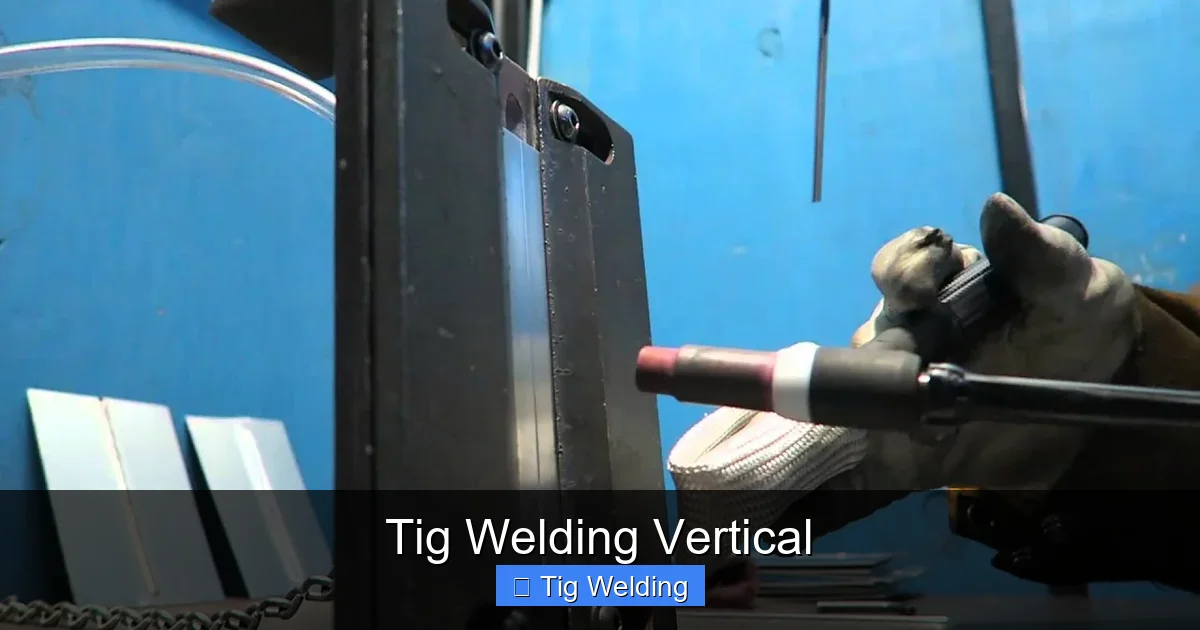
Visual guide about Tig Welding Vertical
Image source: i.ytimg.com
Proper Torch Angle and Distance
Maintain a torch angle of about 15-20 degrees from perpendicular to the workpiece. Keep the electrode close—about 1/8 inch—to ensure stable arc and good heat transfer. The correct angle helps control the molten pool and prevents sagging.
Speed and Filler Metal Addition
Use a steady, controlled speed—neither too fast nor too slow. Add filler metal gradually, maintaining a small, consistent bead. For uphill welding, move slowly to allow heat to penetrate; for downhill, you can increase speed slightly to avoid excessive melting.
Vertical Welding Techniques
- Uphill Welding: Start at the bottom and move upward. This method allows the molten pool to solidify gradually, reducing sagging.
- Downhill Welding: Start at the top and move downward. It’s faster but requires careful control to prevent the weld from melting away or sagging.
Common Challenges and How to Overcome Them
Sagging or Dripping
This often occurs when heat input is too high or the filler addition is too fast. To fix this, reduce amperage, slow down your travel speed, and add filler more gradually.
Porosity or Inclusions
Contaminants like oil or rust cause porosity. Always clean the metal thoroughly and ensure good shielding gas coverage. Using high-quality gas flow and checking for leaks can also help.
Inconsistent Beads
Practice maintaining a consistent torch angle and speed. Using a weaving technique can help distribute heat evenly and produce uniform welds.
Practical Tips for Better Vertical TIG Welding
- Practice on scrap: Before working on your main project, practice on scrap pieces to perfect your technique.
- Use a steady hand: Rest your hand or arm on a stable surface for better control.
- Adjust as needed: Don’t hesitate to tweak your parameters based on weld appearance and behavior.
- Stay relaxed: Tension leads to jerky movements—stay calm to maintain smooth motion.
- Keep your workspace organized: Good lighting and a clean workspace reduce mistakes and improve accuracy.
Conclusion
Mastering TIG welding vertically may seem daunting at first, but with the right techniques and practice, you can achieve professional-quality welds. Focus on proper equipment setup, meticulous preparation, and controlled welding techniques. Remember, patience and consistency are key. Keep practicing, stay safe, and soon vertical TIG welding will become second nature!
Frequently Asked Questions
What is the ideal torch angle for vertical TIG welding?
The ideal torch angle is typically around 15-20 degrees from perpendicular to the workpiece. This angle helps control the molten pool and ensures good heat transfer.
Can I use the same settings for vertical welding as for flat welding?
No, vertical welding usually requires lower amperage and slower travel speeds to manage gravity effects. Adjust your settings accordingly for best results.
How important is cleaning the metal before welding?
Very important. Clean metal ensures better arc stability, reduces porosity, and results in stronger, smoother welds. Always remove rust, oil, and dirt.
What are common mistakes to avoid in vertical TIG welding?
Avoid excessive heat input, rushing filler addition, and poor workpiece preparation. Consistent technique and patience lead to better welds.
How can I improve my vertical TIG welding technique?
Practice regularly, maintain steady hand movements, adjust settings as needed, and work on controlling heat and filler addition for cleaner, stronger welds.
Is safety equipment necessary for vertical TIG welding?
Absolutely. Always wear appropriate PPE, including a welding helmet, gloves, protective clothing, and ensure proper ventilation to stay safe from fumes and UV exposure.