

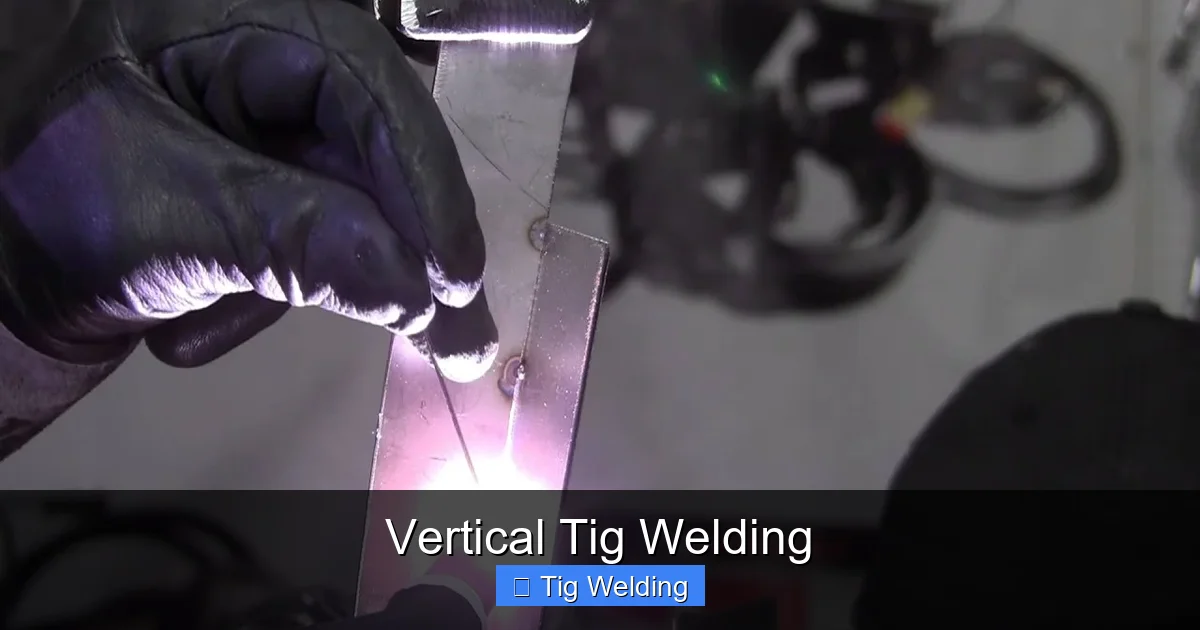
Vertical TIG welding can be challenging but incredibly rewarding. This guide breaks down the process, from preparation and setup to specific welding techniques for both uphill and downhill vertical welds. Learn how to achieve consistent bead appearance and strong structural integrity, even on difficult joints. With practical tips and troubleshooting advice, you’ll gain the confidence to tackle any vertical TIG welding project.
Key Takeaways
- Understanding Gravity’s Role: Vertical welding requires special considerations because gravity constantly pulls molten metal downwards, affecting bead formation and penetration.
- Uphill vs. Downhill: Uphill vertical TIG welding offers better penetration and is suitable for structural applications, while downhill welding is faster but less penetrative.
- Electrode Angle is Crucial: Maintaining the correct electrode angle is vital for controlling the weld puddle and preventing excessive heat buildup or lack of fusion.
- Filler Rod Manipulation: Proper filler rod dipping and manipulation are essential for adding material consistently and building the weld bead correctly, especially in vertical welding.
- Puddle Control is Key: Learning to read and control the weld puddle is paramount. This involves adjusting arc length, amperage, and travel speed to manage the molten metal effectively.
- Practice Makes Perfect: Vertical TIG welding demands a lot of practice. Consistent repetition of specific movements and techniques will lead to mastery.
Vertical TIG Welding
Vertical TIG welding might seem intimidating at first. Gravity is always working against you, pulling that molten puddle down. But with the right knowledge and a bit of practice, you can master this essential welding position. This guide will walk you through everything you need to know to achieve strong, beautiful vertical welds using the TIG process.
We’ll cover the fundamental principles of vertical TIG welding, differentiate between uphill and downhill techniques, and provide step-by-step instructions to help you succeed. You’ll learn about the importance of proper setup, electrode manipulation, filler rod control, and how to read your weld puddle. By the end of this guide, you’ll be well-equipped to tackle vertical TIG welding jobs with confidence.
Understanding the Challenges of Vertical Welding
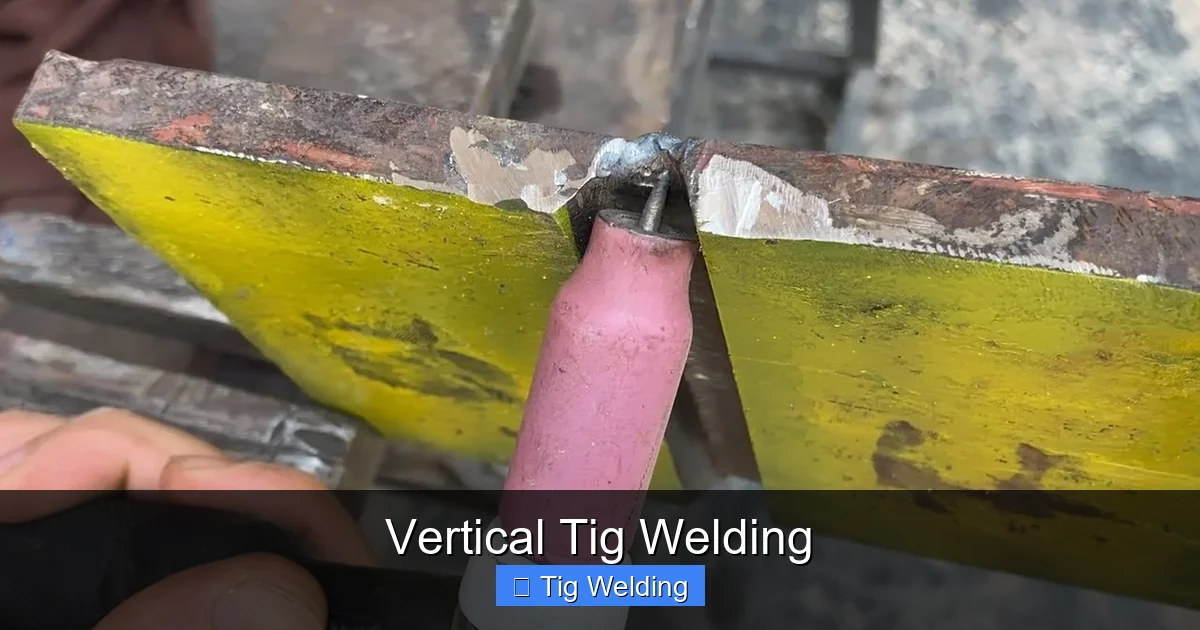
Before diving into techniques, it’s important to understand why vertical welding is different. In horizontal or flat positions, gravity is less of a factor. In vertical welding, however, gravity consistently tries to pull the molten metal away from the joint. This can lead to:
Visual guide about Vertical Tig Welding
Image source: i.ytimg.com
- Poor penetration: If the heat isn’t directed correctly, the weld may not fuse properly with the base metal.
- Excessive buildup: The molten metal can sag or drip, creating a convex bead that might lack strength.
- Lack of fusion: The molten metal might not wet out properly on the sides of the joint, leaving areas unfused.
Overcoming these challenges requires precise control over your arc, heat input, and filler metal addition.
Choosing Your Vertical Welding Direction: Uphill vs. Downhill
There are two primary directions for vertical welding: uphill and downhill. Each has its advantages and applications.
Visual guide about Vertical Tig Welding
Image source: i.ytimg.com
Vertical Up (Uphill Welding)
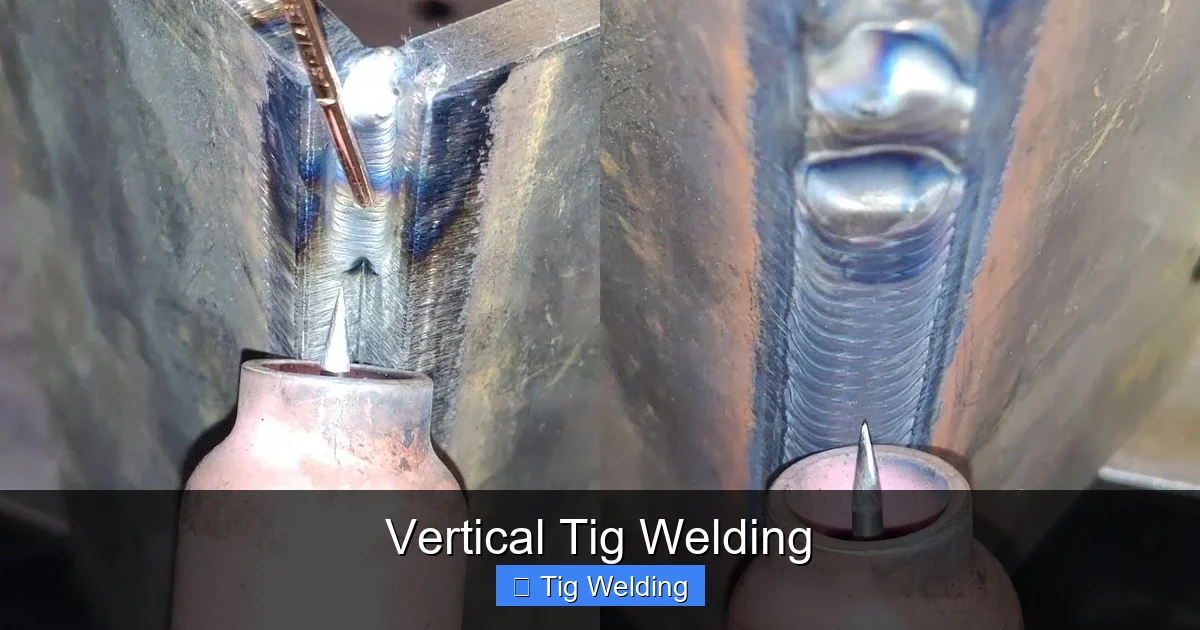
In vertical up welding, you move your torch and filler rod upwards along the joint. This is generally the preferred method for structural welds.
- Advantages: Better penetration, stronger welds, more control over the weld puddle, less chance of slag inclusions (in processes that produce slag).
- Disadvantages: Slower travel speed, requires more skill to prevent the puddle from running out.
Think of it like building a wall brick by brick, always working your way up. You’re carefully adding material and ensuring each layer fuses properly before moving to the next.
Vertical Down (Downhill Welding)
In vertical down welding, you move your torch and filler rod downwards along the joint. This is typically faster but less penetrative.
- Advantages: Faster travel speed, less heat input required.
- Disadvantages: Less penetration, risk of lack of fusion, more difficult to control the puddle, can create a convex bead.
This method is often used for thinner materials or situations where speed is prioritized over deep penetration, such as joining pipes where a strong root pass has already been made.
Preparation and Setup for Vertical TIG Welding
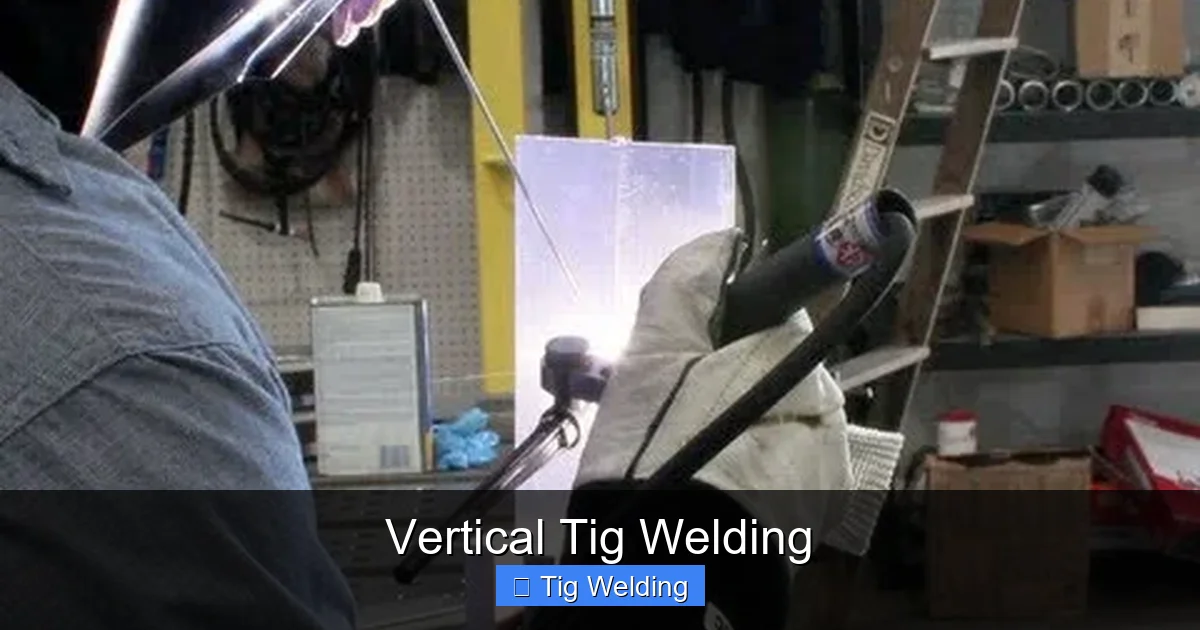
Proper preparation is crucial for any welding, but especially for vertical TIG welding.
Visual guide about Vertical Tig Welding
Image source: i.ytimg.com
Joint Preparation
- Ensure your joint is clean and free of any contaminants like rust, paint, oil, or dirt. This is critical for TIG welding, as it doesn’t have flux to burn off impurities.
- For thicker materials, you’ll likely need a beveled joint. The bevel angle will depend on the material thickness and the desired weld profile.
- Ensure a tight fit-up. Gaps can make vertical welding much more difficult.
TIG Welder Settings
- Amperage: This is one of the most critical settings. For vertical up, you’ll often start with a slightly higher amperage and then reduce it as you move up to prevent overheating and sagging. For vertical down, you might use a slightly lower amperage. Practice on scrap material to find the sweet spot.
- Tungsten Electrode: Use a sharp tungsten electrode. A pointed tungsten provides a focused arc, which is essential for controlling the puddle. The type of tungsten (e.g., 2% ceriated, pure) and its grind will affect arc stability.
- Shielding Gas: Pure Argon is the standard for most TIG welding, including vertical. Ensure your gas flow is adequate to provide good shielding but not so high that it creates turbulence. Around 15-20 CFH is common.
- Filler Rod: Choose a filler rod that matches your base metal. The diameter of the filler rod should be appropriate for the joint thickness and amperage.
Step-by-Step: Vertical Up TIG Welding
Vertical up is the most common and generally preferred method for strong vertical welds.
Step 1: Electrode Angle and Position
This is where gravity makes things tricky. You want to direct the heat slightly upwards into the joint.
- Torch Angle: Hold the torch at a slight backward angle, typically 10-15 degrees, relative to the direction of travel. This helps push the molten puddle into the joint.
- Tungsten-to-Work Distance: Maintain a consistent, short arc length. A shorter arc provides better control and concentrates the heat.
Step 2: Starting the Weld
Initiate the arc on the base metal just below the joint’s edge.
- If using high frequency (HF) start, bring the tungsten close to the metal and trigger the arc.
- If using scratch start, briefly scratch the tungsten on the metal to establish the arc.
- As soon as the arc is established, quickly introduce the filler rod into the leading edge of the puddle.
Step 3: Filler Rod Manipulation and Puddle Control
This is the core of successful vertical up TIG welding.
- Dipping Technique: Dip the filler rod into the leading edge of the weld puddle. You want to melt the tip of the filler rod and feed it into the puddle smoothly.
- “Stair-Stepping” or “Weaving”: For vertical up, you often employ a technique that resembles “stair-stepping” or a slight “J” or “C” weave.
- Weave Motion: Move the torch in a small, semi-circular or triangular motion. Briefly pause at each side of the joint to allow the molten metal to wet out properly.
- Puddle Management: As you move upwards, you are essentially building the weld bead in layers. You want to create a small, controlled puddle. If the puddle starts to sag, pause your travel or momentarily move the torch slightly downwards to let it cool and solidify before continuing upwards.
- Filler Rod Addition: As you pause on the sides of the joint with your weave, dip the filler rod to add material. The key is to coordinate dipping the filler rod with your torch movement.
Step 4: Travel Speed
Maintain a consistent travel speed. Too fast, and you won’t get enough penetration or fill. Too slow, and you’ll overheat the metal, leading to sagging and potential burn-through.
The ideal speed will create a bead that’s about 1.5 times as wide as the tungsten diameter, with a slight crown. You’re looking for a steady movement upwards.
Step 5: Finishing the Weld
As you reach the top of the joint, avoid a sudden stop. You might need to extend the arc slightly and add a bit more filler material to create a smooth tie-in.
Step-by-Step: Vertical Down TIG Welding
Vertical down is faster but requires different considerations.
Step 1: Electrode Angle and Position
- Torch Angle: Hold the torch at a slight forward angle, typically 5-10 degrees, pointing in the direction of travel. This helps push the arc slightly ahead of the puddle.
- Tungsten-to-Work Distance: A slightly longer arc length than vertical up might be used to spread the heat, but maintaining control is still key.
Step 2: Starting the Weld
Similar to vertical up, establish the arc on the base metal just above where you want to start. Quickly introduce the filler rod into the leading edge of the puddle.
Step 3: Filler Rod Manipulation and Puddle Control
The goal here is to melt the filler rod and let gravity assist in filling the joint.
- Dipping: Dip the filler rod into the leading edge of the puddle.
- “Jitterbug” or Quick Dips: You’ll often use a faster dipping motion with the filler rod. The torch might also have a slight “jittering” or quick side-to-side motion to help wet out the edges of the puddle.
- Puddle Management: Control is still crucial. You’re working against gravity pulling the puddle down. The forward torch angle helps push the puddle. You need to move quickly enough so the puddle doesn’t sag excessively.
Step 4: Travel Speed
Vertical down is significantly faster than vertical up. You’re looking for a continuous, rapid movement downwards.
The bead will naturally be flatter and wider than a vertical up weld.
Step 5: Finishing the Weld
As you reach the bottom, ensure a good tie-in. You might need to briefly pause or widen your torch motion to avoid creating a notch or undercut at the end.
Practical Tips for Vertical TIG Welding Success
Here are some extra tips to help you excel at vertical TIG welding:
- Practice on Scrap: Before tackling your actual project, practice on identical material and joint configurations. Use scrap pieces to dial in your settings and get a feel for the techniques.
- Maintain Consistent Hand Movements: Smooth, consistent movements of both your torch hand and filler rod hand are essential. Try to avoid jerky motions.
- Listen to Your Welder: Pay attention to the sounds your arc makes. A smooth, consistent hum indicates a stable arc.
- Watch the Puddle: This is perhaps the most important skill. Learn to read the shape, color, and movement of the weld puddle. A well-formed puddle is slightly convex and wets out evenly on both sides of the joint.
- Use the Right Electrode for the Job: A sharp, clean tungsten electrode is vital for a focused arc. Re-grind your tungsten as needed.
- Body Position Matters: Get comfortable. A stable body position will translate to steadier torch control. Brace yourself if possible.
- Consider Different Weave Patterns: Experiment with slight variations in your weave pattern (e.g., C-weave, J-weave, slight zig-zag) to see what works best for your specific situation and helps you maintain puddle control.
- For Multi-Pass Welds: When making multiple passes on a thicker joint, ensure each previous pass is clean and free of slag (if applicable). You might also need to adjust your amperage for subsequent passes.
Troubleshooting Common Vertical TIG Welding Issues
Even with practice, you might encounter problems. Here’s how to address them:
Problem: Excessive Sagging or Drips
- Cause: Too much heat, travel speed too slow, electrode angle too vertical.
- Solution: Reduce amperage slightly, increase travel speed, try a more aggressive weave or pause on the sides of the joint for less time, adjust electrode angle to push heat into the joint. For vertical down, ensure you’re moving fast enough.
Problem: Lack of Fusion or Incomplete Penetration
- Cause: Too little heat, travel speed too fast, poor electrode angle, insufficient filler metal.
- Solution: Increase amperage, slow down travel speed, adjust electrode angle to direct heat into the joint, ensure you are dipping enough filler metal and that it is wetting out on the edges. For vertical up, ensure you are pausing on the sides to allow wetting.
Problem: Undercutting
Undercutting is a groove melted into the base metal next to the weld bead. It weakens the joint.
- Cause: Too much heat, travel speed too fast, torch angle too close to the weld bead.
- Solution: Reduce amperage, slow down travel speed slightly, slightly widen your weave or pause motion, adjust torch angle to focus heat on the filler metal and the base metal at the edges.
Problem: Porosity
Porosity is small holes in the weld bead, often caused by contamination or poor shielding gas coverage.
- Cause: Dirty base metal, insufficient shielding gas flow, drafts in the welding area, contaminated filler rod.
- Solution: Ensure thorough cleaning of the base metal, check gas flow and bottle pressure, shield your weld from drafts, use clean filler rods.
Conclusion
Vertical TIG welding is a skill that takes dedication to develop. By understanding the forces at play, choosing the right technique (up or down), preparing your materials diligently, and practicing those key manipulative skills – electrode angle, filler rod dipping, and puddle control – you will improve with every weld.
Remember to start with plenty of practice on scrap, pay close attention to your welder settings, and most importantly, learn to read your weld puddle. With persistence and by applying the principles outlined in this guide, you’ll soon be producing strong, aesthetically pleasing vertical TIG welds.
