

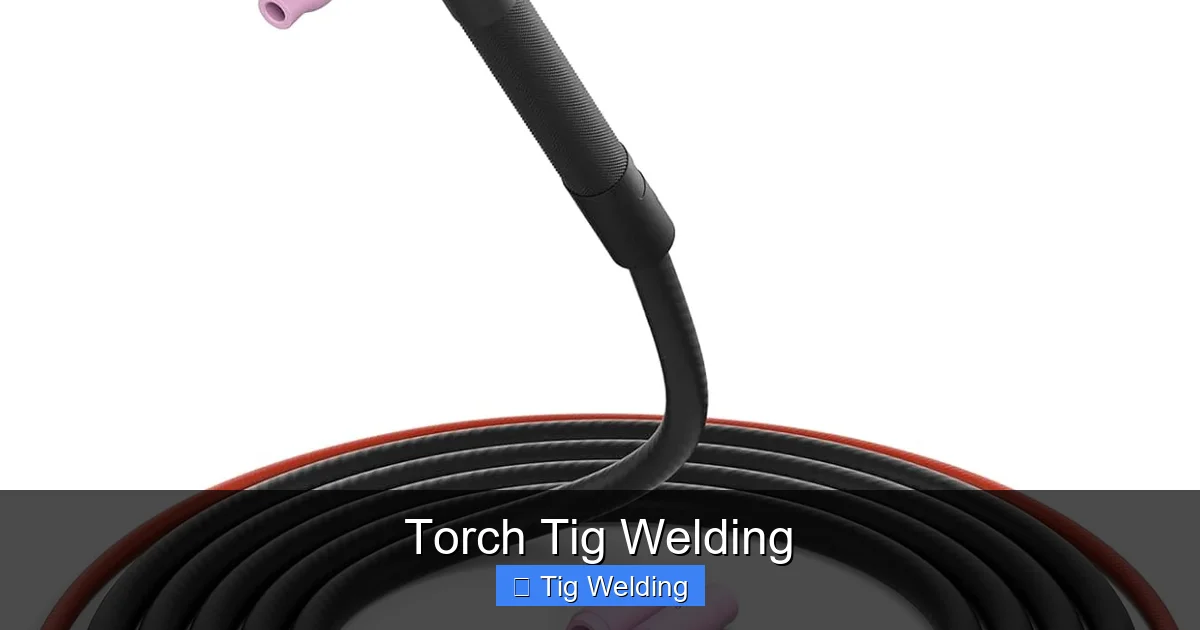
This guide offers a complete introduction to torch TIG welding. You’ll learn essential setup, precise torch manipulation, and filler rod control for achieving clean, strong, and visually appealing welds. Whether you’re a beginner or looking to refine your skills, this guide provides practical steps and tips to excel in TIG welding.
Torch TIG Welding: A Comprehensive How-To Guide
Welcome to the world of torch TIG welding! If you’re looking to create incredibly clean, precise, and strong welds, you’ve come to the right place. TIG welding, also known as Gas Tungsten Arc Welding, is a highly respected welding process favored for its control and the beautiful finish it produces. This guide is designed to take you from understanding the basics to confidently manipulating your TIG torch to achieve professional-level results. We’ll cover everything from setting up your equipment to mastering advanced techniques. Get ready to learn the art of TIG welding!
Key Takeaways
- Understanding TIG Welding Fundamentals: Grasp the core principles of Gas Tungsten Arc Welding (TIG), emphasizing its precision and cleanliness.
- Essential Equipment Setup: Learn how to properly set up your TIG welding machine, including selecting the right tungsten electrode, shielding gas, and amperage.
- Torch Manipulation Techniques: Master the crucial skill of controlling the TIG torch, including arc length, movement, and angle for optimal weld puddles.
- Filler Rod Control: Discover the techniques for feeding filler rod into the weld puddle effectively, ensuring proper fusion and bead appearance.
- Common TIG Welding Positions: Understand how to adapt your technique for different welding positions, such as flat, horizontal, vertical, and overhead.
- Troubleshooting Common Issues: Identify and resolve frequent problems encountered during TIG welding, like porosity, undercut, and lack of fusion.
Understanding the Basics of TIG Welding
Before we dive into torch manipulation, it’s crucial to understand what makes TIG welding unique. TIG welding uses a non-consumable tungsten electrode to create the arc. This arc melts the base metal, and if needed, a separate filler rod is introduced into the molten puddle to build up the weld. The entire process is protected by an inert shielding gas, typically Argon, which prevents atmospheric contamination and ensures a clean, high-quality weld. This makes TIG welding ideal for a wide range of metals, including aluminum, stainless steel, mild steel, and exotic alloys.
Essential Equipment Setup for TIG Welding
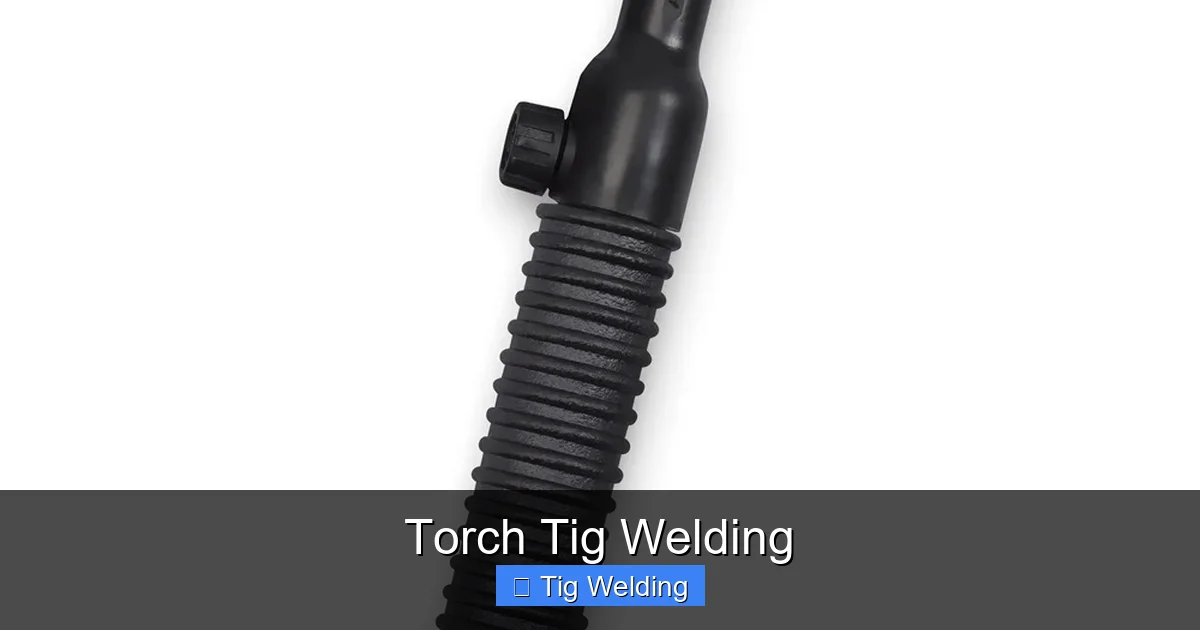
Visual guide about Torch Tig Welding
Image source: millerwelds.com
A properly set up TIG welding machine is the foundation of a successful weld. Let’s break down the key components and settings.
Selecting the Right Tungsten Electrode
The tungsten electrode is the heart of your TIG torch. They come in various types, each with specific benefits.
- Pure Tungsten (Green Band): Primarily used for AC welding of aluminum and magnesium. Less common now due to improved alternatives.
- Thoriated Tungsten (Red Band): A popular choice for DC welding of steel and stainless steel. Offers good arc stability but contains radioactive thorium, so handle with care.
- Ceriated Tungsten (Grey Band): A good all-around choice for both AC and DC welding. It’s non-radioactive and offers excellent arc starting and stability.
- Lanthanated Tungsten (Gold or Blue Band): One of the most versatile and widely used tungsten electrodes. Excellent arc starting, stability, and a long lifespan for both AC and DC welding.
The diameter of the tungsten electrode should be chosen based on the amperage you’ll be using. A general rule of thumb is:
- 1/16″ for 10-50 amps
- 3/32″ for 50-150 amps
- 1/8″ for 150-300 amps
Always ensure the tungsten is properly sharpened to a taper for DC welding and a ball tip for AC welding.
Choosing Your Shielding Gas
For most TIG welding applications, pure Argon is the preferred shielding gas. It’s inert, cost-effective, and provides excellent arc stability and cleaning action, especially for aluminum. For some specialized applications, you might use Argon/Helium mixtures to increase heat input, which can be beneficial for thicker materials.
Setting Your Amperage
The amperage setting on your TIG welder directly controls the heat input. This is critical for achieving proper fusion without burning through your material. The correct amperage depends on:
- The type of metal being welded
- The thickness of the metal
- The type of joint
- Your welding speed
A good starting point for mild steel, for instance, is about 1 amp per thousandth of an inch of thickness. For aluminum, you might need slightly more. Always start with a lower setting and gradually increase it until you achieve a stable arc and a good-looking puddle.
Understanding Your TIG Welder Controls
Modern TIG welders have a variety of controls. Familiarize yourself with:
- Amperage Control: Sets the welding current. Some welders have a dial, while others have a foot pedal or fingertip control for variable amperage.
- Gas Flow Rate: Controls the amount of shielding gas delivered through the torch. Typically set between 10-25 cubic feet per hour (CFH), depending on the gas and application.
- Post-Flow Time: This setting determines how long the shielding gas continues to flow after the arc is extinguished. Crucial for preventing tungsten contamination and oxidation of the weld bead as it cools. Aim for 5-15 seconds.
- AC/DC Balance (for AC welding): This control adjusts the amount of cleaning action versus penetration during AC welding of aluminum.
- Frequency (for AC welding): Higher frequencies can narrow the arc for more focused heat and faster travel speeds.
Mastering Torch Manipulation Techniques
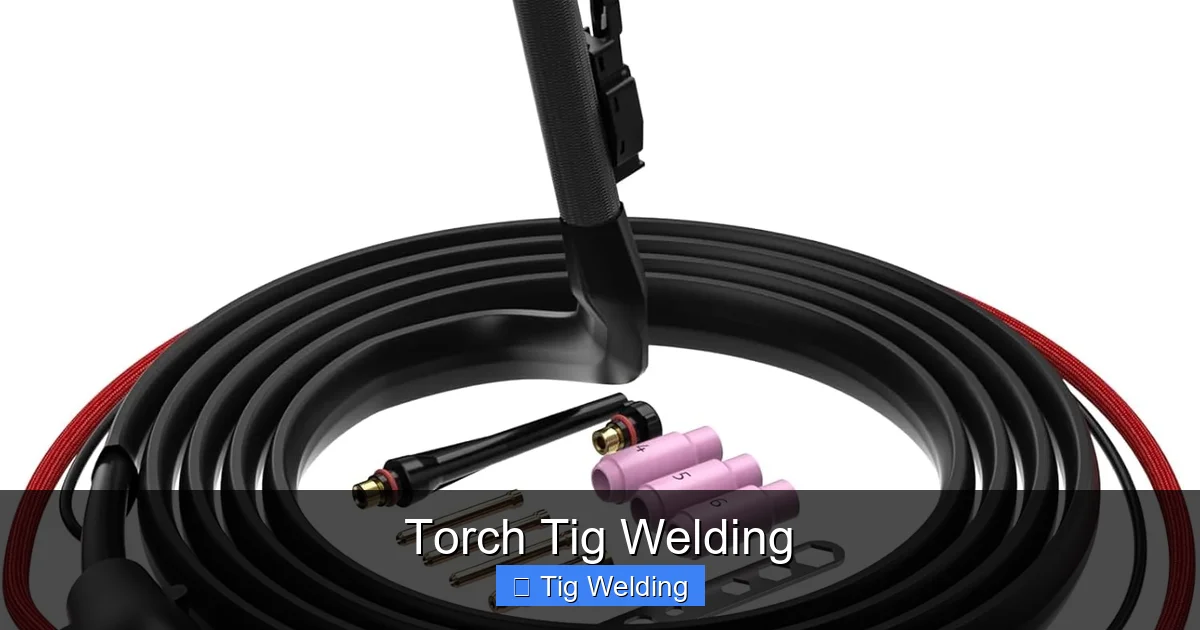
Visual guide about Torch Tig Welding
Image source: m.media-amazon.com
This is where the real art of TIG welding comes into play. Your torch hand is responsible for maintaining a consistent arc, moving at the right speed, and introducing filler metal effectively.
Holding the Torch
There are several ways to hold a TIG torch, and the best grip often depends on the joint configuration and your personal comfort. A common and effective grip is a pencil-like hold, where you cradle the torch body in your palm and use your fingers to control its movement. Ensure a relaxed but firm grip to avoid fatigue and allow for precise movements.
Maintaining the Correct Arc Length
The arc length is the distance between the tungsten electrode tip and the workpiece. This is one of the most critical factors for a good TIG weld.
- Too Long: An excessively long arc will cause an unstable arc, spatter, and increased risk of contamination. It also spreads the heat, making it harder to control the puddle.
- Too Short: A very short arc can lead to the tungsten electrode dipping into the weld puddle, which contaminates the tungsten, creates porosity, and can even stick the electrode to the workpiece.
The ideal arc length is typically about the diameter of your tungsten electrode. You’re looking for a consistent, stable arc with a humming sound and a bright blue cone of flame emanating from the tungsten.
Torch Angle and Movement
The angle at which you hold your torch relative to the workpiece influences penetration and bead width.
- For most flat welding, a slight push angle (torch angled forward in the direction of travel) of about 5-15 degrees is common.
- Avoid pointing the torch straight down.
The movement of the torch should be smooth and consistent. For a basic bead, a slight side-to-side oscillation or a simple straight-line movement can be used, depending on the desired bead width. Focus on feeding the heat into the joint to create a molten puddle of the appropriate size.
Introducing the Filler Rod
The filler rod is added to the molten puddle to build up the weld bead. This is a delicate dance that requires coordination between both hands.
- Timing is key. Introduce the filler rod into the leading edge of the puddle just as it’s expanding.
- Keep the filler rod tip from touching the tungsten or entering the arc stream. Keep the filler rod tip slightly in the shielding gas envelope to prevent contamination.
- Dip and withdraw the filler rod rhythmically as the puddle moves forward.
- The angle of the filler rod should be low, around 15-30 degrees to the workpiece.
Practice feeding the filler rod into a stationary puddle first. Then, work on coordinating the filler rod feed with your torch movement.
Welding Different Joint Types and Positions
Visual guide about Torch Tig Welding
Image source: m.media-amazon.com
Your TIG welding technique will need to adapt to different joint types and welding positions.
Flat Position (1G)
This is the easiest position to learn TIG welding. The workpiece is flat, allowing gravity to assist in managing the molten puddle. Focus on consistent torch travel speed and filler rod feed.
Horizontal Position (2G)
Welding on a vertical surface with the joint running horizontally. Gravity will try to pull the molten puddle down. You’ll need to use a slightly faster travel speed and sometimes a tighter arc to counteract this.
Vertical Up (3G)
This is more challenging. You’re working against gravity.
- Use a series of dabs or a slight Christmas-tree pattern with your torch movement.
- Keep the puddle small and allow it to freeze slightly before adding more filler.
- Maintain a consistent, controlled filler rod feed.
Vertical Down (3G)
This position is generally used for thinner materials or to achieve a faster deposition rate. It requires a very fast travel speed and minimal filler rod, as gravity is helping to spread the puddle.
Overhead Position (4G)
This is the most demanding position. You’re working directly above the weld joint.
- Keep the puddle as small as possible.
- Use a fast travel speed.
- Minimal filler rod is often used.
- A tight arc is essential.
Practical Tips for Better TIG Welds
Here are some tips to help you improve your TIG welding skills:
- Practice, Practice, Practice: There’s no substitute for time spent at the welding machine.
- Cleanliness is Paramount: Ensure your base metals and filler rods are thoroughly cleaned. Degrease them and brush with a stainless steel brush dedicated only to TIG welding.
- Focus on the Puddle: Don’t stare at the arc. Watch the molten puddle; it tells you everything you need to know about your heat input and travel speed.
- Start with DC: For beginners, starting with DC welding on mild steel or stainless steel is generally easier than AC welding on aluminum.
- Use a Remote Amperage Control: A foot pedal or fingertip control allows you to adjust amperage on the fly, which is invaluable for managing the puddle, especially on thinner materials or during starts and stops.
- Listen to the Arc: A smooth, consistent hum indicates a stable arc. A crackling or spitting sound often means something is wrong, like arc length issues or contamination.
- Learn to ‘Cup’ the Puddle: When welding edges or corners, you might need to angle your torch to ‘cup’ the puddle and prevent it from dripping.
- Develop a Rhythm: Find a comfortable rhythm for torch movement, filler rod feeding, and travel speed.
Troubleshooting Common TIG Welding Issues
Even experienced welders encounter problems. Here’s how to address some common TIG welding issues:
Porosity
Small holes or voids in the weld bead.
- Causes: Contaminated shielding gas, dirty base metal or filler rod, insufficient post-flow time, air drafts.
- Solutions: Ensure gas is flowing correctly, thoroughly clean all materials, increase post-flow time, shield the weld area from drafts.
Undercut
A groove melted into the base metal next to the weld bead.
- Causes: Too much amperage, excessive travel speed, improper torch angle.
- Solutions: Reduce amperage, slow down travel speed, adjust torch angle to fill the groove.
Lack of Fusion
The filler metal or base metal hasn’t fully melted and fused together.
- Causes: Insufficient amperage, too fast travel speed, incorrect filler rod placement.
- Solutions: Increase amperage, slow down travel speed, ensure the filler rod is properly introduced into the leading edge of the puddle.
Tungsten Contamination
Tungsten particles in the weld bead.
- Causes: Arc length too long, tungsten dipping into the puddle, filler rod touching the tungsten.
- Solutions: Maintain a consistent, short arc length, avoid dipping the tungsten, keep the filler rod tip away from the tungsten. If contamination occurs, grind the tungsten to a new point and re-sharpen.
Conclusion
Torch TIG welding is a skill that rewards patience, practice, and a keen eye for detail. By understanding your equipment, mastering torch control, and consistently practicing, you’ll be well on your way to producing beautiful, high-quality welds. Remember to always prioritize safety, keep your materials clean, and pay close attention to the molten puddle. Embrace the learning process, experiment with different settings and techniques, and don’t be discouraged by initial challenges. With dedication, you’ll find TIG welding to be an incredibly rewarding and versatile skill. Happy welding!
