

This guide explores the fascinating world of TIG welding without filler material, often called “autogenous welding.” Discover when and how to use this specialized technique to create clean, aesthetic welds on thin materials, for tacking, and for edge-to-edge joints. We’ll cover essential setup, technique, and troubleshooting to help you achieve professional results with precision and control.
Tig Welding Without Filler: A Comprehensive How-To Guide
Welcome to the exciting realm of TIG welding without filler material! While most TIG welding involves adding a filler rod to build up a weld bead, there’s a specialized technique that skips this step entirely. It’s often referred to as “autogenous welding,” and it’s a skill that can open up a world of possibilities for creating clean, precise, and aesthetically pleasing welds. If you’re looking to achieve a seamless look, practice tacking, or join thin materials without the bulk of a filler rod, you’ve come to the right place. This guide will walk you through everything you need to know to confidently TIG weld without filler.
Key Takeaways
- Mastering Autogenous Welding: TIG welding without filler, or autogenous welding, is a valuable skill for specific applications where a clean, minimalist aesthetic and precise joint integrity are paramount.
- Material and Thickness Suitability: This technique is best suited for thinner materials (typically under 3mm or 1/8 inch) where the base metal can be melted and fused without excessive warping or burn-through.
- Essential Equipment and Setup: Proper TIG machine settings (amperage, gas flow), the correct torch angle, and a clean, prepared joint are crucial for success.
- Developing Torch Control: The core of autogenous TIG welding lies in precisely controlling the torch to melt and bridge the joint, requiring steady hands and consistent movement.
- Applications and Benefits: Learn where this technique shines, including tack welding, creating seamless edge-to-edge joints on decorative pieces, and joining certain exotic metals.
- Troubleshooting Common Issues: Understand how to address challenges like burn-through, lack of fusion, and excessive warping, allowing you to refine your technique.
What is TIG Welding Without Filler?
TIG welding without filler material, or autogenous welding, is a process where the heat from the TIG torch is used to melt the edges of the base metals, allowing them to fuse together directly. Think of it like melting two pieces of butter together at the edges – they become one continuous piece. This technique requires a different approach to heat control and torch manipulation compared to traditional TIG welding. It’s not a replacement for all welding situations, but it’s incredibly useful in specific scenarios.
When to Use TIG Welding Without Filler
This specialized technique isn’t for every job, but it excels in certain applications:
- Tack Welding: Autogenous tacking is a quick and efficient way to temporarily hold pieces together before a full weld. It’s minimal and can often be ground flush later if needed.
- Edge-to-Edge Joints on Thin Materials: For very thin sheet metal (typically under 3mm or 1/8 inch), autogenous welding can create a clean, almost invisible joint with minimal distortion. This is common in artistic metalwork, decorative items, and some fabrication projects where appearance is key.
- Joining Certain Exotic Metals: Some alloys, like certain stainless steels or nickel alloys, can be autogenously welded to create a very pure and strong fusion zone.
- Creating a Seamless Look: If you desire a weld that looks like a natural part of the metal, without a distinct filler bead, autogenous TIG welding is your go-to.
Understanding the Limitations
It’s important to recognize when autogenous TIG welding is *not* the best choice:
- Thicker Materials: For materials thicker than 3mm, it becomes very difficult to achieve full penetration and a strong bond without a filler. You’ll likely experience burn-through or incomplete fusion.
- High-Stress Applications: While a properly executed autogenous weld can be strong, for critical structural components that experience significant stress, using a filler rod is generally recommended to add strength and ductility.
- Bridging Gaps: Autogenous welding relies on tightly fitted edges. It’s not designed to bridge significant gaps between pieces.
Essential Equipment and Setup
Getting your setup right is the first crucial step to success.
TIG Welder Settings
This is where things get a bit different. You’ll need a TIG welder capable of precise amperage control.
Amperage Control:
You’ll typically run slightly higher amperage for autogenous welding than you would for a similar thickness joint with filler. This is because you need enough heat to melt the base metal without the cooling effect of adding a filler rod. A good starting point for 1.5mm (1/16 inch) steel might be around 70-100 amps, but this varies greatly depending on the machine, material, and joint fit. Always start low and increase as needed.
Gas Flow:
A slightly higher argon flow rate than usual can be beneficial. Aim for around 15-20 CFH (Cubic Feet per Hour). This ensures excellent shielding for the molten puddle, preventing contamination and oxidation, which is critical when you don’t have a filler rod to sacrifice.
Torch and Tungsten Setup:
- Electrode: A pure tungsten or a zirconiated tungsten is often preferred for autogenous welding as they are less prone to contamination. Grind a nice, sharp point on your tungsten electrode. This concentrated arc helps with precise melting.
- Torch Angle: Maintain a consistent, shallow torch angle (around 10-20 degrees) pointing in the direction of travel.
- Electrode Stickout: Keep your tungsten electrode stickout to a minimum, usually around 1/8 to 1/4 inch. This helps focus the arc and reduces the chance of the tungsten getting too close to the puddle.
Joint Preparation
Cleanliness is paramount in TIG welding, and it’s even more so when you’re not adding filler. Any contaminants can be easily incorporated into the weld, leading to defects.
- Cleanliness is Key: Ensure the edges of your material are spotlessly clean. Use a dedicated stainless steel wire brush and degreaser.
- Tight Fit-Up: For autogenous welding, a perfect edge-to-edge fit is essential. There should be no gap. If there is a tiny gap, you might need to practice your torch movement to “pull” the molten edges together.
- Beveling (Sometimes): For very thin materials, beveling isn’t usually necessary. However, for slightly thicker materials (approaching the upper limit of autogenous welding), a very slight bevel might help with fusion, but keep it minimal.
The Technique: Step-by-Step
Now, let’s get to the actual welding. This requires a steady hand and precise control.
Step 1: Secure the Workpiece
Ensure your pieces are securely clamped in place. Any movement during welding can ruin the joint. Use C-clamps, magnetic clamps, or even tack them with a small dab of filler (if allowed for the tacking phase) to hold them perfectly aligned.
Step 2: Position the Torch
Hold the TIG torch at a consistent, shallow angle (10-20 degrees) with the tungsten electrode positioned directly over the joint line. Maintain your electrode stickout.
Step 3: Initiate the Arc
Use your TIG welder’s foot pedal or finger control to initiate the arc. You want a quick, controlled arc to start melting the edges of the base metal.
Step 4: Melt and Fuse the Edges
This is the core of the technique. As the arc melts the edges, you’ll see a small puddle form.
Practice Movement: Instead of adding filler, you’ll be manipulating the torch to guide the molten puddle. Think of it as “pulling” the puddle along the joint. Keep a consistent travel speed.
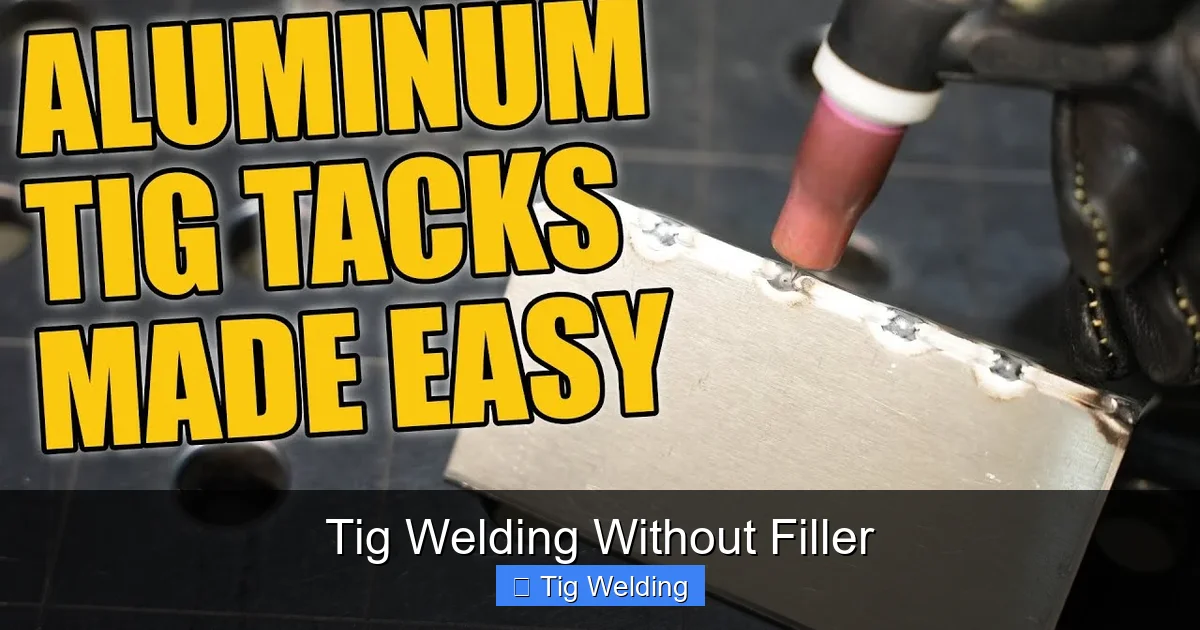
Visual guide about Tig Welding Without Filler
Image source: i.ytimg.com
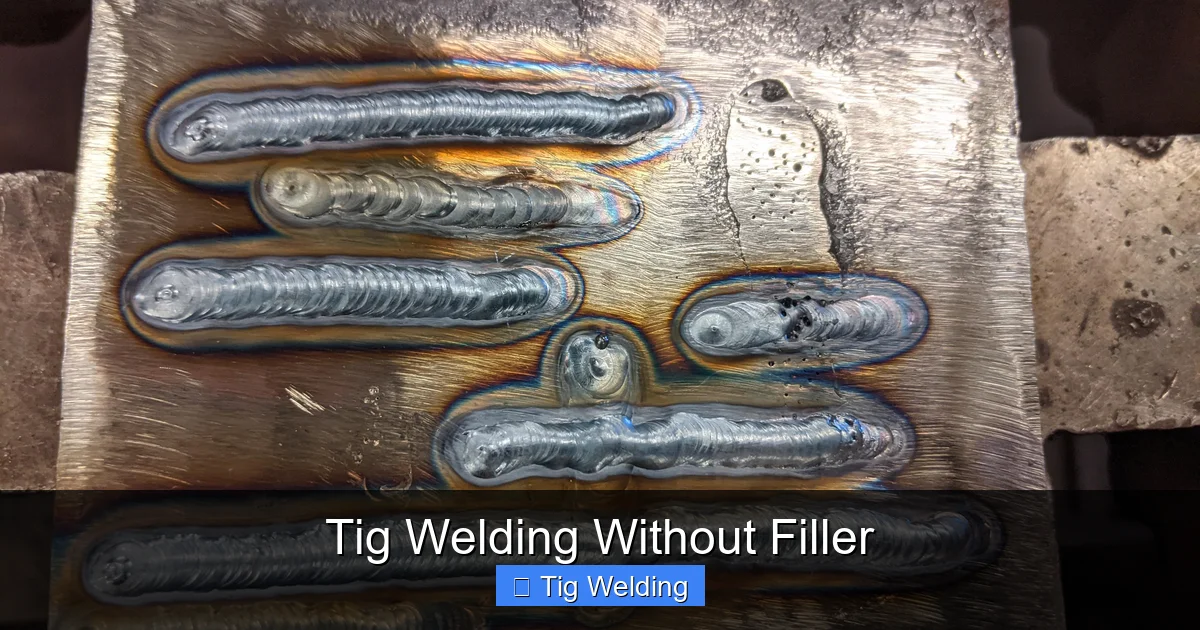
Visual guide about Tig Welding Without Filler
Image source: i.redd.it
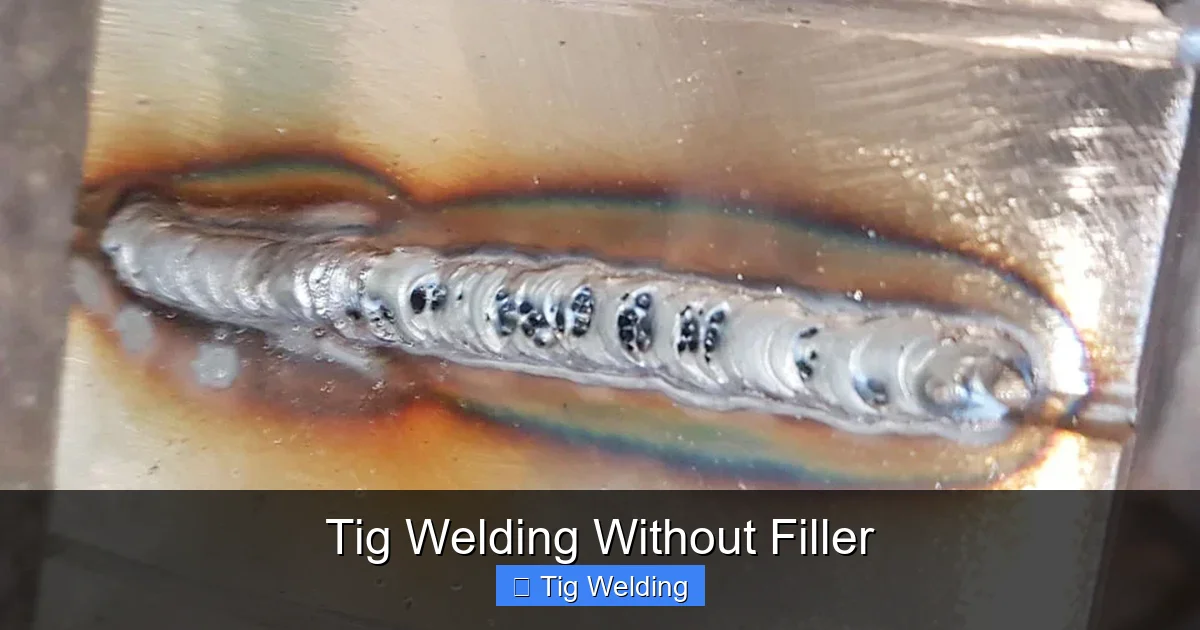
Visual guide about Tig Welding Without Filler
Image source: weldingproperty.com
Controlled Melting: As the arc melts the metal, the molten puddle will naturally start to bridge the joint. Maintain a consistent arc length and torch angle.
Step 5: Maintain the Puddle and Travel Speed
The key is to keep a consistent puddle size and move at a steady pace.
- Puddle Control: If the puddle gets too large, pull back slightly on the amperage (with your foot pedal) or slow down your travel speed. If it’s too small and not bridging, increase amperage slightly or speed up your torch movement.
- Travel Speed: Aim for a speed where the molten puddle solidifies just behind the arc, creating a uniform bead width. Too fast, and you’ll get lack of fusion; too slow, and you risk burn-through.
Step 6: Finish the Weld
As you reach the end of the joint, slowly ease off the amperage using your foot pedal to allow the puddle to taper off smoothly. This prevents creating a crater and potential cracking.
Practical Tips for Success
Here are some extra pointers to refine your autogenous TIG welding skills:
- Practice on Scrap: Before attempting your project, practice on scrap pieces of the same material and thickness. This is the best way to develop muscle memory and understand your machine’s settings.
- Maintain a Consistent Arc Length: A consistent arc length is vital. Fluctuations can lead to inconsistent heat input.
- Watch the Puddle: Always focus on the molten puddle. It tells you everything you need to know about your heat input and travel speed.
- Listen to Your Welder: Pay attention to the sound of the arc. A consistent, smooth arc sound usually indicates good welding.
- Consider the Material: Different metals behave differently. Stainless steel will flow more than mild steel, and aluminum requires even higher heat and faster travel. Adjust your technique accordingly.
Troubleshooting Common Issues
Even with practice, you might encounter some problems. Here’s how to address them.
Problem: Burn-Through
Cause: Too much amperage, too slow travel speed, or poor joint fit-up with a gap.
Solution: Reduce amperage, increase travel speed, ensure a tighter joint fit. For very thin materials, you might need to “backstep” weld or use a heat sink (like a copper bar behind the joint) to dissipate heat.
Problem: Lack of Fusion
Cause: Not enough amperage, too fast travel speed, dirty joint, or insufficient puddle formation.
Solution: Increase amperage slightly, slow down your travel speed, ensure the joint is immaculately clean, and focus on creating a proper molten puddle that bridges the edges.
Problem: Excessive Warping
Cause: Too much heat input, especially on thin sheet metal.
Solution: Reduce amperage, use intermittent welding (stitch welding) rather than a continuous bead, or use a heat sink. Proper clamping can also help resist warping.
Problem: Pinhole Porosity
Cause: Insufficient gas shielding, contaminants in the base metal, or oil/grease on the surface.
Solution: Increase gas flow slightly, ensure immaculate cleaning of the joint, and check your gas cylinder is not running low.
Conclusion
TIG welding without filler material, or autogenous welding, is a rewarding technique that demands precision and control. By understanding the ideal applications, setting up your equipment correctly, and practicing your torch manipulation, you can master this art form. It’s perfect for achieving clean, seamless welds, especially on thin materials and for tacking. Remember to always prioritize cleanliness, maintain a steady hand, and watch that molten puddle. With dedication and practice, you’ll be creating beautiful, functional autogenous TIG welds in no time. Happy welding!