

This guide demystifies TIG welding with both AC and DC current. You’ll learn how to select the right current type for various metals like aluminum and steel, understand crucial machine settings, and master essential torch and filler rod techniques. Achieve professional-quality welds with confidence, whether you’re working with AC’s cleaning action or DC’s deep penetration.
TIG welding, also known as Gas Tungsten Arc Welding (GTAW), is a highly versatile and precise welding process. It’s renowned for producing clean, strong, and aesthetically pleasing welds. One of the most significant advantages of modern TIG welders is their ability to switch between AC (Alternating Current) and DC (Direct Current) power. But what’s the difference, and when do you use each? This comprehensive guide will break down everything you need to know about TIG welding AC/DC, empowering you to tackle a wide range of projects with confidence.
You’ll learn why understanding AC and DC is fundamental, how to choose the right current for different metals, and the essential machine settings that make the difference between a good weld and a great one. We’ll walk through the process step-by-step, providing practical tips and insights to help you master this incredible skill.
Key Takeaways
- Understand AC vs. DC: AC is ideal for aluminum and magnesium due to its cleaning action, while DC is better for steel, stainless steel, and other ferrous metals for deeper penetration.
- Mastering Machine Settings: Properly adjusting amperage, AC balance, AC frequency, and gas flow rate is critical for achieving quality welds.
- Torch Angle and Movement: Maintaining a consistent torch angle and practicing proper electrode manipulation are key to a stable arc and controlled puddle.
- Filler Rod Application: The correct filler rod selection and its consistent, controlled feeding into the puddle are essential for strong, aesthetically pleasing welds.
- Safety First: Always use appropriate personal protective equipment (PPE), including a welding helmet with the correct shade, gloves, and protective clothing.
- Practice Makes Perfect: Consistent practice on scrap material is the most effective way to build muscle memory and refine your TIG welding skills.
What is TIG Welding AC/DC?
TIG welding uses a non-consumable tungsten electrode to create the arc. This arc melts the base metal and any filler rod you might be using, forming a weld puddle. Inert shielding gas, typically Argon, protects this puddle from atmospheric contamination.
The real magic of AC/DC TIG welding lies in the ability to switch between two types of electrical current:
- DC (Direct Current): In DC welding, the current flows in one direction. This results in a focused arc with deep penetration, making it ideal for welding thicker materials and metals that don’t require significant cleaning of the surface oxides.
- AC (Alternating Current): AC welding constantly reverses direction, typically at 60 Hz (cycles per second). This back-and-forth motion creates a “cleaning action” that breaks up the oxide layer on metals like aluminum. It also produces a wider, softer arc with less penetration than DC.
Choosing between AC and DC is often the first and most crucial decision you’ll make when TIG welding.
When to Use AC vs. DC TIG Welding
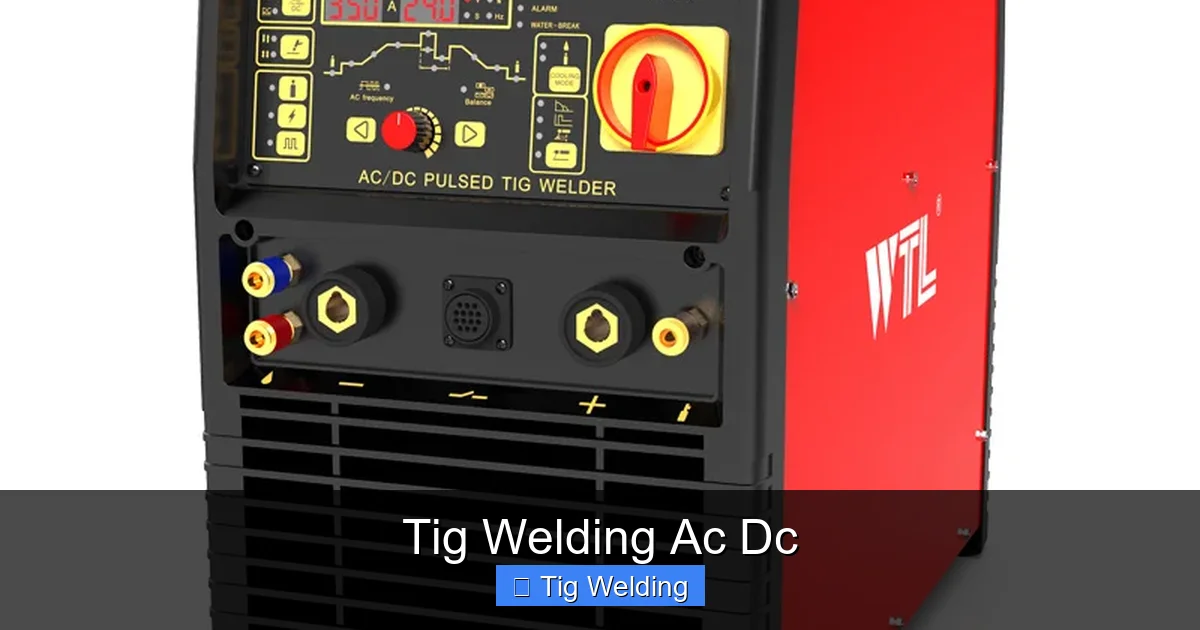
Visual guide about Tig Welding Ac Dc
Image source: factory-welder.com
The material you’re welding is the primary determinant of whether you’ll use AC or DC current.
DC TIG Welding Applications
DC welding is the go-to for most common metals. Its focused arc and deeper penetration are perfect for:
- Steel: Including mild steel, carbon steel, and alloy steels.
- Stainless Steel: Excellent for its corrosion resistance and strength.
- Titanium: A strong and lightweight metal often used in aerospace.
- Copper and Brass: Though these can be tricky, DC provides the necessary heat control.
When welding steel, you’ll typically set your TIG welder to DC Electrode Negative (DCEN), also known as straight polarity. This directs the majority of the heat into the workpiece, promoting good fusion and penetration.
AC TIG Welding Applications
AC welding is indispensable for specific non-ferrous metals that have a tenacious oxide layer that needs to be broken down during the welding process.
- Aluminum: This is the most common application for AC TIG welding. The oxide layer on aluminum has a much higher melting point than the base metal, and the cleaning action of AC helps remove it, preventing weld contamination.
- Magnesium: Similar to aluminum, magnesium benefits greatly from the cleaning action of AC.
For AC welding, the balance control is key. You’ll adjust this to get the right amount of cleaning action versus penetration.
Setting Up Your TIG Welder for AC/DC
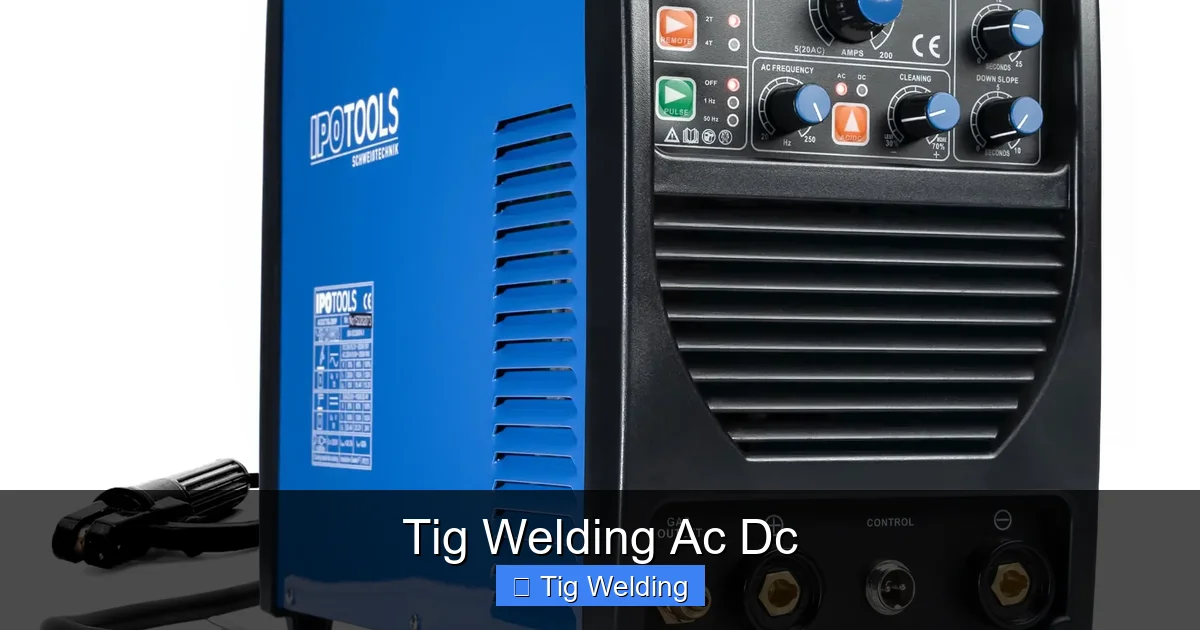
Visual guide about Tig Welding Ac Dc
Image source: ipotools.eu
Properly configuring your TIG welder is paramount to success. While specific controls may vary between machines, most AC/DC TIG welders will have these fundamental adjustments:
Amperage
Amperage (measured in amps) determines the heat input. Too little amperage, and you won’t melt the metal. Too much, and you risk blowing holes or overheating the tungsten.
Choosing the Right Amperage
A general rule of thumb for steel is about 1 amp per thousandth of an inch of material thickness. For example, 1/8-inch steel (0.125 inches) would require roughly 125 amps. Aluminum generally requires more amperage than steel for the same thickness due to its high thermal conductivity.
* Tip: Always start with a lower amperage and gradually increase it while practicing on scrap pieces. Listen to the arc; it should have a steady, consistent hum.
AC Balance (for AC welding)
AC balance controls the waveform’s positive and negative portions. This setting directly impacts the cleaning action versus penetration.
- Higher Positive Balance (more electrode positive): Increases cleaning action but reduces penetration and can overheat the tungsten.
- Higher Negative Balance (more electrode negative): Increases penetration but reduces cleaning action.
For aluminum, you’ll typically want a balance somewhere between 30% and 60% electrode positive. Experimentation is key to finding the sweet spot for your specific application.
* Example: If you’re welding thin aluminum sheet and noticing a lot of oxide staying on the surface, increase your AC balance towards the positive side. If you’re not getting enough penetration, decrease it towards the negative side.
AC Frequency (for AC welding)
AC frequency (measured in Hertz, Hz) controls the arc’s focus and stability.
- Lower Frequencies (e.g., 50-100 Hz): Produce a wider, softer arc with less directional control. This can be good for filling larger gaps or when you need a broader heat input.
- Higher Frequencies (e.g., 150-300 Hz): Create a narrower, more focused, and stable arc. This allows for more precise control, especially on thinner materials or when welding intricate parts.
Many welders find a sweet spot between 100-200 Hz for general aluminum welding.
Pulse Settings (Optional but Beneficial)
Some advanced TIG welders offer pulse settings for both AC and DC. Pulsing involves rapidly cycling the amperage between a high peak and a lower background level.
- Benefits: Pulsing helps control heat input, reduces distortion on thin materials, and can improve weld appearance by creating a consistent ripple effect.
- Settings: Typically includes Peak Amperage, Background Amperage, Pulse Frequency (how often it cycles), and Pulse Width (how long it stays at peak).
* Tip: For DC welding on steel, a low pulse frequency can help manage heat on thinner sections. For AC welding on aluminum, pulsing can offer excellent control over the puddle.
Gas Flow Rate
The shielding gas, usually pure Argon, is critical. It prevents weld contamination.
- Setting: For standard TIG welding, a flow rate of 15-25 cubic feet per hour (CFH) is common. This can be adjusted based on your environment (indoors vs. outdoors, drafts) and the size of your nozzle.
- Too Little Gas: Leads to porosity and weak welds.
- Too Much Gas: Can disrupt the arc and cause turbulence, drawing in atmospheric contaminants.
* Tip: Use a gas lens on your TIG torch. It provides a more stable and focused gas cone, improving shielding efficiency, especially at higher flow rates or with windy conditions.
Torch Angle and Electrode Stick-out
These seemingly minor details have a significant impact on arc stability and weld quality.
* Torch Angle: Aim for a consistent torch angle, usually between 70 and 80 degrees, pushing slightly into the direction of travel.
* Electrode Stick-out: The distance the tungsten electrode extends from the ceramic cup (stick-out) should be kept short, typically 1/4 to 1/2 inch. A shorter stick-out provides better shielding and arc control.
Step-by-Step TIG Welding AC/DC Process
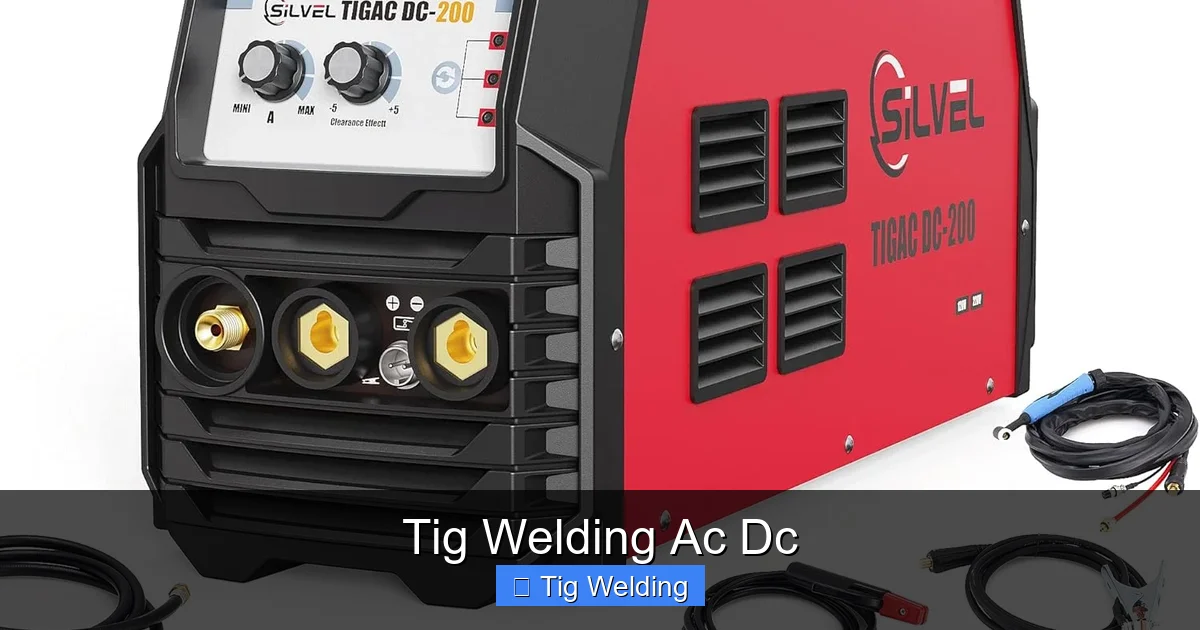
Visual guide about Tig Welding Ac Dc
Image source: m.media-amazon.com
Let’s walk through the process of making a TIG weld, assuming you’ve chosen the appropriate current (AC for aluminum, DC for steel) and set your machine.
Step 1: Prepare Your Materials and Workspace
This is perhaps the most critical step and is often overlooked by beginners.
* Cleaning: For aluminum, use a dedicated stainless steel wire brush (never use the same brush on steel) and a solvent like acetone to remove all oil, grease, and dirt. For steel, remove rust, paint, and mill scale with a wire brush or grinding disc. A clean surface is essential for a clean weld.
* Fit-up: Ensure your pieces are properly aligned and fit together well. For butt welds, a small gap can be beneficial. For lap or fillet welds, good contact is key.
* Safety Gear: Put on your auto-darkening welding helmet, leather welding gloves, and flame-resistant clothing.
Step 2: Set Up Your TIG Torch and Tungsten Electrode
* Tungsten Selection: For DC welding, pure or zirconiated tungsten is common. For AC welding (especially aluminum), 2% thoriated or lanthanated tungsten is preferred.
* Grinding the Tungsten: For DCEN, grind a sharp, pointed tip on the tungsten electrode. For AC welding, grind the tungsten to a slightly blunter, ball-shaped tip to stabilize the arc. The grinding should be done lengthwise along the electrode, not around it.
* Install Tungsten: Securely install the correct tungsten electrode into your TIG torch collet. Ensure it’s snug but not overly tight.
Step 3: Connect Your Ground Clamp
* **Placement:** Attach the ground clamp firmly to the workpiece or welding table, ensuring good metal-to-metal contact. A poor ground connection is a common cause of arc instability.
Step 4: Set Up Your Shielding Gas
* **Flow Check:** Turn on your shielding gas cylinder valve and regulator. Briefly open the torch valve to ensure gas is flowing. Adjust your flow rate to the recommended setting (e.g., 15-25 CFH).
* **Purge:** Before striking an arc, purge the torch line by holding the trigger for a few seconds. This pushes out any air or moisture that might have entered the line.
Step 5: Strike the Arc
There are two primary methods for initiating the TIG arc:
High-Frequency (HF) Start
Most AC/DC TIG welders feature HF start.
1. Hold the torch nozzle about 1/4 inch above the workpiece.
2. Press the trigger to activate the gas flow.
3. Bring the tungsten electrode close to the workpiece (about 1/8 inch). The HF unit will then create a spark to jump the gap and start the arc without touching the tungsten to the metal.
4. Once the arc is established, pull the torch away slightly to your working arc length (typically 1/8 to 3/16 inch).
Lift Arc Start
Some machines offer a lift arc start, which is preferred by some welders to avoid potential tungsten contamination.
1. Hold the torch nozzle about 1/4 inch above the workpiece.
2. Press the trigger to activate gas flow.
3. Touch the tungsten electrode to the workpiece briefly, as if you were marking it.
4. Lift the torch away from the workpiece (about 1/8 inch). The machine senses the brief contact and initiates the arc.
Step 6: Introduce Filler Rod (if needed)
If you’re adding filler material (which is common for most welds), this is where it comes in.
* **Selection:** Choose a filler rod that matches your base metal (e.g., ER70S-2 for mild steel, ER4043 or ER5356 for aluminum).
* **Feeding:** As you establish your arc and begin moving, introduce the filler rod into the leading edge of the puddle. The goal is to melt the filler rod into the puddle, not to touch the tungsten electrode with it.
* **Consistency:** Feed the rod at a consistent rate, matching your travel speed.
Step 7: Move and Control the Weld Puddle
This is where practice truly pays off.
* **Travel Speed:** Maintain a consistent travel speed. Too fast, and you won’t get enough fusion. Too slow, and you’ll overheat the metal and create a large, potentially messy bead.
* **Puddle Control:** Observe the weld puddle. It should look like a molten pool of metal. You want to maintain a consistent size and shape.
* **Torch Manipulation:** Use small, deliberate movements of your torch, often a slight side-to-side motion or a series of quick dips, to control the puddle and integrate the filler rod.
Step 8: Finishing the Weld
* **Creep-Up on the Arc:** As you reach the end of your weld, gradually reduce your amperage (if your machine has a foot pedal or amperage control) to fill the crater. This prevents cracking.
* **Gas Post-Flow:** Hold the trigger down after you stop welding. The post-flow of shielding gas is crucial to protect the molten puddle and the cooling tungsten from contamination.
Troubleshooting Common TIG Welding AC/DC Issues
Even experienced welders encounter problems. Here are some common issues and their solutions:
Issue: Porous Welds
* Causes: Insufficient shielding gas, contaminated base metal or filler rod, dirty tungsten, drafts.
* **Solutions:** Increase gas flow rate, ensure gas lens is used and properly positioned, thoroughly clean base metal and filler rod, check tungsten for contamination, shield the welding area from drafts.
Issue: Arc Instability or Wander
* Causes: Poor ground connection, incorrect tungsten type or grind, AC balance too far in one direction, electrical interference.
* Solutions:** Ensure a clean and solid ground clamp, use the correct tungsten and grind it properly for the selected current, adjust AC balance, check for other electrical equipment causing interference.
Issue: Tungsten Contamination
* Causes: Touching the tungsten to the weld puddle or filler rod, arc not established correctly (especially with lift arc).
* Solutions:** Practice arc initiation, maintain proper arc length and filler rod feeding technique, ensure correct tungsten is used. If contaminated, stop welding, remove the tungsten, re-grind it, and restart the arc.
Issue: Tungsten Melting or Breaking
* **Causes:** Amperage too high for the tungsten size, incorrect AC balance (too far positive for AC), electrode stick-out too long.
* **Solutions:** Use a larger diameter tungsten, adjust AC balance for AC welding, shorten electrode stick-out, reduce amperage if excessive.
Issue: Lack of Penetration
* Causes:** Amperage too low, travel speed too fast, poor ground connection, DCEN not selected for steel.
* **Solutions:** Increase amperage, slow down travel speed, check and improve ground connection, ensure DCEN is selected for steel.
Conclusion
Mastering TIG welding AC/DC opens up a world of possibilities for fabrication and repair. By understanding the fundamental differences between AC and DC currents, learning to set up your machine correctly, and practicing the essential techniques, you can achieve professional-quality welds on a vast array of materials. Remember that safety is always paramount, and consistent practice on scrap material is your best ally in developing the precision and control that TIG welding demands. So, grab your gear, set up your welder, and start creating! The journey of a skilled TIG welder begins with understanding and applying these core principles of AC and DC welding.