

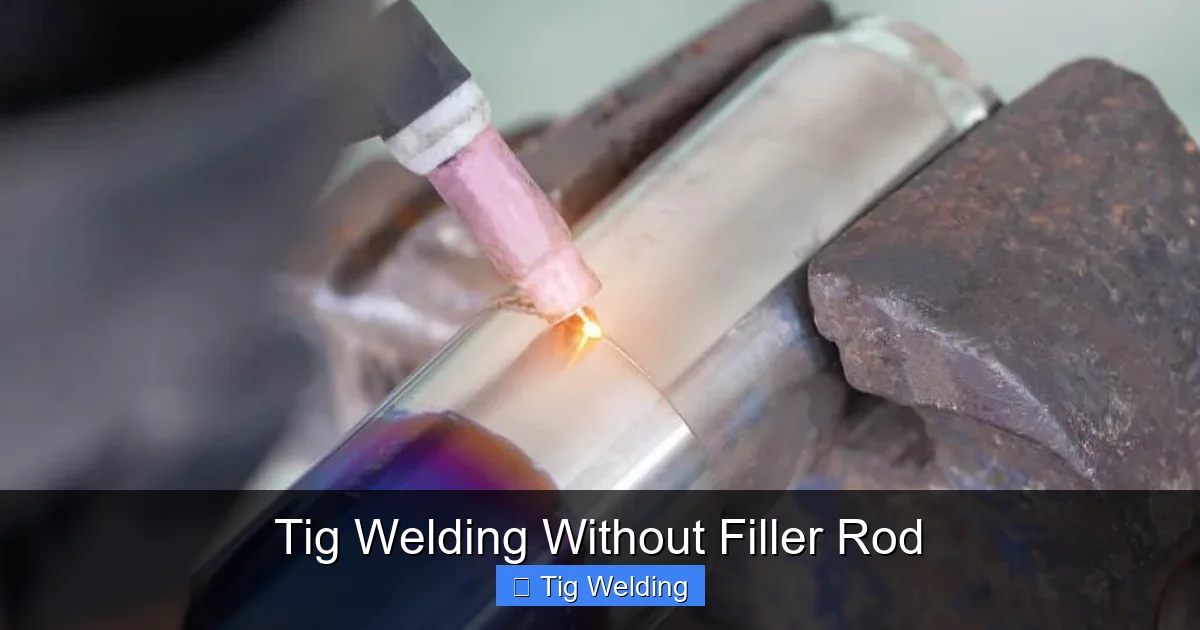
TIG welding without filler rod, also known as autogenous welding, is a valuable skill for specific applications requiring a clean, precise, and aesthetically pleasing weld bead. This guide will walk you through the process, from essential setup to advanced techniques. You’ll learn how to achieve strong, defect-free welds by mastering heat control and joint preparation for this specialized form of TIG welding.
Tig Welding Without Filler Rod: A Comprehensive Guide
Welcome to this in-depth guide on tig welding without filler rod. If you’re looking to achieve exceptionally clean, precise, and aesthetically pleasing welds, mastering this technique can be a game-changer. Also known as autogenous welding, TIG welding without filler rod involves fusing the base metals together directly, eliminating the need for an added filler material. This method is particularly useful for thin materials, root passes in certain joint configurations, and applications where appearance is paramount.
In this guide, we’ll explore everything you need to know to confidently tackle autogenous TIG welding. We’ll cover the essential equipment setup, the critical steps involved in the process, practical tips to ensure success, and how to troubleshoot common issues. By the end, you’ll have a solid understanding of how to melt and fuse metals together using just your TIG torch.
Key Takeaways
- Mastering Heat Control is Paramount: Successfully TIG welding without filler rod hinges entirely on your ability to precisely manage the heat input from the torch.
- Joint Preparation is Crucial: For autogenous TIG welding, the edges of the base metals must be meticulously cleaned and perfectly fit together.
- Material Thickness Dictates Feasibility: This technique is best suited for thin materials where the edges can melt and fuse together without excessive distortion.
- Understanding Material Properties: Different metals require specific amperage settings and torch angles for successful fusion.
- Practice Essential for Proficiency: Autogenous TIG welding demands a high level of dexterity and control, making consistent practice vital.
- Achieving a Clean Appearance: When done correctly, TIG welding without filler rod produces a smooth, aesthetically pleasing weld bead with minimal cleanup.
Understanding Autogenous TIG Welding
Before we dive into the “how-to,” let’s clarify what autogenous TIG welding is and why you might choose it. Unlike standard TIG welding where you add filler rod to the molten puddle, autogenous welding relies on melting the edges of the base metals themselves to create the weld joint. This results in a seamless fusion that can be incredibly strong and visually appealing, often resembling the original surface of the metal.
This technique is most effective on materials that have a relatively low melting point and good fusion characteristics. Common applications include:
* Welding thin sheet metal (e.g., stainless steel, aluminum)
* Creating root passes in pipe or tube welding
* Repairing certain types of cracks or defects
* Achieving a clean, cosmetic weld on visible joints
Essential Equipment and Setup
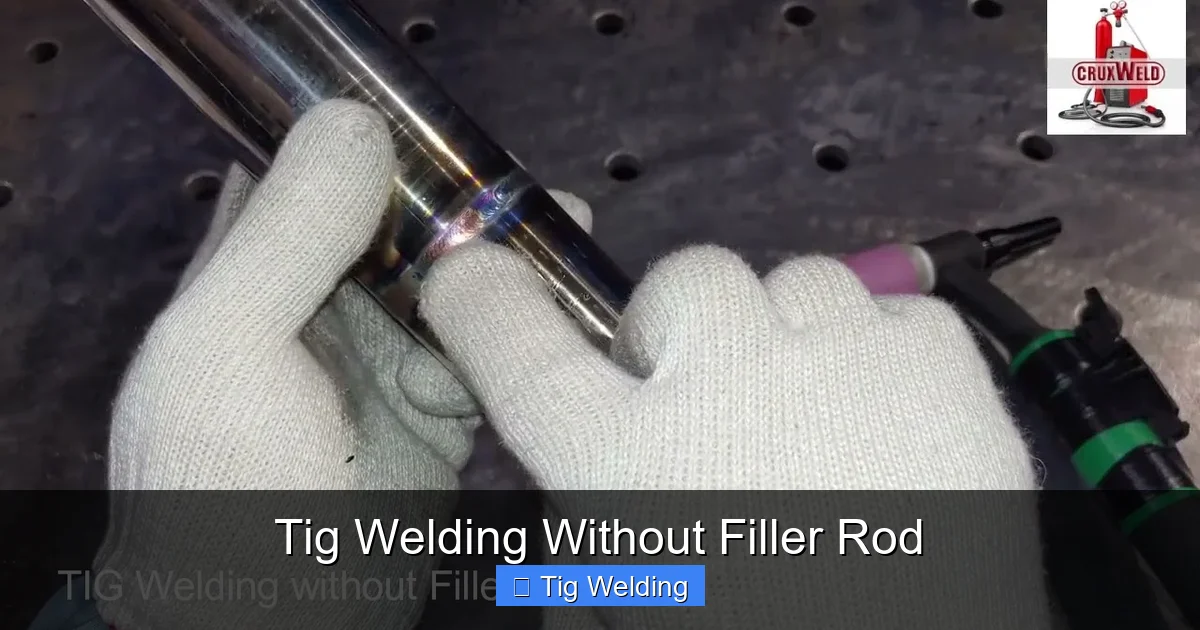
Visual guide about Tig Welding Without Filler Rod
Image source: i.ytimg.com
While the core principles of TIG welding apply, there are a few considerations for autogenous welding.
The TIG Welder
You’ll need a reliable TIG welding machine. Most modern AC/DC TIG welders will work. The key is having precise control over amperage. Some welders offer advanced features like pulsing, which can be beneficial but isn’t strictly necessary for basic autogenous TIG welding.
Tungsten Electrode
The type and size of tungsten electrode you use are important.
* Pure tungsten is generally not recommended for steel as it can contaminate the weld.
* 2% Ceriated or 2% Lanthanated tungsten electrodes are excellent all-around choices for both AC and DC welding. They offer good arc stability and longevity.
* For thinner materials, a smaller tungsten diameter (e.g., 1/16 inch or 1.6mm) is often preferred to provide a more focused arc.
Shielding Gas
Pure Argon is the standard shielding gas for TIG welding most metals, including aluminum and steel. It provides excellent arc stability and gas coverage, which is critical when you don’t have filler material to help contain the puddle. Ensure your gas flow rate is appropriate for the application, typically between 15-25 cubic feet per hour (CFH).
Torch and Consumables
* Torch Angle: You’ll typically hold the torch at a slight angle (around 10-15 degrees) towards the direction of travel.
* Nozzle Size: A larger nozzle can sometimes provide better gas coverage, which is essential when you don’t have a filler rod to shield the molten pool.
Step-by-Step Autogenous TIG Welding
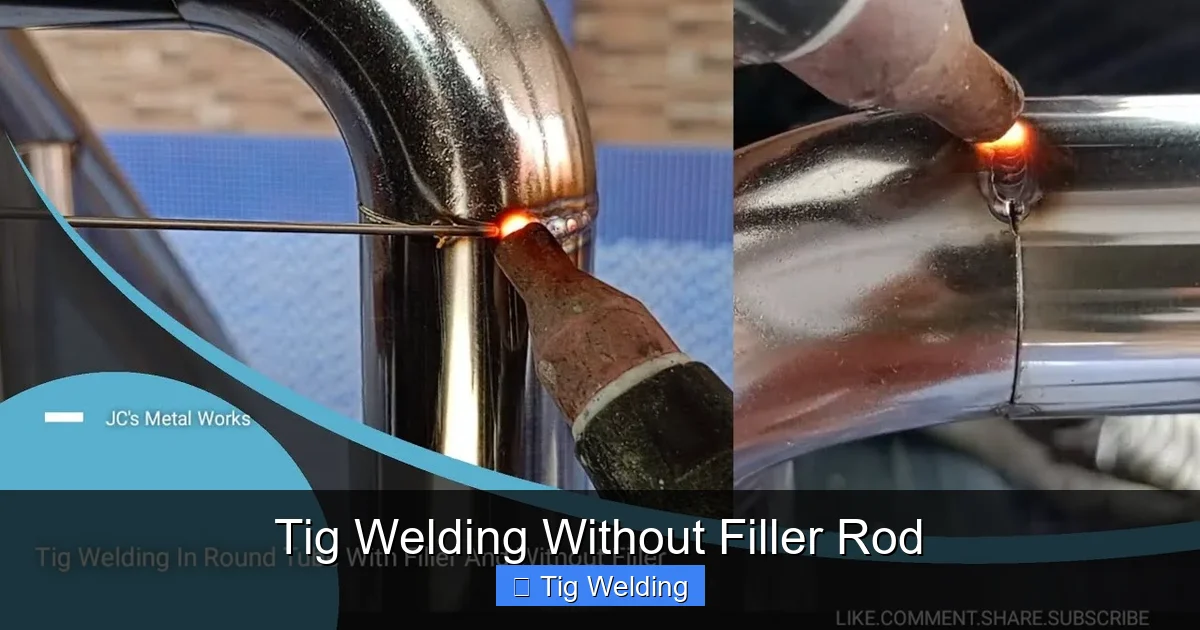
Visual guide about Tig Welding Without Filler Rod
Image source: i.ytimg.com
Now, let’s get to the practical steps of performing TIG welding without filler rod. Success hinges on meticulous preparation and precise heat control.
Step 1: Meticulous Joint Preparation
This is arguably the most critical step in autogenous TIG welding. If your joint isn’t prepared correctly, the weld is likely to fail or be of poor quality.
* Cleanliness is Key: Ensure the metal surfaces to be welded are absolutely free of oil, grease, dirt, paint, oxides, or any other contaminants. Use a dedicated stainless steel brush or a clean rag with a suitable solvent (like acetone or denatured alcohol).
* Edge Fit-Up: For thin materials, a butt joint with a very tight, edge-to-edge fit is ideal. There should be no gap between the pieces. If there’s a slight gap, the edges won’t be able to melt and fuse properly.
* Beveling (for thicker materials): For slightly thicker materials where autogenous welding is still feasible, a slight bevel might be necessary to ensure full penetration. However, the bevel should be minimal to avoid creating a large void that’s difficult to fill.
* Clamping: Secure the pieces firmly using clamps, tack welds (if you can do them cleanly and minimally), or jigs to prevent any movement during welding. Any shift in the joint will disrupt the fusion process.
Step 2: Setting Up Your TIG Welder
Correct machine settings are vital for controlling the heat input.
* Amperage: This is the most important setting. For autogenous welding, you’ll generally use a lower amperage than you might with filler rod for the same material thickness. You want just enough heat to melt the edges without blowing through the material. Start with settings recommended for the material thickness and then adjust based on your test welds.
* Polarity: For steel, you’ll use DCEN (Direct Current Electrode Negative). For aluminum, you’ll use AC.
* Gas Flow: Set your Argon gas flow rate appropriately (typically 15-25 CFH). Ensure the gas lens is functioning correctly to provide ample coverage.
* Pre-flow and Post-flow: Set your pre-flow (gas before arc starts) and post-flow (gas after arc stops) times. Pre-flow allows the gas to purge the area before welding, and post-flow protects the hot tungsten and weld puddle from atmospheric contamination. 5-10 seconds of pre-flow and 10-20 seconds of post-flow are good starting points.
Step 3: Initiating the Arc
Accurate arc initiation is crucial.
* **Torch Positioning:** Hold the torch at your desired angle (10-15 degrees towards the direction of travel) and at a consistent arc length, usually about the diameter of your tungsten electrode.
* Starting the Arc: Use a quick, decisive motion to initiate the arc, typically by lift-arc start or high-frequency start. You want to quickly establish a puddle at the beginning of your joint.
Step 4: Creating the Molten Puddle
This is where the magic happens, and your dexterity is tested.
* **Focus on the Joint Edge:** Direct the arc precisely onto the edges of the metal you want to fuse. You are essentially melting the two edges together.
* **Watch the Puddle:** Observe the molten puddle carefully. You’re looking for the edges of the metal to melt and flow together, creating a continuous bead. The puddle should be fluid but not so large that it’s uncontrollable or starts to sag.
* **Controlled Movement:** Move the torch slowly and steadily along the joint. A consistent speed is key. If you move too fast, the edges won’t melt sufficiently, and the weld will be weak. If you move too slow, you risk blowing through the material or creating excessive heat buildup and distortion.
Step 5: Achieving Fusion
The goal is to have the edges of the base metal melt and intermingle, creating a unified weld bead.
* **Gentle Tapping (Optional and Advanced): In some cases, with very thin materials and excellent control, you might use a very subtle, oscillating torch motion or even a light “tapping” motion with the torch tip to encourage the edges to flow together. However, this is an advanced technique and requires significant practice. The primary method is steady torch movement.
* **Visual Cues:** Look for the molten edges to come together and form a smooth, consistent bead. The bead should appear to “wet” onto the base metal on both sides.
* **Avoid Excessive Undercut:** Undercutting occurs when the weld metal doesn’t adequately fill the groove, creating a notch at the edge of the weld. This weakens the joint. Precise heat and speed control are the best ways to prevent this.
Step 6: Completing the Weld
Finishing the weld properly is just as important as starting it.
* **Maintaining the Puddle:** As you approach the end of the joint, try to maintain a consistent puddle size.
* **Tie-In:** When starting a new weld or at the end of a run, ensure you “tie-in” properly to avoid craters. This involves slightly increasing heat or dwelling momentarily to fill any crater. In autogenous welding, this might involve slightly overlapping the end of the previous bead or dwelling longer to ensure the edges fully fuse.
* **Post-Flow:** Allow the shielding gas to flow for the predetermined post-flow time to protect the cooling weld puddle and tungsten electrode from oxidation.
Practical Tips for Success
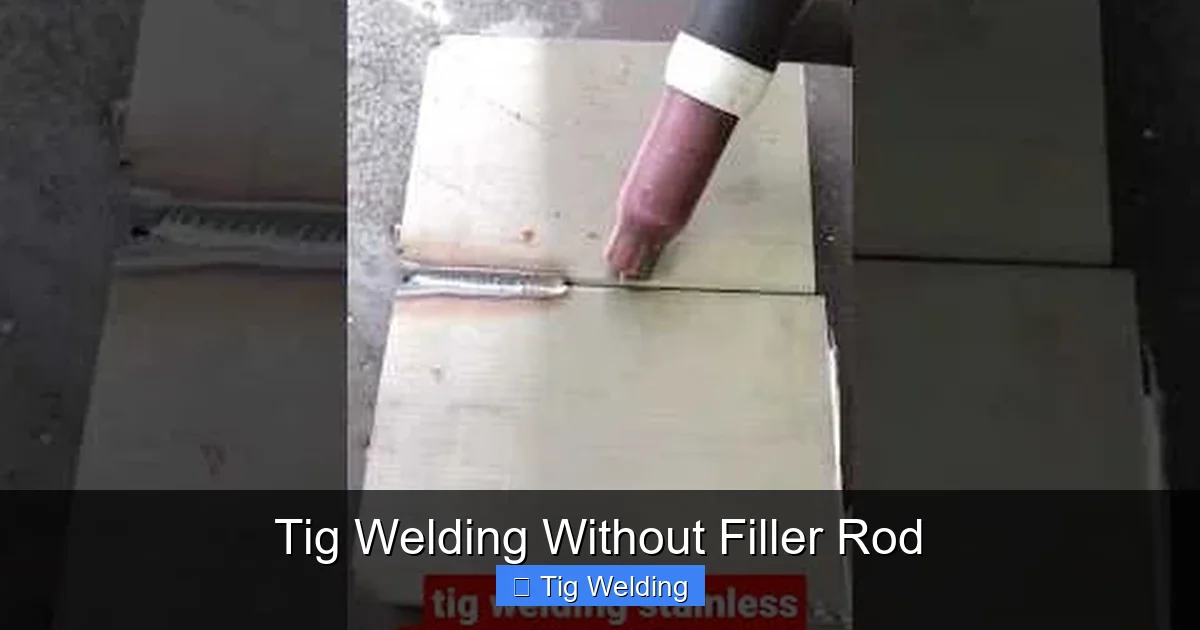
Visual guide about Tig Welding Without Filler Rod
Image source: i.ytimg.com
* **Practice on Scrap Material:** Before attempting autogenous welding on your actual project, practice extensively on scrap pieces of the same material and thickness. This is the best way to dial in your amperage settings and develop your technique.
* **Observe the Puddle:** Your eyes are your most important tool. Constantly watch the molten puddle. Learn to recognize the signs of insufficient heat (no melting), excessive heat (blow-through, burning), and just the right amount of heat (smooth fusion).
* **Maintain a Consistent Arc Length:** A consistent distance between the tungsten and the workpiece is crucial for stable heat input. Too close can cause tungsten contamination; too far can lead to an unstable arc and poor penetration.
* **Keep Your Tungsten Clean and Sharpened:** A well-sharpened tungsten electrode (ground to a taper for DC, a blunter taper for AC) provides a more stable and focused arc. Remove any contamination immediately.
* **Work on Edge Welds:** For your first attempts, focus on welding two pieces of metal together along their edges, rather than trying to fill a gap. This mimics the process of autogenous welding more closely.
* **Consider Material Type:** Different metals behave differently. Aluminum, for example, melts and oxidizes quickly, requiring a slightly different approach than stainless steel. Stainless steel can be prone to distortion.
Troubleshooting Common Issues
Even with practice, you might encounter some common problems.
* **Blow-Through:** This happens when you have too much heat or move too slowly, causing the metal to melt completely and create a hole.
* Solution: Reduce amperage, increase travel speed, or ensure better edge fit-up to prevent excessive material melting.
* **Lack of Fusion/Penetration:** The edges don’t melt and fuse together properly, resulting in a weak or incomplete weld.
* Solution: Increase amperage, slow down your travel speed, ensure proper joint preparation and fit-up, and check your torch angle.
* **Undercutting:** A groove is formed along the edge of the weld bead, reducing its strength.
* Solution: This is often a sign of excessive heat. Reduce amperage, ensure a consistent travel speed, and focus on filling the joint evenly.
* **Porosity:** Small holes or voids in the weld bead, often caused by contamination.
* **Solution:** Ensure thorough cleaning of the base metal. Check your shielding gas flow and coverage. Make sure your tungsten isn’t contaminated.
* **Distortion:** The workpiece warps due to excessive heat input.
* **Solution:** Use lower amperage, faster travel speeds, and consider clamping or tacking to help manage heat. Sometimes, strategically placing welds can help minimize distortion.
When NOT to Weld Without Filler Rod
It’s important to recognize that autogenous TIG welding isn’t a universal solution. There are situations where using filler rod is essential:
* **Thicker Materials:** When the material thickness exceeds the point where the edges can reliably melt and fuse without significant distortion or lack of penetration, filler rod is necessary to build up the weld.
* **Bridging Gaps:** If there is a significant gap between the pieces to be welded, filler rod is required to fill that gap and create a complete joint.
* **Achieving Specific Mechanical Properties:** Filler metals are often designed to impart specific strength, ductility, or corrosion resistance properties to the weld that the base metal alone might not achieve.
* **Certain Joint Types:** For fillet welds or complex joint configurations, filler rod is usually indispensable.
Conclusion
Tig welding without filler rod, or autogenous welding, is a refined skill that, when mastered, opens up possibilities for incredibly clean, precise, and visually stunning welds. It demands a deep understanding of heat control, meticulous joint preparation, and a steady hand. By focusing on these elements and practicing diligently, you can successfully fuse metals together without the need for additional material.
Remember, the key is to observe, adjust, and practice. Each weld is an opportunity to learn and refine your technique. So, grab some scrap metal, set up your welder, and start exploring the art of autogenous TIG welding. You’ll be amazed at the results you can achieve.
