

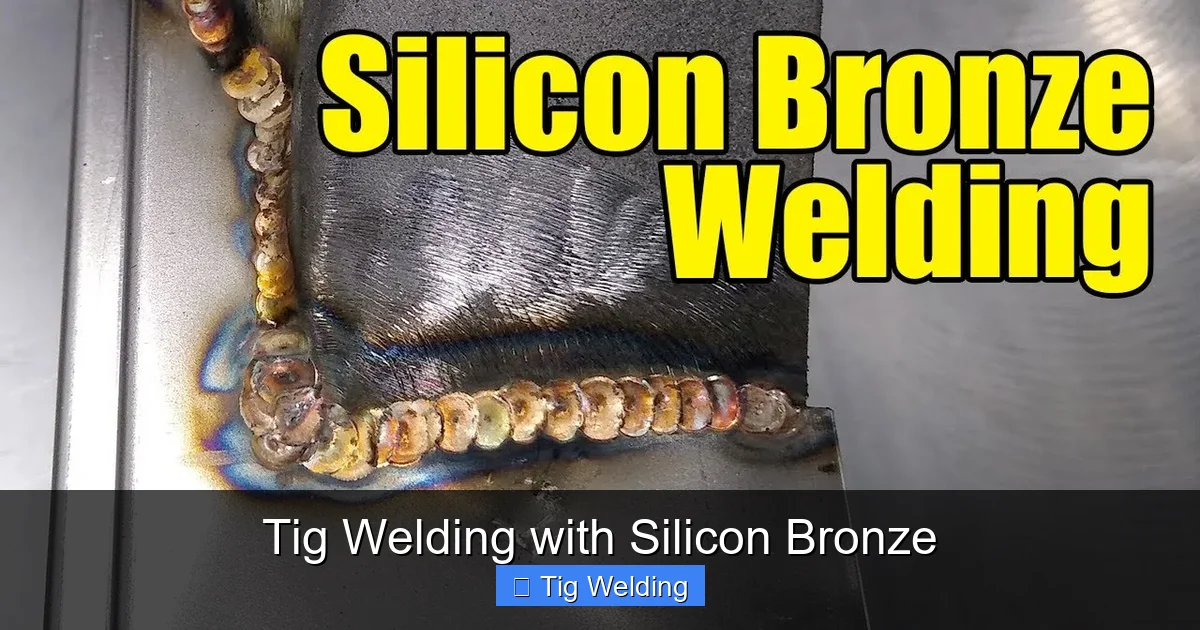
Learn to TIG weld with silicon bronze, a versatile filler metal known for its excellent corrosion resistance and strength. This guide provides a step-by-step approach, covering essential setup, proper torch angles, heat control, and filler metal manipulation for achieving high-quality, visually appealing welds. We’ll also address common challenges and offer solutions, ensuring you can confidently tackle silicon bronze projects.
Tig Welding with Silicon Bronze
TIG welding, also known as Gas Tungsten Arc Welding (GTAW), is a precise and versatile welding process. When it comes to joining materials like silicon bronze, TIG welding offers a beautiful and robust solution. Silicon bronze is a fantastic material to work with, known for its excellent corrosion resistance, good strength, and attractive appearance. It’s often used in architectural fabrication, marine applications, sculpture, and even for repairing musical instruments.
If you’re looking to achieve strong, visually appealing welds on silicon bronze, you’ve come to the right place. This comprehensive guide will walk you through everything you need to know, from preparing your workspace and materials to mastering the welding technique and troubleshooting common issues. We’ll break down the process into easy-to-follow steps, providing practical tips and insights to help you become proficient in TIG welding silicon bronze.
Key Takeaways
- Silicon bronze is excellent for TIG welding: It offers superior corrosion resistance and strength, making it ideal for a wide range of applications, especially where aesthetics and durability are important.
- Proper setup is crucial: Selecting the right tungsten electrode, gas lens, and shielding gas (typically 100% Argon) ensures a clean and stable arc.
- Cleanliness is paramount: Both the base metal and filler rod must be meticulously clean to prevent contamination and ensure weld integrity.
- Mastering heat control is key: Silicon bronze has a relatively low melting point and can easily overheat, leading to porosity and weld defects. Practice consistent arc length and amperage.
- Filler rod manipulation matters: A consistent feeding rhythm and proper filler rod angle are vital for creating a smooth, uniform bead with minimal spatter.
- Practice makes perfect: TIG welding silicon bronze requires fine motor skills and a good understanding of heat input. Regular practice on scrap pieces will significantly improve your results.
- Understand common defects: Knowing how to identify and troubleshoot issues like porosity, lack of fusion, and undercut will help you achieve stronger, more reliable welds.
Understanding Silicon Bronze
Before we dive into the welding process, let’s briefly touch on why silicon bronze is such a popular choice for TIG welding. Its composition, typically a copper alloy with a small percentage of silicon, gives it unique properties:
- Corrosion Resistance: It stands up exceptionally well to saltwater and many other corrosive environments, making it a go-to for marine projects.
- Strength: While not as strong as steel, it offers considerable tensile strength for a copper alloy.
- Ductility: It’s relatively easy to form and shape.
- Aesthetics: When welded properly, silicon bronze creates a clean, bright, and attractive joint that can be polished to a high sheen.
However, it’s important to understand that silicon bronze has a lower melting point than steel and can be more susceptible to overheating, which can lead to issues like porosity and weld contamination. This makes proper technique and heat management absolutely critical.
Essential Equipment and Setup
Getting your TIG welding setup right is the first crucial step towards success. For silicon bronze, you’ll need:
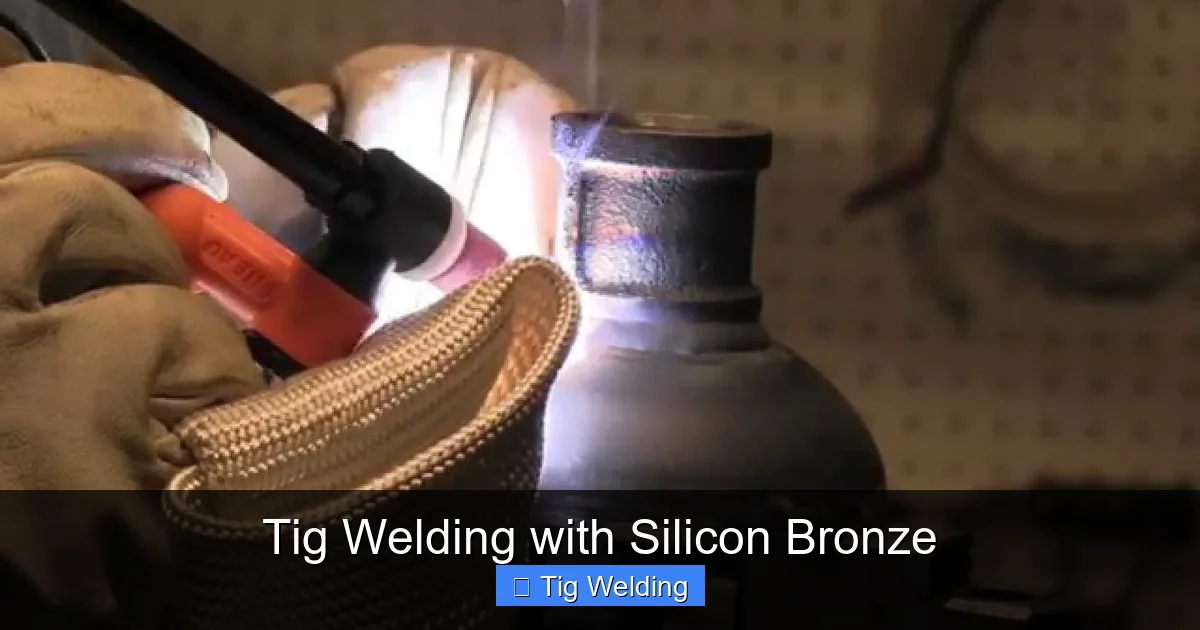
Visual guide about Tig Welding with Silicon Bronze
Image source: i.ytimg.com
1. TIG Welder
Any standard TIG welder capable of AC or DC output will work. Most silicon bronze welding is done with DCEN (Direct Current Electrode Negative), as this provides good penetration without excessive heat. Ensure your machine is in good working order and set to the appropriate amperage range for the thickness of your material.
2. Shielding Gas
100% Argon is the standard and most recommended shielding gas for TIG welding silicon bronze. Argon provides excellent arc stability and protects the molten weld pool from atmospheric contamination, which is crucial for preventing porosity and ensuring a clean weld.
Flow Rate: A typical flow rate is around 15-25 cubic feet per hour (CFH). Start at the lower end and adjust based on your joint configuration and any draft conditions. Too much gas can cause turbulence, while too little won’t provide adequate coverage.
3. Tungsten Electrode
For DC welding of silicon bronze, a 2% Ceriated Tungsten electrode (grey band) is an excellent choice. It provides good arc stability and longevity. You can also use Pure Tungsten (green band) or Lanthanated Tungsten (blue band). For silicon bronze, aim for a tungsten diameter appropriate for your amperage. A common size for general purpose work is 1/16″ or 3/32″.
Sharpening: Always ensure your tungsten is properly sharpened to a pencil-like point for DCEN welding. A well-sharpened tungsten electrode will give you a focused, stable arc.
4. Filler Metal
You’ll need silicon bronze filler rod. Common designations include ERCuSi-A. This filler metal is specifically designed for welding copper alloys and offers the excellent corrosion resistance and strength characteristics of silicon bronze. Ensure the filler rod diameter matches the thickness of your base material and the joint configuration. For thinner materials, use a smaller diameter rod (e.g., 1/16″), and for thicker materials, a larger diameter rod (e.g., 3/32″).
5. Torch and Consumables
- Gas Lens: Using a gas lens on your TIG torch is highly recommended. A gas lens helps to create a wider, more stable cone of shielding gas, providing better protection for the weld puddle, especially on open joints or when welding out of position.
- Ceramic Cup: A medium-sized ceramic cup (e.g., size #6 or #7) is generally suitable.
6. Safety Gear
Always wear appropriate safety gear, including a welding helmet with a suitable shade (typically shade 10-12 for TIG), welding gloves, a flame-resistant jacket or leathers, and safety glasses.
Preparation is Key: The Foundation of a Good Weld
This is arguably the most critical stage when working with silicon bronze. Even the best welding technique will fail if your base material and filler rod are not properly prepared.
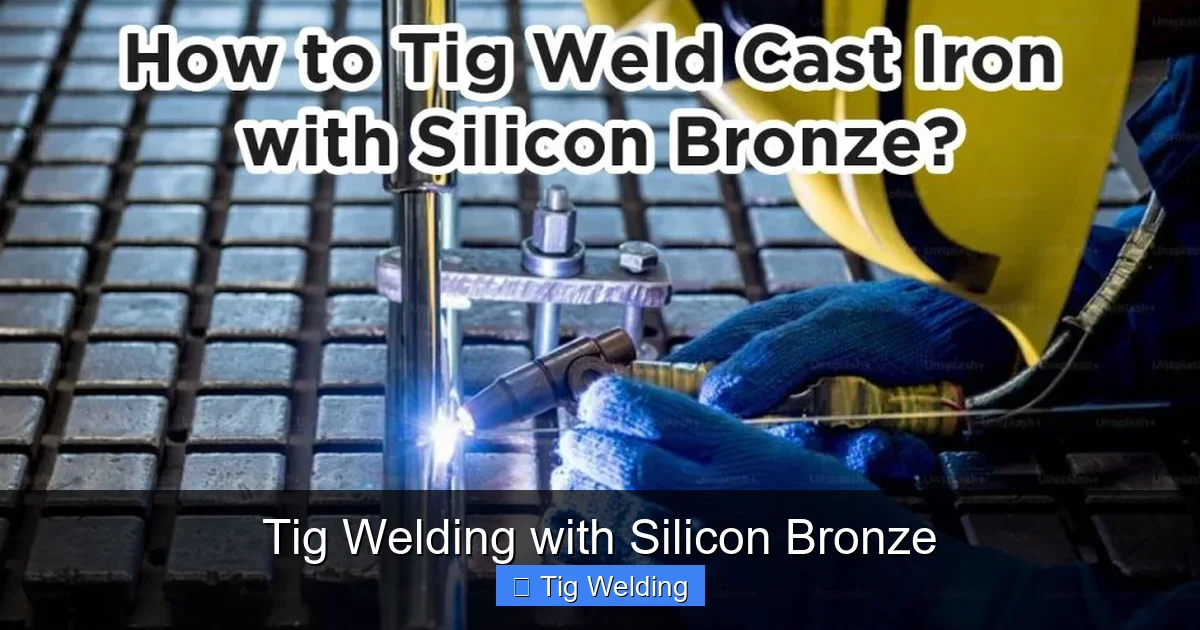
Visual guide about Tig Welding with Silicon Bronze
Image source: weldingproperty.com
1. Cleaning the Base Metal
Silicon bronze can oxidize or pick up contaminants from handling. Thorough cleaning is essential to prevent inclusions and porosity in your weld.
- Mechanical Cleaning: Use a dedicated stainless steel wire brush (never use a brush that has been used on steel to avoid cross-contamination) or abrasive disc to remove any oxides, dirt, grease, or existing coatings from the area you will be welding. Aim for a bright, shiny surface.
- Solvent Cleaning: After mechanical cleaning, wipe down the area with a clean, lint-free cloth and a suitable solvent like acetone or denatured alcohol. This removes any residual oils or fine particles. Allow the solvent to evaporate completely before welding.
2. Cleaning the Filler Rod
The silicon bronze filler rod must also be clean. Wipe it down with a clean cloth and acetone or denatured alcohol before you start welding. Keep your filler rod covered when not in use to prevent contamination.
3. Joint Preparation
For thinner materials (up to around 1/8 inch), a simple butt joint or lap joint can be used without edge beveling. For thicker materials, you may need to bevel the edges to ensure full penetration. A slight V-groove is usually sufficient. Ensure the beveled edges are also thoroughly cleaned.
The Welding Process: Step-by-Step
Now that your equipment is set up and your materials are prepped, you’re ready to weld. Remember, practice is key, so don’t be discouraged if your first attempts aren’t perfect.
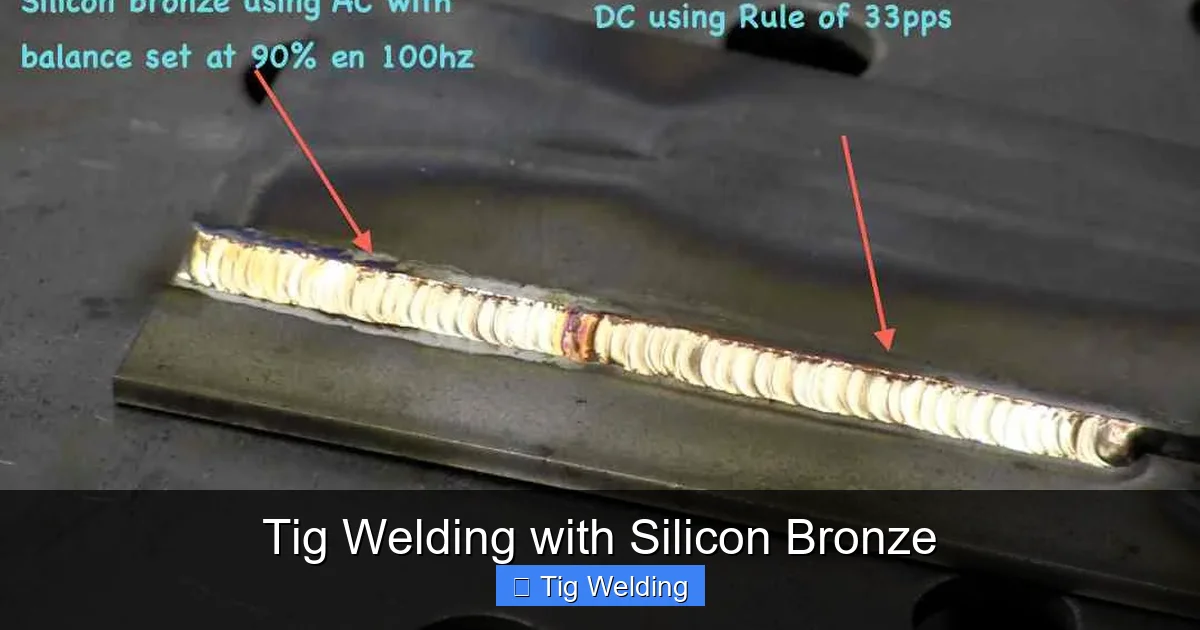
Visual guide about Tig Welding with Silicon Bronze
Image source: weldingtipsandtricks.com
1. Setting Your Machine
Polarity: Set your TIG welder to DCEN (Direct Current Electrode Negative).
2. Initiating the Arc
There are two common ways to initiate the arc:
- Lift Start: Gently lift the tungsten electrode away from the workpiece. This creates the arc.
- High-Frequency Start: If your machine has a high-frequency start, this will initiate the arc without touching the tungsten to the metal. This is generally preferred as it keeps your tungsten clean.
3. Torch Angle and Travel Speed
Hold the TIG torch at a slight angle, generally around 70-80 degrees, pointing in the direction of travel. This helps the shielding gas flow effectively and push the molten puddle. Maintain a consistent travel speed. Too fast, and you won’t get enough penetration; too slow, and you risk overheating and burning through.
4. Adding Filler Metal
This is where the finesse comes in:
- Dip and Add: With the arc established and the puddle forming, bring the silicon bronze filler rod to the leading edge of the molten puddle.
- Consistent Rhythm: Dip the filler rod into the puddle and immediately pull it out slightly. Repeat this dipping motion in a consistent rhythm, feeding the filler metal into the puddle as you move along the joint.
- Avoid Contamination: Never let the filler rod touch the tungsten electrode. This will contaminate the tungsten and create a poor weld.
- Angle: Keep the filler rod at a shallow angle, generally around 15-20 degrees, to match the torch angle.
5. Heat Control
This is paramount for silicon bronze.
- Arc Length: Maintain a short, consistent arc length. A longer arc can lead to a wider, less controlled puddle and increased risk of contamination.
- Amperage: As mentioned, practice to find the sweet spot for amperage. If the puddle is too fluid and threatening to collapse, you have too much heat. If it’s not melting effectively, you need more.
- Intermittent Dwell: In some cases, especially on thinner materials or near edges, you may need to momentarily pause your filler rod addition or even briefly lift the torch slightly to allow the puddle to cool slightly before continuing.
6. Filling the Crater
As you reach the end of your weld, you’ll need to fill the crater. Gradually reduce your amperage (if your machine has a foot pedal or amperage control) or lift the torch slightly while continuing to add filler metal until the crater is filled. Then, release the trigger and allow the post-flow gas to protect the cooling weld.
Practical Tips for Success
- Practice, Practice, Practice: There’s no substitute for hands-on experience. Weld on scrap pieces of silicon bronze to get a feel for the heat, puddle control, and filler rod feeding.
- Watch the Puddle: Your eyes are your best tool. Learn to read the molten puddle. A well-formed puddle will be a bright, fluid shape that consistently melts and fuses the base metal.
- Keep it Clean: Seriously, this can’t be stressed enough. A clean workspace, clean materials, and clean technique will prevent most common welding defects.
- Listen to Your Machine: Pay attention to the sound of the arc. A smooth, consistent arc sound usually indicates a good weld.
- Be Patient: TIG welding, especially with materials like silicon bronze, requires patience and a steady hand. Don’t rush the process.
Troubleshooting Common Issues
Even with careful preparation, you might encounter some challenges. Here are a few common issues and how to address them:
1. Porosity
What it is: Small holes or voids in the weld metal. It looks like tiny bubbles.
2. Lack of Fusion
What it is: The filler metal or base metal hasn’t fully melted and bonded together.
3. Undercut
What it is: A groove or notch along the edge of the weld bead where the base metal has melted away and not fused back.
4. Puddles Collapsing/Burning Through
What it is: The molten puddle becomes too large and can collapse or burn through the base metal.
Conclusion
TIG welding silicon bronze is a rewarding skill that allows you to create beautiful, durable, and corrosion-resistant fabrications. By understanding the properties of silicon bronze, meticulously preparing your materials, and practicing proper welding techniques with a focus on heat control and shielding gas coverage, you can achieve excellent results. Remember to start with clean materials, maintain a steady hand, and always prioritize safety. With consistent practice and attention to detail, you’ll soon be creating high-quality silicon bronze welds that are both structurally sound and aesthetically pleasing.
