

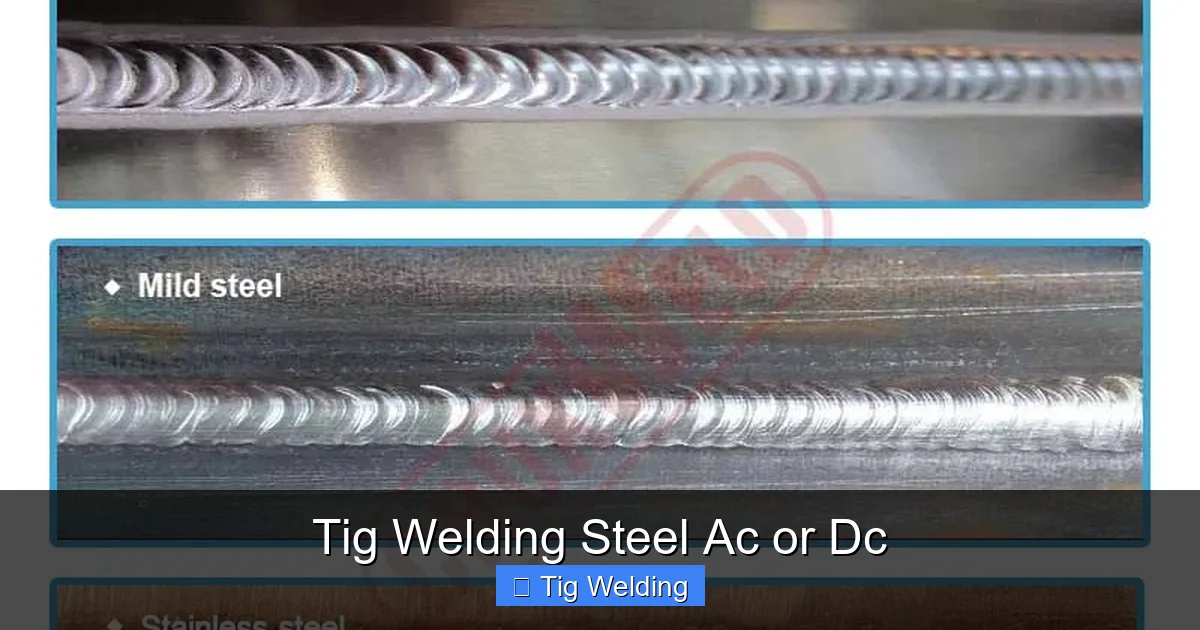
This guide dives into TIG welding steel using both AC and DC current. You’ll learn how to set up your TIG welder for steel, choose the right tungsten and filler metal, and master crucial techniques like arc initiation and puddle control. We’ll explain when to use AC for aluminum and steel, and when DC is the better choice for steel, ensuring you achieve strong, clean, and precise welds every time.
Tig Welding Steel Ac or Dc
Welcome to your ultimate guide on TIG welding steel! Whether you’re a beginner or looking to refine your skills, understanding how to use both AC and DC current is key to achieving superior results. TIG welding, or Gas Tungsten Arc Welding, is known for its precision, clean welds, and versatility. When it comes to steel, the choice between AC and DC can make a significant difference in your weld quality and efficiency. This guide will walk you through everything you need to know.
You’ll learn the essential setup steps, the differences between AC and DC for steel, the right equipment to use, and step-by-step techniques for creating strong, beautiful welds. We’ll demystify the settings, explain electrode selection, and help you master the delicate dance of the TIG torch and filler rod. Get ready to elevate your TIG welding skills!
Key Takeaways
- Understand the fundamental differences between AC and DC current in TIG welding, recognizing their unique properties and applications for steel.
- Learn how to correctly set up your TIG welder for steel, including selecting the appropriate amperage, gas flow, and post-flow settings.
- Master the art of tungsten selection and preparation, as the type, size, and tip grind significantly impact weld quality on steel.
- Discover the role of filler metal in TIG welding steel and how to choose the correct alloy and diameter for your specific project.
- Develop essential TIG welding techniques such as arc initiation, puddle control, filler metal addition, and travel speed for consistent results on steel.
- Know when to use AC versus DC for steel TIG welding, understanding that DC is generally preferred for most steel applications, while AC has specific uses.
- Implement troubleshooting tips to overcome common challenges like porosity, lack of fusion, or undercut when TIG welding steel.
Understanding AC vs. DC Current for Steel
The first crucial step in TIG welding steel effectively is understanding the difference between AC (Alternating Current) and DC (Direct Current) and how each affects the welding arc and your weld puddle.
Direct Current Electrode Negative (DCEN)
For most steel TIG welding, you’ll be using DCEN. This means the electrode (tungsten) is the negative pole and the workpiece is the positive pole. Here’s what happens:
* Deep Penetration: DCEN provides a focused, deep penetrating arc. This is ideal for welding thicker materials and ensuring good fusion between the base metals.
* Stable Arc: You’ll experience a very stable and controllable arc, making it easier to manage the weld puddle.
* Less Cleaning Action: Unlike AC, DCEN doesn’t offer the significant “cleaning action” that burns off oxides. This is why it’s not ideal for materials like aluminum, which have a stubborn oxide layer. However, for clean steel, this is usually not an issue.
Direct Current Electrode Positive (DCEP)
While less common for steel, DCEP involves reversing the polarity.
* Shallow Penetration: DCEP results in a much shallower and wider arc.
* More Cleaning Action: It offers some cleaning action, but not as much as AC.
* Not Recommended for Steel: For general steel TIG welding, DCEP is rarely used due to its limited penetration and less focused arc.
Alternating Current (AC)
AC current alternates between negative and positive polarity. For TIG welding, this is typically configured as AC balanced or unbalanced.
* Cleaning Action: The positive part of the cycle helps break up and remove oxides from the surface of the metal. This is why AC is essential for aluminum, which forms a tough oxide layer quickly.
* Penetration: The negative part of the cycle provides the penetration.
* AC for Steel: While AC is primarily known for aluminum, it can be used for certain steel applications. Often, it’s used on very thin stainless steel or when dealing with slight surface contamination where a bit of cleaning action is beneficial. However, for most carbon steel and thicker stainless steel, DCEN offers superior penetration and control.
Key takeaway for steel: You will most frequently use DCEN for TIG welding steel. You might encounter AC for specialized thin stainless steel work or if your machine defaults to AC and you haven’t adjusted it.
Setting Up Your TIG Welder for Steel

Visual guide about Tig Welding Steel Ac or Dc
Image source: weldingpros.net
Proper setup is crucial for successful TIG welding. Let’s break down the essential settings for steel.
Choosing the Right Amperage
Amperage directly controls the heat input into your workpiece. Too little amperage, and you won’t get enough penetration or fusion. Too much, and you risk burning through your material, creating undercut, or damaging your tungsten.
* General Rule of Thumb: A common starting point for steel is about 1 amp per thousandth of an inch of material thickness. So, for 1/8″ (0.125 inches) thick steel, you’d start around 125 amps.
* Material Thickness:
* Thin sheet metal (e.g., 22 gauge or thinner): 20-70 amps (DCEN)
* Medium thickness (e.g., 1/8″ to 1/4″): 70-150 amps (DCEN)
* Thicker material (e.g., 1/4″ and up): 150+ amps (DCEN)
* Adjustments: Always be prepared to adjust your amperage based on the specific joint, your travel speed, and the filler metal you’re using. Practice is key here.
Selecting the Right Tungsten Electrode
The tungsten electrode is what carries the welding current to the arc. Its type and preparation significantly affect arc stability and weld quality.
* **Tungsten Types for Steel (DCEN):**
* Pure Tungsten (Green Band): Older style, less common now for steel. Prone to balling up.
* 2% Ceriated Tungsten (Orange Band): A very good all-around choice for DC welding on steel. Offers excellent arc stability and long life. Often a go-to for many welders.
* 2% Lanthanated Tungsten (Blue Band): Another excellent choice for DC welding. It provides a stable arc, good starting characteristics, and is quite durable. Many prefer this over Ceriated.
* Zirconiated Tungsten (Brown Band): Good for AC, but can also be used for DC.
* **Tungsten Diameter:**
* Thin materials (under 1/8″): 1/16″ tungsten
* Medium to thicker materials (1/8″ and up): 3/32″ tungsten
* Very thick materials (1/2″ and up): 1/8″ tungsten
* **Tungsten Preparation (Grinding):** For DCEN welding on steel, you’ll want to grind a sharp, pointed tip.
* How to Grind: Use a dedicated tungsten grinder (never a regular grinding wheel, as this contaminates the tungsten). Grind lengthwise along the electrode to create a conical taper, ending in a fine point. A sharper point provides a more focused arc.
* Avoid Balling: If your tungsten balls up (forms a rounded tip), it indicates inconsistent arc, potential contamination, or incorrect settings. This usually leads to arc wandering and poor weld quality.
Choosing the Correct Shielding Gas
Shielding gas protects the molten weld puddle from atmospheric contamination, which can cause porosity and weak welds.
* **Argon (100%):** This is the most common and recommended shielding gas for TIG welding steel, especially on thinner materials. It provides a stable arc and good puddle control.
* Argon/CO2 Mixtures: For thicker carbon steels, you might see mixtures like 90% Argon / 10% CO2 or 75% Argon / 25% CO2. The CO2 adds more “carburizing” action and can lead to deeper penetration and a hotter arc. However, it can also lead to a less refined bead appearance and increase the risk of defects if not used correctly. For most general steel TIG welding, 100% Argon is the safest and best bet.
* **Gas Flow Rate:** A good starting point for gas flow is 10-15 cubic feet per hour (CFH) for a standard TIG torch.
* Too little gas: Leads to porosity and contamination.
* **Too much gas:** Can cause turbulence, drawing in atmospheric contaminants, and potentially blowing the arc around.
* Check your flow meter and regulator. Ensure your gas lens (if used) is properly seated.
Selecting the Right Filler Metal
The filler metal adds material to the joint to create the weld bead. It needs to be compatible with the base metal you are welding.
* **For Carbon Steel:**
* ER70S-2 or ER70S-6: These are the most common filler wires for welding carbon steel. The “ER” stands for Electrode Rod, “70” indicates the tensile strength (70,000 psi), and “S” means Solid wire. S-2 has deoxidizers for cleaner welds, while S-6 is more forgiving of slight surface contamination.
* **For Stainless Steel:**
* **308L (for 304 stainless):** This is a very common choice. The “L” indicates low carbon content, which helps prevent carbide precipitation and maintain corrosion resistance.
* 309L (for dissimilar metals): Used when welding stainless steel to carbon steel.
* **316L (for 316 stainless): For applications requiring higher corrosion resistance, especially in acidic environments.
* **Filler Wire Diameter:**
* Thin materials: 0.030″ or 0.035″
* Medium to thicker materials: 1/16″
* Very thick materials: 3/32″ or 1/8″
* **Match the filler wire diameter to the material thickness and your amperage. A larger diameter wire requires more amperage to melt.
Setting Other Important Parameters
* **Amperage Control:** If your machine has a foot pedal or fingertip control, this is essential for adjusting amperage on the fly as you weld.
* **Pre-flow Gas:** This setting allows shielding gas to flow for a few seconds *before* the arc starts, ensuring the tungsten and the weld area are purged of air. A good starting point is 0.5 seconds.
* **Post-flow Gas:** This setting keeps the shielding gas flowing for a period *after* the arc stops, protecting the cooling weld puddle and tungsten from contamination. Typically, 5-15 seconds is sufficient, depending on the material thickness and amperage. Thicker materials require longer post-flow.
* **Balance Control (AC Only):** Not relevant for DCEN steel welding, but on AC machines, this adjusts the AC waveform to favor penetration (more negative) or cleaning (more positive).
Step-by-Step TIG Welding Steel (DCEN)
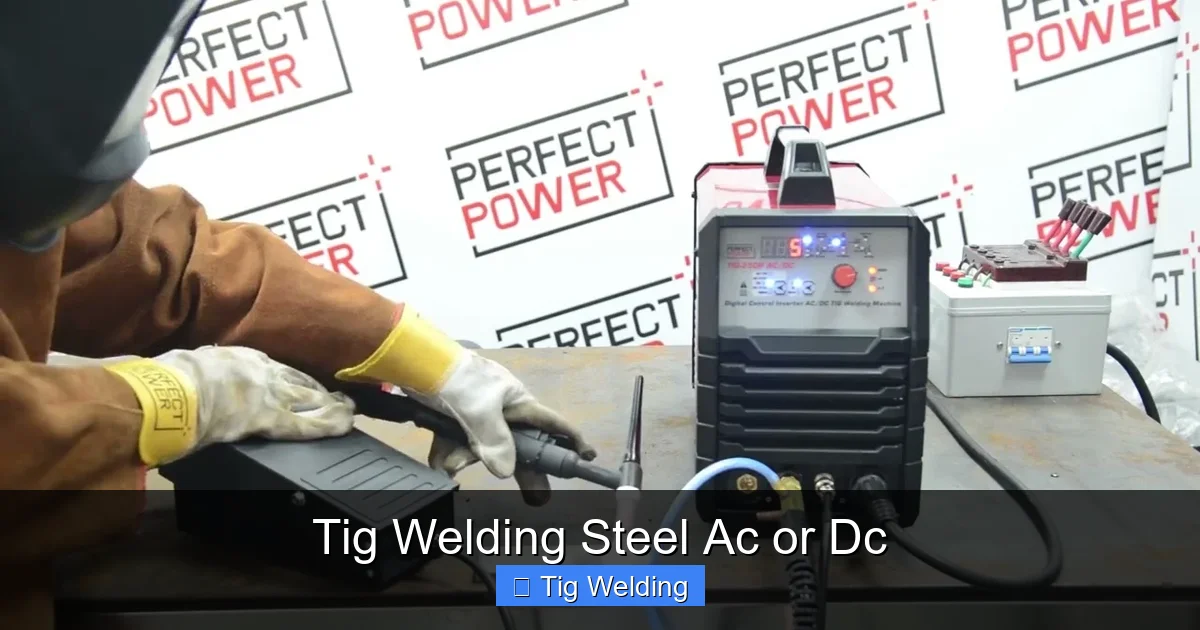
Visual guide about Tig Welding Steel Ac or Dc
Image source: i.ytimg.com
Now that your welder is set up, let’s get to the actual welding. We’ll assume you’re using DCEN for this guide, as it’s the most common method for steel.
Step 1: Prepare Your Workpiece
Cleanliness is paramount in TIG welding.
* **Remove Contaminants:** Use a stainless steel wire brush (dedicated only for TIG work to avoid contamination) and a degreaser to remove any oil, grease, paint, rust, or mill scale from the weld area and surrounding surfaces.
* **Beveling (for thicker materials):** For material thicker than 1/8″ or 3/16″, you’ll likely need to bevel the edges to ensure full penetration. This can be done with a grinder or a specialized beveling tool.
* **Fit-up:** Ensure your parts are properly aligned and clamped. Gaps can be difficult to bridge, and misalignment can lead to weak welds.
Step 2: Set Up Your Tungsten and Torch
* **Insert Tungsten:** Securely install your prepared tungsten electrode into the collet of your TIG torch. Ensure it’s firmly held but not overtightened.
* **Extend Tungsten:** The amount of tungsten sticking out of the gas lens (or cup) affects arc shape and shielding.
* For DCEN, a good starting point is to have about 1/4″ to 1/2″ of tungsten sticking out. A shorter stick-out offers more protection for the tungsten but can limit visibility. A longer stick-out provides better visibility but can make the arc less stable and harder to shield.
* **Select the Right Cup:** The size of the gas cup (ceramic or alumina) influences the gas coverage. Larger cups generally provide better shielding, especially on thicker materials or when welding with more torch-to-workpiece distance. A #6 or #8 cup is a good starting point for many steel applications.
Step 3: Initiate the Arc
There are two primary ways to start an arc:
* **Lift Start:** This is the preferred method for most TIG welders today.
1. Turn on your shielding gas (pre-flow should start).
2. Hold the torch electrode very close to the workpiece (almost touching).
3. Lift the tungsten electrode away from the workpiece in a smooth, controlled motion. The arc will establish as you lift.
4. Once the arc is stable, immediately dip your filler rod into the arc zone.
* **High-Frequency (HF) Start:** Many TIG machines have an HF start feature, which creates a spark to jump the gap and initiate the arc without touching the tungsten to the workpiece.
1. Set your machine to HF start.
2. Hold the torch close to the workpiece.
3. Press the trigger (or pedal). The HF will spark, and the arc will form.
4. Immediately move your torch to the desired welding position and dip your filler rod. HF start is useful for starting on contaminated surfaces or very thin metals where touching might cause damage.
Step 4: Establish and Control the Weld Puddle
This is where the art of TIG welding truly shines.
* **Angle Your Torch:** For DCEN, hold your torch at a slight angle (around 10-15 degrees) pointing in the direction of travel.
* **Maintain Puddle Size:** Once the arc is established, you’ll see a molten puddle form. Use your amperage control (foot pedal or fingertip) to maintain a consistent puddle size.
* **Observe the Puddle:** Learn to read your puddle. It should be a consistent, bright, molten pool. Too small, and you might not be getting fusion. Too large, and you risk burning through or losing control.
Step 5: Add Filler Metal
* **Dipping Technique:** Dip the filler rod into the leading edge of the molten puddle, just enough to melt the tip.
* **Rhythm:** Develop a consistent rhythm of dipping and withdrawing the filler rod. You want to add filler metal smoothly, not in jerky motions.
* **Placement:** Add filler metal to the front of the puddle, so it flows into the molten metal as you move forward. This helps push the puddle and ensures good fusion.
* **Avoid Contact:** Try to avoid touching the tungsten to the filler rod or the workpiece. This will contaminate the tungsten and likely break your arc.
Step 6: Travel and Maintain Arc Length
* **Travel Speed:** Move your torch forward at a consistent speed. Too fast, and you won’t get enough penetration and the puddle won’t form properly. Too slow, and you’ll overheat the material and risk undercut or porosity.
* **Arc Length:** Maintain a consistent arc length – the distance between the tungsten tip and the workpiece. Generally, aim for an arc length that is about the diameter of your tungsten. A shorter arc length is more focused and creates a narrower bead; a longer arc length is less focused and creates a wider bead. Too long an arc can lead to porosity and instability.
Step 7: Finishing the Weld
* **Crater Fill:** As you reach the end of your weld, slow down your travel speed slightly and add a bit more filler metal to fill the “crater” that forms. This prevents a weak spot.
* **Release Trigger/Pedal:** Once the crater is filled, release the trigger or foot pedal to stop the arc.
* **Post-Flow:** Ensure your post-flow gas setting is adequate to protect the cooling weld. Do not remove the torch until the post-flow has completed.
TIG Welding AC for Steel: When and How?
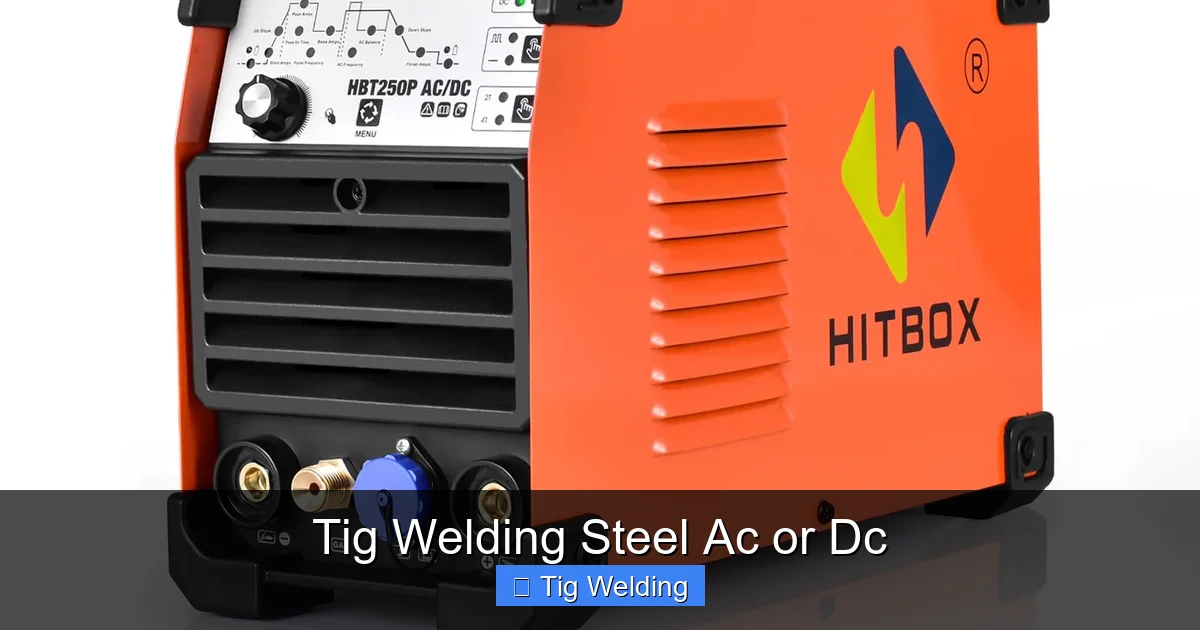
Visual guide about Tig Welding Steel Ac or Dc
Image source: m.media-amazon.com
While DCEN is your primary mode for steel, there are limited situations where AC might be considered, primarily for very thin stainless steel or if your machine is only AC capable.
* **Thin Stainless Steel:** AC’s cleaning action can be beneficial on very thin gauge stainless steel (e.g., 28 gauge) where you want to minimize oxidation and achieve a clean bead. However, you need to be very careful with your settings to avoid blowing through.
* **Settings for AC Steel:**
* Polarity Balance: You’ll likely want to run a balance that favors the negative (penetration) side. This means setting the balance closer to 70% EN (Electrode Negative) and 30% EP (Electrode Positive).
* Frequency: High frequency (around 100-200 Hz) can help create a tighter, more focused arc, which is useful for thin materials.
* Amperage: Start very low. For example, on 28 gauge stainless steel, you might be in the 20-40 amp range.
* **Tungsten:** Use a pointed tungsten, similar to DCEN. Ceriated or Lanthanated are good choices.
* **Gas:** 100% Argon is still your best bet.
* **Challenges with AC on Steel:**
* **Arc Instability:** AC can be less stable than DC for steel, especially if not set up correctly.
* **Overheating:** Without proper control, the alternating nature can lead to excessive heat input and burn-through.
* **Complexity:** It’s generally more complex to master AC welding for steel compared to using DCEN.
Troubleshooting Common Steel TIG Welding Issues
Even experienced welders run into problems. Here are some common issues when TIG welding steel and how to fix them.
Porosity
Small holes or bubbles in the weld bead.
* Cause: Contamination (dirt, oil, rust on the workpiece or filler metal), insufficient shielding gas, turbulent gas flow (too much gas or windy conditions), or contaminated tungsten.
* **Solution:** Ensure extreme cleanliness of all materials. Increase gas flow slightly, check for gas leaks, use a gas lens, and avoid welding in windy areas. Keep your tungsten clean and sharp.
Lack of Fusion (Incomplete Fusion)
The weld metal doesn’t fully bond with the base metal.
* **Cause:** Insufficient amperage, incorrect torch angle, travel speed too fast, or inadequate filler metal addition.
* **Solution:** Increase amperage. Ensure your torch is angled correctly in the direction of travel. Slow down your travel speed. Make sure you’re adding filler metal properly to the leading edge of the puddle.
Undercut
A groove melted into the base metal next to the weld toe.
* **Cause:** Amperage too high, travel speed too fast, or arc too close to the base metal.
* **Solution:** Reduce amperage. Slow down your travel speed. Increase your arc length slightly. Ensure your torch angle is correct.
Worm Tracking (or Wormholes)
Long, tubular defects in the weld bead.
* **Cause:** Often due to sulfur in the base metal or filler metal reacting with atmospheric gases.
* **Solution:** Use high-quality filler metal with sufficient deoxidizers (like ER70S-2 or ER70S-6). Ensure excellent shielding gas coverage.
Cracked Welds
The weld metal or surrounding base metal breaks after cooling.
* **Cause:** Incorrect filler metal for the base metal, excessive heat input, or rapid cooling.
* **Solution:** Ensure you are using the correct filler metal for the specific type of steel. Avoid excessive heat and control your cooling rate. For some high-carbon steels, preheating might be necessary.
Conclusion
Mastering TIG welding steel with AC or DC is a journey that requires practice, patience, and a good understanding of your equipment and materials. For the vast majority of steel TIG welding tasks, **DCEN is your reliable workhorse**, offering deep penetration and excellent control. AC has its niche, primarily for very thin stainless steel, but it’s generally less forgiving for steel than DC.
By understanding how to set up your machine, choose the right consumables, and execute proper welding techniques, you can consistently produce strong, clean, and aesthetically pleasing welds on steel. Remember to prioritize cleanliness, practice your puddle control, and don’t be afraid to experiment on scrap material. With dedication, you’ll soon be TIG welding steel like a pro!
