

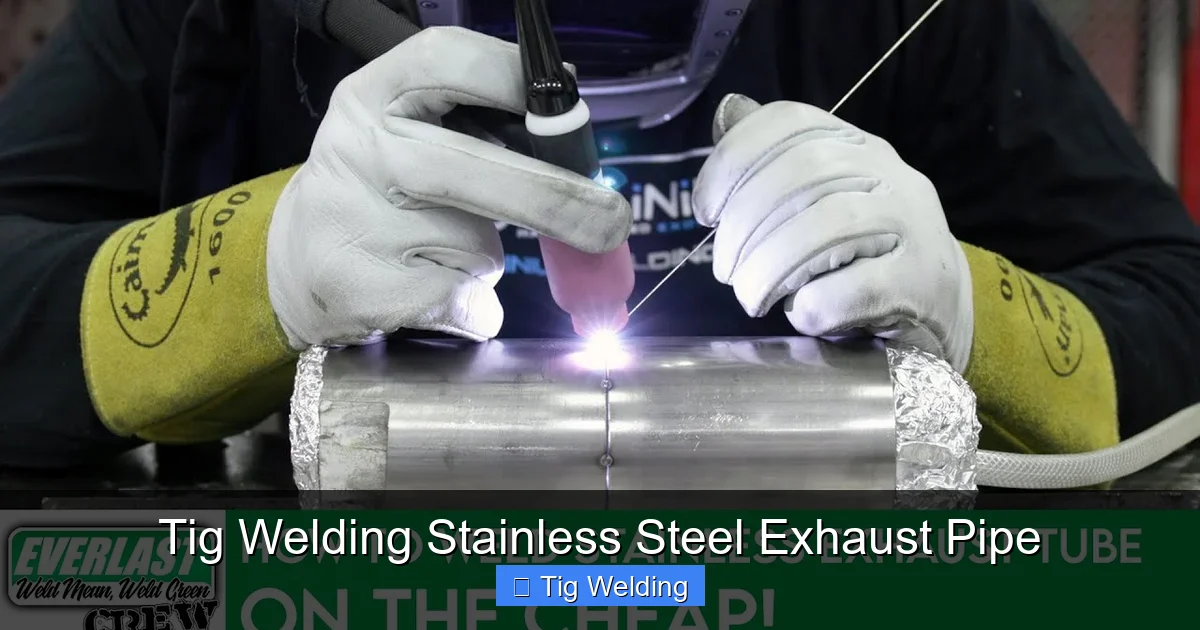
This comprehensive guide will teach you how to TIG weld stainless steel exhaust pipe. We’ll cover everything from material preparation and machine setup to mastering the welding puddle and achieving clean, strong welds. Whether you’re a beginner or looking to refine your skills, follow these steps for professional-quality exhaust fabrication.
Are you ready to take your exhaust fabrication skills to the next level? TIG welding stainless steel exhaust pipe offers a superior aesthetic and excellent durability, but it comes with its own unique challenges. This guide is designed to walk you through the entire process, from understanding your equipment to laying down those beautiful, strong welds. We’ll cover everything you need to know to successfully TIG weld stainless steel exhaust components. Let’s dive in!
Key Takeaways
- Proper preparation is crucial: Thorough cleaning of the stainless steel exhaust pipe, including removing all contaminants and creating a clean bevel, is essential for strong, porosity-free welds.
- Choose the right filler metal: Selecting a stainless steel filler rod that matches or is compatible with the base metal (e.g., 308L for 304 stainless) is vital for weld integrity and corrosion resistance.
- Gas coverage is paramount: Using the correct shielding gas (typically 100% Argon) and ensuring adequate flow to prevent atmospheric contamination is non-negotiable for TIG welding stainless steel.
- Mastering the TIG puddle: Understanding how to control the tungsten arc, filler rod addition, and heat input is key to creating smooth, consistent, and aesthetically pleasing welds.
- Heat management is important: Stainless steel can warp and distort easily. Employing techniques like tack welding, back-stepping, and managing travel speed helps control heat.
- Post-weld cleaning is necessary: Removing weld discoloration (heat tint) with passivation and cleaning methods ensures the corrosion resistance of the stainless steel is maintained.
Understanding the Basics of TIG Welding Stainless Steel Exhaust Pipe
TIG welding, or Gas Tungsten Arc Welding, is a versatile process known for its precision and the high quality of its welds. When applied to stainless steel exhaust systems, it offers a significant advantage over other methods. Stainless steel is more resistant to corrosion and heat than mild steel, making it ideal for exhaust applications. However, stainless steel also behaves differently under heat. It’s more prone to warping, discoloration, and can lose some of its corrosion resistance if not welded properly. This guide will help you navigate these nuances.
Step 1: Gathering Your Equipment and Materials
Before you start welding, ensure you have all the necessary tools and materials. This will save you time and frustration.
A. TIG Welder
You’ll need a TIG welder capable of AC or DC output. For stainless steel, DCEN (Direct Current Electrode Negative) is typically used. Ensure your welder has adjustable amperage control for fine-tuning your heat input.
Visual guide about Tig Welding Stainless Steel Exhaust Pipe
Image source: weldingproperty.com
B. TIG Torch and Consumables
This includes your TIG torch, collets, ceramic cups (different sizes are useful), tungsten electrodes (2% thoriated or ceriated are common and work well for DC), and a gas lens. A gas lens provides better shielding gas coverage, which is critical for stainless steel.
C. Shielding Gas
For stainless steel, 100% Argon is the standard. It provides excellent arc stability and protects the molten puddle from atmospheric contaminants. Ensure your gas cylinder is full and your flow meter is working correctly.
D. Filler Metal
You’ll need stainless steel filler rod. The type of rod should match or be compatible with the stainless steel you are welding. For common exhaust applications using 304 stainless steel, 308L filler rod is a good choice. The ‘L’ denotes low carbon content, which helps prevent carbide precipitation, a cause of corrosion. Other stainless alloys might require different filler metals, so always check the material specifications.
E. Safety Gear
This is non-negotiable. You’ll need a welding helmet with the appropriate shade, welding gloves, a fire-resistant jacket or leathers, and sturdy, closed-toe shoes. Always weld in a well-ventilated area or use fume extraction.
F. Preparation Tools
You’ll need a grinder with a stainless steel-specific grinding wheel or flap disc, a wire brush (stainless steel bristles only – never use a brush that has been used on mild steel), acetone or an equivalent degreaser, and clean rags.
Step 2: Preparing the Stainless Steel Exhaust Pipe
Proper preparation is arguably the most important step in achieving high-quality TIG welds on stainless steel. Contamination is the enemy.
A. Cleaning the Material
Start by thoroughly degreasing the exterior and interior surfaces of the exhaust pipe where you’ll be welding. Use acetone or a specialized degreaser and clean rags. Wipe until the rag comes away clean. Any oil, grease, or dirt will turn into contaminants in your weld, causing porosity and weak joints.
Visual guide about Tig Welding Stainless Steel Exhaust Pipe
Image source: i.ytimg.com
B. Beveling the Edges
For pipe-to-pipe or pipe-to-flange connections, you’ll often need to create a bevel. This ensures full penetration of the weld. A consistent 30-45 degree bevel is common. You can achieve this with a grinder. Aim for a clean, smooth bevel with no sharp edges or burrs.
C. Final Cleaning
After beveling, clean the beveled edges and the surrounding area again with acetone. Use a clean wire brush to remove any metal dust or filings from grinding. It’s good practice to brush the weld area in one direction to create a uniform surface.
Step 3: Setting Up Your TIG Welder
Correct machine settings are crucial for controlling the arc and the heat.
A. Tungsten Electrode
For DC welding on stainless steel, a thoriated or ceriated tungsten electrode is recommended. Sharpen it to a fine point. This will help you establish a focused arc. A general guideline for tungsten diameter is to match it roughly to your amperage. For exhaust pipe thickness (typically 0.035″ to 0.065″), 0.040″ or 1/16″ tungsten is usually suitable.
Visual guide about Tig Welding Stainless Steel Exhaust Pipe
Image source: i.ytimg.com
B. Polarity
Set your welder to DCEN (Direct Current Electrode Negative). This directs most of the heat into the workpiece, which is what you want for penetration.
C. Amperage
The amperage setting will depend on the thickness of the stainless steel pipe and the joint design. For typical exhaust tubing (around 16-18 gauge), amperage might range from 50 to 100 amps. It’s best to start with a lower setting and increase it as needed. Practicing on scrap pieces is highly recommended to find the sweet spot.
D. Gas Flow Rate
Set your Argon flow rate to approximately 15-25 CFH (Cubic Feet per Hour). Too little gas won’t protect the weld; too much can cause turbulence and pull in air. You want a steady, even stream of gas. Use a flow meter on your regulator.
E. Post-flow Setting
Ensure your TIG machine has a post-flow setting. This keeps the shielding gas flowing over the cooling weld for a few seconds after you lift the torch. This is critical to prevent oxidation (sugaring) on the back side of the weld. A post-flow of 5-10 seconds is usually sufficient.
Step 4: The Welding Process
Now for the exciting part – laying down some welds!
A. Tack Welding
Before welding the entire joint, tack weld the exhaust pipe sections together. This holds them in place and helps prevent movement and distortion. Place tack welds strategically around the circumference, about 1-2 inches apart. Ensure your tack welds are sound and penetrate the base metal. Clean each tack weld area with a stainless steel brush after welding.
B. Torch Angle and Arc Length
Hold the torch at a slight angle (about 10-15 degrees) in the direction of travel. Keep the arc length short – about the diameter of your tungsten electrode. A short arc provides a more focused and stable weld puddle. With a gas lens, you can maintain a consistent gas shield even with a slightly tighter torch angle.
C. Filler Rod Addition
Feed the filler rod into the leading edge of the weld puddle. Use a consistent, rhythmic motion. Don’t dip the filler rod into the arc itself. The filler rod should melt from the heat of the puddle. For exhaust pipes, you might not need a lot of filler rod, especially if you have good fit-up and penetration.
D. Controlling the Weld Puddle
Watch the puddle! This is the most important skill in TIG welding. The puddle should be a bright, molten pool. Too much heat, and it will get too large and risk burning through. Too little heat, and you won’t get good fusion. You’ll need to adjust your amperage on the fly, often using a foot pedal or thumb control, to maintain a consistent puddle size and shape.
E. Travel Speed
Maintain a consistent travel speed. If you go too slow, you’ll add too much heat and risk burning through. If you go too fast, you won’t get good fusion. Aim for a steady progression that results in a nice, even bead with good tie-in to the base metal.
F. Intermittent Welding (Back-Stepping)
To minimize heat buildup and distortion, consider using an intermittent welding technique or back-stepping. With back-stepping, you weld a short distance forward, then move back slightly and weld forward again, creating overlapping segments. This helps dissipate heat more evenly.
G. Purging the Interior (Crucial for Exhaust)
For exhaust pipes, it’s critical to purge the inside of the pipe with Argon. This prevents oxidation and “sugaring” on the inside of the weld, which can lead to leaks and premature failure. You can do this by inserting a purge dam (made from water-soluble paper or specialty purge plugs) a few inches back from the weld joint and flowing Argon through the pipe. Ensure you have a good flow of Argon inside for at least 5-10 pipe diameters ahead of your weld.
Step 5: Post-Weld Cleaning and Inspection
Once you’ve finished welding, a few more steps ensure the longevity and appearance of your exhaust system.
A. Removing Heat Tint
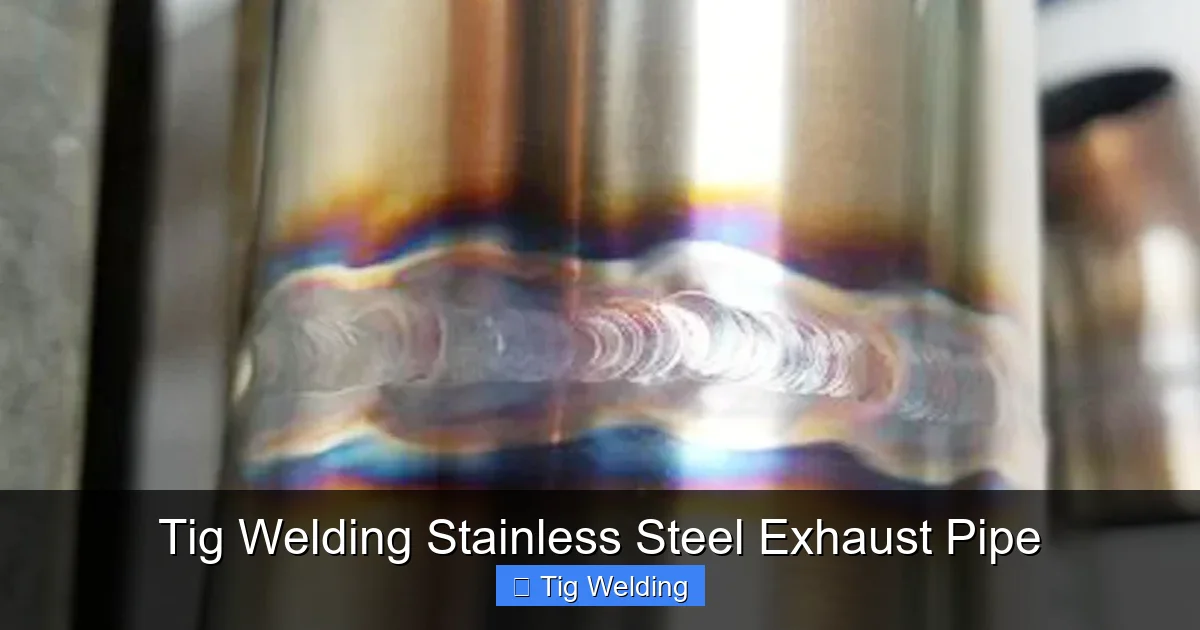
You’ll notice some discoloration (heat tint or “sugaring”) around the weld. This is oxidized stainless steel. To restore its corrosion resistance, you need to remove this. You can use a stainless steel-specific stainless steel cleaner and passivation treatment. Avoid using wire wheels or grinders that have been used on mild steel, as this can embed iron particles and cause rust.
B. Inspecting Your Welds
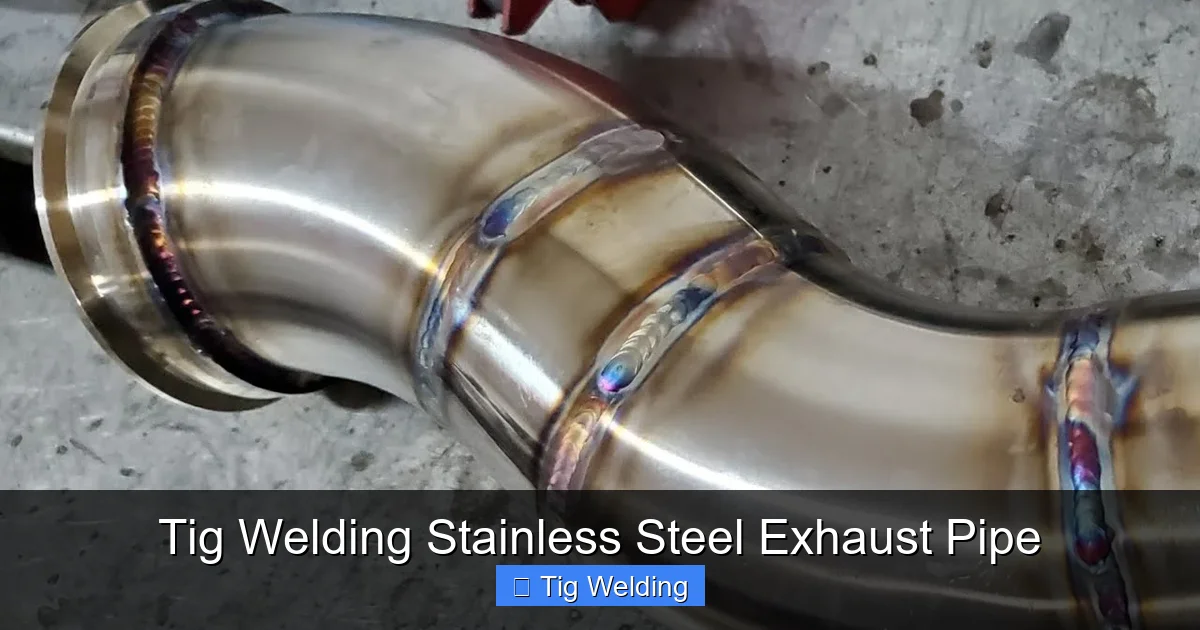
Visually inspect your welds. Look for good fusion, consistent bead width, and the absence of defects like porosity, undercutting, or cracks. The back of the weld (if you can see it) should be smooth and free of excessive oxidation.
Troubleshooting Common TIG Welding Issues
Even with practice, you might encounter problems. Here are a few common ones and how to fix them.
A. Porosity
Cause: Contamination (oil, grease, dirt, or dirty filler rod), insufficient shielding gas, or wind.
Solution: Thoroughly clean the material. Ensure proper gas flow and prevent drafts. Use clean filler rod and tungsten.
B. Burn-Through
Cause: Too much amperage, travel speed too slow, or thin material.
Solution: Reduce amperage, increase travel speed, or use a faster pulsing setting if your machine has one. Practice with tack welds to get your settings right.
C. Undercutting
Cause: Arc too close to the base metal, amperage too high, or improper filler rod manipulation.
Solution: Increase arc length slightly (but keep it short), reduce amperage, or adjust filler rod addition to fill the undercut area.
D. Lack of Fusion
Cause: Amperage too low, travel speed too fast, or improper bevel angle preventing penetration.
Solution: Increase amperage, slow down your travel speed, and ensure you have adequate joint preparation (bevels) for full penetration.
Conclusion
TIG welding stainless steel exhaust pipe is a rewarding skill that can significantly enhance the quality and performance of any custom exhaust system. By understanding the unique properties of stainless steel, diligently preparing your materials, setting up your equipment correctly, and practicing your technique, you can achieve professional-grade results. Remember that practice makes perfect, so don’t be discouraged by initial challenges. Focus on clean work, controlled heat, and consistent technique, and you’ll soon be creating beautiful, durable stainless steel exhaust welds. Happy welding!
