


Learn the art of TIG welding without filler metal. This technique is ideal for joining thin materials or creating decorative bead work where a minimal profile is desired. We’ll cover the essential setup, proper torch manipulation, and how to achieve a strong, clean fusion weld. Mastering this skill opens up new possibilities in your TIG welding projects.
Tig Welding No Filler
Welcome to our comprehensive guide on TIG welding without filler metal! If you’ve ever admired those clean, almost seamless welds on intricate metalwork or wondered how to join thin pieces of metal without adding another element, you’re in the right place. TIG welding, also known as Gas Tungsten Arc Welding (GTAW), is a versatile process, and while filler metal is common, mastering the no-filler technique opens up a world of possibilities.
In this guide, we’ll walk you through everything you need to know to achieve successful fusion welds. We’ll cover what TIG welding without filler is, when to use it, the essential equipment, and a detailed step-by-step process. Get ready to elevate your TIG welding skills!
Key Takeaways
- Edge-to-Edge Fusion: TIG welding without filler relies on melting the edges of the base metals together to create a strong bond.
- Material Thickness is Crucial: This technique is best suited for thin materials, typically 1/8 inch (3mm) and thinner, where the base metal can be melted without excessive burn-through.
- Precise Heat Control is Paramount: Accurate amperage settings and skillful torch movement are vital to prevent blowing holes or creating an insufficient weld.
- Edge Preparation is Key: Clean, square, and properly aligned edges are essential for successful fusion welding.
- Shielding Gas is Non-Negotiable: Proper argon shielding is critical to protect the molten puddle from atmospheric contamination, ensuring a strong and clean weld.
- Applications are Specific: TIG welding without filler is ideal for cosmetic seams, tacking, joining very thin sheets, or creating a smooth, low-profile weld.
What is TIG Welding Without Filler?
TIG welding without filler metal, often called “fusion welding,” is a TIG welding process where the primary objective is to melt the edges of the base metals together to form a unified joint. Instead of introducing a separate rod of filler material, the welder manipulates the tungsten electrode and the heat from the arc to melt and fuse the parent materials. This technique is ideal for situations where a minimal weld bead is desired, or when joining very thin materials where adding filler might be cumbersome or unnecessary. The resulting weld will have a low profile and can be very aesthetically pleasing if executed correctly.
When to Use TIG Welding Without Filler
This specialized technique isn’t for every TIG welding job. Its effectiveness hinges on several factors, primarily material thickness and joint type.
Ideal Scenarios for Fusion Welding:
- Thin Materials: This is the most common application. When working with sheet metal, typically 1/8 inch (3mm) thick or less, you can often melt the edges together without needing additional filler.
- Cosmetic Seams: For projects where aesthetics are paramount, such as decorative metal art or visible seams on custom fabrication, a fusion weld offers a cleaner, less prominent bead.
- Tacking: In some instances, a quick tack weld can be created by fusing the edges of two pieces together to hold them in place before a more substantial weld.
- Edge-to-Edge Joints: This technique excels in butt joints and edge joints where the metal edges can be brought into direct contact and melted.
- Specific Metal Types: Some metals, like stainless steel and aluminum, lend themselves well to fusion welding due to their melting characteristics.
Essential Equipment for TIG Welding Without Filler
While the core TIG welding setup remains the same, a few considerations are particularly important when omitting filler.
Your TIG Welding Machine:
You’ll need a DC or AC TIG welder capable of producing a stable arc and offering precise amperage control. For fusion welding thinner materials, lower amperage settings are often necessary, so a machine with a good low-end capability is beneficial.

Visual guide about Tig Welding No Filler
Image source: i.redd.it
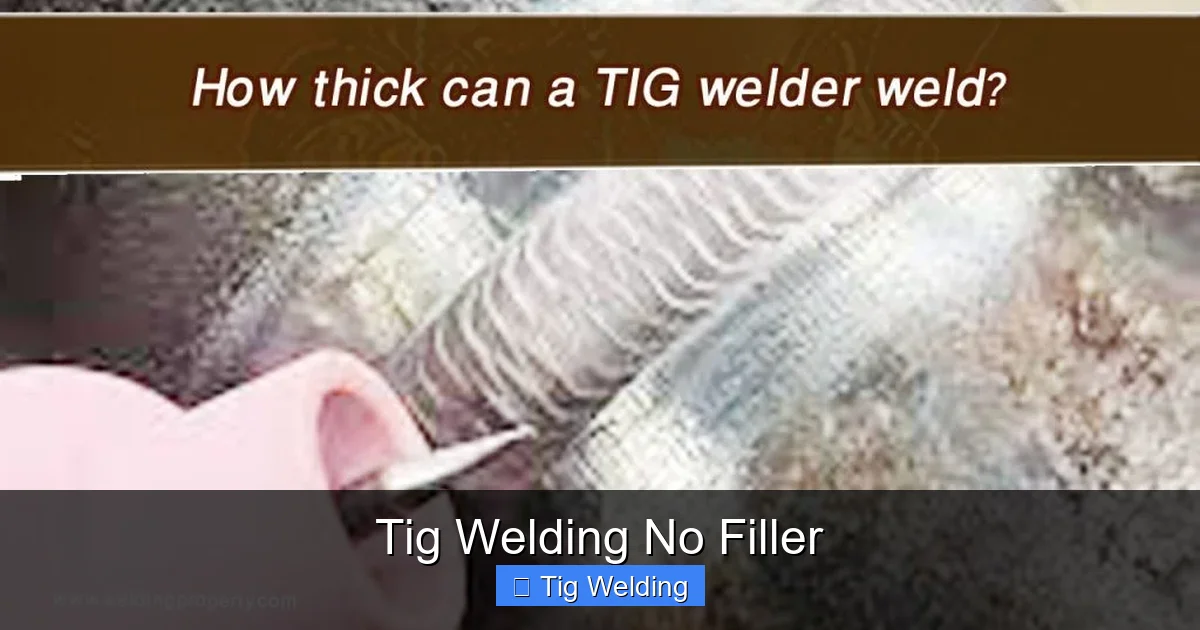
Visual guide about Tig Welding No Filler
Image source: weldingproperty.com
Tungsten Electrode:
The choice of tungsten electrode matters. Pure tungsten or zirconiated tungsten are often used for AC welding (aluminum), while thoriated or ceriated tungsten are common for DC welding (steel, stainless steel). Ensure your tungsten is properly sharpened to a fine point. This sharp point helps concentrate the arc, which is crucial for controlled melting of the base metal.
Shielding Gas:
Pure Argon is the standard shielding gas for TIG welding and is absolutely critical for fusion welding. It protects the molten puddle from atmospheric contamination, preventing oxidation and ensuring a clean, strong weld. Ensure your gas flow rate is set correctly – typically around 15-25 cubic feet per hour (CFH), but this can vary based on your torch cup size and joint type.
Torch and Consumables:
You’ll use a standard TIG torch. The size of your ceramic cup (torch cup) can influence the gas coverage. A smaller cup might be preferred for intricate work, while a larger cup can provide broader coverage. Keep your gas lens setup clean and functional for optimal shielding.
Personal Protective Equipment (PPE):
Always wear appropriate PPE, including a TIG welding helmet with the correct shade, welding gloves, a leather apron, and flame-resistant clothing.
Step-by-Step Guide to TIG Welding Without Filler
Now, let’s get to the practical steps. Success in fusion welding relies on meticulous preparation and precise execution.
Step 1: Prepare Your Material
This is arguably the most critical step. In fusion welding, there’s no filler material to bridge gaps or mask imperfections.
Cleaning the Metal:
Thoroughly clean the edges of the metal you intend to weld. Use a stainless steel wire brush and a degreaser to remove any dirt, oil, grease, rust, or paint. For aluminum, a dedicated aluminum brush and acetone are recommended. Contamination will lead to a weak and porous weld.

Visual guide about Tig Welding No Filler
Image source: weldguru.com
Edge Preparation:
Ensure the edges are as perfectly aligned and butted up against each other as possible. For butt joints, a slight gap might be acceptable on thicker materials, but for true fusion welding, especially on thin stock, you want a clean, square edge-to-edge fit. If you’re joining thicker materials (approaching the upper limit for fusion), a slight V-groove might be beneficial to ensure penetration, but for true no-filler work, square edges are the goal.
Step 2: Set Up Your TIG Welder
Proper machine settings are crucial for controlling the heat and achieving a clean fusion.
Amperage Setting:
This is where experience and practice come in. The amperage will depend heavily on the material type and thickness. As a general starting point for thin mild steel (around 18-gauge or 1mm thick), you might begin with 40-60 amps DCEN (Direct Current Electrode Negative). For thinner aluminum, you might use AC with a similar amperage range. It’s always best to consult a welding chart or practice on scrap pieces to dial in the correct settings. Too much heat will cause burn-through, while too little will result in an incomplete fusion.
Torch Angle:
Hold the TIG torch at a slight angle, typically around 75-85 degrees, relative to the workpiece. This angle helps direct the shielding gas effectively and allows for good visibility of the puddle.
Tungsten Stick-Out:
Keep your tungsten stick-out from the cup relatively short, about 1/8 to 1/4 inch (3-6mm). This helps to concentrate the arc and provides better control. A longer stick-out can lead to a wider arc and less focused heat.
Step 3: Initiate the Arc
There are a few ways to start an arc in TIG welding. For fusion welding, precision is key.
High-Frequency Start:
Most modern TIG welders have a high-frequency start, which is ideal. Simply bring your tungsten close to the workpiece and press the foot pedal or trigger. The HF will initiate the arc without you needing to touch the tungsten to the metal, preventing contamination of the tungsten.
Lift Arc Start:
Some machines offer a lift arc start. You gently touch the tungsten to the workpiece and then lift it quickly. This creates the arc without embedding the tungsten.
Step 4: Control the Heat and Puddle
This is the core of successful fusion welding. It’s all about manipulating the heat source to melt the base metal edges precisely.
Foot Pedal Control:
If you’re using a foot pedal, this is your primary tool for heat control. As you initiate the arc, you’ll begin with a low amperage and gradually increase it as needed. You’re looking to see the edges of the metal begin to glow and form a small molten puddle. As you move, you’ll subtly modulate the pedal to maintain a consistent puddle size.
Torch Manipulation:
Move the torch in a consistent, steady motion along the joint. For fusion welding, you’re not just melting one edge; you’re directing the arc so that it melts both edges simultaneously. A slight side-to-side or oscillating motion can help ensure even melting and fusion. Watch the edges of the material intently. You want to see them start to soften and melt inwards, meeting in the middle.
Puddle Size:
The goal is to create a small, controlled molten puddle that is just large enough to fuse the edges. If the puddle becomes too large, you risk burn-through or an oversized, messy weld. If it’s too small, you won’t achieve proper fusion.
Step 5: Make the Weld
Combine your heat control and torch movement to create the fusion weld.
Starting the Weld:
Once you have a stable arc and a small molten puddle forming at the beginning of the joint, begin to move the torch steadily along the seam. Your goal is to maintain a consistent puddle size by precisely controlling the amperage with your foot pedal.
Maintaining the Weld:
As you move, the arc should be directed at the area where the two edges meet. You’re essentially pushing the molten puddle along the joint. Continuously observe the puddle’s size and shape. If it’s growing too large, ease off the pedal. If it seems too small or the edges aren’t melting, gently increase pedal pressure. A slight fore-and-aft motion with the torch can help ensure both edges melt and merge effectively.
Stopping the Weld:
As you reach the end of the joint, gradually ease off the foot pedal to taper down the amperage. This prevents a crater at the end of the weld, which can be a weak point. Hold the arc on the finished weld for a moment as it solidifies before extinguishing the arc.
Step 6: Post-Weld Cleaning and Inspection
Once the weld has cooled sufficiently, clean it up and inspect your work.
Cleaning:
Use a stainless steel wire brush to remove any discoloration or weld spatter. For stainless steel, a dedicated stainless steel brush should be used to avoid cross-contamination.
Inspection:
Visually inspect the weld for any signs of cracks, porosity (small holes), or incomplete fusion. Check for excessive convexity or concavity. A good fusion weld should look smooth and have minimal reinforcement.
Practical Tips for Success
* Practice on Scrap: Before working on your final project, always practice on scrap pieces of the same material and thickness. This is the best way to dial in your amperage settings and develop your torch control.
* Master Your Foot Pedal: The foot pedal is your best friend in TIG welding, especially for fusion. Learn to feather it, making subtle adjustments to control the heat precisely.
* Keep Your Tungsten Clean: A clean, sharp tungsten electrode provides a focused arc, which is essential for controlled melting. Re-grind your tungsten if it becomes balled up or contaminated.
* Observe the Puddle: Your eyes are your most important tool. Watch how the metal melts and fuses. Learn to recognize the signs of too much heat (burn-through, excessive sagging) and too little heat (incomplete fusion, lack of wetting).
* Use a Gas Lens: A gas lens setup can significantly improve shielding gas coverage, which is critical for preventing contamination in fusion welds.
* Consider Joint Design: While fusion welding works best on thin, square-edged materials, for slightly thicker materials where fusion is still desired, a very light scarf or bevel might be needed to ensure adequate penetration, but this moves away from pure no-filler technique.
Troubleshooting Common Issues
Even with practice, you might encounter problems. Here are a few common ones and how to address them.
Burn-Through:
Cause: Too much amperage, moving too slowly, or material is too thin for the settings.
Solution: Reduce amperage, increase travel speed, or ensure you’re using the correct settings for the material thickness.
Incomplete Fusion:
Cause: Not enough amperage, not holding the puddle long enough, or edges are not properly aligned.
Solution: Increase amperage, adjust travel speed to allow edges to melt and wet, and ensure edges are tightly butted together.
Porosity (Small Holes):
Cause: Contaminated base metal or shielding gas issues.
Solution: Thoroughly clean the base metal, check your shielding gas flow rate, ensure your torch is not moving too quickly away from the puddle, and check for leaks in your gas setup.
Worm Tracks (Zig-zag appearance):
Cause: Often seen on aluminum. Can be caused by arc length issues or AC balance settings.
Solution: Shorten your arc length. If welding aluminum, experiment with your AC balance settings. Ensure proper shielding gas flow.
Conclusion
TIG welding without filler metal is a refined skill that, once mastered, can significantly enhance the quality and aesthetics of your metalwork. It demands precision in preparation, meticulous control over heat, and a keen understanding of how the base metals behave under the arc. By following the steps outlined in this guide, practicing diligently, and paying close attention to your puddle, you’ll be well on your way to achieving clean, strong, and beautiful fusion welds. So grab your TIG torch, prepare your materials, and start fusing!
