


This guide provides a comprehensive introduction to TIG welding mild steel. You’ll learn everything from machine setup and tungsten preparation to filler metal selection and advanced techniques for achieving strong, clean, and visually appealing welds. Follow our step-by-step instructions and practical tips to become proficient in TIG welding mild steel.
TIG welding, also known as Gas Tungsten Arc Welding (GTAW), is a highly precise and versatile welding process. It’s renowned for producing clean, strong, and aesthetically pleasing welds, making it a favorite for many applications. While TIG welding can be used on a variety of metals, this guide focuses on mastering the art of **tig welding mild steel**. Mild steel is a common and affordable material, making it an excellent choice for beginners and for projects where high-strength alloys aren’t necessary.
In this comprehensive how-to guide, you’ll learn everything you need to know to start TIG welding mild steel. We’ll cover setting up your TIG welder, preparing your tungsten electrode, selecting the right filler metal, and mastering the fundamental techniques. By the end of this guide, you’ll have the knowledge and confidence to create strong, beautiful welds on your mild steel projects.
Key Takeaways
- Proper Setup is Crucial: Correctly setting your TIG welder, gas flow, and torch angle is foundational for successful mild steel TIG welding.
- Tungsten Selection and Preparation: Choosing the right tungsten (typically pure or thoriated for AC, or ceriated/lanthanated for DC) and preparing its tip are critical for arc stability.
- Filler Metal Mastery: Understanding mild steel filler rod types (like ER70S-2 or ER70S-6) and their application is key to building strong beads.
- Arc Control and Manipulation: Developing the ability to maintain a consistent arc length and rhythmically add filler metal creates strong, uniform welds.
- Joint Preparation is Essential: Thoroughly cleaning and preparing your mild steel joint (grinding, degreasing) prevents contamination and ensures weld integrity.
- Practice Makes Perfect: Consistent practice on scrap pieces, focusing on different joint types and positions, builds muscle memory and improves weld quality.
Understanding TIG Welding Mild Steel
TIG welding mild steel offers several advantages. Mild steel is forgiving, meaning it’s less prone to cracking or warping compared to some other metals. The TIG process itself provides excellent control over the heat input and the weld puddle. This control allows for precise adjustments, which is essential for creating clean, non-porous welds that don’t require extensive post-weld cleaning. The resulting welds are strong, ductile, and can be quite attractive, often requiring minimal grinding for a smooth finish.
Essential TIG Welding Equipment for Mild Steel
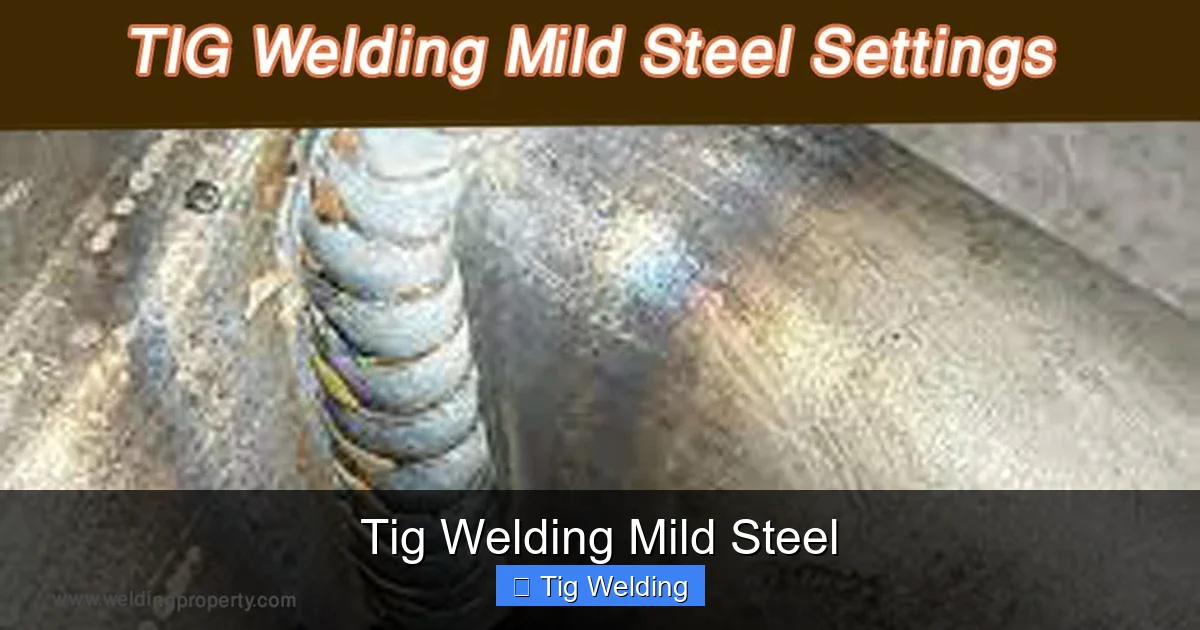
Visual guide about Tig Welding Mild Steel
Image source: weldinginto.com
Before you begin TIG welding mild steel, ensure you have the right equipment.
The TIG Welder
For TIG welding mild steel, you’ll generally need a DC (Direct Current) output welder. While AC (Alternating Current) is primarily used for aluminum and magnesium, DC is perfect for ferrous metals like mild steel. Look for a welder with adjustable amperage control, a gas flow meter, and a torch. Many modern TIG welders also feature pulse functionality, which can be beneficial for controlling heat input on thinner materials.
TIG Torch and Consumables
You’ll need a TIG torch, typically a 17 or 26 series torch, which is air-cooled and suitable for most mild steel applications. The consumables include:
- Collet and Collet Body: These hold the tungsten electrode in place. Ensure they match your tungsten diameter.
- Ceramic Cup (Nozzle): The cup shields the tungsten and weld puddle with shielding gas. Smaller cups offer better visibility for tight spaces.
- Tungsten Electrode: For DC TIG welding of mild steel, you can use pure tungsten (green band), but 2% thoriated (red band) or 2% ceriated (gray band) are generally preferred for better arc stability and longevity. Ceriated tungsten is a good all-around choice for DC.
Shielding Gas
Pure Argon is the most common shielding gas for TIG welding mild steel. It helps to create a stable arc and protects the molten puddle from atmospheric contamination. The correct flow rate is crucial; too little gas won’t provide adequate protection, while too much can cause turbulence and porosity.
Filler Metal
Mild steel TIG welding filler rods are typically made from low-carbon steel. The most common types are:
- ER70S-2: A popular choice known for its clean welds and good deoxidizers, making it forgiving with slight surface contamination.
- ER70S-6: Another excellent all-around filler rod for mild steel, offering good deoxidizers and silicon content for strong welds.
Ensure the filler rod diameter matches the thickness of your mild steel and the joint design.
Safety Gear
Always prioritize safety. You’ll need:
- Auto-Darkening Welding Helmet: Essential for protecting your eyes and face from UV and IR radiation.
- Welding Gloves: Heavy-duty leather gloves to protect your hands from heat and sparks.
- Flame-Resistant Clothing: Long-sleeved shirts and pants made from cotton or specialized welding apparel.
- Safety Glasses: To wear under your helmet for added protection.
- Ventilation: Ensure you are welding in a well-ventilated area or use a fume extraction system.
Setting Up Your TIG Welder for Mild Steel

Visual guide about Tig Welding Mild Steel
Image source: weldingpros.net
Proper machine setup is paramount for achieving good results.
Amperage Setting
A general rule of thumb for setting amperage is approximately 1 amp per 0.001 inch of material thickness. For example, for 1/8-inch (0.125 inches) thick mild steel, you’d aim for around 125 amps. However, this is a starting point. You’ll need to adjust based on your travel speed, joint type, and the specific filler rod you’re using. Thicker materials require more amperage, while thinner materials need less to avoid burn-through.
Gas Flow Rate
For most mild steel TIG welding applications with a standard ceramic cup (size 7 or 8), a gas flow rate of 15-25 cubic feet per hour (CFH) is typical. Always check your welder’s manual and adjust based on your environment and cup size. A good indicator of correct flow is a steady, undisturbed shielding gas cone.
Tungsten Electrode Preparation
The preparation of your tungsten electrode is crucial for a stable arc. For DC TIG welding mild steel, you’ll want to grind the tip of your tungsten to a sharp point. This focused point helps to concentrate the arc, providing better control and a narrower heat-affected zone. Use a dedicated grinding wheel for tungsten to avoid contamination from other metals. If you’re using ceriated or lanthanated tungsten, grind it lengthwise along the electrode. A slightly blunted tip (a small ball at the very end) might be used for certain AC applications, but for DC steel, a sharp point is preferred.
Shielding Gas Setup
Connect your Argon cylinder to your TIG welder’s gas regulator. Ensure all connections are tight to prevent leaks. Set the flow rate as discussed earlier. Before striking an arc, purge the gas line by briefly opening the torch valve to remove any air or moisture.
Preparing Your Mild Steel Material
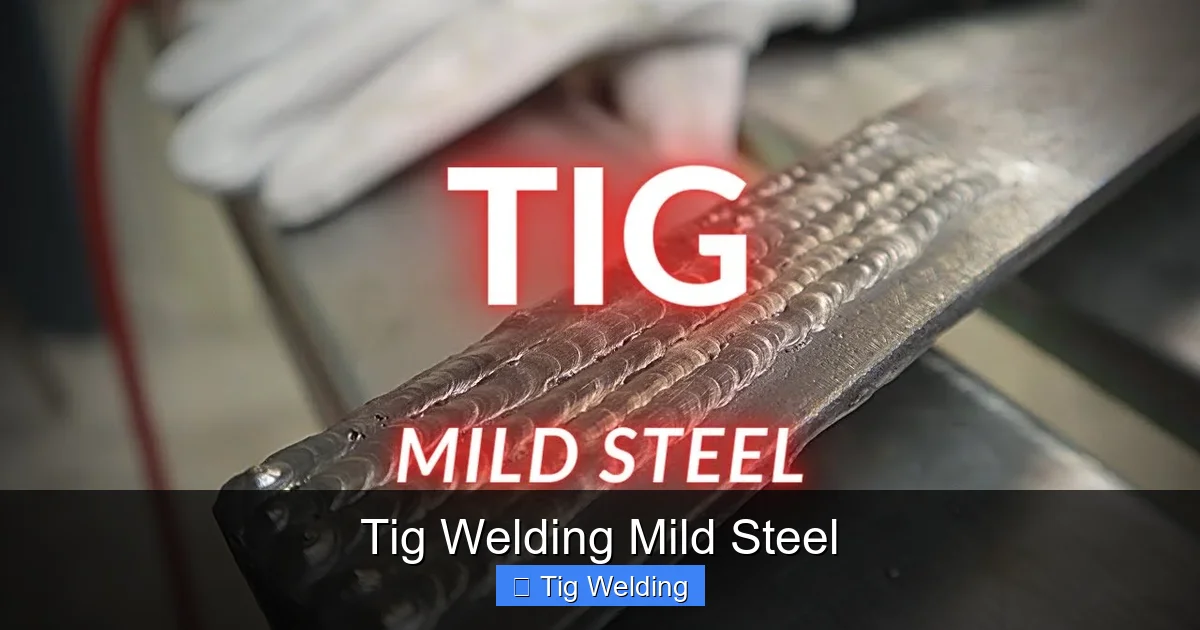
Visual guide about Tig Welding Mild Steel
Image source: i.ytimg.com
Cleanliness is king in TIG welding. Any contaminants on the surface of your mild steel can be introduced into the weld puddle, leading to porosity, inclusions, and weak welds.
Cleaning the Surface
- Remove Mill Scale and Rust: Use a stainless steel wire brush or a grinding disc to remove any mill scale, rust, or heavy oxidation.
- Degrease: After brushing, wipe down the joint area and surrounding metal with a clean cloth and a degreasing solvent like acetone or isopropyl alcohol. This removes any oil, grease, or fingerprints.
- Grind the Joint: For butt, lap, and T-joints, beveling the edges can improve penetration and weld strength. A 60-degree bevel is common. For corner joints, ensuring the edges are clean is sufficient.
Always use a clean, dedicated stainless steel brush for TIG welding to avoid cross-contamination with carbon steel brushes.
Basic TIG Welding Techniques for Mild Steel
With your setup complete and your material prepared, you’re ready to start welding.
Striking the Arc
There are two common methods for striking an arc:
- Lift Start: This is the preferred method for TIG welding as it’s less likely to contaminate your tungsten. Gently touch the tungsten electrode to the workpiece and then quickly lift it about 1/8 to 3/16 of an inch away. The arc will form.
- High-Frequency Start: Many TIG welders have a high-frequency start feature. This allows the arc to start without touching the tungsten to the workpiece, preventing contamination and making it easier to start.
Maintaining the Arc Length
Consistency is key. Aim for a consistent arc length of about the diameter of your tungsten electrode. Too long an arc leads to a wide, flat weld bead and increased spatter. Too short an arc can cause the tungsten to dip into the weld puddle, contaminating it and potentially breaking off.
Adding Filler Metal
This is where practice really pays off.
- Pre-position Filler Rod: Hold the filler rod in your non-dominant hand.
- Dabbing Technique: Introduce the filler rod into the leading edge of the weld puddle. As the puddle melts the filler rod, briefly withdraw the rod, allowing the puddle to flow and solidify slightly. Then, reintroduce the rod to the leading edge. This “dabbing” motion creates a smooth, even bead.
- Rhythm: Develop a consistent rhythm between moving the torch, dabbing the filler rod, and advancing the puddle.
For thicker materials, you might use a more continuous feed of the filler rod. For thinner materials, a more deliberate dabbing motion is necessary to control heat.
Torch Angle and Travel Speed
Maintain a slight work angle on your torch, usually around 10-15 degrees, pushing the torch in the direction of travel. A consistent travel speed is crucial for uniform bead width and penetration. If you move too fast, the bead will be narrow and have poor penetration. Move too slowly, and you risk excessive heat input, burn-through, and a wide, flat bead.
Common Joint Types and Their TIG Welding
Let’s look at how to approach different joint types when TIG welding mild steel.
Butt Joints
This is where two pieces of metal are joined end-to-end.
- Preparation: Ensure the edges are square or beveled, depending on thickness.
- Technique: Start with a tack weld at each end to hold the pieces in alignment. Strike your arc and begin welding, focusing on consistent penetration. If beveled, ensure you fill the bevel completely.
Lap Joints
These joints involve overlapping two pieces of metal.
- Preparation: Ensure the surfaces are clean and fit snugly.
- Technique: You’ll typically weld along the edge of the top piece, fusing it to the bottom piece. Aim to melt both pieces of metal and the filler rod to create a strong fillet weld.
T-Joints
These joints connect two pieces at a right angle, forming a ‘T’ shape.
- Preparation: Ensure the mating surfaces are clean and the vertical piece is perpendicular to the base.
- Technique: Weld along the root of the ‘T’, ensuring you penetrate both the vertical and horizontal members. You’re creating a fillet weld. A slight chamfer on the vertical piece can improve penetration.
Corner Joints
These are formed by joining two pieces at their edges, creating an ‘L’ shape or enclosing a corner.
- Preparation: Ensure the edges are clean and the corner is tight.
- Technique: You can weld from the outside or inside. For outside corner joints, you’ll create a fillet weld. For inside corner joints, you aim for a smooth transition, often using a slight push angle.
Troubleshooting Common TIG Welding Issues with Mild Steel
Even with practice, you might encounter some common problems.
Porosity
This appears as small holes in your weld bead.
- Causes: Insufficient shielding gas, contaminated filler metal or base metal, dirty tungsten, or wind drafts interfering with the gas shield.
- Solutions: Increase gas flow (within limits), thoroughly clean your material and filler rod, ensure your tungsten is clean and not contaminated, and shield your work area from drafts.
Lack of Fusion (or Incomplete Fusion)
The weld doesn’t fully penetrate or bond with the base metal.
- Causes: Insufficient amperage, travel speed too fast, or poor joint preparation.
- Solutions: Increase amperage, slow down your travel speed, and ensure proper joint beveling and cleaning.
Burn-Through
This is when the weld melts completely through the material.
- Causes: Too much amperage, travel speed too slow, or welding on very thin material.
- Solutions: Reduce amperage, increase travel speed, or use a backing strip for thin materials.
Tungsten Contamination
The tungsten tip turns dull or gets coated with material.
- Causes: Arc length too long, touching the tungsten to the weld puddle, or arc initiation issues.
- Solutions: Maintain a consistent, short arc length. Be careful not to dip the tungsten. Use high-frequency start if available.
Tips for Better TIG Welds on Mild Steel
* **Practice on scrap:** Before working on your project, practice on identical scrap material.
* **Master the puddle:** Learn to control the weld puddle. It should flow smoothly and be of consistent size.
* **Listen to the arc:** A good arc has a consistent, steady crackle. A sputtering or popping sound can indicate issues.
* **Control your hands:** Develop steady hands for torch and filler rod manipulation.
* **Consider pulsed TIG:** If your welder has a pulse feature, experiment with it on thinner materials to control heat input and create a visually appealing ripple effect.
Conclusion
TIG welding mild steel is a rewarding skill that opens up a world of fabrication possibilities. By understanding your equipment, preparing your materials diligently, and practicing fundamental techniques, you can achieve professional-quality welds. Remember that patience and consistent practice are your greatest allies. With each weld you make, you’ll gain confidence and refine your skills, leading to stronger, cleaner, and more beautiful mild steel fabrications. Happy welding!
