

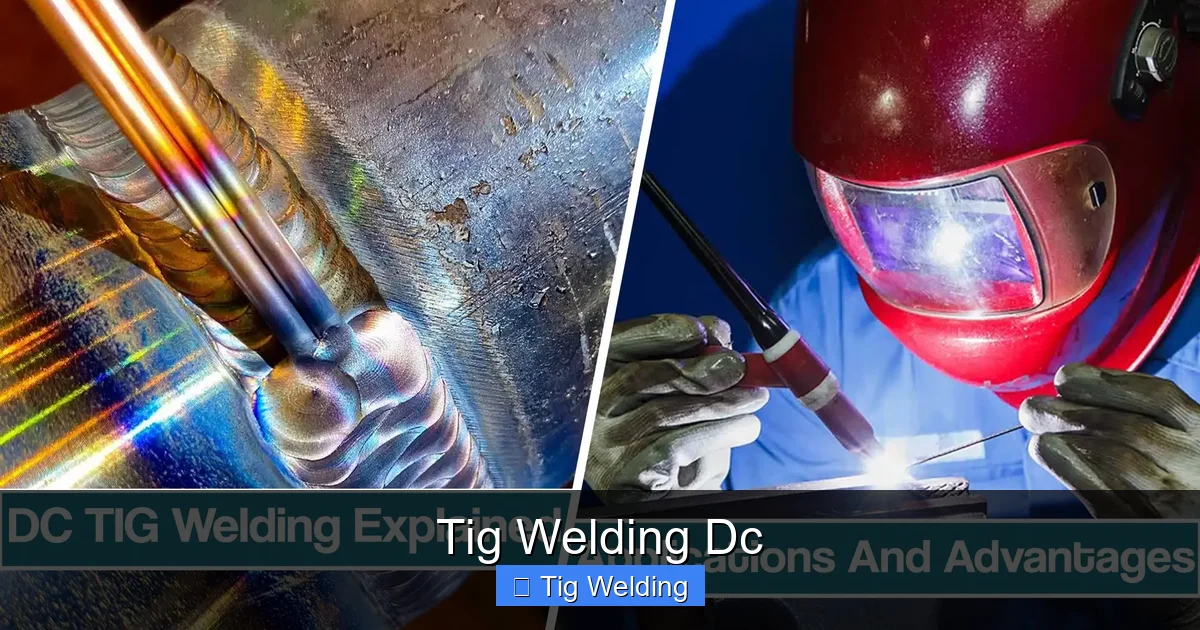
This guide provides a comprehensive how-to on TIG welding DC, covering everything from essential setup and safety to advanced techniques. You’ll learn about selecting the right equipment, preparing your materials, and executing precise welds on various metals. Whether you’re a beginner or looking to refine your skills, this resource offers practical advice and troubleshooting tips to achieve professional-quality results.
Tig Welding Dc: Your Complete How-To Guide
TIG welding, or Gas Tungsten Arc Welding (GTAW), is a highly versatile and precise welding process. When you hear “TIG welding DC,” it specifically refers to using Direct Current with your TIG torch. This method is incredibly popular for its ability to create strong, clean, and aesthetically pleasing welds on a wide range of metals. If you’re looking to master the art of TIG welding with DC power, you’ve come to the right place.
This guide will walk you through everything you need to know to get started and improve your DC TIG welding skills. We’ll cover the essential equipment, how to set it up, the fundamental techniques, and important safety considerations. By the end of this guide, you’ll have a solid understanding of how to perform TIG welding DC effectively.
Key Takeaways
- Understanding DC Electrode Negative (DCEN): This is the most common TIG welding polarity for steel and stainless steel, offering deep penetration and a focused arc.
- Essential Equipment Setup: Properly configuring your TIG welder, gas flow, tungsten electrode, and filler rod is crucial for successful DC TIG welding.
- Mastering the Arc and Filler Metal Addition: Learn to control the arc length and feed filler metal smoothly to create consistent and strong TIG welds.
- Material Preparation is Key: Thorough cleaning and joint preparation significantly impact weld quality and prevent defects in DC TIG welding.
- Common DC TIG Welding Applications: DC TIG welding is ideal for materials like mild steel, stainless steel, and other ferrous metals where precise control is needed.
- Troubleshooting Common Issues: Identifying and rectifying problems like arc instability, porosity, or undercut will improve your TIG welding proficiency.
- Safety First: Always prioritize personal protective equipment (PPE) and a safe welding environment to prevent injuries during DC TIG welding.
Understanding DC TIG Welding
DC TIG welding uses a constant flow of direct current from your power source to the welding torch. There are two main configurations for DC TIG welding:
DC Electrode Negative (DCEN)
Also known as straight polarity, DCEN is the most common setting for DC TIG welding. In this setup, the tungsten electrode is connected to the negative terminal of the power source, and the workpiece is connected to the positive terminal. DCEN provides deep penetration, a focused arc, and is ideal for welding materials like mild steel, stainless steel, and other ferrous metals. You’ll find it produces a narrow bead profile with good fusion.
DC Electrode Positive (DCEP)
Less common for TIG welding, DCEP (or reverse polarity) has the electrode connected to the positive terminal and the workpiece to the negative. This configuration provides less penetration and a wider, shallower weld bead. It’s primarily used for welding aluminum and magnesium with AC TIG welders, but not typically for DC TIG welding on steel.
For the purpose of this guide, we will focus on DCEN, as it is the most relevant for general DC TIG welding applications.
Essential Equipment for DC TIG Welding
Before you strike an arc, you need the right gear. Having properly functioning and correctly set up equipment is paramount for achieving quality TIG welds.
Visual guide about Tig Welding Dc
Image source: riland.lk
The TIG Welder
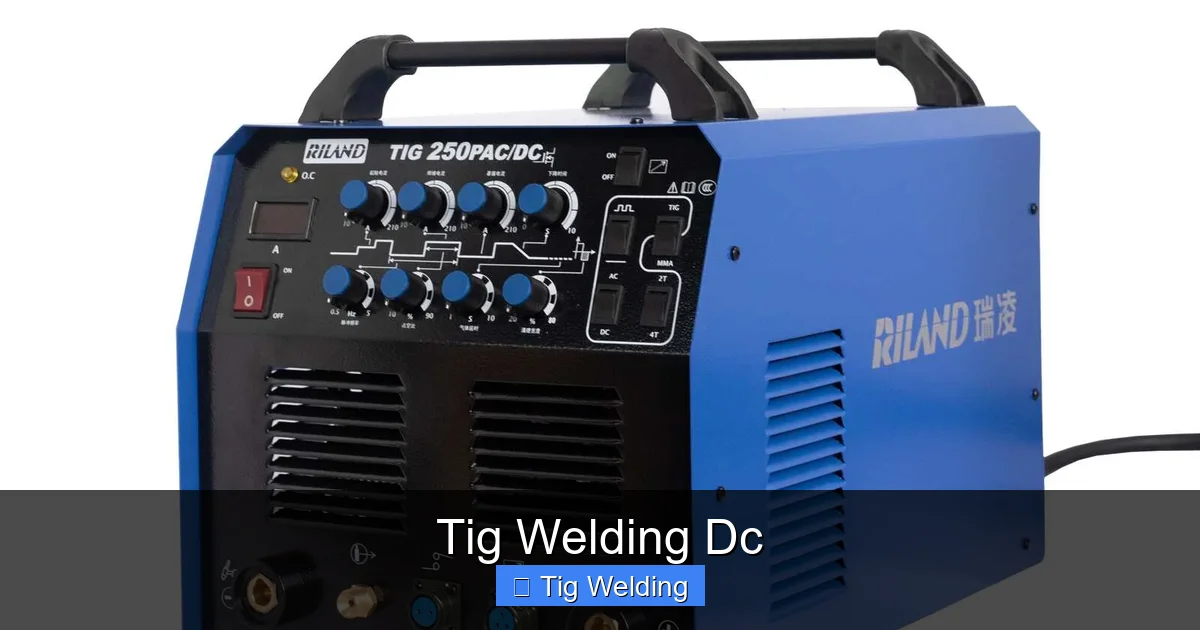
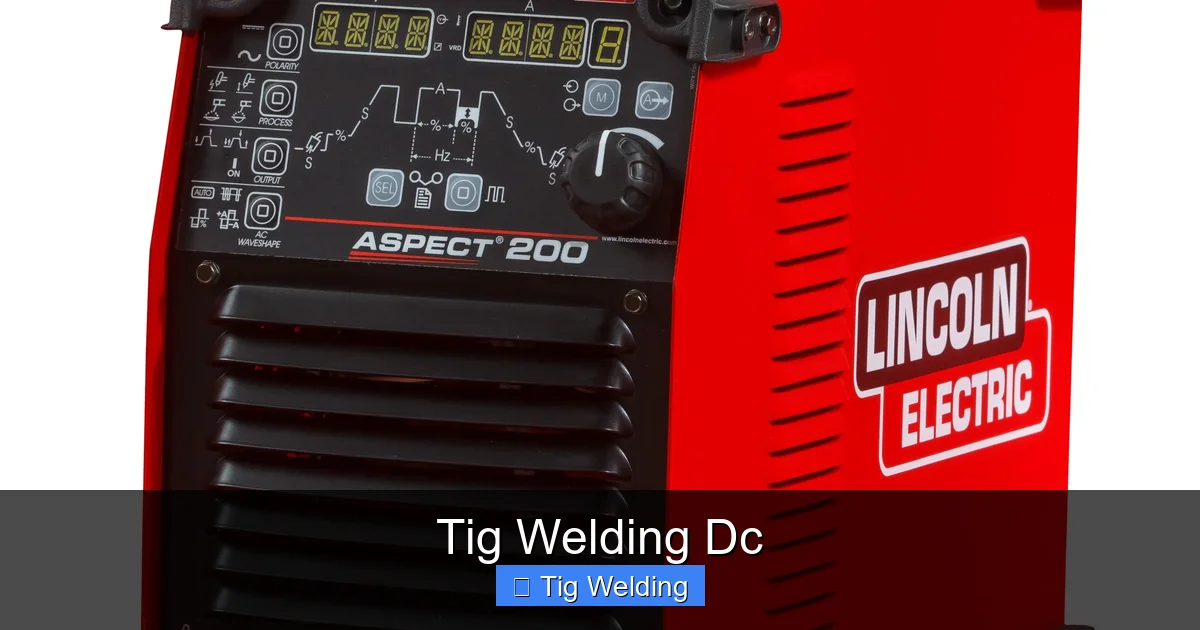
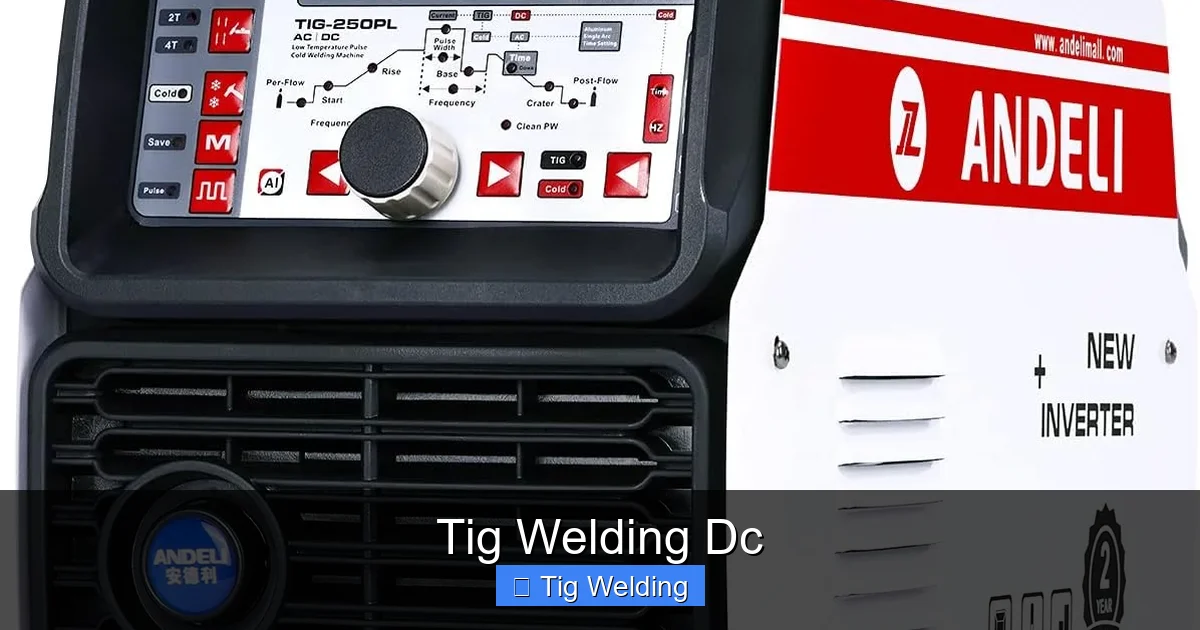
You’ll need a TIG welding machine that can provide DC output. Modern inverter-based TIG welders offer precise control over amperage, voltage, and other parameters, making them ideal for both beginners and experienced welders. Ensure your machine is rated for the thickness of material you plan to weld.
TIG Torch and Consumables
Your TIG torch is where the magic happens. It houses the tungsten electrode, directs the shielding gas, and allows you to feed filler rod. You’ll need:
- TIG Torch: Typically a 17-series, 26-series, or smaller 9-series torch, depending on your amperage and preference.
- Collets and Collet Body: These hold the tungsten electrode firmly in the torch. Ensure they match the diameter of your tungsten.
- Gas Lens: A gas lens is highly recommended for DC TIG welding. It creates a wider, more stable stream of shielding gas, which helps prevent weld contamination and allows for greater torch-to-workpiece distance.
- Ceramic Cup: The ceramic cup directs the shielding gas flow. Different sizes are available; a size 6 or 7 is common for general work.
- Tungsten Electrodes: For DCEN welding, 2% thoriated tungsten (marked with a red band) or 2% ceriated tungsten (marked with an orange band) are excellent choices. They are durable, initiate arcs easily, and offer stable arcs. Pure tungsten is generally used for AC welding of aluminum.
- Shielding Gas: For most DC TIG welding of steel and stainless steel, 100% Argon is the standard shielding gas. It provides excellent arc stability and protection from atmospheric contamination.
- Filler Rod: The type and diameter of filler rod will depend on the base metal you are welding. For mild steel, you’ll use mild steel filler rod (e.g., ER70S-2 or ER70S-6). For stainless steel, you’ll use stainless steel filler rod (e.g., 308L for 304 stainless).
Safety Gear
Safety is non-negotiable. Always wear appropriate personal protective equipment (PPE):
- Auto-Darkening Welding Helmet: Protects your eyes from harmful UV and IR radiation. Ensure it has a good shade rating for TIG welding.
- Welding Jacket or Leathers: Protects your skin and clothing from sparks and heat.
- Welding Gloves: Made from leather, these protect your hands.
- Safety Glasses: Wear these under your helmet for an extra layer of protection.
- Respirator (Optional but Recommended): For welding in enclosed spaces or with certain metals that produce fumes.
- Steel-Toed Boots: Protect your feet.
Setting Up Your DC TIG Welder
Proper setup is crucial for a successful DC TIG welding experience. Follow these steps:
Visual guide about Tig Welding Dc
Image source: metronwelding.ie
Prepare Your Work Area
Ensure you are working in a well-ventilated area, free from flammable materials. Have your welding machine, gas cylinder, consumables, and filler rod within easy reach.
Connect the Ground Clamp
Attach the ground clamp securely to the workpiece or the welding table. A good ground connection is vital for a stable arc. Ensure there’s a clean metal-to-metal contact. Avoid clamping to painted or rusty surfaces.
Set Up the TIG Torch
Insert the correct collet and collet body into the TIG torch. Then, insert the sharpened tungsten electrode. Leave about ¼ to ½ inch (6-13 mm) of tungsten protruding from the ceramic cup. The sharper the point, the more focused the arc. For DCEN, sharpen the tungsten to a point. Do NOT grind it to a ball, as you would for AC welding aluminum.
Attach the ceramic cup and the gas lens (if using one). Ensure all connections are snug but not overly tight.
Connect the Gas Cylinder
Connect the Argon gas cylinder to your TIG welder using the appropriate regulator and hose. Ensure all connections are leak-free.
Set Your Welding Parameters
This is where you dial in the settings for your specific material and joint:
- Amperage: This is the most critical setting. A general rule of thumb for steel is 1 amp per thousandth of an inch of material thickness. For example, for 1/8 inch (3.175 mm) steel, you might start around 125 amps. Thicker materials require more amperage, thinner materials less.
- Gas Flow Rate: For 100% Argon, a good starting point is 10-15 cubic feet per hour (CFH), or 28-42 liters per minute (LPM). Adjust based on cup size and ambient airflow. Too little gas will lead to contamination, too much can cause turbulence and draw in air.
- Post-Flow: This setting determines how long the shielding gas continues to flow after you release the trigger. A good starting point is 5-10 seconds. This is crucial to protect the tungsten and the cooling weld puddle from oxidation.
- Torch Switch Mode: Set your torch to a 2-stroke or 4-stroke mode. 2-stroke is simpler (trigger on/off). 4-stroke allows you to hold the trigger down after starting the arc, giving you more control over filler addition.
The DC TIG Welding Technique
Now that your equipment is ready, it’s time to learn the technique. Consistent practice is key to mastering this.
Visual guide about Tig Welding Dc
Image source: m.media-amazon.com
Preparing the Base Metal
This is a critical step often overlooked by beginners. For clean, strong welds, the base metal must be free of oil, grease, rust, paint, and any other contaminants. Use a stainless steel wire brush or a dedicated grinder disc to clean the joint area thoroughly. For aluminum, you’d use a separate brush dedicated only to aluminum.
Starting the Arc
There are two primary methods for starting an arc:
- Lift Start: Gently touch the tungsten electrode to the workpiece and then quickly lift it about 1/8 to 1/4 inch (3-6 mm) away. This breaks the circuit and creates the arc. This method is preferred as it avoids contaminating the tungsten.
- High-Frequency (HF) Start: If your machine has HF start, you can simply bring the tungsten close to the workpiece and press the trigger. The machine will send a high-voltage spark to initiate the arc without touching the metal. This is convenient and prevents tungsten contamination.
Establishing the Weld Puddle
Once the arc is established, you want to form a molten puddle. Hold the torch at a slight angle (around 10-15 degrees) towards the direction of travel. Maintain a consistent arc length – roughly the diameter of your tungsten electrode. A consistent arc length is crucial for heat control and weld penetration.
Adding Filler Metal
This is where your free hand comes into play. Dip the filler rod into the leading edge of the molten puddle. The goal is to feed the filler metal smoothly and consistently, not to melt the end of the rod into the puddle. Think of it as adding small amounts of metal to build up the bead.
Tip: Practice dipping the rod into a puddle of water without the arc first. Get a feel for the motion. Then, practice without filler rod until you’re comfortable establishing a puddle. Finally, practice adding filler.
Moving the Torch and Filler Rod
Your torch movement and filler rod feeding should be coordinated. As you move the torch along the joint, you’ll dip the filler rod into the puddle at the front edge. The speed at which you move the torch and the rate at which you add filler rod will determine the bead width and reinforcement.
- Consistency is Key: Aim for a steady, rhythmic motion. Move the torch forward at a consistent speed. Dip the filler rod, remove it, move the torch, and repeat.
- Weave Patterns (Optional): For wider beads or to tie in two pieces of metal, you might use a slight weave pattern with your torch. However, for precise DC TIG welding, a straight bead with controlled filler addition is often preferred.
Finishing the Weld
As you reach the end of the weld, you’ll need to fill the crater (the depression left at the end of the bead). You can do this by pausing slightly and adding a bit more filler rod before releasing the torch trigger. Ensure your post-flow is set correctly to protect the cooling weld.
Welding Different Materials with DC TIG
While this guide focuses on DC TIG welding, it’s important to note the primary materials you’ll be working with.
Mild Steel
DCEN is the perfect setting for welding mild steel. You’ll use mild steel filler rods (like ER70S-6) and 100% Argon shielding gas. Mild steel is forgiving, making it a great material to practice on. Ensure thorough cleaning, as rust and mill scale can cause significant weld defects.
Stainless Steel
DCEN is also used for welding stainless steel. You’ll use stainless steel filler rods (e.g., 308L for 304 stainless, 316L for 316 stainless) and 100% Argon. Stainless steel can be more challenging due to its lower thermal conductivity, which can lead to warping. Using a gas lens and maintaining a consistent travel speed are crucial. Be mindful of cross-contamination; use separate tools and brushes for stainless steel to avoid introducing carbon.
Other Ferrous Metals
Many other ferrous metals, such as tool steel or some alloys, can also be effectively TIG welded using DCEN. Always consult the manufacturer’s recommendations for specific filler metals and welding parameters.
Troubleshooting Common DC TIG Welding Issues
Even with practice, you might encounter problems. Here are a few common ones and how to fix them:
Porosity
Small holes or voids within the weld bead. This is almost always caused by contamination.
- Cause: Inadequate shielding gas, contaminated filler rod or base metal, dirty tungsten, or leaks in the gas system.
- Solution: Ensure proper gas flow and post-flow. Thoroughly clean your base metal and filler rod. Check your tungsten for contamination and re-grind if necessary. Check all gas connections for leaks.
Undercut
A groove or channel along the edge of the weld bead where the base metal has melted away.
- Cause: Too much amperage, moving the torch too fast, or arc length too far from the base metal.
- Solution: Reduce amperage, slow down your travel speed, and maintain a consistent, shorter arc length. You can sometimes fill minor undercut by slightly pausing and adding a bit of filler metal.
Lack of Fusion
The weld metal doesn’t properly bond with the base metal.
- Cause: Insufficient amperage, moving the torch too fast, or not allowing the puddle to form properly before adding filler.
- Solution: Increase amperage, slow down your travel speed, and ensure you’re creating a good molten puddle before introducing filler rod.
Arc Wander/Instability
The arc seems erratic or difficult to control.
- Cause: Poor ground connection, inadequate shielding gas, or dirty tungsten.
- Solution: Ensure a clean and secure ground clamp. Verify your gas flow and check for leaks. Clean or re-grind your tungsten.
Conclusion
TIG welding DC is a rewarding skill that allows for incredible control and precision. By understanding your equipment, practicing proper setup, and refining your torch and filler rod manipulation techniques, you can achieve professional-quality welds on a variety of metals. Remember that practice is your best teacher. Start with basic exercises, focus on consistency, and don’t be afraid to experiment with settings on scrap material. Always prioritize safety, and you’ll be well on your way to becoming a proficient DC TIG welder.
