

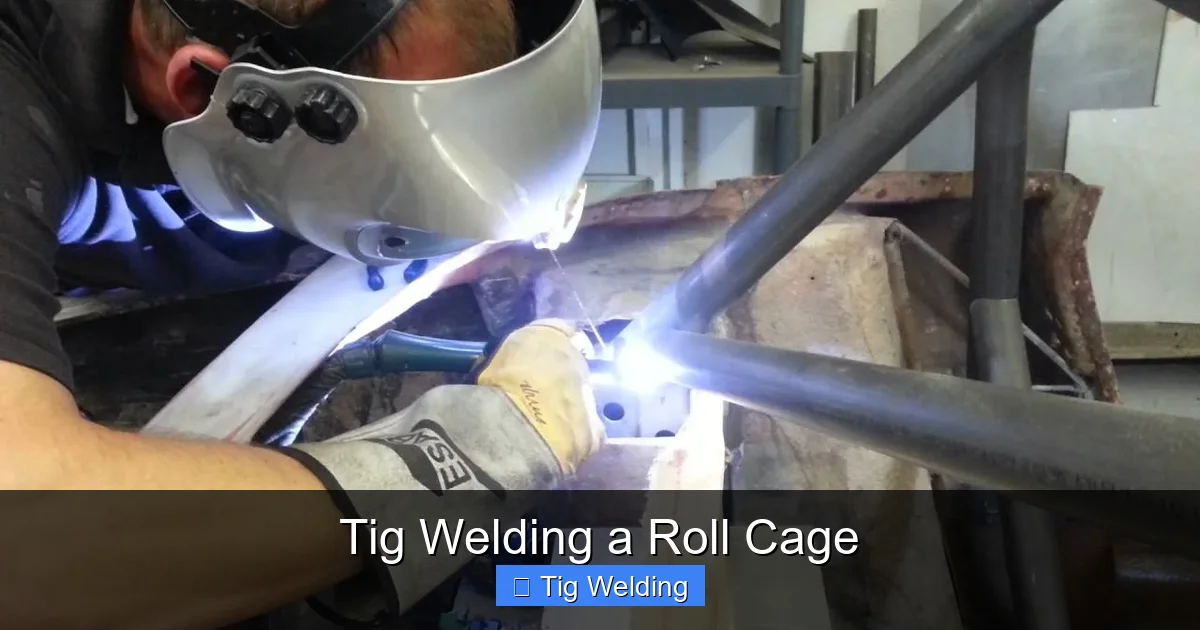
Master the art of TIG welding a roll cage with this in-depth guide. We’ll walk you through every step, from essential preparation and safety precautions to the precise welding techniques needed for a robust and reliable structure. Gain the knowledge to tackle this critical fabrication project with confidence, ensuring maximum safety and performance for your vehicle.
TIG Welding a Roll Cage
Building a roll cage is a critical step for enhancing vehicle safety in performance applications. Whether you’re working on a race car, off-road buggy, or any vehicle where structural integrity is paramount, a well-fabricated roll cage can be the difference between life and death in an accident. TIG welding, also known as Gas Tungsten Arc Welding (GTAW), is often the preferred method for roll cage construction due to its precision, control, and the ability to produce clean, strong, and aesthetically pleasing welds. This guide will take you through the entire process of TIG welding a roll cage, from initial preparation to the final inspection. We’ll cover everything you need to know to achieve professional-quality results.
Key Takeaways
- Mastering TIG welding for roll cages requires meticulous preparation of both the tubing and the joints, ensuring clean surfaces and proper fit-up for strong welds.
- Safety is paramount; always wear appropriate personal protective equipment (PPE) and work in a well-ventilated area, understanding the risks associated with welding and the automotive environment.
- Achieving excellent TIG welds on roll cage tubing involves precise heat control, correct tungsten selection, gas flow management, and the right filler rod for the specific steel alloy.
- Proper joint preparation, such as beveling and notching, is crucial for achieving full penetration and creating a structurally sound weld that can withstand significant forces.
- Understanding distortion control is vital; strategic welding sequences and cooling techniques minimize unwanted warping of the tubing.
- Regular inspection and testing of your welds are essential to guarantee the integrity and safety of the completed roll cage.
Understanding the Importance of TIG Welding for Roll Cages
TIG welding offers several advantages when it comes to fabricating a roll cage. The process uses a non-consumable tungsten electrode to create the arc and heat the base metal, while a separate filler rod is manually fed into the weld puddle. This allows for exceptional control over heat input and filler metal deposition. For roll cages, this translates to:
- Precise heat control: Minimizes distortion and burn-through on thinner-walled tubing.
- Clean welds: Produces welds with minimal spatter and a high-quality appearance.
- Strong joints: Capable of achieving full penetration and creating a very strong bond, essential for absorbing impact forces.
- Versatility: Can weld various steel alloys commonly used in roll cage fabrication, such as Chromoly (4130) and mild steel.
Phase 1: Preparation is Key
Before you even strike an arc, thorough preparation is crucial. This phase sets the foundation for successful and safe TIG welding. Rushing this stage can lead to weak welds, increased distortion, and safety hazards.
Visual guide about Tig Welding a Roll Cage
Image source: i.ytimg.com
Selecting the Right Materials
The tubing material is critical for your roll cage’s strength and safety. Common choices include:
- Mild Steel (e.g., DOM – Drawn Over Mandrel): More affordable and easier to weld, but heavier and less strong than Chromoly. Often used in less demanding applications or where budget is a primary concern.
- Chromoly (4130 Steel): Lighter and stronger than mild steel, making it ideal for performance vehicles where weight savings and maximum strength are important. It requires more careful heat treatment and welding procedures due to its alloy content.
Always confirm the specific grade of steel you are using, as welding parameters can vary.
Gathering Your Tools and Equipment
Ensure you have all the necessary tools and safety gear before you begin. This includes:
- TIG Welder: Capable of AC and DC welding, with sufficient amperage for your tubing thickness.
- TIG Torch and Consumables: Appropriate tungsten electrode size and type (e.g., 2% Lanthanated is versatile), ceramic cup, collets, and back-cap.
- Filler Rod: Match the filler rod to your base metal. For Chromoly, use a Chromoly filler rod (e.g., ER8620 or ER70S-2/6 for mild steel).
- Shielding Gas: Typically 100% Argon for TIG welding steel.
- Notching Tools: Tubing notcher (e.g., JD Squared, Baileigh) for precise joint fit-up.
- Grinders and Files: For cleaning metal and deburring edges.
- Clamps: Various types of clamps (e.g., C-clamps, vice grips, magnetic clamps) to hold tubing securely in place.
- Measuring Tools: Tape measure, scribe, angle finder.
- Safety Gear:
- Welding Helmet: Auto-darkening helmet with appropriate shade (DIN 9-13).
- Welding Gloves: TIG-specific gloves for dexterity and heat protection.
- Welding Jacket or Apron: Made of flame-resistant material.
- Safety Glasses: To wear under the helmet.
- Respirator: For fumes, especially when grinding or welding coated metals.
- Hearing Protection: Earplugs or earmuffs.
- Ventilation: A fan or fume extraction system to ensure good airflow.
Preparing the Tubing
This is a critical step for weld quality.
Cleaning the Metal
All surfaces to be welded must be impeccably clean. Oil, grease, dirt, paint, and any mill scale will contaminate the weld and lead to porosity, inclusions, and weak joints. Use a dedicated stainless steel brush or a clean grinding disc to remove any surface contaminants. For Chromoly, cleaning is even more vital due to its sensitivity to contamination.
Notching the Tubing
Roll cage joints are typically fish-mouthed or notched to achieve maximum surface contact between the tubes. This ensures a strong weld that transfers stress effectively. A good tubing notcher is essential for creating precise, matching notches. The notch should allow the joining tube to butt tightly against the main hoop or chassis member, leaving no gaps.
Tip: Practice notching on scrap pieces until you achieve a perfect fit before cutting your actual cage tubes. A tight fit-up is paramount for strong welds.
Beveling Edges (if necessary)
For thicker-walled tubing or critical joints where full penetration is a concern, beveling the edges of the tubes can be beneficial. A slight bevel (e.g., 30-45 degrees) on the outer edge will allow the weld puddle to flow into the joint more effectively, ensuring complete fusion. However, for most typical roll cage tubing (e.g., 1.5″ OD x 0.120″ wall), a well-executed notch and proper TIG technique will achieve sufficient penetration without explicit beveling.
Setting Up Your Welding Station
Ensure your welding area is safe, clean, and well-ventilated. Secure your workpiece with clamps to prevent movement during welding. Position your TIG machine and gas cylinder safely.
Phase 2: The TIG Welding Process
With all preparations complete, it’s time to start welding. This is where technique and practice pay off.
Visual guide about Tig Welding a Roll Cage
Image source: weldingtroop.com
Machine Settings
Settings vary depending on your welder, tubing material, and wall thickness. However, here are general guidelines:
- Polarity: DC Electrode Negative (DCEN) for steel.
- Amperage: Start with a moderate amperage. For 1.5″ x 0.120″ Chromoly or mild steel, you might start around 80-120 amps. It’s better to start a bit low and increase if needed than to burn through. You’ll adjust this as you weld.
- Pulse: Using the pulse function on your TIG welder can be extremely beneficial for roll cages. It helps control heat input, reduce distortion, and can make out-of-position welding easier. A common starting point for pulse might be a frequency of 1-2 Hz (slow pulse), with a peak/background amperage ratio of around 50-70% and a pulse width of 50%.
- Gas Flow: Typically 15-25 CFH (Cubic Feet per Hour) of pure Argon. Adjust based on your surroundings and cup size.
Tungsten and Cup Selection
- Tungsten: A 2% Lanthanated (blue tip) tungsten is a good all-around choice for steel. Grind it to a sharp point for DC welding. The point helps focus the arc.
- Cup: A smaller ceramic cup (e.g., #6 or #8) provides better gas coverage in tight spaces and helps with arc control.
Developing Your Welding Technique
Good TIG welding is a practiced skill. Focus on consistency and control.
Torch Angle and Distance
Hold the torch at a slight angle (around 10-15 degrees) in the direction of travel. Maintain a consistent arc length—usually about the diameter of your tungsten electrode—from the workpiece. Too close and you risk contamination; too far and the arc becomes unstable.
Filler Rod Manipulation
Feed the filler rod into the leading edge of the weld puddle. The goal is to melt the filler rod into the puddle, not to melt the rod itself directly with the arc. Dip the rod into the puddle and pull it out slightly, repeating this motion rhythmically. The filler rod should enter the puddle at a consistent angle.
Torch Movement
For roll cage tubing, you’ll often be welding around a circumference. A consistent, slight circular or weaving motion (depending on preference and situation) helps spread the puddle and ensures good fusion. If using pulse, the pulse cycles will dictate much of the rhythm.
Welding Specific Joints
Each joint type requires slightly different approaches.
Butt Joints
For joining two tubes end-to-end, ensure a tight fit and consistent gap. Weld from the inside of the notch outwards. If the fit is perfect, you might not need filler rod for the root pass. For subsequent passes, use filler rod to build up the weld.
T-Joints and Corner Joints
These involve joining tubes at angles. Notching is crucial here for a good fit. Apply filler rod consistently, ensuring you fuse into both the main tube and the joining tube. Work your way around the circumference, being mindful of heat buildup.
Managing Heat and Distortion
Heat is your biggest enemy when welding roll cages. Excessive heat leads to distortion and can weaken the material, especially Chromoly.
- Pea-Weld and Skip-Weld: Instead of welding a continuous bead around a joint, make short “pea” welds (about 1/2 inch to 1 inch long) spaced around the circumference. Then, go back and connect these welds. This distributes heat more evenly and reduces stress concentration.
- Cooling: Allow the weld to cool between passes. Some fabricators even use a damp cloth (not soaking wet!) to cool the area, but be cautious not to quench the metal too rapidly, as this can cause cracking in some alloys.
- Order of Welding: Plan your welding sequence. Often, it’s best to tack everything in place first, then weld critical joints that are subject to the most stress (like the main hoops and floor mounts), and then fill in the rest.
Welding Chromoly vs. Mild Steel
Chromoly (4130) requires more attention:
- Preheating: While not always strictly necessary for tubing wall thicknesses commonly used in cages, a light preheat (around 100-200°F / 38-93°C) can help reduce the risk of cracking, especially in thicker sections or colder environments.
- Post-Heating/Heat Treatment: Chromoly welds can become brittle if cooled too quickly. Some fabricators will post-heat the weld area with a torch to a dull red and allow it to cool slowly. For critical applications, proper heat treatment after welding is recommended, but this is a complex process often involving ovens and specific temperature cycles. For most DIY roll cages, careful cooling and avoiding rapid quenching are the primary measures.
- Filler Rod: Always use a filler rod specifically designed for Chromoly.
Phase 3: Inspection and Finishing
Once all welding is complete, a thorough inspection is vital. This ensures the safety and integrity of your work.
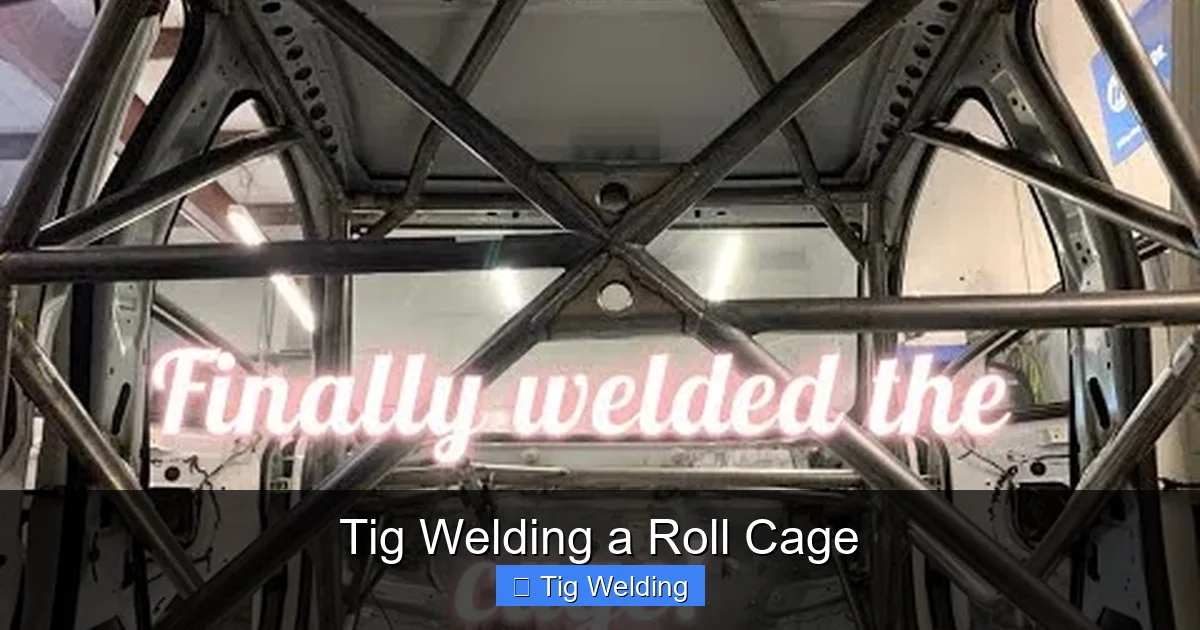
Visual guide about Tig Welding a Roll Cage
Image source: i.ytimg.com
Visual Inspection
Look for the following:
- Undercut: A groove melted into the base metal next to the weld.
- Porosity: Small holes or voids in the weld.
- Inclusions: Foreign material trapped in the weld.
- Lack of Fusion: The weld hasn’t fully bonded with the base metal.
- Cracks: Any visible cracks in or around the weld.
If you find any defects, they need to be addressed. This might involve grinding out the defective weld and re-welding it.
Checking for Distortion
Ensure the cage is still square and hasn’t significantly warped. Minor distortions can sometimes be corrected, but major warpage might indicate issues with your welding sequence.
Cleaning and Finishing
After inspection, clean off any welding flux or residue. You can then proceed with painting, powder coating, or leave the cage bare metal if preferred.
Troubleshooting Common Issues
Even experienced welders encounter problems. Here are a few common ones:
Problem: Burn-through
Cause: Too much amperage, arc too close, or insufficient gap in a butt joint.
Solution: Reduce amperage, increase travel speed, ensure proper fit-up, or use tack welds to fill small gaps before running a full bead.
Problem: Porosity
Cause: Dirty metal, insufficient shielding gas, or arc too far from the workpiece.
Solution: Thoroughly clean the metal, check gas flow rate and ensure there are no drafts affecting the shield, and maintain a consistent arc length.
Problem: Lack of Fusion
Cause: Insufficient heat, travel speed too fast, or contamination preventing proper wetting.
Solution: Increase amperage, slow down travel speed, and ensure the base metal is clean and properly prepared.
Problem: Warping/Distortion
Cause: Concentrated heat input, welding too much in one area.
Solution: Implement skip-welding and pea-welding techniques, allow for cooling between passes, and consider tacking the entire cage structure together before fully welding sections.
Conclusion
TIG welding a roll cage is a demanding but rewarding task. It requires patience, precision, and a commitment to safety and quality. By following these steps—meticulous preparation, careful machine setup, consistent welding technique, and thorough inspection—you can fabricate a roll cage that offers maximum protection. Remember that practice makes perfect. Don’t be discouraged if your first few welds aren’t flawless. With dedication and attention to detail, you’ll gain the confidence and skill needed to TIG weld a safe and robust roll cage for your vehicle.
