

MIG welding stainless steel to mild steel is a common but tricky task that requires the right materials and techniques. This guide walks you through every step, from setup to finishing, ensuring strong, clean welds every time.
Key Takeaways
- Use the correct filler wire: 309L or 309LSi stainless steel wire is ideal for joining stainless to mild steel to prevent cracking and corrosion.
- Choose the right shielding gas: A 98% argon / 2% CO2 mix protects the weld pool and reduces spatter while maintaining arc stability.
- Clean both metals thoroughly: Remove oil, rust, and paint with a wire brush or grinder to ensure strong fusion and avoid contamination.
- Adjust your MIG welder settings: Lower voltage and wire speed than pure stainless welding—typically 18–22 volts and 200–300 IPM.
- Weld with a push technique: Pushing the gun (not pulling) helps direct heat into the mild steel and reduces dilution of the stainless side.
- Control heat input: Use short weld passes and allow cooling between beads to prevent warping and carbide precipitation.
- Post-weld cleanup matters: Wire brush the weld while warm and consider passivation for long-term corrosion resistance.
Introduction: Why Weld Stainless to Mild Steel?
Welding stainless steel to mild steel might seem unusual, but it’s actually a common practice in fabrication, automotive repair, and industrial construction. You might need to attach a stainless bracket to a carbon steel frame, repair a mixed-metal exhaust system, or build a custom fixture. The challenge? These two metals have different melting points, thermal expansion rates, and chemical compositions. If you don’t weld them correctly, you risk cracks, weak joints, or corrosion.
But don’t worry—this guide will show you exactly how to MIG weld stainless steel to mild steel the right way. You’ll learn the best filler metals, gas mixes, machine settings, and techniques to create strong, durable, and clean-looking welds. Whether you’re a hobbyist or a professional, these steps will help you get professional results every time.
Step 1: Gather the Right Tools and Materials
Before you strike an arc, make sure you have everything you need. Using the wrong filler wire or gas can ruin your weld.
Essential Equipment
- MIG welder: A standard MIG machine with adjustable voltage and wire feed speed works fine.
- Wire feeder and gun: Make sure your liner and contact tips are clean and compatible with stainless wire.
- Ground clamp: Use a heavy-duty clamp and attach it close to the weld area for a solid electrical connection.
- Safety gear: Auto-darkening helmet, welding gloves, flame-resistant jacket, and proper ventilation.
Filler Wire: The Most Important Choice
Never use mild steel wire (like ER70S-6) when welding stainless to mild steel. It will create a brittle, corrosion-prone joint. Instead, use:
- ER309L or ER309LSi: These are stainless steel filler wires designed specifically for dissimilar metal welding. The “L” means low carbon, which reduces the risk of carbide precipitation and cracking. The “Si” version has added silicon for better wetting and arc stability.
These wires match the corrosion resistance of stainless steel while bonding well to mild steel.
Shielding Gas: Protect Your Weld
Use a 98% argon / 2% CO2 mix. This gas blend:
- Provides smooth arc transfer
- Reduces spatter
- Protects the molten weld pool from oxygen and nitrogen
- Works well with both stainless and mild steel
Avoid pure CO2 or tri-mix gases (like 90% He / 7.5% Ar / 2.5% CO2) unless you have experience—they can increase heat input and risk of cracking.
Step 2: Prepare the Metals
Cleanliness is critical. Any dirt, oil, or oxidation can cause porosity, lack of fusion, or weak welds.
Clean Both Surfaces
- Use a stainless steel wire brush (dedicated only to stainless) to scrub the stainless side. Never use a brush that’s touched mild steel—it can transfer carbon and cause rust.
- For mild steel, a regular wire brush or grinder works. Remove rust, paint, and mill scale.
- Wipe both surfaces with acetone or a degreaser to remove oils and fingerprints.
Bevel the Joint (If Needed)
For thicker materials (over 1/8 inch), bevel the edges to ensure full penetration. A 30–45 degree angle on both pieces creates a V-groove that allows the weld to penetrate deeply.
Fit-Up and Clamping
- Ensure tight fit-up with minimal gaps. Use clamps or magnets to hold pieces in place.
- Stainless steel expands less than mild steel when heated, so misalignment can cause warping. Tack weld in multiple spots to prevent movement.
Step 3: Set Up Your MIG Welder
Proper machine settings are key to a successful weld. Since you’re welding dissimilar metals, you’ll need to find a balance between the two.
Recommended Settings
Start with these baseline settings for a 1/8-inch (3mm) joint:
- Voltage: 19–21 volts
- Wire feed speed: 220–280 inches per minute (IPM)
- Polarity: DCEN (direct current electrode negative)—standard for MIG welding
These settings are slightly lower than what you’d use for mild steel alone. Why? Stainless steel conducts heat poorly, so too much heat can burn through or distort it.
Test on Scrap Metal
Always run a test weld on similar scrap pieces. Adjust voltage and wire speed until you get a smooth, consistent arc with minimal spatter and good penetration.
Step 4: Welding Technique
Now it’s time to weld. Use the right technique to control heat and prevent defects.
Use the Push Technique
- Push the MIG gun away from the weld pool (not pull).
- This directs more heat into the mild steel, which has higher thermal conductivity, and reduces dilution of the stainless side.
- It also gives you better visibility of the puddle.
Maintain a Short Arc Length
Keep the gun close to the workpiece (about 1/2 inch). A short arc improves control, reduces spatter, and ensures good gas coverage.
Weld in Short Passes
- For long welds, use a backstep or stitch welding method—weld 1–2 inches, skip ahead, then return.
- This reduces heat buildup and minimizes warping.
- Allow each pass to cool slightly before welding the next.
Angle the Gun Correctly
Tilt the gun 10–15 degrees in the direction of travel. This helps the arc penetrate both metals evenly.
Step 5: Post-Weld Care
Your job isn’t done when the arc stops. Proper cleanup ensures strength and longevity.
Brush the Weld While Warm
Use a stainless steel wire brush (again, stainless-only) to remove oxidation and scale while the weld is still warm. This improves appearance and reduces corrosion risk.
Consider Passivation (Optional)
For high-corrosion environments, apply a passivation treatment (like citric acid gel) to restore the stainless steel’s protective oxide layer.
Inspect the Weld
Check for:
- Cracks or lack of fusion
- Porosity (tiny holes in the weld)
- Excessive spatter or undercut
If you find defects, grind them out and re-weld.
Troubleshooting Common Problems
Even with the best prep, issues can happen. Here’s how to fix them:
Problem: Cracking in the Weld
Cause: Too much heat, wrong filler wire, or rapid cooling.
Fix: Use ER309L wire, reduce voltage, and allow slower cooling. Preheat thick mild steel sections to 200–300°F if needed.
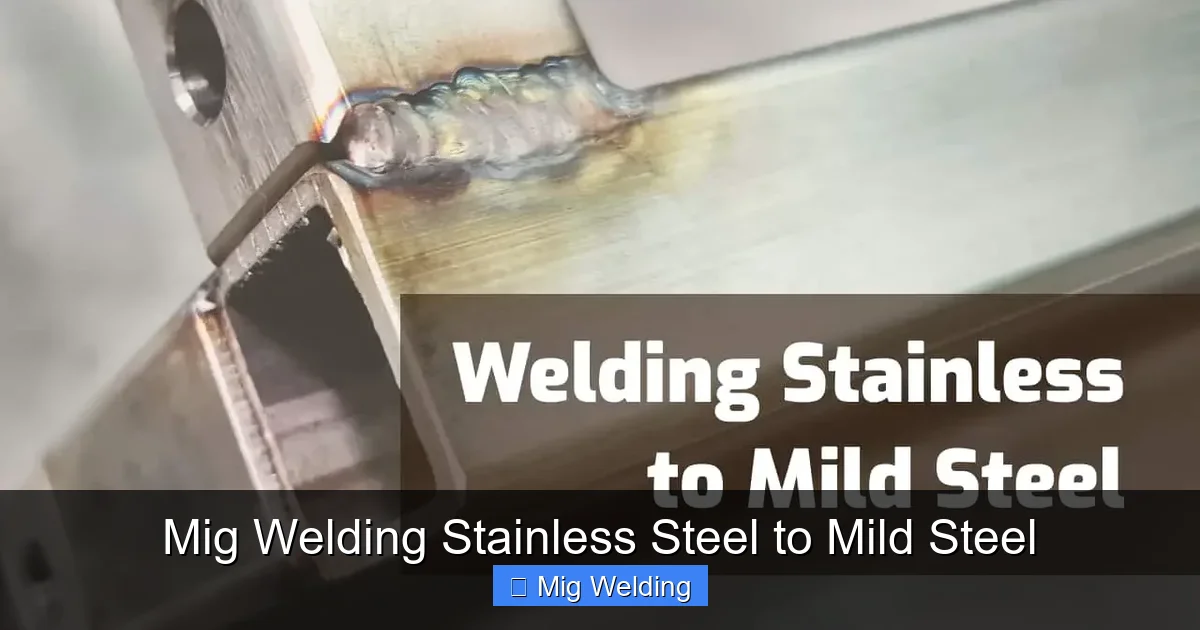
Visual guide about Mig Welding Stainless Steel to Mild Steel
Image source: meaningfulspaces.b-cdn.net
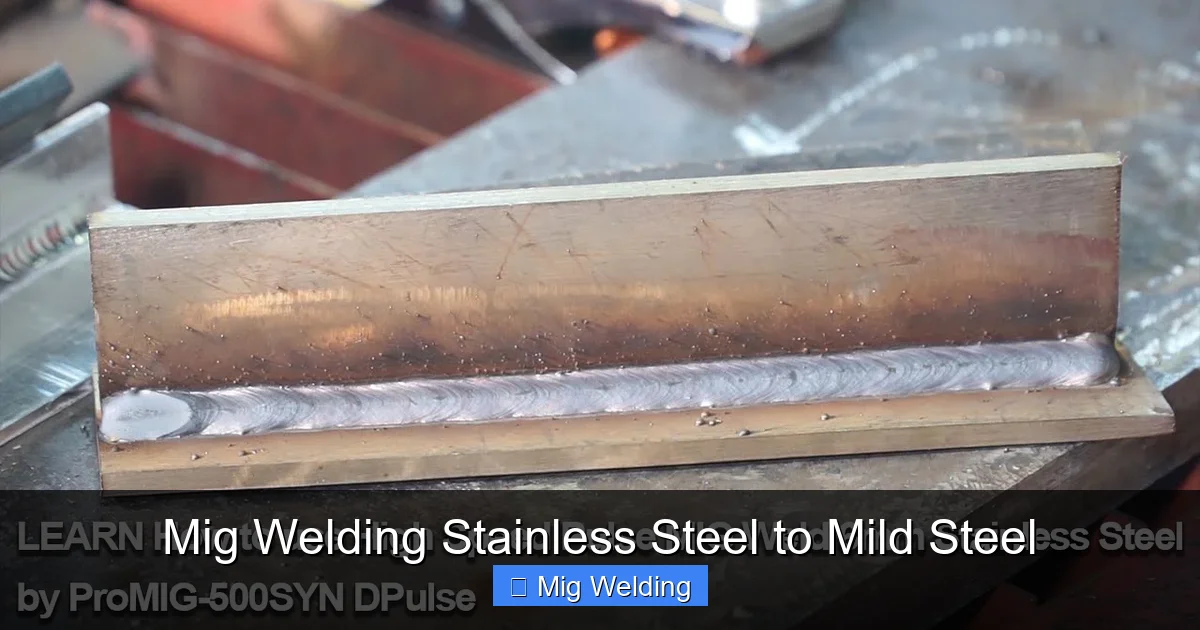
Visual guide about Mig Welding Stainless Steel to Mild Steel
Image source: i.ytimg.com
Problem: Poor Penetration
Cause: Low voltage, slow travel speed, or incorrect angle.
Fix: Increase voltage slightly, speed up travel, and ensure the gun is angled toward the mild steel.
Problem: Excessive Spatter
Cause: High voltage, long arc, or dirty metal.
Fix: Reduce voltage, shorten arc length, and clean surfaces thoroughly.
Problem: Warping or Distortion
Cause: Uneven heat input or lack of clamping.
Fix: Use tack welds, stitch welding, and clamps. Let sections cool between passes.
Conclusion: Strong, Reliable Welds Every Time
MIG welding stainless steel to mild steel doesn’t have to be intimidating. With the right filler wire (ER309L), shielding gas (98% Ar / 2% CO2), and technique (push method, controlled heat), you can create strong, corrosion-resistant joints. Remember: clean your metals, set your machine correctly, and take your time. Whether you’re repairing machinery or building something new, these steps will help you weld with confidence. Practice on scrap first, and soon you’ll be tackling dissimilar metal welds like a pro.