
This guide covers everything you need to know about MIG welding stainless steel gas, including the best shielding gas mixtures, proper equipment setup, and techniques for achieving strong, corrosion-resistant welds. Whether you’re a beginner or experienced welder, you’ll learn how to avoid common pitfalls and get professional results.
Key Takeaways
- Use the right shielding gas: A tri-mix of argon, helium, and CO₂ (e.g., 90% Ar / 7.5% He / 2.5% CO₂) is ideal for MIG welding stainless steel to prevent oxidation and ensure penetration.
- Match gas to material thickness: Thinner materials benefit from lower CO₂ content, while thicker sections may need more helium for better heat input.
- Keep gas flow rate between 20–25 CFH: Too little causes porosity; too much creates turbulence and air contamination.
- Use stainless steel-specific wire: ER308L or ER309L filler wire is recommended for most stainless steel applications.
- Maintain cleanliness: Contaminants like oil, grease, or moisture can ruin welds—always clean base metal and filler materials before welding.
- Control heat input: Stainless steel conducts heat poorly—use short weld passes and allow cooling to avoid warping or carbide precipitation.
- Post-weld care matters: Remove oxidation with a stainless steel wire brush or pickling paste to restore corrosion resistance.
Introduction to MIG Welding Stainless Steel Gas
MIG welding stainless steel can seem tricky, but with the right gas and technique, it’s totally doable—even for hobbyists. The key to success lies in choosing the correct shielding gas. Unlike mild steel, stainless steel requires a special gas mix to prevent oxidation, maintain corrosion resistance, and produce clean, strong welds. In this guide, you’ll learn exactly which gases to use, how to set up your machine, and what to avoid. By the end, you’ll be confident tackling stainless steel projects like exhaust systems, kitchen equipment, or custom fabrication.
Why Shielding Gas Matters for Stainless Steel
Stainless steel contains chromium, which gives it its rust-resistant properties. But when heated during welding, chromium can react with oxygen in the air, forming chromium oxide. This not only weakens the weld but also reduces corrosion resistance. That’s where shielding gas comes in—it protects the molten weld pool from atmospheric contamination.
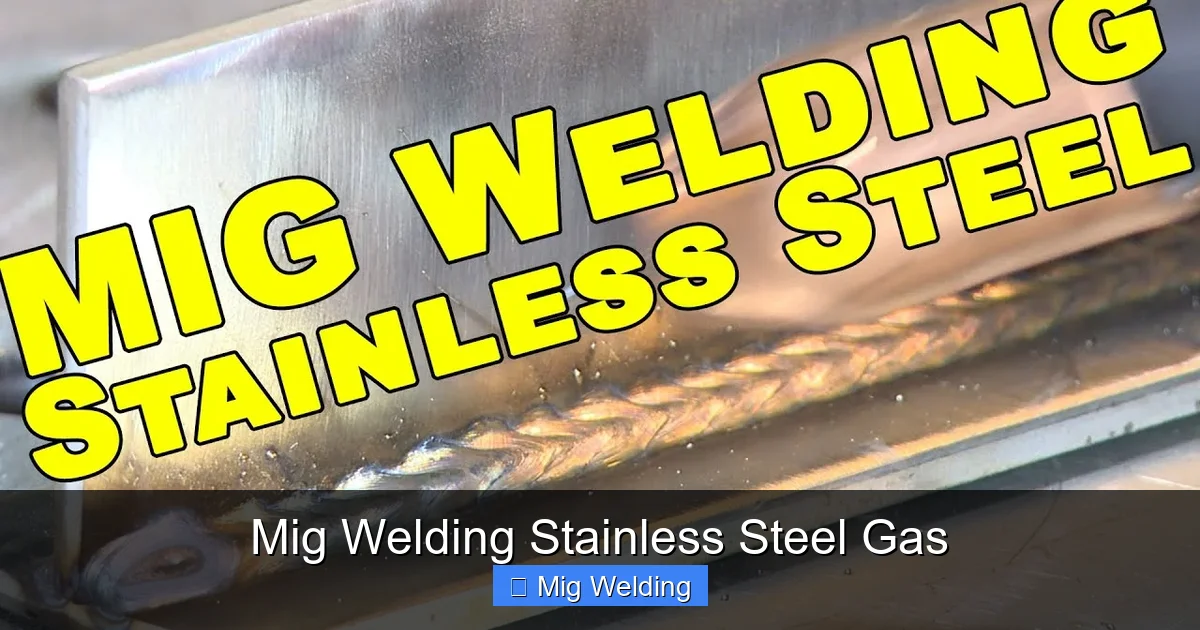
Visual guide about Mig Welding Stainless Steel Gas
Image source: i.ytimg.com
Using the wrong gas—like the 75% argon / 25% CO₂ mix common for mild steel—can lead to poor bead appearance, excessive spatter, and reduced corrosion resistance. Stainless steel needs a more refined gas blend that balances arc stability, penetration, and oxidation control.
Best Shielding Gas Mixes for MIG Welding Stainless Steel
The most effective gas for MIG welding stainless steel is a tri-mix, combining argon, helium, and a small amount of CO₂. Here are the top options:
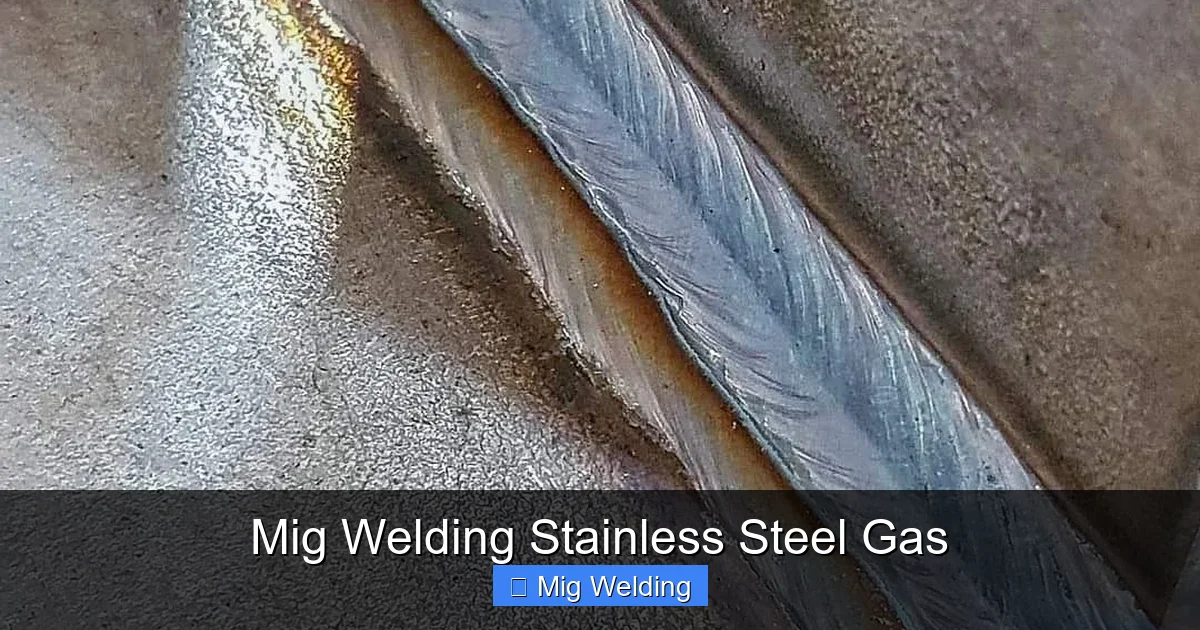
Visual guide about Mig Welding Stainless Steel Gas
Image source: weldguru.com
Tri-Mix (Argon + Helium + CO₂)
- 90% Argon / 7.5% Helium / 2.5% CO₂: This is the gold standard for most stainless steel welding. The argon stabilizes the arc, helium increases heat input for better penetration, and the small CO₂ boost helps with arc initiation without excessive oxidation.
- 98% Argon / 2% CO₂: A simpler option for thinner materials (under 1/8 inch). It reduces spatter and works well for short-circuit transfer, but may lack penetration on thicker pieces.
- 90% Helium / 7.5% Argon / 2.5% CO₂: Used for heavy sections or when deeper penetration is needed. Helium-heavy mixes generate more heat but can be harder to control—best for experienced welders.
Pro Tip: Always check your filler wire manufacturer’s recommendations—they often suggest compatible gas mixes.
Setting Up Your MIG Welder for Stainless Steel
Once you’ve chosen your gas, it’s time to dial in your machine. Stainless steel behaves differently than mild steel, so adjustments are necessary.
Select the Right Filler Wire
Use stainless steel-specific wire such as ER308L (for 304 stainless) or ER309L (for dissimilar metals or 316 stainless). These wires have low carbon content to prevent carbide precipitation, which can cause intergranular corrosion.
Adjust Voltage and Wire Feed Speed
Start with settings similar to mild steel, then fine-tune:
- For 18-gauge (1 mm) stainless: ~16–18 volts, 150–200 IPM wire feed
- For 1/8 inch (3 mm): ~19–21 volts, 250–300 IPM
- For 1/4 inch (6 mm): ~22–24 volts, 350–400 IPM
Use a short-circuit or spray transfer mode depending on thickness. Spray transfer (higher voltage) gives smoother beads on thicker material.
Set Gas Flow Rate
Keep your flow rate between 20–25 cubic feet per hour (CFH). Too low, and air gets in—causing porosity. Too high, and turbulence pulls in oxygen. Use a flowmeter and check for leaks in hoses and connections.
Pre-Welding Preparation
Cleanliness is non-negotiable when welding stainless steel. Even tiny contaminants can ruin your weld.
Clean the Base Metal
Remove oil, grease, paint, and rust with a dedicated stainless steel solvent or acetone. Never use a wire brush that’s been used on mild steel—it can embed iron particles, leading to rust spots later.
Prepare Joints Properly
Use a clean, sharp grinder to bevel thick joints (30–45 degrees). For thin materials, a simple square butt joint often works. Ensure tight fit-up—gaps can cause burn-through or lack of fusion.
Preheat (If Needed)
Most stainless steel doesn’t require preheating, but for thick sections (over 1/2 inch) or in cold environments, a light preheat (200–300°F) can reduce cracking risk.
Welding Techniques for Stainless Steel
Stainless steel expands and contracts more than mild steel, so technique matters.
Use Short Weld Passes
Make short, controlled welds (1–2 inches) and let each pass cool slightly before continuing. This minimizes heat buildup and warping.
Maintain a Consistent Travel Speed
Move steadily—too slow causes excessive heat and distortion; too fast leads to lack of fusion. A 15–30 degree push angle helps direct gas coverage over the weld pool.
Watch for Oxidation
A slight straw or light blue tint on the weld is normal. Dark blue, purple, or gray indicates oxidation—your gas coverage isn’t working. Check flow rate, nozzle size, and wind conditions.
Troubleshooting Common Issues
Even with the right gas, problems can happen. Here’s how to fix them:
Porosity (Pinholes in Weld)
Cause: Contaminated gas, moisture, or poor shielding.
Solution: Check gas cylinders for leaks, ensure dry filler wire, and increase gas flow slightly. Weld in a sheltered area to avoid drafts.
Excessive Spatter
Cause: High voltage, incorrect gas mix, or dirty metal.
Solution: Reduce voltage by 0.5–1 volt, switch to a tri-mix gas, and clean the base metal thoroughly.
Lack of Fusion
Cause: Low heat input or incorrect angle.
Solution: Increase voltage or wire feed speed. Use a push technique and ensure proper joint fit-up.
Discoloration or Oxidation
Cause: Insufficient gas coverage or post-weld contamination.
Solution: Use a larger nozzle, increase gas flow, and clean the weld with a stainless steel brush immediately after cooling.
Post-Weld Care and Finishing
Your job isn’t done when the weld cools. Proper finishing restores corrosion resistance.
Remove Oxidation
Use a stainless steel wire brush (dedicated to stainless only) to scrub off heat tint. For heavy oxidation, apply pickling paste—it chemically removes oxides and restores the passive layer.
Avoid Grinding Too Aggressively
Excessive grinding can embed abrasive particles. Use fine-grit discs and finish with a non-woven abrasive pad for a clean, polished look.
Inspect the Weld
Check for cracks, undercut, or lack of penetration. Use a magnifying glass or dye penetrant test for critical applications.
Conclusion
MIG welding stainless steel doesn’t have to be intimidating. By choosing the right gas—like a 90/7.5/2.5 argon-helium-CO₂ tri-mix—and following proper setup and technique, you can produce strong, clean, corrosion-resistant welds every time. Remember: cleanliness, correct gas flow, and controlled heat input are your best friends. With practice, you’ll master stainless steel welding and tackle everything from automotive repairs to custom fabrication with confidence.