

Welding with a MIG welder is a great skill for DIY projects and metal fabrication. This guide walks you through every step, from preparing your workspace to mastering welding techniques, ensuring you gain confidence and produce strong, clean welds.
How to Weld with a MIG Welder
Welding with a MIG welder is one of the easiest and most versatile methods for metal fabrication. Whether you’re a DIY enthusiast or a professional, mastering MIG welding opens up many possibilities. In this guide, we’ll cover everything from choosing the right equipment to executing perfect welds. By the end, you’ll be confident in your ability to weld with a MIG welder safely and effectively.
Key Takeaways
- Understand your MIG welder: Learn the main parts and functions of a MIG welder for safe and effective use.
- Preparation is key: Properly clean and prepare your metal surfaces to ensure strong welds.
- Set up your welder correctly: Adjust voltage, wire feed speed, and shielding gas according to your project.
- Master welding techniques: Practice proper torch angle, travel speed, and bead placement for quality welds.
- Prioritize safety: Always wear protective gear and work in a well-ventilated area.
- Troubleshoot common issues: Recognize and fix problems like porosity, weak welds, or spatter efficiently.
Understanding Your MIG Welder
Before you start welding, it’s crucial to understand the main parts of a MIG welder:
- Power source: Provides the electrical energy needed for welding.
- Wire feed system: Feeds the welding wire continuously into the weld pool.
- Gun or torch: Holds the contact tip and directs the wire and shielding gas.
- Shielding gas: Protects the weld pool from contaminants like oxygen and nitrogen.
Knowing how these parts work together helps you troubleshoot and optimize your welding process.
Preparing for Welding
Gather Necessary Equipment and Safety Gear
- MIG welder: Ensure it is in good working condition.
- Protective gear: Wear a welding helmet, gloves, long sleeves, and safety glasses.
- Clothing: Wear flame-resistant clothing and closed-toe shoes.
- Ventilation: Work in a well-ventilated area to avoid inhaling fumes.
Preparing Your Metal Surfaces
Clean the metal thoroughly to remove rust, paint, oil, and dirt. Use a wire brush, grinder, or grinder wheel. Clean surfaces help prevent impurities in your welds and improve adhesion.
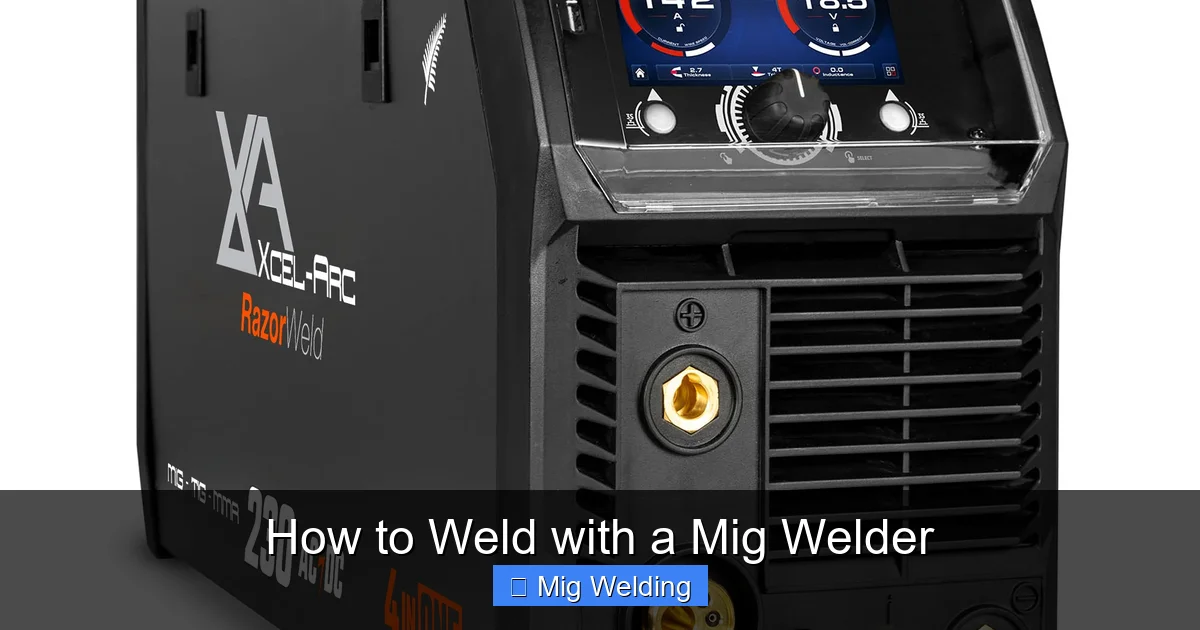
Visual guide about How to Weld with a Mig Welder
Image source: xcelarc.nz
Setting Up Your MIG Welder
Choose the Right Wire and Gas
- Wire type: Use ER70S-6 for general steel welding.
- Wire diameter: Typically 0.023” or 0.030” for most projects.
- Shielding gas: Use 75% Argon / 25% CO2 mixture for smooth, strong welds, or 100% CO2 for deeper penetration.
Adjusting the Settings
Set your welder’s voltage and wire feed speed according to the wire size and material thickness. Start with the manufacturer’s recommended settings and fine-tune as needed.
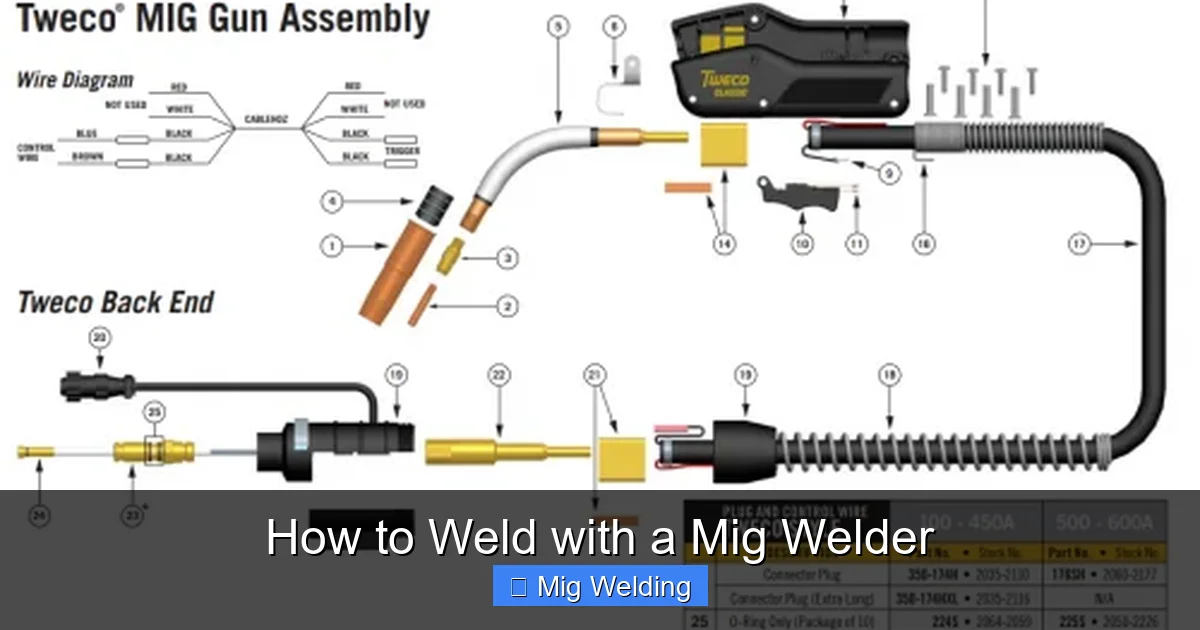
Visual guide about How to Weld with a Mig Welder
Image source: weld.com.au
- Voltage: Higher voltage for thicker materials.
- Wire feed speed: Faster for thicker metals, slower for thinner metals.
Welding Technique
Proper Positioning and Torch Angle
Hold the torch at a 10-15 degree angle pointing into the weld puddle. Keep a steady hand and maintain consistent distance from the workpiece, usually about ¼ inch.
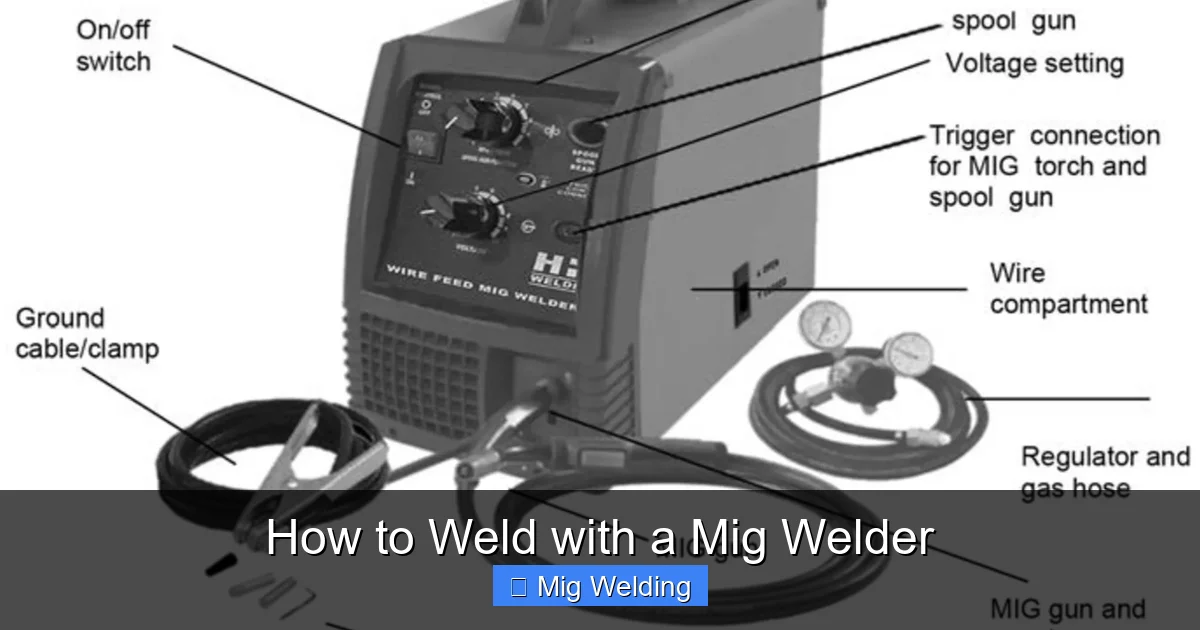
Visual guide about How to Weld with a Mig Welder
Image source: i5.walmartimages.com
Running a Bead
- Start your arc at the edge of the metal.
- Move the torch steadily along the joint at a consistent speed.
- Maintain the correct angle and distance to produce a uniform bead.
Practice Good Travel Speed
Move your torch smoothly along the joint. Going too fast results in weak welds; too slow causes excessive heat and spatter. Practice to find the right pace.
Common Welding Techniques
- Stringer bead: A straight, steady movement ideal for most welding tasks.
- Weaving technique: Moving the torch side to side to widen the bead, useful for filling larger gaps.
Cooling Down and Post-Weld Cleanup
Let your weld cool naturally. Clean the weld area with a wire brush to remove slag or spatter and inspect the weld for defects.
Troubleshooting Common Issues
- Porosity or holes: Caused by contaminants or inadequate shielding gas. Clean the metal and check gas flow.
- Weak welds: Check your settings, wire feed speed, and technique. Ensure proper penetration.
- Spatter: Adjust voltage and wire speed, and ensure proper gun angle.
Conclusion
Welding with a MIG welder is a skill that improves with practice. Focus on safety, proper setup, and technique. Over time, you’ll produce strong, clean welds that last. Remember, patience and practice are key to becoming a confident welder. Happy welding!
Additional Tips
- Keep your work area clean and organized.
- Practice on scrap metal before working on your main project.
- Always wear your safety gear, no matter how small the weld.
- Experiment with different settings to learn what works best for your metal and project.