

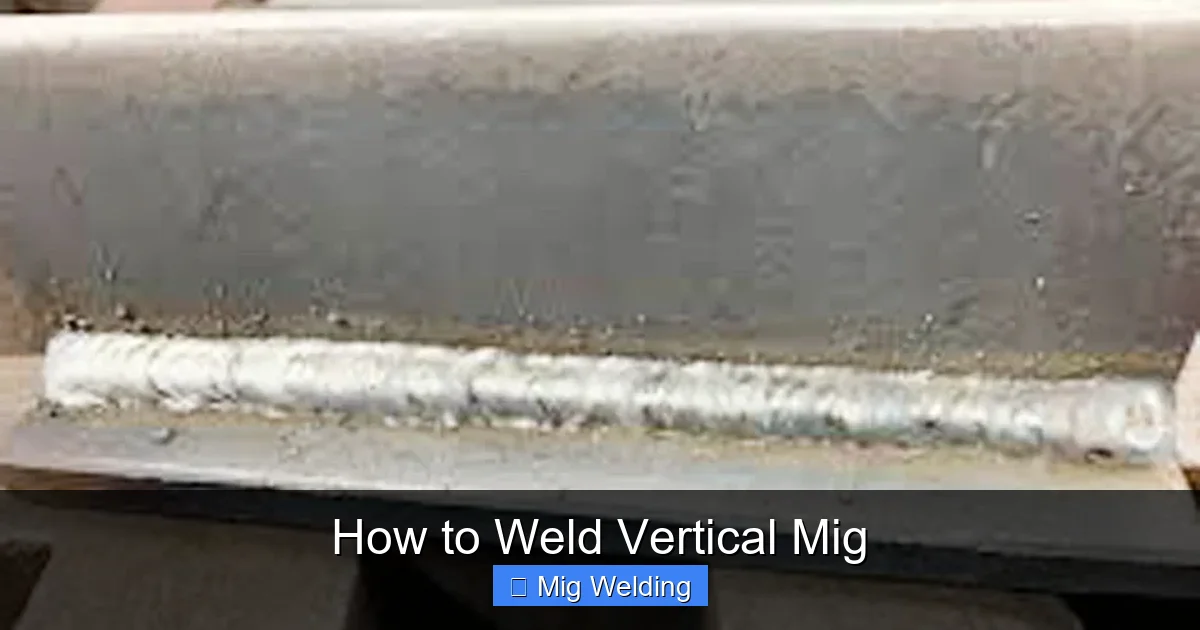
Welding vertically with MIG requires specific techniques to ensure strong, clean welds. In this guide, you’ll learn step-by-step methods, practical tips, and troubleshooting advice to master vertical MIG welding and achieve professional results.
How to Weld Vertical MIG
Welding vertically with MIG (Metal Inert Gas) welding can be challenging, especially for beginners. The key is understanding how to control the weld pool and adapt your technique to gravity. In this guide, we’ll walk you through the entire process—from setting up your equipment to troubleshooting common issues—so you can produce strong, clean vertical welds. Whether you’re working on a small project or a large construction job, mastering vertical MIG welding will boost your skills and confidence.
Key Takeaways
- Proper torch angle: Maintain a 15-20 degree angle to control molten pool and penetration.
- Travel speed: Use steady, controlled movement to prevent defects like undercut or cold welds.
- Adjust wire feed and voltage: Set correct parameters based on material thickness for optimal weld quality.
- Use a push technique: Welding in a push (forehand) position helps produce cleaner, smoother welds.
- Preheat thicker materials: Preheating can improve penetration and reduce cracking on thicker metals.
- Practice and patience: Vertical welding takes practice; start with scrap metal to refine your skills.
Understanding Vertical MIG Welding
Vertical MIG welding involves depositing weld metal on a vertical surface, either uphill (vertical-up) or downhill (vertical-down). Each method has its advantages and requires different techniques. Vertical-up welding provides better penetration and stronger welds, ideal for structural applications. Vertical-down is faster and less demanding but offers less penetration. In this guide, we’ll focus mainly on vertical-up MIG welding, which is more common for structural and heavy-duty work.
Tools and Materials Needed
- MIG welder: Ensure it supports the required amperage and wire feed capabilities.
- Welding wire: Solid wire, typically ER70S-6 for mild steel.
- Shielding gas: 75% Argon / 25% CO2 mixture for smooth welds.
- Protective gear: Welding helmet, gloves, jacket, and safety glasses.
- Metal workpiece: Clean, rust-free steel or metal suitable for MIG welding.
- Clamps and fixtures: To hold your workpiece steady.
- Angle grinder or wire brush: For cleaning the metal surface before welding.
Preparing for Vertical MIG Welding
1. Material Preparation
Clean the metal thoroughly. Remove rust, paint, oil, and dirt using a wire brush or grinder. Proper cleaning ensures good weld quality and prevents defects.
Visual guide about How to Weld Vertical Mig
Image source: weldpundit.com
Visual guide about How to Weld Vertical Mig
Image source: weldpundit.com
2. Set Up Your Equipment
- Choose the right wire: Use a wire size appropriate for your material thickness (e.g., 0.035″ for 1/8″ steel).
- Set the shielding gas: Use a 75% Argon / 25% CO2 mix for smooth, strong welds.
- Adjust wire feed and voltage: Refer to your welder’s chart or manual to set initial parameters, then fine-tune based on test welds.
3. Safety Measures
Always wear protective gear. Ensure proper ventilation and keep fire extinguishing equipment nearby. Never weld in confined spaces without proper exhaust.
Step-by-Step Guide to Welding Vertically with MIG
1. Position Yourself Correctly
Stand comfortably with good balance. Keep your body aligned with the weld seam. Maintain a steady hand and a comfortable distance from the workpiece (about ¼ to ½ inch).
Visual guide about How to Weld Vertical Mig
Image source: weldpundit.com
2. Set Your Welding Parameters
- Wire speed: Set to a moderate pace to prevent excessive spatter or burn-through.
- Voltage: Adjust to ensure proper arc stability and penetration.
Tip: Always start with manufacturer recommendations and adjust based on test welds.
3. Choose Your Technique: Vertical-Up Welding
Vertical-up welding is the most common for structural work. It involves welding from the bottom to the top, layering welds as you go.
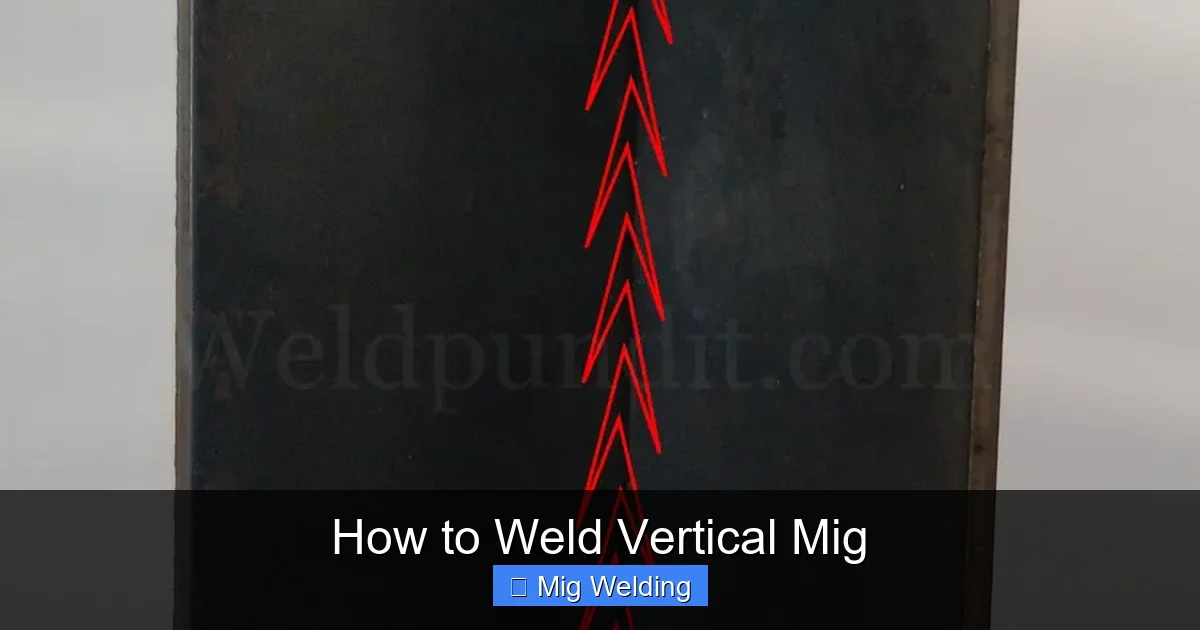
4. Use the Push (Forehand) Technique
- Hold the gun at a 15-20 degree angle pointing in the direction of travel.
- Push the torch forward along the weld line, which helps produce a cleaner bead and better penetration.
Practice your push technique on scrap metal to get comfortable with the motion and angle.
5. Maintain a Consistent Travel Speed
Keep your hand steady. Moving too fast can cause cold welds or undercutting. Moving too slow leads to excessive heat and warping.
For vertical-up welding, a moderate, steady speed usually works best—think of it as “slow and steady.”
6. Control the Arc and Heat
Maintain a consistent arc length (about the diameter of the wire). Too close causes spatter; too far causes an unstable arc.
Adjust your wire feed and voltage as needed during the weld to keep the arc stable.
7. Building the Weld in Layers
- Start with a small, confident puddle at the bottom.
- Gradually move upward, building layers as needed for thick materials.
- Overlap each pass slightly to ensure good fusion.
Allow each layer to cool slightly before adding the next to prevent warping or cracking.
Practical Tips for Better Vertical MIG Welds
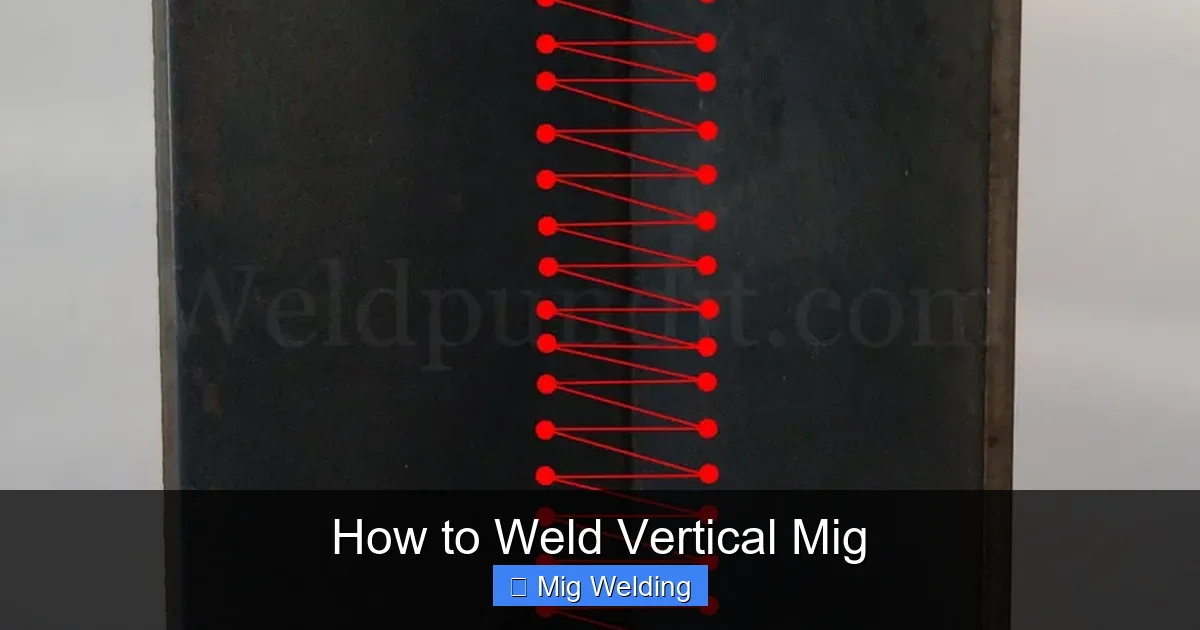
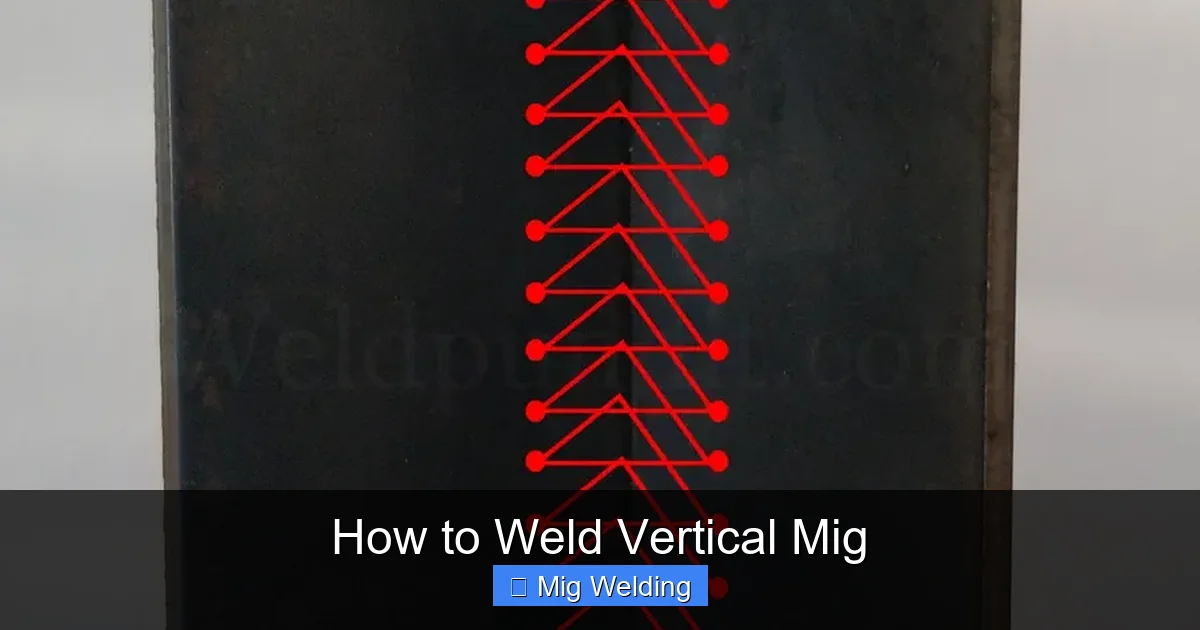
- Use a weaving technique: Slight side-to-side movement helps fill the joint evenly and reduces heat concentration.
- Preheat thick materials: Warming the metal reduces warping and improves penetration.
- Adjust your shielding gas flow: Too high flow can cause turbulence; too low can lead to contamination.
- Practice on scrap metal: Experiment with different angles and speeds to find what works best for you.
Common Challenges and How to Troubleshoot
1. Porosity (holes in weld)
Cause: Contaminated surface or insufficient shielding gas. Solution: Clean the metal thoroughly and check your gas flow rate.
2. Underfill or Cold Weld
Cause: Traveling too fast or insufficient heat. Solution: Slow down your travel speed and increase voltage slightly.
3. Excessive Spatter
Cause: Too high wire feed or arc length. Solution: Adjust wire speed and maintain a consistent arc length.
4. Undercut
Cause: Too high voltage or moving too slow. Solution: Lower voltage and increase travel speed.
Final Tips and Best Practices
- Keep your equipment in good condition: Regularly check and maintain your welder.
- Stay relaxed: Tension makes your hand shaky, affecting weld quality.
- Use proper ventilation and safety gear: Always prioritize safety during welding.
Conclusion
Mastering vertical MIG welding takes time and practice. Focus on controlling your torch angle, travel speed, and heat input. With patience and consistent effort, you’ll produce strong, clean welds on vertical surfaces. Remember to start with scrap metal, experiment with your settings, and always prioritize safety. Happy welding!
