

Vertical MIG welding can seem challenging, but with the right technique, it becomes manageable. In this guide, you’ll learn how to set up your welder, choose the right settings, and execute clean, strong welds in a vertical position. Whether you’re a beginner or looking to improve your skills, this step-by-step approach will help you weld confidently and effectively.
Key Takeaways
- Proper Setup: Ensure your welder is correctly configured with the right wire, gas, and settings for vertical MIG welding.
- Work Position: Maintain a comfortable, stable stance to control your weld pool and movement.
- Travel Speed: Use a steady, moderate travel speed to prevent excessive buildup or undercutting.
- Electrode Angle: Keep the MIG gun at a consistent angle, typically around 15-20 degrees from vertical.
- Welding Technique: Use a slight weave or stringer bead to control the weld pool and ensure penetration.
- Practice and Troubleshoot: Practice on scrap metal and adjust your settings as needed to overcome common issues like porosity or poor fusion.
How to Vertical MIG Weld
MIG welding is a popular method for its speed and ease. Vertical MIG welding, where the weld is made on a vertical surface, adds a layer of complexity. Gravity influences the weld pool, making it tricky to control. But don’t worry! With proper technique and preparation, you can produce strong, clean welds in this position. In this guide, you’ll learn everything from setup to finishing your vertical welds confidently.
Introduction
Vertical MIG welding is used in many fabrication projects, from structural steel to automotive repairs. It requires a good understanding of settings, positioning, and technique. This guide will walk you through each step, ensuring you understand the essentials to improve your skills and get professional-looking results.
Step 1: Prepare Your Equipment and Workspace
Gather Your Materials
- MIG welder: Ensure it’s in good working condition.
- Welding wire: Use the correct type and diameter (commonly ER70S-6 for mild steel).
- Shielding gas: Typically 75% argon/25% CO2 for mild steel.
- Protective gear: Welding helmet, gloves, apron, and safety glasses.
- Work surface: Clean, rust-free metal surface for best results.
Set Up Your Welder
- Wire feed speed: Set according to wire diameter; usually around 200-300 inches per minute.
- Voltage: Adjust based on material thickness; start with manufacturer recommendations.
- Gas flow rate: 20-30 CFH (cubic feet per hour).
- Polarity: Use the standard DC electrode positive (DCEP) for mild steel.
Pro Tip: Always perform a test weld on scrap metal to dial in your settings before working on your actual project.
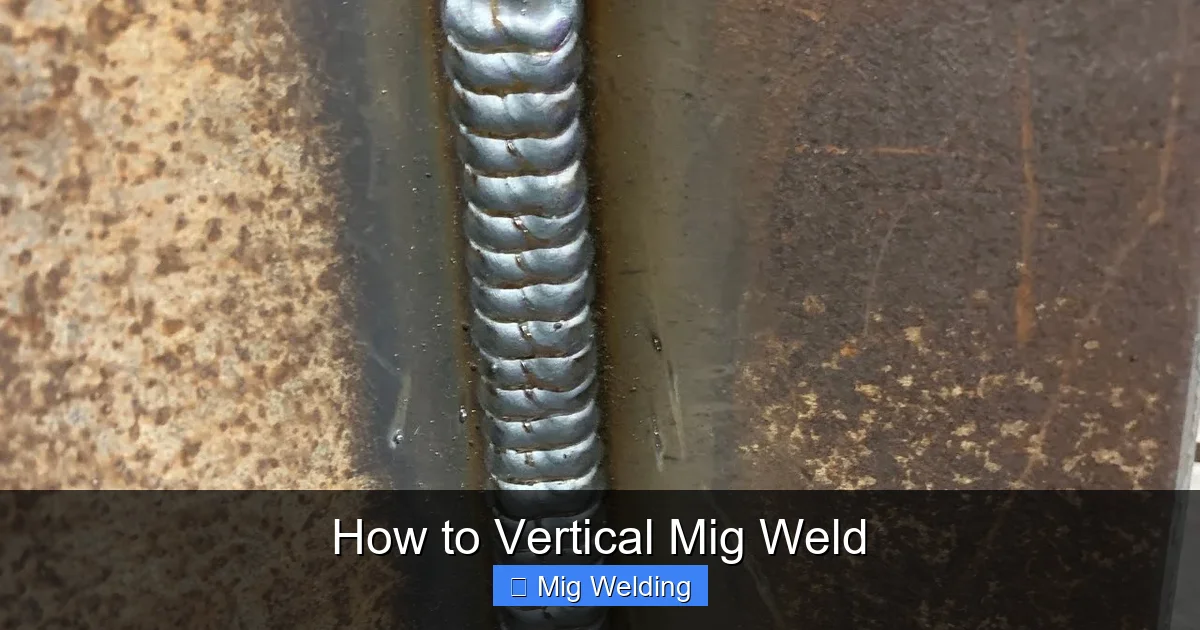
Visual guide about How to Vertical Mig Weld
Image source: i.ytimg.com
Step 2: Set Up Your Work Position and Safety
Body Positioning
Stand comfortably with your feet shoulder-width apart. Keep your body relaxed. Position yourself so you can maintain a steady hand and good access to the weld joint.
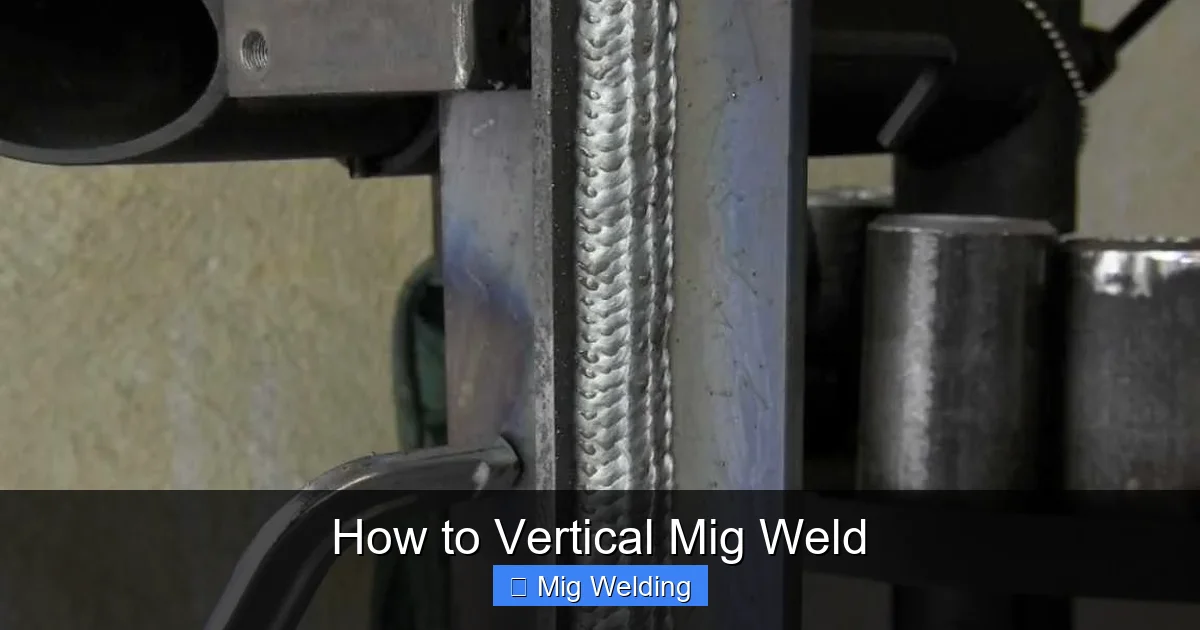
Visual guide about How to Vertical Mig Weld
Image source: weldingtipsandtricks.com
Workpiece Positioning
Clamp your metal securely. Ensure the surface is clean and free of rust, paint, or oil. Use magnet clamps or fixtures if needed to hold the workpiece steady.
Step 3: Understand and Adjust Your Technique
Electrode Angle
Hold the MIG gun at a 15-20 degree angle from vertical, leaning slightly uphill (away from the weld direction). This helps control the weld pool and prevents slag buildup.
Travel Speed
Maintain a steady, moderate speed—too slow causes excessive buildup, too fast leads to weak penetration. Practice on scrap metal to find your rhythm.
Welding Pattern
- Stringer Bead: A straight, single pass bead. Good for thin materials and when control is critical.
- Weave Pattern: Slight side-to-side motion helps fill wider joints and improve penetration.
Step 4: Begin Welding
Striking the Arc
Tap the wire briefly against the workpiece to start the arc. Maintain a consistent distance—about 1/4 inch from the workpiece.
Moving Along the Joint
Start your weld at one end of the joint. Use a steady hand to move along at your chosen travel speed. Keep the bead even and consistent.
Controlling the Weld Pool
Monitor the size of the weld pool. It should be small but fluid. Adjust your speed if the pool gets too large or too small.
Step 5: Finishing the Weld
Once you’ve completed your weld, slowly pull the gun away to avoid slag inclusion or undercutting. Let the weld cool naturally.
Practical Tips for Better Vertical MIG Welding
- Use a slight weave: Helps control the weld pool and fill gaps effectively.
- Maintain a consistent angle and speed: Consistency leads to cleaner, stronger welds.
- Adjust amperage and wire feed: Higher settings may be needed for thicker materials.
- Practice on scrap metal: Different positions and settings help improve skill.
- Keep your gun clean: Remove spatter and check the liner regularly.
Troubleshooting Common Issues
Poor Penetration
Increase your voltage or wire feed speed. Ensure your workpiece is clean and the angle is correct.
Porosity or Holes
Check your shielding gas flow. Ensure no drafts are disturbing the gas flow and that your gun is clean.
Undercut or Bead Weakness
Slow down your travel speed and adjust your angle. Use a slightly hotter setting if necessary.
Conclusion
Vertical MIG welding is a skill that improves with practice. By setting up your equipment properly, maintaining correct positioning, and applying consistent technique, you can produce strong, neat welds on vertical surfaces. Keep practicing, stay safe, and soon you’ll weld with confidence in any position!