

Learning how to MIG weld is a valuable skill for metalwork projects. This guide walks you through the essential steps, safety tips, and best practices to help you become a confident MIG welder, whether you’re a beginner or looking to improve your technique.
How to MIG Weld
MIG welding, also known as Gas Metal Arc Welding (GMAW), is a popular and versatile welding process. It’s favored for its ease of use, speed, and clean welds. Whether you’re working on a DIY project or professional repairs, learning how to MIG weld is a valuable skill. In this guide, you will learn everything from setting up your equipment to perfecting your technique and troubleshooting common problems.
Key Takeaways
- Understand the basics: Know what MIG welding is and the equipment needed before starting.
- Safety first: Always wear protective gear and work in a well-ventilated area.
- Prepare your workspace and materials: Clean and set up your workpiece properly for best results.
- Set up your welder: Adjust voltage, wire feed speed, and shielding gas according to the metal and thickness.
- Practice proper technique: Keep a steady hand, maintain the correct angle, and move at a consistent pace.
- Troubleshoot common issues: Learn how to fix problems like porosity, weak welds, or spatter.
Understanding MIG Welding
MIG welding uses a continuously fed wire electrode that melts and joins metals together. A shielding gas protects the weld pool from contamination. It’s suitable for welding various metals like steel, stainless steel, and aluminum, depending on the wire and gas used.
Essential Equipment and Materials
- MIG welder: Choose a unit suitable for your projects, with adjustable settings.
- Welding wire: Select the right type (solid wire, flux-cored wire) for your metal.
- Shielding gas: Typically CO2 or a mix of Argon and CO2.
- Protective gear: Welding helmet, gloves, apron, and safety glasses.
- Workpiece: Clean, rust-free metal surfaces.
- Clamps and tools: To secure your workpiece and prepare your workspace.
Step-by-Step Guide to MIG Welding
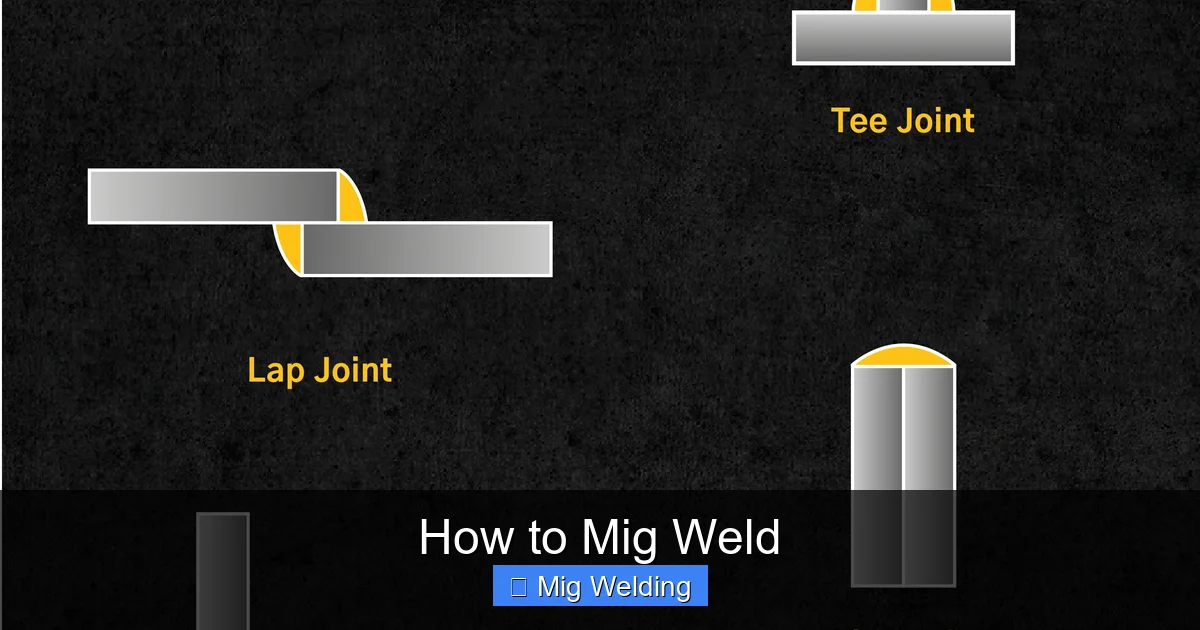
Step 1: Prepare Your Workspace and Materials
Start by selecting a clean, well-ventilated area. Clear the space of clutter and flammable materials. Ensure your workpiece is free from rust, oil, and dirt, as contaminants can weaken welds and cause defects.
Visual guide about How to Mig Weld
Image source: cdn.shopify.com
Visual guide about How to Mig Weld
Image source: click-abzar.com
- Tip: Use a wire brush or grinder to clean the metal surface thoroughly.
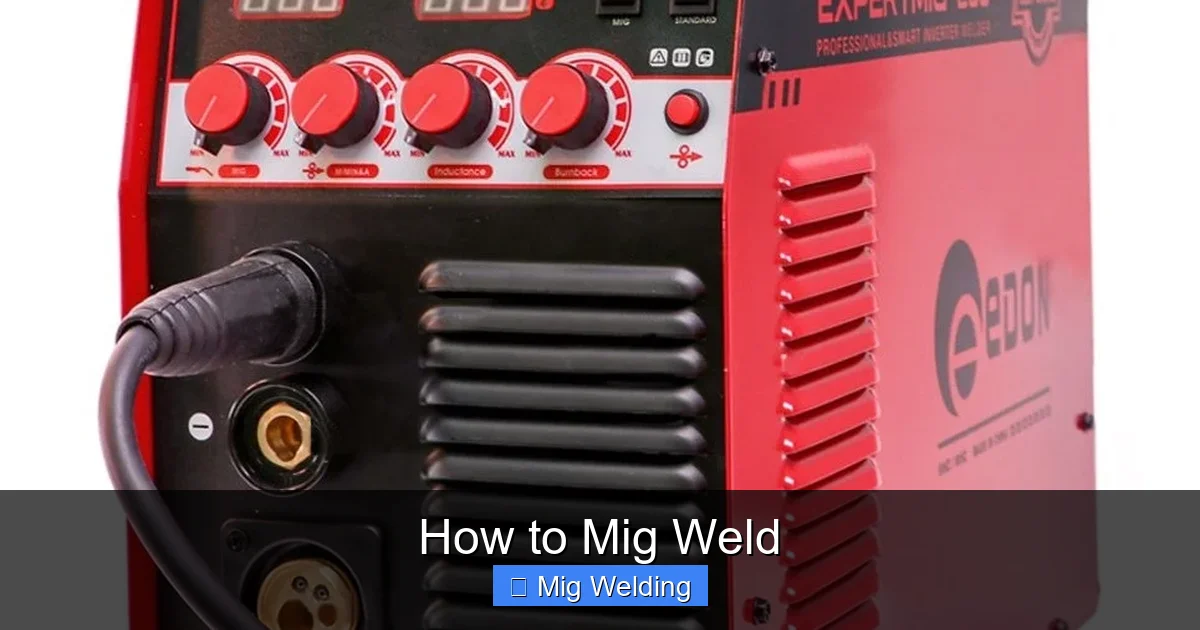
Step 2: Set Up Your MIG Welder
Follow these sub-steps to correctly set up your equipment:
2.1 Connect the Gas and Wire
- Attach the welding wire spool to the feeder.
- Connect the shielding gas cylinder to the welder’s gas regulator.
- Adjust the wire feed speed based on your material and wire diameter.
2.2 Adjust Voltage and Wire Speed
- Set the voltage according to the thickness of your metal (refer to your welder’s manual or charts).
- Adjust the wire feed speed so that the weld pool forms smoothly without excessive spatter.
2.3 Set the Shielding Gas
- Open the gas cylinder valve gradually.
- Set the flow rate typically between 20-30 cubic feet per hour (CFH).
Step 3: Wear Protective Gear
Before starting to weld, put on your welding helmet, gloves, apron, and safety glasses. Protecting yourself from sparks, UV rays, and fumes is crucial.
Step 4: Practice Your Welding Technique
Hold the welding gun at a consistent angle, usually around 10-15 degrees from vertical, pointing in the direction of travel. Keep a steady hand and move at a steady pace. Practice on scrap metal to get a feel for the process.
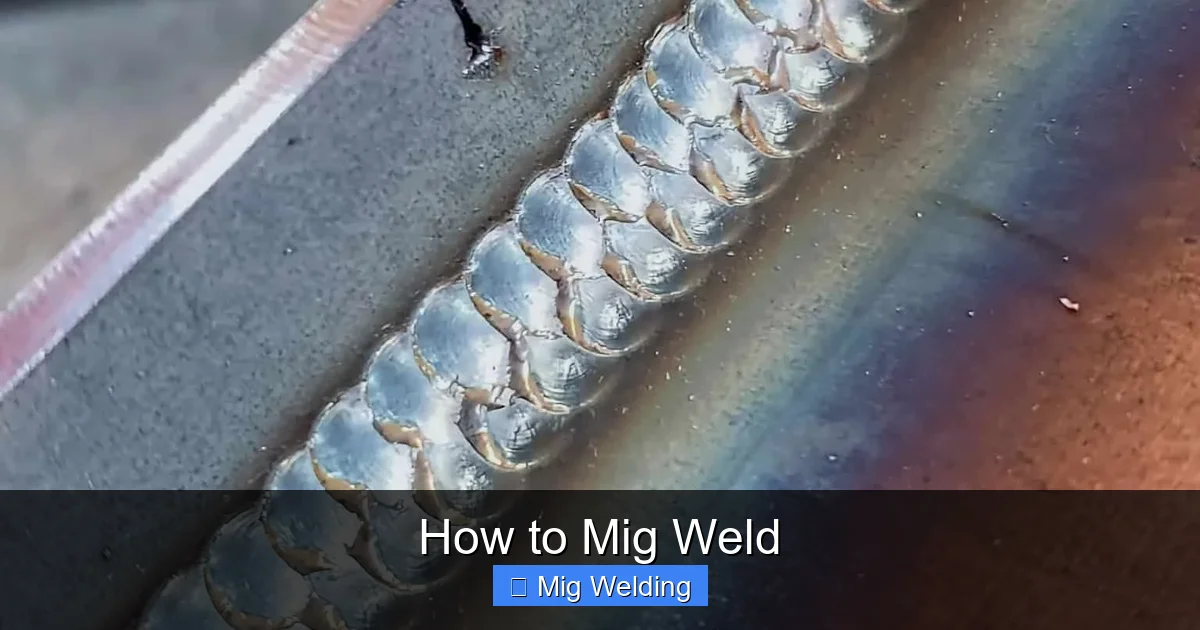
Step 5: Start Welding
- Press the trigger to start the arc.
- Maintain the correct distance from the workpiece, typically ¼ inch (6 mm).
- Move smoothly along the joint, maintaining a consistent speed and angle.
Watch the weld pool closely, and adjust your speed or settings if needed.
Practical Tips for Better MIG Welding
- Consistent speed: Moving too fast or too slow affects weld quality.
- Proper gun angle: Keep it steady and at the recommended angle.
- Maintain the correct distance: Too close causes spatter; too far results in weak welds.
- Use scrap metal: Practice on scrap to refine your technique before working on your main project.
Common Troubleshooting in MIG Welding
Porosity or Holes in the Weld
This often results from contamination or improper shielding gas flow. Ensure your workpiece is clean and gas flow is steady.
Visual guide about How to Mig Weld
Image source: weldguru.com
Weak or Cracked Welds
Check your settings, and make sure you’re using the correct wire and gas. Also, avoid moving too quickly or too slowly.
Spatter and Excessive Smoke
Reduce voltage or increase wire feed speed. Confirm your shielding gas flow rate is sufficient.
Inconsistent Weld Bead
Maintain a steady hand and consistent travel speed. Practice makes perfect.
Conclusion
Learning how to MIG weld is a valuable skill that opens up many possibilities for metalworking projects. With proper setup, safety precautions, and practice, you can produce strong, clean welds. Remember, patience and consistency are key. Keep practicing, and soon you’ll weld with confidence!
Additional Tips
- Always follow safety guidelines and wear protective gear.
- Practice on scrap metal before tackling your main project.
- Regularly inspect and maintain your welding equipment for optimal performance.