

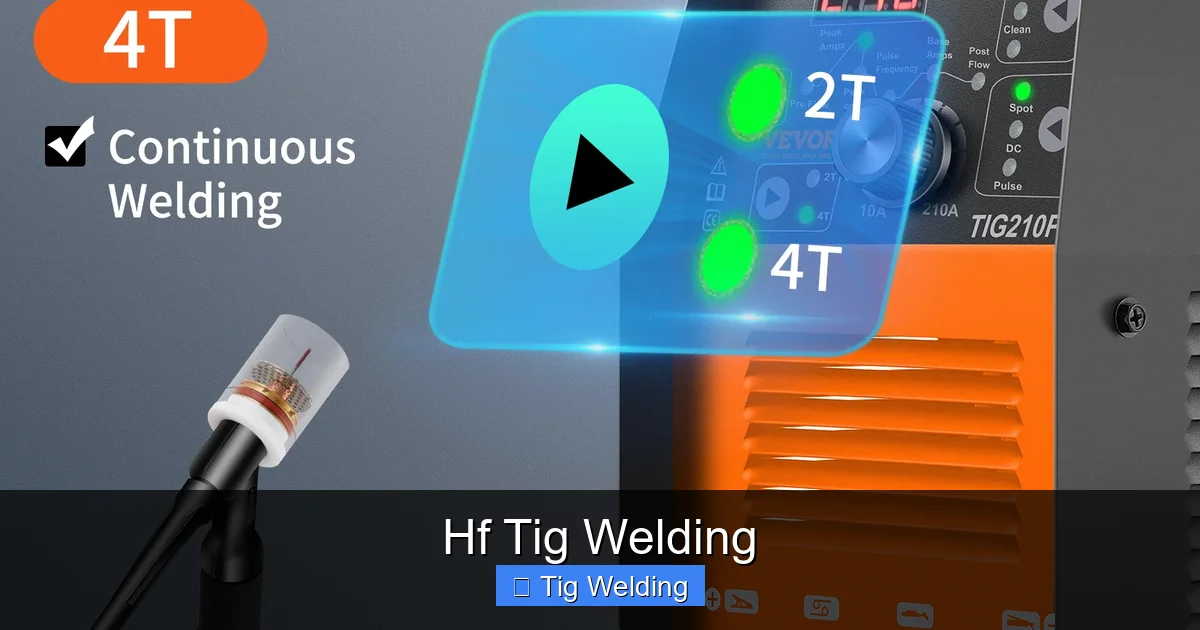
This guide provides a detailed look at HF TIG welding, a precise and versatile welding process. You’ll learn how to set up your equipment, master essential techniques for different metals, and gain valuable tips for achieving clean, high-quality welds. Whether you’re a beginner or looking to refine your skills, this guide will equip you with the knowledge to excel in HF TIG welding.
HF TIG Welding: Your Comprehensive How-To Guide
TIG welding, also known as Gas Tungsten Arc Welding (GTAW), is renowned for its precision, cleanliness, and ability to join a wide variety of metals. When you add High Frequency (HF) to the mix, you unlock even greater control and ease of use. This guide will walk you through everything you need to know about HF TIG welding, from setting up your equipment to mastering advanced techniques. Get ready to create beautiful, strong welds!
Key Takeaways
- Understand HF Starting: High-frequency (HF) starts allow for non-contact arc initiation, preventing tungsten contamination and reducing spatter, crucial for precise welds.
- Proper Gas Selection and Flow: Choosing the correct shielding gas (typically Argon for most metals) and setting the appropriate flow rate is vital for preventing weld contamination and ensuring a clean puddle.
- Electrode Preparation is Key: Grinding the tungsten electrode to a sharp point for DC or a slightly blunted tip for AC is essential for arc stability and control.
- Mastering Filler Rod Control: Adding filler rod at the right time and in the correct amount is critical for building strong, smooth welds without excessive heat.
- Adjusting Amperage for Materials: Understanding how to set amperage based on material type, thickness, and joint configuration is fundamental to preventing burn-through or insufficient fusion.
- Foot Pedal or Torch Control: Learning to effectively use the amperage control (foot pedal or torch button) allows for dynamic heat adjustment, vital for controlling the weld puddle and preventing defects.
What is HF TIG Welding?
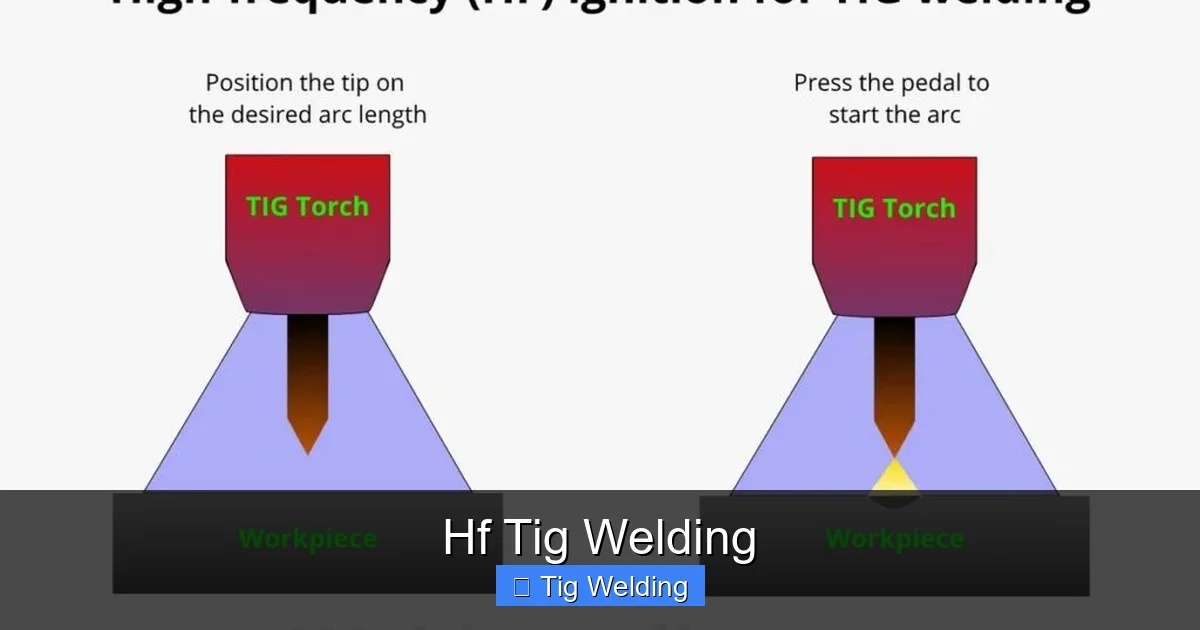
HF TIG welding refers to the use of a high-frequency current to initiate the welding arc without the need for physical contact between the tungsten electrode and the workpiece. This non-contact arc start is a game-changer. It eliminates the need to “scratch” the tungsten to start the arc, which can contaminate the electrode and the weld. Instead, the HF unit generates a high-voltage, high-frequency spark that ionizes the air gap, allowing the main welding current to establish smoothly.
This capability is particularly beneficial for thinner materials, delicate work, and when you need to maintain absolute cleanliness. It’s a staple in industries like aerospace, automotive customization, and artistic metal fabrication.
Why Use HF TIG Welding?
The advantages of using HF TIG welding are numerous:
Visual guide about Hf Tig Welding
Image source: weldpundit.com
- Non-Contact Arc Start: This is the primary benefit. It prevents tungsten inclusions in the weld and avoids contaminating the tungsten electrode, ensuring a cleaner weld and longer electrode life.
- Easier Arc Initiation: Starting an arc is as simple as bringing the tungsten close to the metal and pressing the trigger. This is especially helpful in tight or awkward spaces.
- Arc Stability: The HF current can also help stabilize the arc during the welding process, leading to a more consistent puddle and cleaner bead.
- Reduced Spatter: Because you don’t need to scratch the electrode, HF starting significantly reduces spatter compared to scratch-start TIG.
Setting Up Your HF TIG Welder
Proper setup is the foundation of successful HF TIG welding. Let’s break down the key components and settings.

Visual guide about Hf Tig Welding
Image source: m.media-amazon.com
1. Your TIG Welder
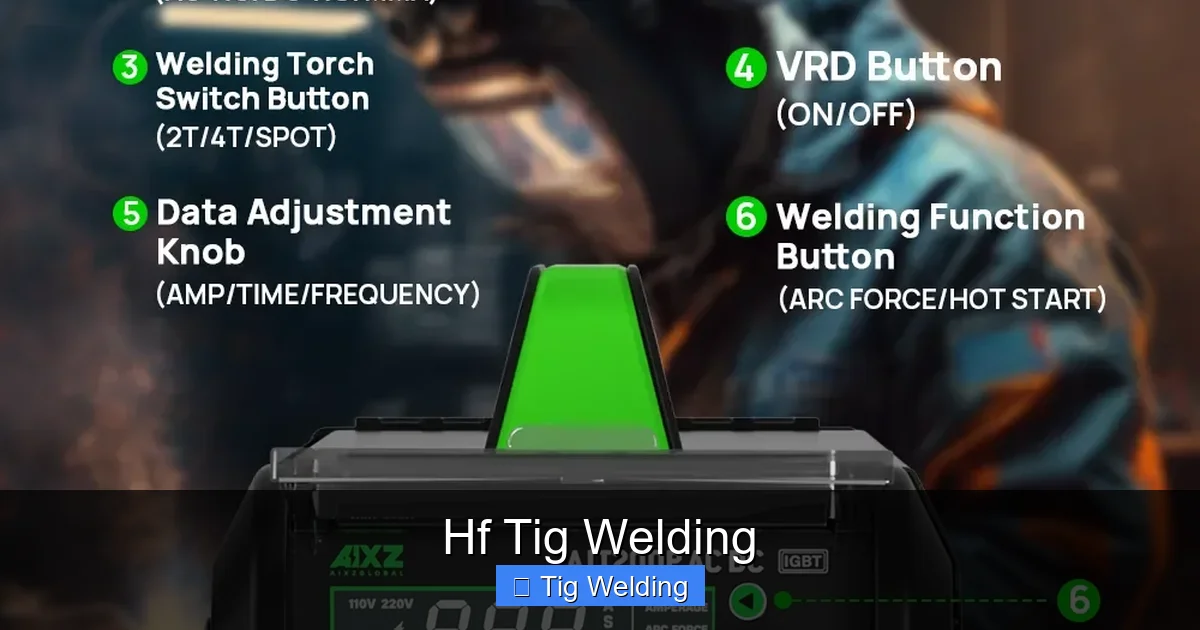
Ensure your TIG welder has an HF start function. Most modern TIG machines offer this, along with AC/DC capability, which is essential for welding different types of metals. AC is typically used for aluminum and magnesium, while DC is used for steel, stainless steel, and titanium.
Visual guide about Hf Tig Welding
Image source: img4.dhresource.com
2. Shielding Gas
Shielding gas protects the molten weld puddle and the tungsten electrode from atmospheric contamination (oxygen and nitrogen), which can weaken the weld and cause porosity.
Gas Selection:
- Argon (Ar): This is the most common shielding gas for TIG welding and is used for most metals, including steel, stainless steel, aluminum, copper, and titanium. It provides excellent arc stability and penetration.
- Argon/Helium (Ar/He) Mixtures: Adding helium to argon increases heat input, which can be beneficial for thicker materials or when faster travel speeds are desired. It also provides a broader, more fluid puddle.
- Pure Helium (He): Rarely used on its own for TIG, but common in specific applications like pipeline welding or for certain exotic metals.
Gas Flow Rate:
The correct gas flow rate is crucial. Too little gas, and you risk contamination. Too much gas, and you can create turbulence, drawing in atmospheric contaminants. A good starting point is usually between 15-25 cubic feet per hour (CFH), but this can vary based on your torch size and welding environment.
Tip: Always use a flowmeter regulator on your gas cylinder. Don’t rely on the pressure gauge alone, as it doesn’t indicate actual flow.
3. Tungsten Electrode
The tungsten electrode is a non-consumable rod that carries the welding current. Its preparation significantly impacts arc stability and weld quality.
Types of Tungsten:
- Pure Tungsten (Green Band): Generally not recommended for AC welding of aluminum anymore, as it tends to ball up.
- 2% Ceriated (Grey Band): An excellent all-around electrode for both AC and DC welding. It offers good arc stability and longevity.
- 2% Lanthanated (Blue Band): Another excellent all-purpose electrode, offering superior arc starting, stability, and longer life than pure tungsten. It’s a popular choice for both AC and DC.
- Zirconiated (Brown Band): Best suited for AC welding, especially for aluminum, as it resists contamination and provides a stable arc.
- Thoriated (Red Band): Once very popular for DC welding, but now less common due to radioactivity concerns. It offers excellent arc starting and stability.
Electrode Preparation:
- For DC (Steel, Stainless Steel, Titanium): Grind the tungsten to a sharp point. This concentrates the arc and provides better control. Use a dedicated tungsten grinder (not one used for steel) to avoid contamination.
- For AC (Aluminum, Magnesium): Grind the tungsten to a slightly blunted tip or even a rounded ball shape. This is essential for arc stability and preventing the arc from wandering. A slightly blunted tip (around 1/16″ to 1/8″ diameter) works well for most aluminum applications.
Important: Always grind the tungsten lengthwise, in the direction of the point, to create fine, longitudinal striations. Never grind it across the tip.
4. Filler Material
Filler metal is added to the weld puddle to create a stronger, more complete joint. It’s crucial to match the filler material to the base metal you’re welding.
- Steel: ER70S-2 or ER70S-6 are common choices.
- Stainless Steel: Use a filler rod designated for the specific type of stainless steel (e.g., 308 for 304, 309 for dissimilar steels or for welding stainless to carbon steel).
- Aluminum: Common choices include 4043 (general purpose) and 5356 (higher strength, good for structural applications).
Tip: Keep your filler rods clean and free from oil or grease, as contamination can be transferred to the weld.
5. Torch Setup
The torch is your primary tool. Ensure it’s properly assembled.
- Collet and Collet Body: These hold the tungsten electrode. Match the collet size to your tungsten diameter.
- Gas Lens: A gas lens is highly recommended, especially for HF TIG. It allows for a broader, more stable flow of shielding gas, improving coverage and reducing the risk of contamination.
- Ceramic Cup: The cup directs the shielding gas. The size of the cup depends on the joint and the amount of gas needed. Larger cups provide better gas coverage.
HF TIG Welding Techniques
With your equipment set up, it’s time to learn the techniques that will produce excellent welds.
1. Amperage Settings
Setting the correct amperage is critical. Too low, and you won’t get sufficient fusion. Too high, and you risk burning through the material.
- Material Thickness: A general rule of thumb is about 1 amp per thousandth of an inch of material thickness. So, for 1/8″ (0.125″) steel, you’d be around 125 amps.
- Joint Type: Butt joints often require less amperage than lap or fillet joints.
- Travel Speed: Faster travel speeds may require slightly higher amperage to maintain fusion.
Tip: Always start with a slightly lower amperage and increase it as needed while practicing on scrap material.
2. Arc Initiation
With HF TIG, initiating the arc is simple and clean:
- Ensure your shielding gas is flowing (you’ll hear it and see the flowmeter needle move).
- Hold the torch about 1/8″ to 1/4″ away from the workpiece.
- Press the trigger on your torch. The HF start will create a spark and establish the arc.
- Once the arc is established, you can adjust the distance to your preferred working gap (typically the electrode stick-out).
3. Controlling the Weld Puddle
This is where the real skill comes in. You need to manage the molten metal.
Using the Amperage Control (Foot Pedal or Torch Button):
If you have a foot pedal or a torch button that controls amperage:
- Starting the Weld: Apply enough amperage to get the puddle started and melt the base metal.
- Adding Filler: As you add filler rod, you might need to slightly increase amperage to ensure good fusion.
- Controlling Heat: Back off the amperage (release pressure on the pedal) if the puddle gets too large, starts to drool over the edge, or if you’re concerned about burn-through.
- Finishing the Weld: Gradually taper off the amperage as you reach the end of the weld to avoid creating a crater, which can be a stress riser.
Practice Tip: Spend time just practicing running beads on scrap material, focusing on maintaining a consistent puddle size and travel speed while manipulating the amperage control. This builds muscle memory.
Adding Filler Rod:
The filler rod should be dipped into the leading edge of the weld puddle.
- Dip the filler rod into the puddle, let it melt slightly, and then pull it away.
- The amount you add depends on the joint and the desired reinforcement. For a butt joint, you might add just enough to get a slight crown. For a fillet weld, you’ll add more to build up the fillet.
- Maintain a consistent rhythm: dip, melt, pull back slightly, advance.
Key: Don’t hold the filler rod in the puddle for too long; this will add excessive heat and can lead to porosity or a messy weld.
4. Torch Angle and Movement
Your torch angle affects penetration and bead appearance.
- General Rule: For most joints, aim for a torch angle of about 10-15 degrees, angled slightly in the direction of travel.
- Penetration: A steeper angle generally increases penetration, while a shallower angle reduces it.
- Movement: Keep your torch movement smooth and consistent. For beads, you can use a slight side-to-side motion or a steady forward push, depending on the desired bead profile.
Welding Different Materials with HF TIG
HF TIG is versatile, but each metal has its unique requirements.
1. Steel and Stainless Steel (DCEN – Direct Current Electrode Negative)
- Amperage: Set amperage based on thickness.
- Tungsten: 2% Ceriated or 2% Lanthanated, ground to a sharp point.
- Gas: 100% Argon.
- Technique: Focus on maintaining a consistent puddle and adding filler as needed. Stainless steel requires a bit more attention to heat input to avoid warping or carbide precipitation.
2. Aluminum and Magnesium (AC – Alternating Current)
- Amperage: Requires higher amperage due to aluminum’s thermal conductivity and oxide layer.
- Tungsten: 2% Ceriated, 2% Lanthanated, or Zirconiated, ground to a slightly blunted tip or rounded ball.
- Gas: 100% Argon. Some prefer Argon/Helium for thicker aluminum.
- Technique: The AC balance control on your machine is important. A more positive AC cycle (e.g., 70% Electrode Positive) provides better cleaning action of the aluminum oxide layer, but too much can reduce penetration. A more negative cycle provides deeper penetration but less cleaning. Experiment to find the right balance. You’ll see the oxide layer “froth” and disappear as you apply heat.
Troubleshooting Common HF TIG Welding Issues
Even experienced welders run into issues. Here’s how to solve some common problems.
1. Porosity (Tiny Holes in the Weld)
- Cause: Insufficient shielding gas, wind or drafts disturbing the gas shield, contaminated filler metal or base metal, or oil/grease on the tungsten.
- Solution: Increase gas flow rate, shield the welding area from drafts, clean all metals thoroughly, and ensure your tungsten is clean.
2. Tungsten Inclusions (Pieces of Tungsten in the Weld)
Cause: Arc started by touching the tungsten to the workpiece, electrode too far from the puddle, or filler rod touching the tungsten.
Solution: Use the HF start properly. Maintain a consistent arc gap. Keep filler rod out of the direct path of the arc.
3. Lack of Fusion or Penetration
Cause: Insufficient amperage, travel speed too fast, or poor torch angle.
Solution: Increase amperage, slow down travel speed, and adjust torch angle for better penetration.
4. Burn-Through
Cause: Amperage too high, travel speed too fast, or material too thin for the settings.
Solution: Reduce amperage, slow down travel speed, and ensure your settings are appropriate for the material thickness.
Practical Tips for Better HF TIG Welds
Here are some extra tips to elevate your HF TIG welding skills:
- Keep it Clean: Cleanliness is paramount in TIG welding. Degrease metals before welding and use a clean wire brush for stainless steel.
- Practice, Practice, Practice: The more you weld, the better you’ll become. Start with simple practice beads on scrap pieces.
- Watch Your Puddle: Your weld puddle is your guide. Learn to read it – its size, shape, and fluidity will tell you if your settings and technique are correct.
- Consistent Stick-Out: Maintain a consistent distance between your tungsten electrode and the workpiece. This is often around 1/8″ to 1/4″, but can vary.
- Good Ventilation: TIG welding produces fumes, especially with certain metals. Ensure good ventilation or use a fume extractor.
- Safety First: Always wear appropriate PPE, including a welding helmet with a dark enough shade, fire-resistant clothing, gloves, and safety glasses.
Conclusion
HF TIG welding is a powerful and rewarding process that allows for exceptional control and beautiful results. By understanding your equipment, mastering the techniques, and prioritizing cleanliness and safety, you can confidently tackle a wide range of welding projects. Remember that practice is key. Experiment with settings, focus on reading your weld puddle, and you’ll soon be creating professional-quality welds with your HF TIG setup. Happy welding!
