


Understanding aluminium TIG welding polarity is crucial for achieving strong, clean welds. This comprehensive guide dives deep into AC polarity, explaining how it works, why it’s essential for aluminium, and how to select the right settings. Learn about tungsten types, cleaning procedures, and practical tips to ensure successful aluminium TIG welding projects. Mastering polarity leads to superior weld quality and fewer defects.
Aluminium Tig Welding Polarity
TIG welding aluminium is a rewarding skill that opens up a world of fabrication possibilities. From intricate art pieces to structural components, the beauty of aluminium lies in its lightness and corrosion resistance. However, working with aluminium presents unique challenges, and one of the most fundamental to master is understanding aluminium TIG welding polarity. Get this wrong, and you’ll struggle with contamination, poor fusion, and aesthetically displeasing welds. Get it right, and you’ll be creating beautiful, strong, and reliable aluminium joints.
This guide is your comprehensive resource for mastering aluminium TIG welding polarity. We’ll break down exactly what polarity means in the context of TIG welding, why AC is non-negotiable for aluminium, and how to dial in your settings for optimal results. We’ll cover everything from the nuances of AC balance and frequency to the importance of tungsten selection and surface preparation. By the end of this guide, you’ll have the knowledge and confidence to tackle your aluminium TIG welding projects with precision and success.
Key Takeaways
- Alternating Current (AC) is essential for aluminium TIG welding due to its ability to break up the stubborn oxide layer.
- AC polarity involves two phases: the electrode positive (EP) phase for cleaning and the electrode negative (EN) phase for penetration.
- The balance control on your TIG welder dictates the ratio of EP to EN, significantly impacting cleaning and penetration.
- Tungsten electrode selection is critical; pure tungsten or zirconiated tungsten are typically recommended for AC aluminium welding.
- Proper cleaning of the aluminium surface is paramount to prevent contamination and ensure a clean weld.
- Experimentation and practice are key to finding the perfect polarity settings for your specific aluminium alloy and desired outcome.
- Understanding how polarity affects heat input will help you avoid issues like tungsten contamination and lack of fusion.
Understanding Polarity in TIG Welding
Before we dive into the specifics of aluminium, let’s clarify what polarity means in TIG welding. Polarity refers to the direction of the electrical current flow between the electrode (tungsten) and the workpiece. The way the current flows significantly impacts how heat is distributed and how the weld puddle behaves.
There are three main types of welding current:
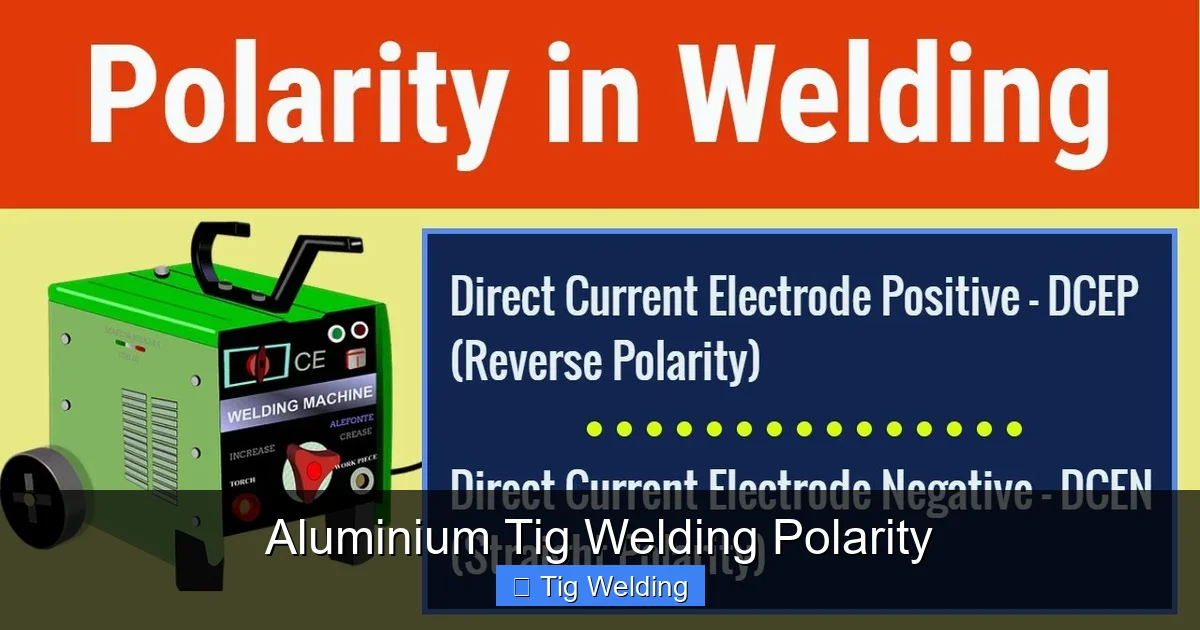
- Direct Current Electrode Negative (DCEN), also known as Straight Polarity: In this setup, the electrode is negative, and the workpiece is positive. The majority of the heat (about two-thirds) is directed into the workpiece, allowing for deeper penetration. This is commonly used for welding steel and stainless steel.
- Direct Current Electrode Positive (DCEP), also known as Reverse Polarity: Here, the electrode is positive, and the workpiece is negative. Most of the heat is directed towards the electrode, which can lead to overheating and melting the tungsten. This is less common in TIG welding, though it has some niche applications.
- Alternating Current (AC): As the name suggests, AC current constantly reverses direction. It alternates between being electrode positive and electrode negative. This is the game-changer for welding aluminium.
Why AC is Crucial for Aluminium TIG Welding
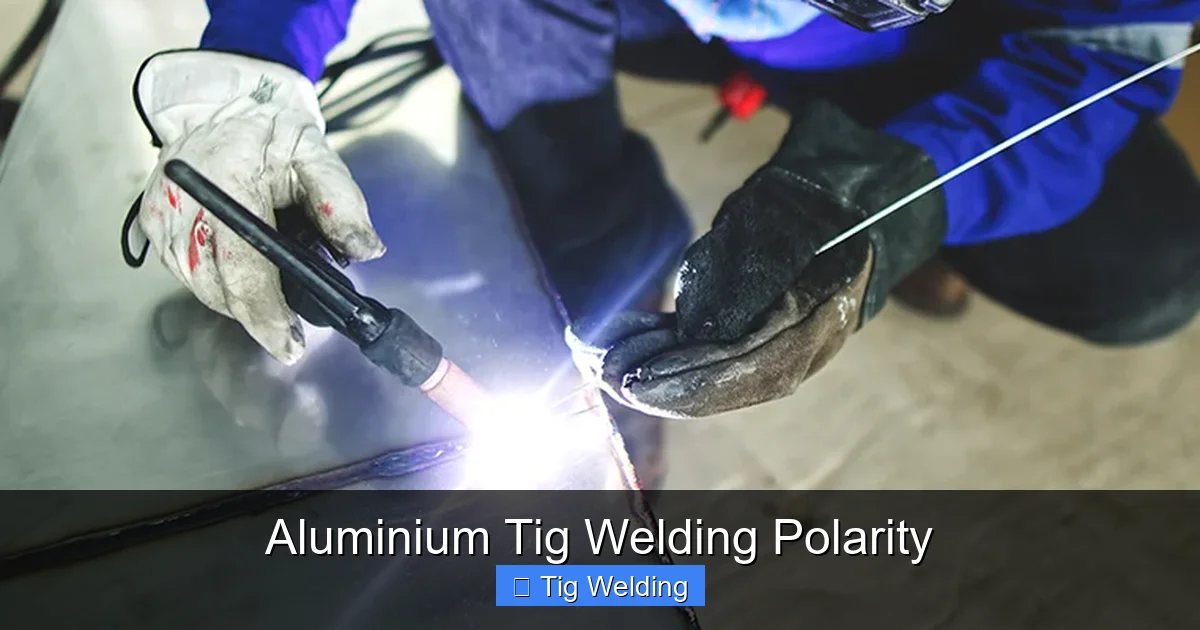
Aluminium’s biggest hurdle in TIG welding is its oxide layer. Aluminium naturally forms a thin, yet incredibly tough, layer of aluminium oxide on its surface. This oxide has a much higher melting point than pure aluminium (around 3700°F or 2038°C compared to aluminium’s 1220°F or 660°C). If this oxide layer isn’t effectively removed, it will prevent the molten aluminium from fusing properly, leading to weak, porous, and contaminated welds.
Visual guide about Aluminium Tig Welding Polarity
Image source: blog.red-d-arc.com
This is where AC polarity comes into play. The alternating nature of AC current allows it to perform two critical functions:
- Cleaning Action (Electrode Positive Phase): During the portion of the cycle when the electrode is positive (EP), a “digging” or “cleaning” action occurs. Electrons are pulled away from the surface of the aluminium workpiece and towards the positive tungsten electrode. This sputtering effect effectively breaks up and blows away the aluminium oxide layer.
- Penetration (Electrode Negative Phase): During the portion of the cycle when the electrode is negative (EN), the majority of the heat is directed into the workpiece, creating the molten weld puddle and allowing for proper fusion and penetration.
By alternating between these two phases, AC welding provides the necessary cleaning power to remove the oxide layer while still delivering sufficient heat for melting and fusing the base metal. Without this cleaning action, your attempts to TIG weld aluminium will likely be frustrating and unsuccessful.
Understanding AC Balance and Frequency
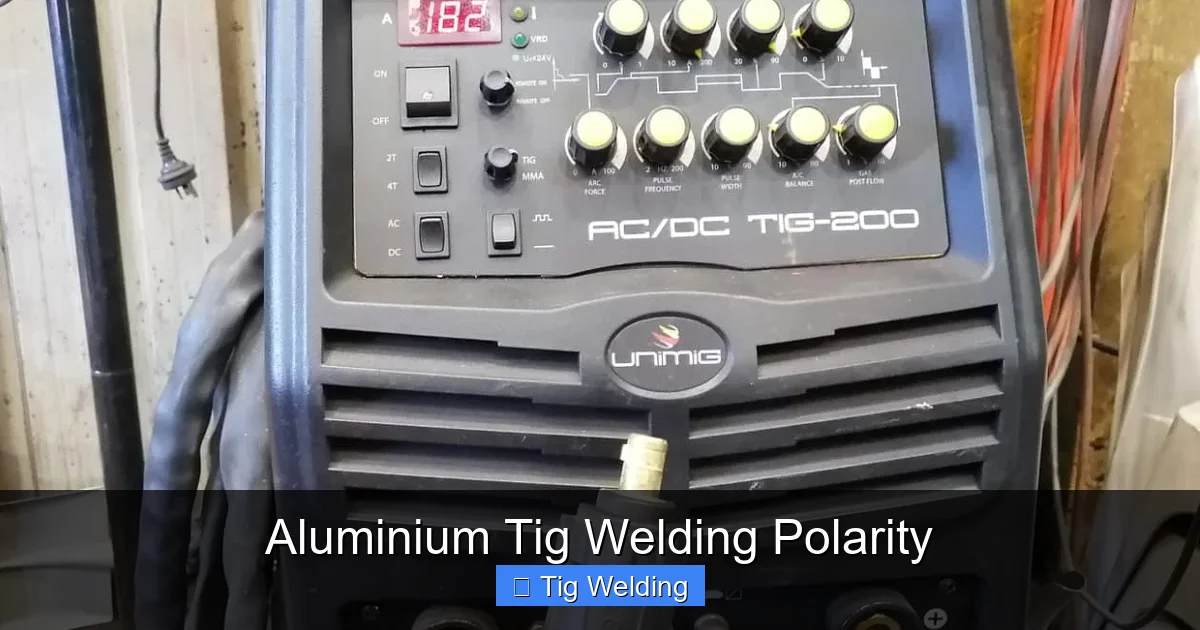
Modern AC TIG welders offer two key controls that allow you to fine-tune the AC waveform for aluminium: Balance (also known as cleaning) and Frequency.
Visual guide about Aluminium Tig Welding Polarity
Image source: i.ytimg.com
AC Balance (Cleaning Control)
The AC balance control dictates the ratio of the electrode positive (EP) phase to the electrode negative (EN) phase. It’s often expressed as a percentage. For example, a 70% EN balance means that 70% of the AC cycle is spent in the electrode negative phase (penetration), and 30% is spent in the electrode positive phase (cleaning).
- Higher EN Percentage (e.g., 70-80%): This emphasizes penetration and reduces the cleaning action. You’ll get a narrower arc and more focused heat input into the workpiece. This is ideal for situations where you need deeper penetration and have less emphasis on cleaning, or when welding thicker aluminium. However, too much EN can lead to insufficient cleaning and tungsten contamination.
- Lower EN Percentage (e.g., 50-60%): This increases the cleaning action. The arc will be wider and less focused, and more heat will be directed towards the tungsten. This is beneficial for cleaning thicker oxide layers, especially on dirtier or older aluminium. However, too much EP can cause the tungsten to ball up excessively, leading to arc instability and contamination of the weld.
Practical Tip: For general-purpose aluminium welding, a balance setting around 65-75% EN is a good starting point. If you’re struggling with oxide contamination, try decreasing the EN percentage slightly. If you need more penetration, increase it cautiously.
Frequency (Arc Control)
The frequency control determines how many times per second the AC current reverses direction. It’s measured in Hertz (Hz).
- Lower Frequency (e.g., 50-60 Hz): This results in a wider, more erratic arc. It can feel “sloppier” and may require more dexterity to control. The heat input is spread out more, which can be beneficial for certain applications but can also make it harder to achieve tight, focused welds.
- Higher Frequency (e.g., 100-250 Hz or more): This creates a more focused, tighter, and directional arc. The heat input is concentrated, leading to a more stable puddle, better control, and often a narrower bead. This is generally preferred for aluminium TIG welding as it allows for more precise manipulation of the weld puddle and reduces the chance of arc wander.
Practical Tip: For most aluminium TIG welding, setting the frequency between 100 Hz and 200 Hz is a good range. Experimenting with higher frequencies can lead to a much more controlled and aesthetic weld bead. Some advanced welders even push it to 300 Hz or higher.
Tungsten Electrode Selection for Aluminium
The type of tungsten electrode you use is as important as your polarity settings. For AC aluminium TIG welding, you need a tungsten that can handle the electrical load and provides a stable arc without excessive contamination.
Visual guide about Aluminium Tig Welding Polarity
Image source: weldingempire.com
- Pure Tungsten (Green Band): This is the traditional choice for AC welding. It has excellent arc stability and creates a nicely balled tip. However, it can have a tendency to contaminate the weld if overloaded. It’s generally recommended for AC only.
- Zirconiated Tungsten (Brown Band): This is an excellent all-around tungsten for AC welding. It offers good arc stability, resists contamination better than pure tungsten, and has a lower tendency to split.
- Lanthanated Tungsten (Gold, Blue, Grey Bands): These are versatile and work well for both AC and DC. They offer good arc starting, stability, and longevity. For AC, gold (1.5% Lanthanated) or blue (2% Lanthanated) are good options.
Tungsten Preparation: For AC aluminium welding, you’ll typically want to grind your tungsten to a balled tip, rather than a sharp point. The ball shape forms naturally due to the heat of the AC arc and provides a stable, rounded tip that helps maintain arc stability and prevent tungsten from breaking off into the weld. Pure and zirconiated tungstens tend to form a ball more readily.
Tip Size: The diameter of your tungsten should be appropriate for your amperage. A general rule of thumb is:
- 0.040″ (1.0mm) for 10-50 amps
- 1/16″ (1.6mm) for 50-150 amps
- 3/32″ (2.4mm) for 150-250 amps
- 1/8″ (3.2mm) for 250+ amps
Step-by-Step Guide to Aluminium TIG Welding Polarity
Now that you understand the principles, let’s walk through the practical steps to set up your TIG welder for aluminium and achieve great results.
Step 1: Clean Your Aluminium Thoroughly
This cannot be stressed enough. Aluminium is highly susceptible to contamination from oils, grease, dirt, and of course, that stubborn oxide layer. Before you even think about welding:
- Degrease: Use a dedicated stainless steel wire brush and a solvent like acetone or a specialised aluminium cleaner to remove any oils or grease. Ensure the brush used for aluminium is dedicated solely to aluminium to prevent cross-contamination with steel or stainless steel.
- Brush: Use a clean, stainless steel wire brush to scrub the surface of the aluminium. Again, dedicate this brush only for aluminium. This helps remove surface grime and starts to prepare the oxide layer for the AC cleaning action.
- Consider Chemical Cleaning: For critical applications, some welders use chemical etchants to further prepare the surface, but for most hobbyist and fabrication work, thorough degreasing and brushing are sufficient.
Step 2: Set Up Your TIG Welder for AC
Turn on your TIG welder and ensure it’s set to AC mode. If your machine has different AC wave modes (e.g., square wave, sine wave), a standard square wave is generally preferred for its responsiveness and focused arc.
Step 3: Select Your Tungsten Electrode
Choose a tungsten electrode suitable for AC welding. Pure (green) or Zirconiated (brown) are excellent choices. If using Lanthanated, gold or blue are good options. Grind the tungsten to a balled tip.
Step 4: Dial In Your AC Settings
This is where the polarity controls come into play. These are starting points; you’ll need to fine-tune them based on your machine, the aluminium alloy, and the thickness.
- Amperage: Set your amperage based on the thickness of the aluminium. A common guideline is 1 amp per 0.001 inches of thickness. For example, for 1/8″ (0.125 inches) aluminium, you’d be in the 100-150 amp range.
- AC Balance: Start with 70% EN (meaning 30% EP). If you find the arc is not cleaning well, decrease the EN percentage slightly (e.g., to 60%). If you are getting excessive tungsten balled up or arc wander, increase the EN percentage slightly (e.g., to 75-80%), but be cautious not to sacrifice cleaning.
- AC Frequency: Start around 100-150 Hz. Increase this if you want a tighter, more focused arc and better puddle control. Many find 150-200 Hz to be a sweet spot.
Step 5: Set Your Gas Flow Rate
For aluminium, 100% Argon is the standard shielding gas. The flow rate depends on your torch size and welding conditions, but a good starting point is 20-30 cubic feet per hour (CFH).
Step 6: Prepare Your Filler Material
If you are using filler rod, ensure it is the correct alloy for your base metal and that it is clean and free of contamination. Handle filler rod with gloves to avoid transferring oils from your skin.
Step 7: Strike the Arc and Weld
Begin welding using your preferred arc starting method (high frequency is common for AC aluminium). Focus on maintaining a consistent arc length and travel speed. Observe how the weld puddle behaves and how the oxide layer is being cleared. Make minor adjustments to your settings as needed.
Troubleshooting Common Aluminium TIG Welding Polarity Issues
Even with the best intentions, you might encounter problems. Here’s how to troubleshoot:
- Poor Cleaning / Oxide Remains:
- Cause: Insufficient EP phase in the AC cycle, or inadequate surface preparation.
- Solution: Decrease the EN percentage (increase EP cleaning). Ensure your aluminium is thoroughly cleaned with a dedicated brush and solvent. Use a newer, cleaner tungsten.
- Tungsten Contamination (Tungsten Particles in Weld):
- Cause: Too much EP phase, incorrect tungsten type, or touching the tungsten to the puddle.
- Solution: Increase the EN percentage. Ensure you are using a pure or zirconiated tungsten and grinding it appropriately. Use a balled tip. Maintain a consistent arc length and avoid dipping the tungsten.
- Lack of Fusion:
- Cause: Insufficient heat input, travel speed too fast, or heavy oxide layer preventing fusion.
- Solution: Increase amperage. Slow down your travel speed. Ensure proper cleaning is occurring.
- Weld Puddle is Unstable / Arc Wanders:
- Cause: Incorrect frequency, poor gas coverage, or AC balance issues.
- Solution: Increase AC frequency for a more focused arc. Ensure your Argon flow is adequate and not affected by drafts. Adjust AC balance.
- Overheating / Burn-Through:
- Cause: Too much amperage, too much EN, or travel speed too slow.
- Solution: Decrease amperage. Increase EN percentage slightly (but monitor cleaning). Increase travel speed.
Conclusion
Aluminium TIG welding polarity might seem complex at first, but with a solid understanding of AC’s dual role in cleaning and penetration, you’re well on your way to mastering it. The key lies in the careful balance of electrode positive and electrode negative phases, effectively managed by your welder’s AC balance and frequency controls. Remember that every aluminium alloy and welding situation is slightly different, so don’t be afraid to experiment.
Consistent, thorough cleaning of your aluminium workpiece, the correct selection and preparation of your tungsten electrode, and patient practice are your greatest allies. By paying close attention to these details and understanding how your welder’s polarity settings influence the weld, you’ll transform your aluminium TIG welding from a struggle into a precise and artistic craft, producing strong, clean, and beautiful welds every time.
