

This guide demystifies AC TIG welding, your go-to for aluminum, magnesium, and copper alloys. We cover everything from machine setup and tungsten selection to advanced torch manipulation. You’ll learn the importance of the AC balance and frequency settings for achieving clean, precise welds on challenging materials. Prepare to elevate your TIG welding skills for professional results.
AC TIG Welding: Your Comprehensive How-To Guide
Welcome to the ultimate guide to AC TIG welding! If you’re looking to weld aluminum, magnesium, copper, or other non-ferrous metals with precision and finesse, then AC TIG welding is your answer. This advanced welding process might seem intimidating at first, but with the right knowledge and practice, you’ll be creating beautiful, strong welds in no time. In this guide, we’ll break down everything you need to know, from setting up your machine to mastering advanced techniques. Get ready to dive deep into the world of AC TIG welding!
Key Takeaways
- Understand AC TIG’s Purpose: AC TIG welding is specifically designed for non-ferrous metals like aluminum, magnesium, and copper alloys, which have a tenacious oxide layer.
- Master Machine Settings: Key AC TIG settings include amperage, AC balance (cleaning vs. penetration), AC frequency (arc width and focus), and pulse settings (for heat control).
- Proper Tungsten Electrode Selection: Pure tungsten (green band) or Zirconiated tungsten (brown band) are generally recommended for AC welding, though Lanthanated (blue/gold) can also work.
- Develop Torch and Filler Rod Technique: Consistent torch angle, electrode-to-work distance, and precise filler rod application are crucial for successful AC TIG welds.
- Control the Arc’s Cleaning Action: Adjusting AC balance allows you to fine-tune the arc’s cleaning effect on the aluminum oxide layer, balancing penetration with arc stability.
- Utilize AC Frequency for Arc Control: Higher frequencies create a narrower, more focused arc, ideal for precise control and smaller welds, while lower frequencies produce a wider, softer arc.
- Troubleshooting Common AC TIG Issues: Learn to identify and fix problems like tungsten contamination, lack of fusion, porosity, and erratic arc behavior.
What is AC TIG Welding?
TIG (Tungsten Inert Gas) welding, also known as GTAW (Gas Tungsten Arc Welding), is a welding process that uses a non-consumable tungsten electrode to produce the weld. An inert gas, typically argon, is used to shield the tungsten electrode and the molten weld puddle from contamination.
When we talk about AC TIG welding, we’re referring to a specific mode of TIG welding that utilizes alternating current (AC). This is in contrast to DC (Direct Current) TIG welding, which is primarily used for ferrous metals like steel and stainless steel. The magic of AC TIG welding lies in its ability to handle the unique challenges presented by non-ferrous metals.
Why Use AC TIG Welding for Aluminum?

Visual guide about Ac Tig Welding
Image source: m.media-amazon.com
Aluminum is a fantastic material, but it presents a significant hurdle for welders: its oxide layer. Aluminum oxide has a melting point much higher than aluminum itself (around 3700°F vs. 1220°F). This tough oxide layer forms instantly when aluminum is exposed to air and acts as a barrier, preventing proper fusion if not dealt with.
This is where AC TIG welding shines. The alternating current cycles through positive and negative phases. The negative phase (electrode negative) provides the heat for melting and penetration, similar to DC TIG. However, the positive phase (electrode positive) has a “cleaning” effect. This positive charge blasts away the tenacious aluminum oxide layer, allowing the molten metal to flow freely and create a clean, strong weld. Without this cleaning action, you’d end up with a weak, brittle weld full of impurities.
Essential AC TIG Welding Equipment
Visual guide about Ac Tig Welding
Image source: m.media-amazon.com
Before you strike an arc, let’s make sure you have the right gear.
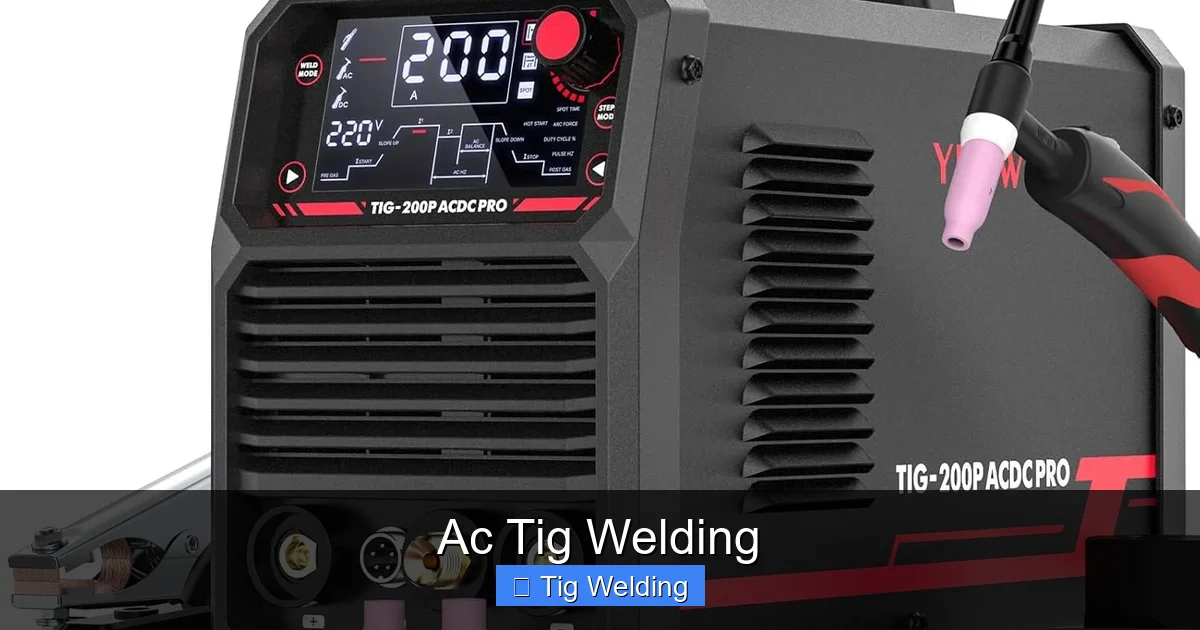
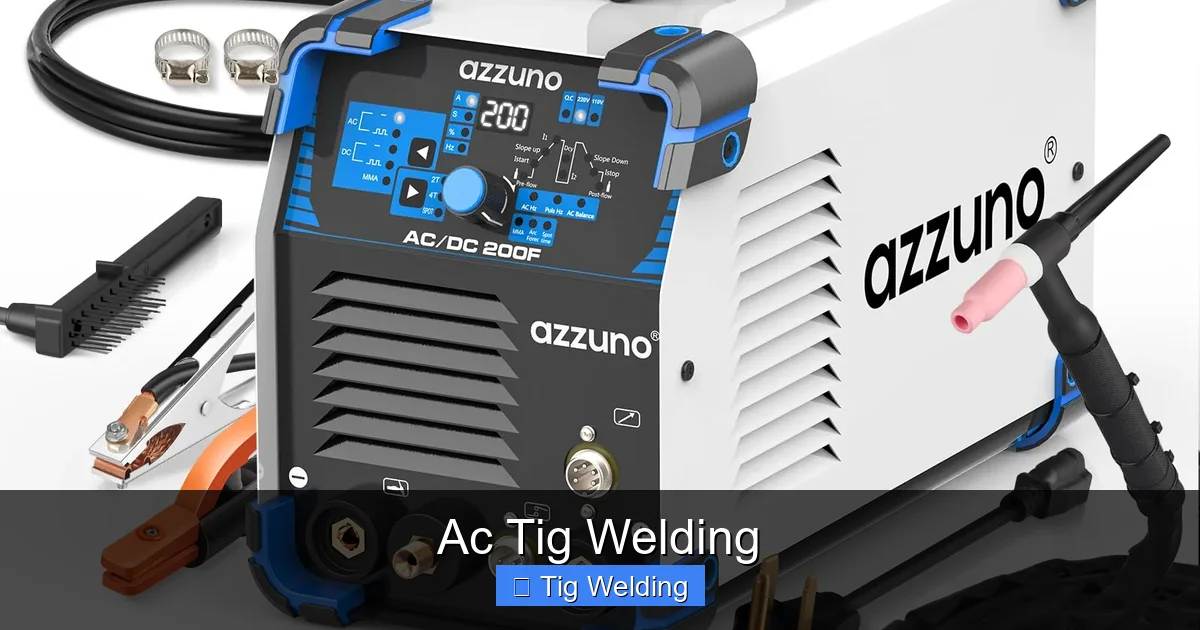
AC/DC TIG Welder
You’ll need a TIG welder that is capable of AC output. Most modern TIG welders offer both AC and DC capabilities. Ensure your machine is rated for the amperage you’ll need for the thickness of material you plan to weld.
TIG Torch and Consumables
* TIG Torch: A standard TIG torch (usually a 17 or 26 series) will work. Ensure it’s rated for your welder’s amperage.
* **Tungsten Electrodes:** For AC TIG welding, you’ll typically use pure tungsten (marked with a green band) or Zirconiated tungsten (brown band). Lanthanated tungsten (blue or gold band) can also be used and often offers a more stable arc. Always grind your tungsten to a sharp point for AC welding, especially on aluminum. A pointed tip helps focus the arc.
* **Shielding Gas:** Pure Argon (Ar) is the standard shielding gas for AC TIG welding. It’s inert and provides excellent arc stability and cleaning action.
* **Filler Metal:** The filler rod should match the base metal you are welding. For common aluminum alloys like 6061 or 5052, you’ll use aluminum filler rods like 4043 or 5356.
Other Important Gear
* **Safety Gear:** This is non-negotiable. You need a good quality auto-darkening welding helmet with a shade appropriate for TIG (typically shade 9-13), leather welding gloves, a fire-resistant welding jacket or leathers, and sturdy work boots.
* **Clamps and Grounding:** A good quality ground clamp is essential for a stable arc. You’ll also want welding clamps or magnets to hold your workpiece securely.
* **Wire Brush:** A stainless steel wire brush specifically for aluminum is crucial for cleaning the base metal before and during welding.
* **Contact Cleaner/Solvent:** For cleaning aluminum before welding. Acetone or a dedicated aluminum cleaner works well.
Setting Up Your AC TIG Welder
Visual guide about Ac Tig Welding
Image source: m.media-amazon.com
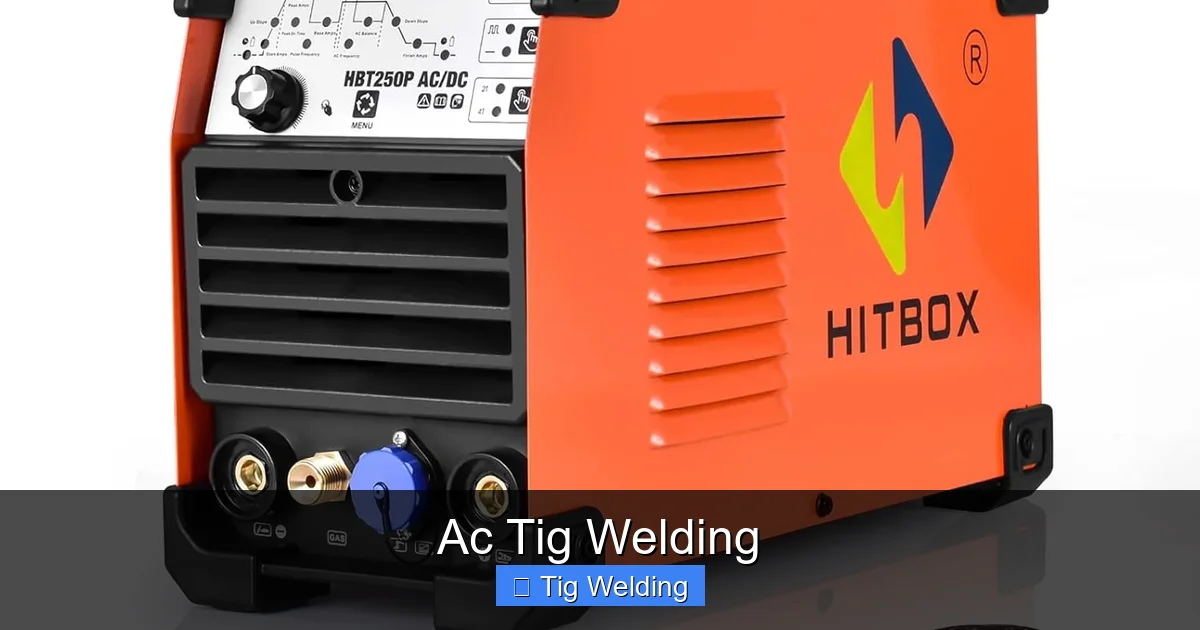
Proper machine settings are critical for successful AC TIG welding. Here’s a breakdown of the key parameters:
Amperage
This is your primary heat control. The amperage you set will depend on the thickness and type of material you are welding. A good rule of thumb for aluminum is to start around 1 amp per thousandth of an inch of material thickness, but this can vary. You’ll adjust this based on your travel speed and puddle fluidity.
AC Balance (Cleaning vs. Penetration)
This is one of the most important AC TIG settings. It controls the ratio of electrode positive (EP) time to electrode negative (EN) time in each AC cycle.
* **Higher % EP (more cleaning):** This provides more of the cleaning action needed to remove the oxide layer on aluminum. It results in a wider arc and less penetration. Too much cleaning can lead to a lack of fusion and a weak weld.
* **Lower % EP (less cleaning):** This provides more penetration and a narrower, more focused arc. It’s good for deeper welds but might not provide enough cleaning action for heavily oxidized aluminum.
A common starting point for AC balance on aluminum is around 25-35% EP. You’ll need to experiment to find what works best for your specific application and material.
AC Frequency (Arc Width and Focus)
AC frequency controls how narrow or wide the arc is. It’s measured in Hertz (Hz).
* **Low Frequency (e.g., 50-100 Hz):** Produces a wider, softer arc. This can be good for general welding and bridging gaps, but it might be harder to control on thin materials.
* **High Frequency (e.g., 150-200 Hz):** Produces a narrower, more focused arc. This gives you better control, especially on thinner materials or when precise bead placement is needed. It can also help reduce heat input.
Many welders find a sweet spot between 100-150 Hz for general aluminum welding.
Pulse Settings (Optional but Recommended)
Pulse welding in AC TIG mode can be incredibly beneficial, especially for controlling heat input on thinner aluminum.
* **Pulse Frequency:** Controls how rapidly the amperage cycles between a peak (high) and a background (low) setting. High pulse frequencies (e.g., 100-300 Hz) create a more consistent, narrower arc, while lower frequencies (e.g., 0.5-10 Hz) create a distinct pulsing effect, allowing the puddle to cool and solidify between pulses.
* **Peak Amperage:** The maximum amperage during the pulse cycle. This is where the main melting happens.
* **Background Amperage:** The lower amperage during the pulse cycle. This maintains arc stability and keeps the puddle molten without adding excessive heat.
* **Pulse Time (%):** Determines how long the amperage stays at the peak versus the background.
Using pulse can help prevent burn-through on thin aluminum and create a more aesthetically pleasing, consistent bead.
Gas Flow Rate
For argon, a typical flow rate is between 15-25 cubic feet per hour (CFH). You’ll need to adjust this based on your environment (indoors vs. outdoors) and the size of your cup. Too little gas will result in contamination, while too much can cause turbulence and draw in contaminants.
AC TIG Welding Technique: Step-by-Step
Now that your machine is set up, let’s get to the hands-on part.
Step 1: Prepare Your Workpiece
This is arguably the most critical step for AC TIG welding aluminum.
Clean the Aluminum
* **Mechanical Cleaning:** Use a dedicated stainless steel wire brush to remove any surface dirt, grease, or oxidation. **Important:** Use a brush that has only been used on aluminum to avoid cross-contamination. Brush in one direction.
* **Chemical Cleaning:** After mechanical cleaning, wipe down the area with a solvent like acetone or a specific aluminum cleaner. This removes any residual oils or contaminants.
* **Deburr:** If you’re welding cut edges, ensure they are smooth and free of burrs.
Prepare the Joint
For thicker aluminum, you’ll likely need to bevel the edges to ensure full penetration. Ensure the joint is a clean butt joint, lap joint, or corner joint as required.
Grounding
Attach your ground clamp securely to a clean, paint-free section of the workpiece. A poor ground is a recipe for arc instability.
Step 2: Set Up Your Torch and Tungsten
* **Install Tungsten:** Insert your properly ground tungsten electrode into the collet. Ensure about 1/4 to 1/2 inch of tungsten is sticking out.
* **Install Gas Lens (Recommended):** A gas lens provides a smoother, more stable flow of argon, which is crucial for AC TIG.
* **Install Cup:** Attach the correct size ceramic cup. A larger cup provides better gas coverage.
Step 3: Start the Arc
Most AC TIG welders use high-frequency (HF) start.
* **Approach the Weld Area:** Position the tungsten about 1/8 to 1/4 inch above the starting point of your weld.
* **Initiate the Arc:** Press the trigger on your torch. The HF start will jump the arc across the gap without needing to touch the tungsten to the workpiece.
* **Stabilize the Arc:** Once the arc is established, move the torch closer to the workpiece, typically maintaining a consistent electrode-to-work distance (around the diameter of your tungsten).
Step 4: Add Filler Metal
This is where your dexterity comes into play.
* **Dip and Melt:** Once you have a small, molten puddle, gently dip the filler rod into the leading edge of the puddle.
* **Withdraw and Re-Dip:** Immediately withdraw the filler rod and melt the end. Then, re-dip it into the puddle. This “dip and draw” motion is key.
* **Maintain Puddle Control:** Focus on maintaining a consistent, fluid puddle. The filler rod should melt into the puddle, not be forced in. Avoid contaminating the tungsten with the filler rod.
Step 5: Move Along the Weld
Consistency is key to a good weld bead.
* **Torch Angle:** Maintain a consistent torch angle. For aluminum, a slight drag angle (torch angled back slightly from the direction of travel) is common.
* **Travel Speed:** Move at a consistent pace. Too fast and you won’t get enough fusion; too slow and you’ll overheat the material and risk burn-through.
* **Dime Stacking:** Aim to create a series of overlapping ripples, like dimes stacked on top of each other. This indicates consistent travel speed and filler metal addition.
Step 6: Finish the Weld
* **Tie-In:** As you reach the end of the weld, slightly slow down and ensure you have good tie-in to the base metal.
* **Break the Arc:** Release the trigger. The gas flow will continue for a few seconds to shield the hot tungsten and weld puddle as they cool.
Practical Tips for AC TIG Welding Aluminum
* **Cleanliness is King:** We can’t stress this enough. Any dirt, grease, or oil on aluminum will cause porosity and weak welds. Clean, clean, clean!
* **Tungsten Grind:** For AC, a pointed tungsten is preferred. This helps focus the arc and provides better control. If your tungsten ball’s up, grind it again.
* **Listen to the Arc:** A well-behaved AC TIG arc has a steady hum. If it sounds “spitty” or erratic, something is wrong – usually related to gas coverage, contamination, or machine settings.
* **Watch the Puddle:** The puddle should be fluid and bright. If it looks dull or sluggish, you may not have enough cleaning action or you’re not moving fast enough.
* **Practice on Scrap:** Before welding your actual project, practice on scrap pieces of the same material. This allows you to dial in your settings and technique.
* **Preheat (for thicker sections):** For thicker aluminum (1/4 inch and up), preheating the material can significantly improve fusion and reduce the risk of cracking. A torch or oven can be used for this. Allow it to cool slightly before welding so you don’t melt your tungsten.
* **Back Purging:** For critical aluminum welds, especially on tubing, consider back purging with argon. This provides a clean, smooth backside to the weld.
Troubleshooting Common AC TIG Welding Issues
Even experienced welders encounter problems. Here’s how to fix some common AC TIG issues:
Porosity
* **Cause:** Contaminated base metal, insufficient shielding gas, dirty filler rod, or air drafts.
* **Solution:** Ensure thorough cleaning of the base metal. Check gas flow and cup size. Use a stainless steel brush and clean filler rod. Shield the weld area from drafts.
Tungsten Inclusions
* **Cause:** Filler rod touches the tungsten, or the tungsten gets into the weld puddle.
* **Solution:** Maintain a consistent electrode-to-work distance. Add filler rod to the edge of the puddle, not directly into the arc. Don’t let the tungsten get too close to the weld.
Lack of Fusion (LOF)
* **Cause:** Insufficient amperage, too much AC cleaning (balance set too high), travel speed too fast, or insufficient preheat on thicker material.
* **Solution:** Increase amperage. Adjust AC balance to favor penetration. Slow down your travel speed. Preheat thicker sections.
Erratic Arc / Spitting
* **Cause:** Poor ground connection, insufficient shielding gas, contaminated tungsten, or incorrect machine settings (especially AC balance or frequency).
* **Solution:** Ensure a clean, secure ground. Check gas flow and flow rate. Clean or replace tungsten. Revisit your AC balance and frequency settings.
Cracking
* **Cause:** Welding incompatible aluminum alloys, rapid cooling, or lack of filler metal.
* **Solution:** Use the correct filler metal for the base alloy. Allow for slow cooling. Ensure proper filler metal application.
Conclusion
AC TIG welding is a powerful technique that opens up a world of possibilities for working with aluminum and other challenging metals. By understanding your machine settings, mastering your torch and filler rod technique, and prioritizing cleanliness above all else, you can achieve professional-grade welds with incredible precision and aesthetics. Remember, practice makes perfect. Don’t be discouraged by initial challenges; each weld is a learning opportunity. With dedication and the knowledge gained from this guide, you’ll be confidently tackling AC TIG projects in no time. Happy welding!
