

This guide teaches you everything you need to know about gasless MIG welding, including how it works, essential equipment, step-by-step setup, and pro tips for clean, strong welds. Perfect for outdoor projects and beginners, gasless welding eliminates the need for shielding gas while delivering reliable results.
Key Takeaways
- Gasless MIG welding uses flux-cored wire that creates its own shielding gas when burned, eliminating the need for external gas cylinders.
- It’s ideal for outdoor welding because wind doesn’t blow away the shielding, unlike traditional MIG welding with gas.
- Works best on dirty, rusty, or painted metal—no need for perfect surface prep, making it great for repairs and farm work.
- Requires a MIG welder capable of running flux-cored wire—most modern MIG machines can switch between gas and gasless modes.
- Weld appearance may be rougher with more spatter, but strength is comparable to gas-shielded welds when done correctly.
- Always wear proper safety gear, including a welding helmet, gloves, and flame-resistant clothing—flux creates more fumes and sparks.
- Practice on scrap metal first to dial in voltage, wire speed, and travel speed for clean, consistent beads.
What Is Gasless MIG Welding?
Gasless MIG welding, also known as flux-cored arc welding (FCAW) without shielding gas, is a versatile welding method that uses a special hollow wire filled with flux. When the wire melts, the flux burns and creates a protective gas shield around the weld pool. This process prevents contamination from oxygen and moisture in the air, allowing you to weld without needing a separate gas cylinder.
Unlike traditional MIG welding—which relies on an external gas like argon or CO₂—gasless welding is self-shielding. That makes it perfect for outdoor use, where wind can disrupt gas coverage. It’s also more forgiving on less-than-perfect metal surfaces, so you don’t need to grind down every speck of rust or paint.
Why Choose Gasless MIG Welding?
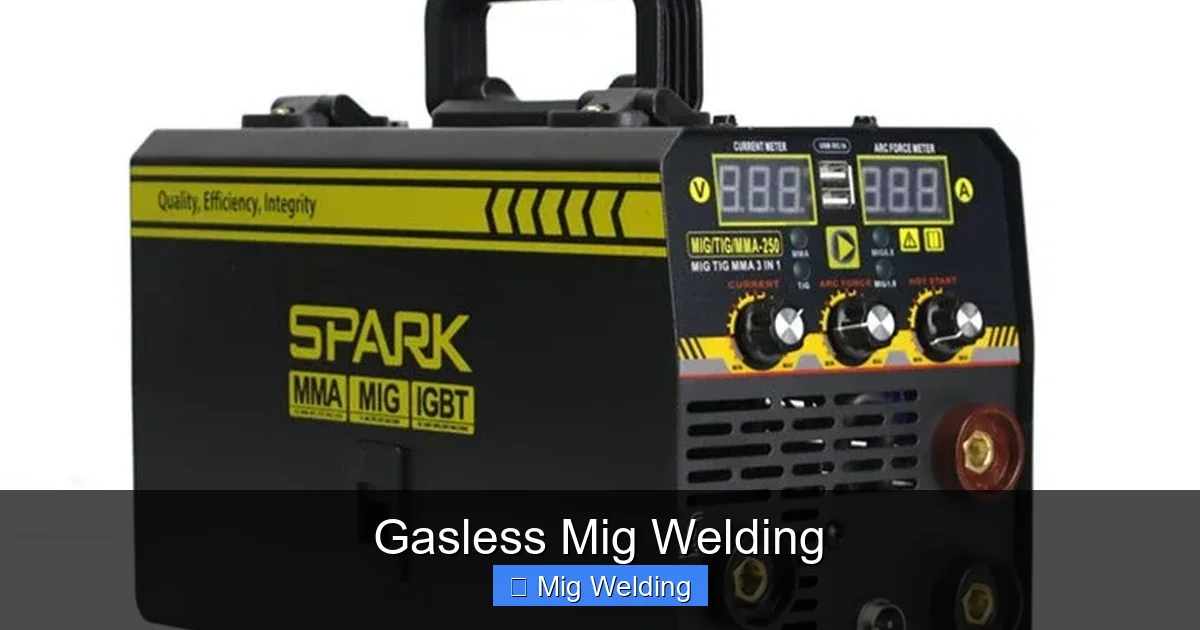
Visual guide about Gasless Mig Welding
Image source: sparkwelding.com
There are several reasons why gasless MIG welding is a favorite among DIYers, farmers, and hobbyists:
- No gas tank needed: Saves money and reduces setup complexity.
- Great for outdoor projects: Wind won’t interfere with the weld.
- Works on dirty or rusty metal: Less prep time means faster repairs.
- Portable and convenient: Just plug in your welder and start welding.
- Strong, durable welds: Ideal for structural repairs, trailers, fences, and automotive work.
While the weld may not look as smooth or shiny as a gas-shielded MIG weld, the strength is just as good when done properly.
Equipment You’ll Need
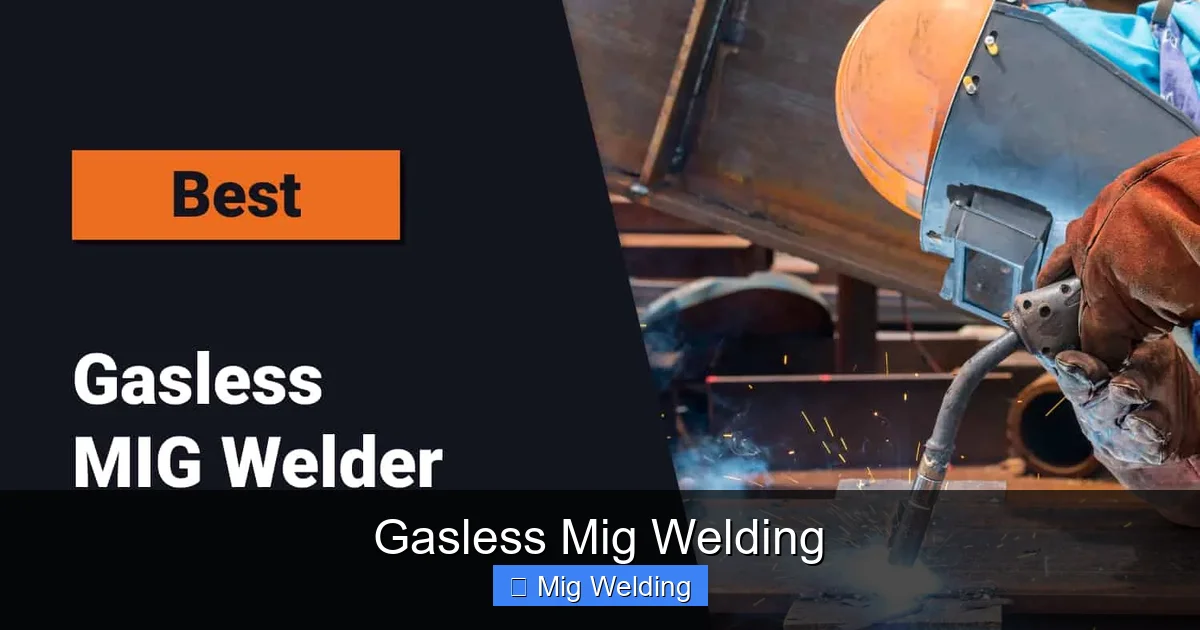
Visual guide about Gasless Mig Welding
Image source: makemoneywelding.com
Before you start, make sure you have the right tools:
1. MIG Welder (Flux-Core Capable)
Not all MIG welders can run flux-cored wire. Check your machine’s manual—most modern MIG welders have a switch or setting for “flux-core” mode. Entry-level models like the Hobart Handler 140 or Lincoln Electric K2185-1 work great for beginners.
2. Flux-Cored Wire
Use E71T-GS or E71T-11 flux-cored wire, typically 0.030″ or 0.035″ in diameter. These are designed for all-position welding and work well on mild steel. Avoid using solid MIG wire—it won’t work without gas.
3. Welding Helmet
A auto-darkening helmet is highly recommended. It protects your eyes from UV rays and lets you see clearly before and during the weld.
4. Welding Gloves and Clothing
Wear thick, flame-resistant gloves and long sleeves. Leather jackets or aprons add extra protection from sparks and spatter.
5. Safety Gear
Safety glasses (under your helmet), ear protection, and a respirator or mask are important—flux creates more fumes than solid wire welding.
6. Wire Brush and Chipping Hammer
You’ll need these to clean slag off your welds after cooling.
Step-by-Step Guide to Gasless MIG Welding
Follow these steps to set up and weld like a pro.
Step 1: Prepare Your Workpiece
Even though gasless welding is forgiving, some prep helps. Remove heavy rust, grease, or loose paint with a wire brush or grinder. Clamp your pieces securely to prevent movement during welding.
Step 2: Set Up Your Welder
- Switch your MIG welder to “Flux-Core” mode (if applicable).
- Install the flux-cored wire spool. Make sure the wire feeds smoothly—use the correct drive roll (usually knurled).
- Set the polarity to DC Electrode Positive (DCEP)—this is critical. Check your manual if unsure.
- Adjust voltage and wire feed speed. Start with the manufacturer’s recommended settings for your metal thickness.
Step 3: Practice on Scrap Metal
Before welding your actual project, test your settings on a piece of scrap steel. Aim for a steady, consistent bead with minimal spatter. If the weld is too cold (wire stubs), increase voltage or wire speed. If it’s too hot (burns through), reduce settings.
Step 4: Start Welding
- Hold the gun at a 10–15 degree angle, pointing in the direction of travel.
- Use a drag technique (pulling the gun toward you) for better penetration and slag control.
- Maintain a short arc length—keep the gun close to the workpiece (about ½ inch).
- Move at a steady pace. Too slow = burn-through; too fast = weak weld.
Step 5: Clean the Weld
After the weld cools, use a chipping hammer to remove the slag (the brittle layer on top). Follow up with a wire brush to clean the surface. This reveals the true weld quality and prepares it for painting or further welding.
Tips for Better Gasless Welds
- Keep the wire clean: Avoid touching the wire with your gloves or workpiece to prevent contamination.
- Use the right travel speed: A consistent speed ensures even heat distribution.
- Weld in short bursts if needed: For thin metal, use stitch welding to avoid warping.
- Overlap weld passes: When making multiple passes, overlap by about ⅓ to ensure full fusion.
- Store wire properly: Keep flux-cored wire in a dry place—moisture can ruin the flux.
Troubleshooting Common Issues
Even experienced welders run into problems. Here’s how to fix the most common gasless MIG welding issues:
Poor Penetration
Cause: Too low voltage or wire speed.
Fix: Increase voltage or wire feed speed slightly. Ensure you’re using a drag technique.
Excessive Spatter
Cause: Too high voltage, long arc length, or dirty metal.
Fix: Reduce voltage, keep the gun closer, and clean the metal better.
Wire Sticking or Stubbing
Cause: Too low wire speed or voltage, or gun too far from workpiece.
Fix: Increase wire speed or voltage. Keep the gun within ½ inch of the metal.
Slag Trapped in Weld
Cause: Wrong travel angle or speed, or not cleaning between passes.
Fix: Use a drag technique, maintain proper angle, and chip slag thoroughly between passes.
Weld Looks Uneven or Wavy
Cause: Inconsistent travel speed or hand movement.
Fix: Practice steady, smooth movements. Use a guide or clamp if needed.
Safety First: Don’t Skip These Steps
Welding is safe when done correctly, but gasless MIG welding produces more fumes and sparks than other methods. Always:
- Wear a welding helmet with proper shade (at least shade 10).
- Use a respirator or work in a well-ventilated area.
- Wear flame-resistant clothing—no synthetic fabrics.
- Keep a fire extinguisher nearby.
- Remove flammable materials from the work area.
- Let welds cool completely before touching.
When to Use Gasless vs. Gas-Shielded MIG
Gasless MIG welding isn’t always the best choice. Here’s when to use each:
Use Gasless When:
- Welding outdoors or in windy conditions.
- Working on rusty, painted, or dirty metal.
- You want a portable, gas-free setup.
- Doing repairs, farm equipment, or structural work.
Use Gas-Shielded MIG When:
- You need clean, smooth, visually appealing welds.
- Working indoors with good ventilation.
- Welding thin metal where precision matters.
- Making automotive or fabrication welds.
Conclusion
Gasless MIG welding is a powerful, practical skill for anyone who works with metal. It’s easier to set up than traditional MIG welding, works great outdoors, and delivers strong, reliable results—even on less-than-perfect surfaces. With the right equipment, proper technique, and a little practice, you’ll be welding like a pro in no time.
Remember: start slow, practice on scrap, and always prioritize safety. Whether you’re fixing a trailer, building a gate, or tackling a home project, gasless MIG welding gives you the freedom to weld anywhere, anytime—no gas tank required.