

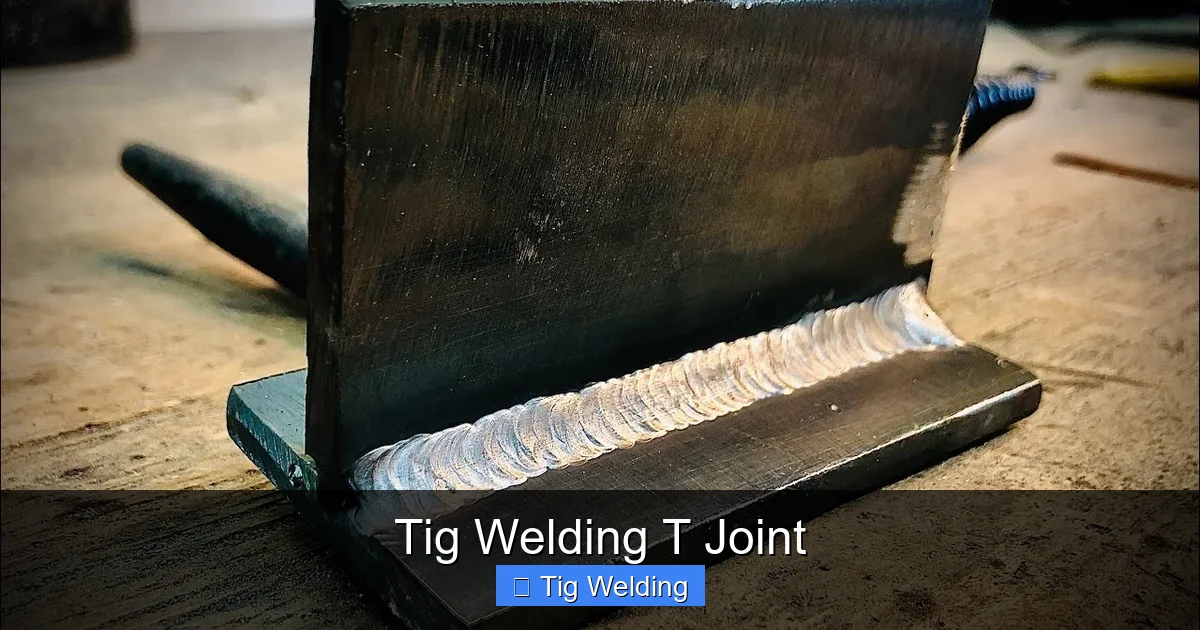
This guide provides a thorough understanding of how to TIG weld T-joints. You’ll learn essential techniques, proper setup, and key considerations for achieving strong, aesthetically pleasing welds. Whether you’re a beginner or looking to refine your skills, this guide will equip you with the knowledge to successfully tackle T-joint configurations.
TIG Welding T Joint
Welcome to our in-depth guide on TIG welding T-joints! You’re here because you want to conquer this fundamental welding joint configuration. T-joints are everywhere – from fabricating metal frames and structures to creating intricate artwork. Mastering them with TIG welding means achieving strong, clean, and reliable connections.
In this guide, we’ll walk you through everything you need to know. We’ll cover the essential preparation steps, the correct TIG welding setup, the actual welding technique for T-joints, and some helpful tips to ensure your welds are top-notch. By the end, you’ll feel confident tackling T-joints in various materials and thicknesses. Let’s get started on becoming a TIG welding pro!
Key Takeaways
- Proper Joint Preparation is Crucial: Ensuring the T-joint is clean, free of contaminants, and correctly fitted is the foundation for a successful weld.
- Tungsten Electrode Selection Matters: Choosing the right tungsten type and grind (e.g., balled for AC, pointed for DC) directly impacts arc stability and weld quality.
- Filler Rod Control is Key: Consistent filler rod addition, without touching the arc or contaminating the puddle, is vital for building strong, uniform beads.
- Understanding Heat Input: Managing amperage and travel speed is essential to prevent burn-through on thinner materials or insufficient fusion on thicker ones.
- Torch Angle and Movement: Maintaining a consistent torch angle and employing a steady, controlled movement promotes even heat distribution and penetration.
- Practice Makes Perfect: Repetition and conscious effort to apply learned techniques are the most effective ways to master TIG welding T-joints.
Understanding the T-Joint
A T-joint is formed when two pieces of metal are joined at a 90-degree angle, resembling the letter “T.” One piece, typically the base metal, lies flat, while the other, the top metal, is placed perpendicularly on top of it. The weld is then made along the intersection of these two pieces. This type of joint requires careful attention to ensure full penetration and fusion into both the base metal and the edge of the top metal.
Essential Preparation for TIG Welding T-Joints
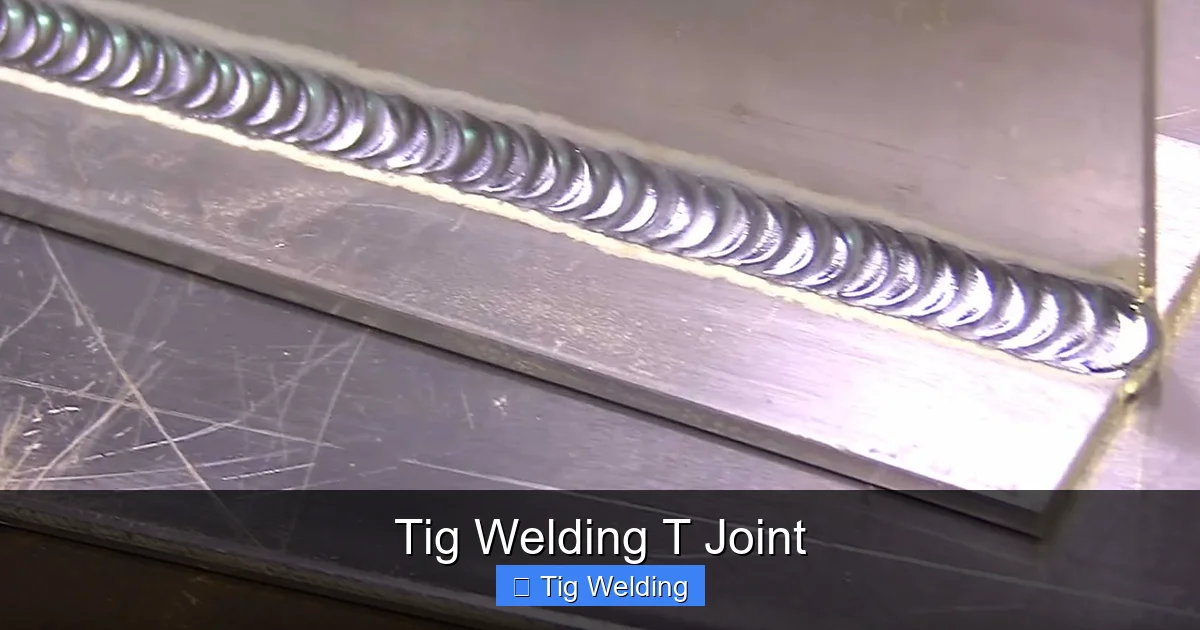
Visual guide about Tig Welding T Joint
Image source: weldingtipsandtricks.com
Before you even strike an arc, proper preparation is your secret weapon for successful TIG welding. Skipping this step is a common mistake that leads to weak welds and frustration.
Cleaning the Metal
This is non-negotiable. Any grease, oil, paint, rust, or mill scale on the metal surface will contaminate your weld, leading to porosity (tiny holes) and reduced strength.
- Degrease: Use a dedicated metal degreaser or acetone to wipe down both surfaces of the T-joint.
- Wire Brush: Use a clean, stainless steel wire brush specifically designated for welding to remove any oxides or surface contaminants. Brush in one direction.
- Grinding (if necessary): For heavily corroded or painted materials, you might need to use a grinder to get down to clean metal. Again, use a clean grinding disc.
Fit-Up and Tack Welding
A good fit-up ensures the pieces are aligned correctly and are in firm contact. This makes the actual welding process much easier and leads to a stronger joint.
- Alignment: Ensure the top piece is perfectly perpendicular to the base piece. Use a square to check the angle.
- Gap Control: Ideally, there should be no gap between the two pieces. If there’s a slight gap, it can be managed, but a large gap is problematic.
- Tack Welds: Once aligned, tack weld the joint at several points along its length. These small welds hold the pieces together securely while you perform the main weld. Make your tack welds about 1/2 inch long, spaced about 4-6 inches apart. Ensure they are strong enough to prevent movement during welding.
Setting Up Your TIG Welder for T-Joints
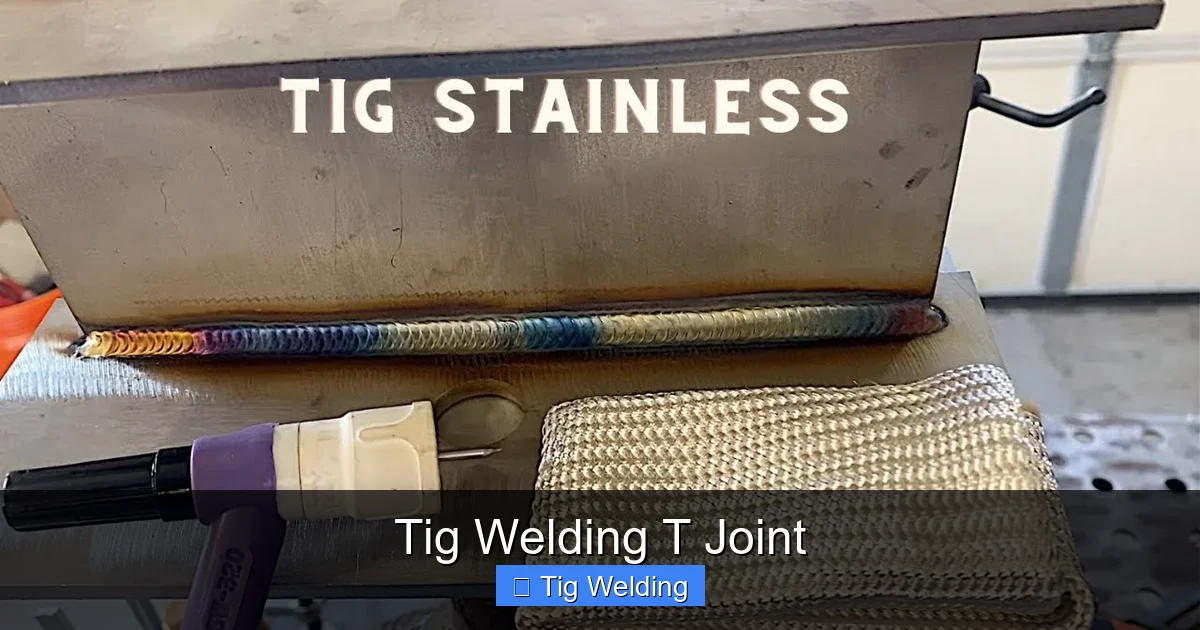
Visual guide about Tig Welding T Joint
Image source: i.ytimg.com
Getting your TIG machine dialed in correctly is crucial. The settings will vary depending on the material type, thickness, and amperage.
Choosing the Right Tungsten Electrode
The tungsten electrode is the heart of your TIG arc. Its type and condition significantly affect arc stability and weld quality.
- Thoriated (Red): A good all-around choice for DC welding.
- Ceriated (Grey): Excellent for low-amperage DC welding and general purpose.
- Lanthanated (Blue/Gold): Offers good arc stability for both AC and DC welding.
- Pure (Green): Primarily for AC aluminum welding, but less common now.
*Tip:* For most T-joint applications in steel (DC welding), ceriated or lanthanated are excellent choices. Grind the tip to a sharp point for precise arc control. For AC aluminum, a balled tip is typically used.
Amperage Settings
This is arguably the most critical setting. Too low, and you won’t get enough fusion. Too high, and you risk burn-through.
- Rule of Thumb: A common starting point for mild steel is about 1 amp per thousandth of an inch of material thickness. So, for 1/8-inch steel (0.125 inches), you might start around 125 amps.
- Material Thickness: Thicker materials require higher amperage, while thinner materials need lower amperage.
- Joint Type: T-joints, especially on thinner materials, can be prone to burn-through due to concentrated heat. You might need to adjust amperage slightly lower or move faster.
*Example:* For a T-joint on 14-gauge steel (approximately 1.6mm or 0.0625 inches), you might start around 60-80 amps. For 1/4-inch steel (6.35mm or 0.25 inches), you could be looking at 250-300 amps.
Gas Flow Rate
Shielding gas protects the molten weld puddle from atmospheric contamination. Argon is the most common gas for TIG welding steel and aluminum.
- Typical Flow Rate: For a standard TIG torch, a flow rate of 15-25 cubic feet per hour (CFH) is common.
- Windy Conditions: If welding outdoors or in a drafty area, you may need to increase the flow rate to ensure adequate shielding.
AC/DC Current Selection
* DCEN (Direct Current Electrode Negative): This is used for most steel and stainless steel applications. It provides deeper penetration and a narrower bead.
* AC (Alternating Current): This is primarily used for aluminum and magnesium. It offers better cleaning action on the oxide layer.
For T-joints in steel, you’ll almost always use DCEN.
The TIG Welding Technique for T-Joints
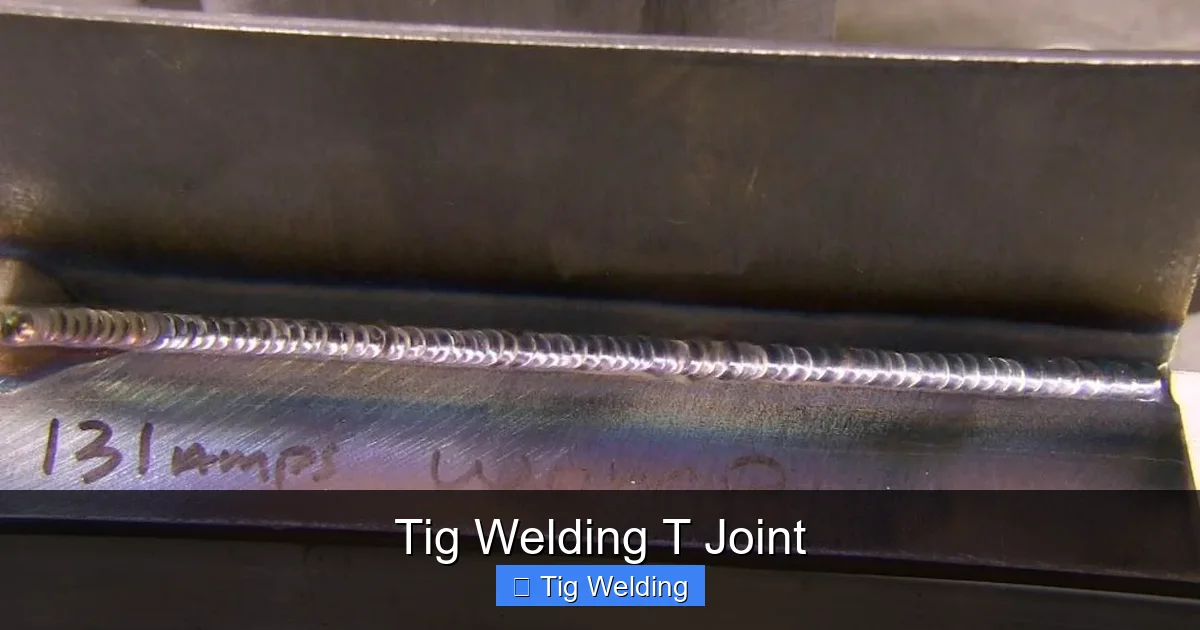
Visual guide about Tig Welding T Joint
Image source: weldingtipsandtricks.com
Now for the hands-on part! This technique focuses on achieving a smooth, consistent weld with good penetration.
Positioning Yourself and Your Torch
Comfort and stability are key. You want to be able to move smoothly and consistently.
- Ergonomics: Find a comfortable stance or position that allows you to reach the joint easily without strain.
- Torch Angle: For a T-joint, a slight angle of about 10-15 degrees is usually best. Aim the torch slightly forward in the direction of travel. This helps push the molten puddle and control heat.
- Distance: Maintain a consistent distance between the tungsten electrode and the workpiece, typically about the diameter of the tungsten.
Starting the Arc
You can start the arc using high-frequency start or lift-arc. High-frequency is generally preferred as it avoids contaminating the tungsten.
- High-Frequency Start: Simply bring the tungsten electrode close to the workpiece (without touching) and press the torch switch. The machine will generate a high-frequency spark to initiate the arc.
- Lift-Arc: Touch the tungsten to the workpiece briefly and then lift it slightly to break contact. This initiates the arc without a spark.
Adding Filler Rod
This is where you build the weld bead. It requires coordination between your torch hand and your filler rod hand.
- Pre-positioning: Have your filler rod ready and angled towards the joint.
- Dipping: As the leading edge of the molten puddle forms, dip the filler rod into the puddle. The tip of the filler rod should touch the molten metal, not the arc itself.
- Consistency: Aim for consistent dips, adding just enough filler rod to fill the joint and build a smooth bead. Avoid adding too much, which can create a “ropey” or lumpy weld.
- Rhythm: Develop a rhythm with your torch movement and filler rod dips.
Torch Movement and Travel Speed
A consistent and controlled movement is vital for an even weld.
- Weaving (Optional): For wider T-joints or to ensure fusion into both plates, you might use a slight side-to-side motion (weaving) with your torch. Keep the weave narrow and controlled.
- Straight Travel: For many applications, a straight, consistent travel speed is sufficient.
- Speed: Travel speed is directly related to your amperage and the material thickness. Too slow, and you’ll burn through. Too fast, and you’ll have insufficient fusion and a narrow bead. Observe the puddle and adjust your speed to keep it controlled and well-formed.
Stopping and Restarting
When you need to stop and restart, do so cleanly.
- Crater Fill: At the end of a weld or when restarting, pause slightly and add a bit more filler rod to fill the crater (the depression left when the arc stops). This prevents cracking.
- Restarting: When restarting, backstep slightly into the already welded material and then move forward. This helps re-melt the crater and ensure good fusion.
Specific Considerations for TIG Welding T-Joints
T-joints present some unique challenges that require specific attention.
Penetration into the Base Metal
A common goal is to achieve good fusion into both the vertical edge of the top piece and the flat surface of the base metal.
- Torch Angle: As mentioned, a slight forward angle can help direct heat and filler metal into the base.
- Amperage: Ensure your amperage is high enough to penetrate the base metal.
- Preheating (for thicker materials): Sometimes, preheating thicker materials can help achieve better fusion.
Preventing Burn-Through
Thin materials are particularly susceptible to burn-through at the corner of the T-joint.
- Lower Amperage: Reduce your amperage slightly.
- Faster Travel Speed: Move the torch more quickly.
- Dab Filler Rod Sparingly: Add filler rod only when necessary to fill the joint.
- Backstepping: Start welding from the center and work outwards, or use a backstepping technique.
Building the Weld Bead
The final bead should be smooth, consistent, and well-fused.
- Multiple Passes: For thicker materials, you might need multiple weld passes to fill the joint completely. Start with a root pass that focuses on penetration, then add subsequent fill passes.
- Cap Pass: The final pass (cap pass) should be aesthetically pleasing and provide good structural integrity.
Practical Tips for TIG Welding T-Joints
Here are some extra tips to help you elevate your T-joint welding skills:
- Listen to the Puddle: The sound of your weld can tell you a lot. A smooth, consistent sound indicates good heat and fusion. Sizzling can mean you’re too hot.
- Watch the Color: Observe the color changes in the metal around the puddle. It should be a bright cherry red, fading to straw or blue further away. Avoid darkening the metal excessively.
- Keep Your Tungsten Sharp: A sharp, properly ground tungsten electrode provides a stable, focused arc. Re-grind it when it starts to ball up or become dull.
- Use a Foot Pedal or Finger Control: If your machine has a foot pedal or finger amperage control, learn to use it. This allows you to make fine adjustments to amperage on the fly, which is invaluable for controlling the puddle.
- Practice on Scrap: Before welding your final project, practice on scrap pieces of the same material and thickness. Weld several T-joints to get a feel for the heat, amperage, and your movements.
- Cleanliness is Paramount: We can’t stress this enough. A clean joint means a clean weld.
- Inspect Your Welds: After welding, visually inspect your T-joints. Look for excessive spatter, porosity, undercut (a groove along the edge of the weld), or lack of fusion.
Troubleshooting Common TIG Welding T-Joint Issues
Even with practice, you might encounter problems. Here’s how to address them:
Porosity (Tiny Holes in the Weld)
* Cause: Contamination on the base metal or filler rod, insufficient shielding gas, or dirty tungsten.
* **Solution:** Thoroughly clean the base metal and filler rod. Ensure correct gas flow and check for drafts. Use a clean tungsten electrode.
Lack of Fusion (Weld Not Properly Attached to Base Metal)
* **Cause:** Insufficient amperage, travel speed too fast, or improper torch angle.
* **Solution:** Increase amperage, slow down travel speed, and ensure the torch angle is directing heat into both pieces.
Burn-Through (Hole in the Metal)
* **Cause:** Amperage too high, travel speed too slow, or material too thin.
* **Solution:** Reduce amperage, increase travel speed, and consider using a backing bar for very thin materials.
Undercut (Groove Along Weld Edge)
* **Cause:** Amperage too high, or excessive weaving.
* **Solution:** Reduce amperage slightly and use a narrower, more controlled weave if needed. Ensure proper filler rod addition.
Conclusion
TIG welding T-joints might seem daunting at first, but with the right knowledge and practice, you’ll be creating strong, clean welds in no time. Remember the importance of preparation, accurate machine settings, and a consistent welding technique. Focus on controlling the puddle, adding filler rod smoothly, and maintaining a steady travel speed.
By following this guide and dedicating time to practice, you’ll build the confidence and skill to tackle T-joints in any project. Happy welding!
