

Welding aluminum with a MIG welder can be straightforward once you understand the right setup and techniques. In this guide, you’ll learn essential steps, tips, and troubleshooting methods to achieve strong, clean aluminum welds with your MIG welder.
How to Weld Aluminum with a MIG Welder
Welding aluminum with a MIG welder might seem challenging at first, but with the right knowledge and practice, it becomes much easier. Aluminum has unique properties—it’s lightweight, corrosion-resistant, and conducts heat quickly. This means you need specific settings, equipment, and techniques to get strong, clean welds. In this guide, we’ll walk you through each step to help you weld aluminum confidently and safely.
Key Takeaways
- Use the right wire: Select a spool of ER4043 or ER5356 aluminum MIG wire for compatibility and strong welds.
- Set the correct parameters: Adjust the wire feed speed and voltage according to the aluminum thickness and machine specifications.
- Use proper shielding gas: Use 100% Argon or a mix of Argon and CO2 for optimal shielding and weld quality.
- Prepare your materials: Clean aluminum surfaces thoroughly to remove dirt, grease, and oxidation before welding.
- Practice good technique: Maintain a steady travel speed and correct torch angle for smooth, consistent welds.
- Troubleshoot common issues: Address porosity, weak welds, or cracking by checking gas coverage, filler wire quality, and cleanliness.
Understanding the Basics of MIG Welding Aluminum
MIG (Metal Inert Gas) welding uses a continuous wire feed and shielding gas to create a weld. When welding aluminum, it’s essential to use the right wire, gas, and settings. Aluminum’s high thermal conductivity causes it to heat and cool quickly, so precise control is necessary. Proper preparation and technique will help you avoid common issues like porosity, cracking, and weak welds.
Step 1: Gather the Right Equipment and Materials
Choose the correct MIG welder
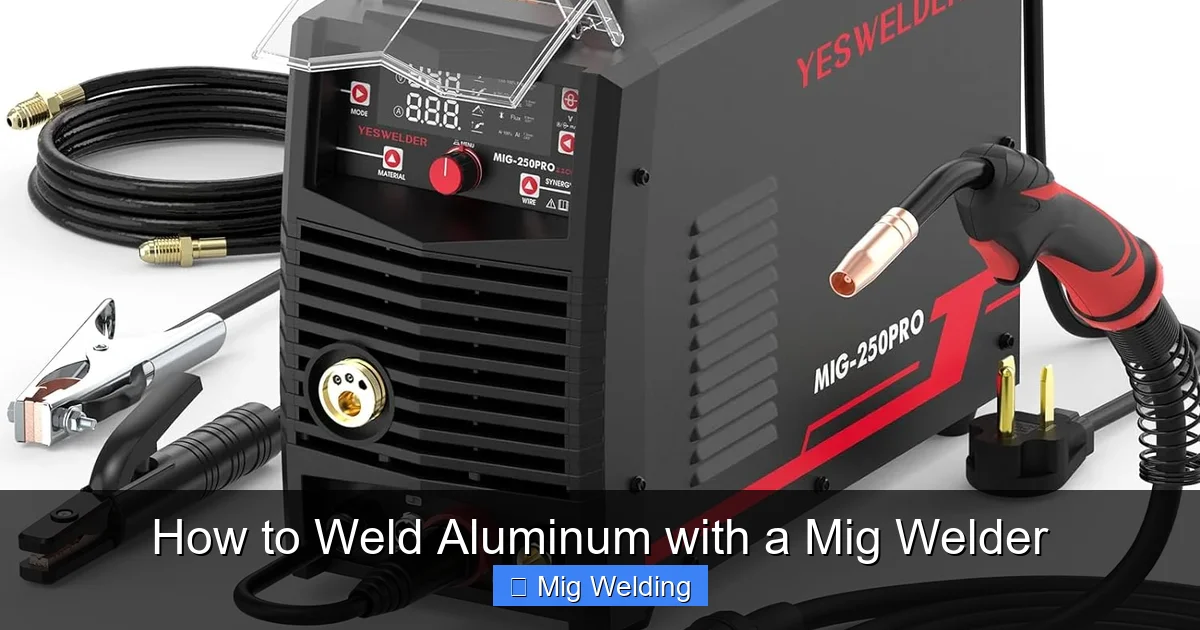
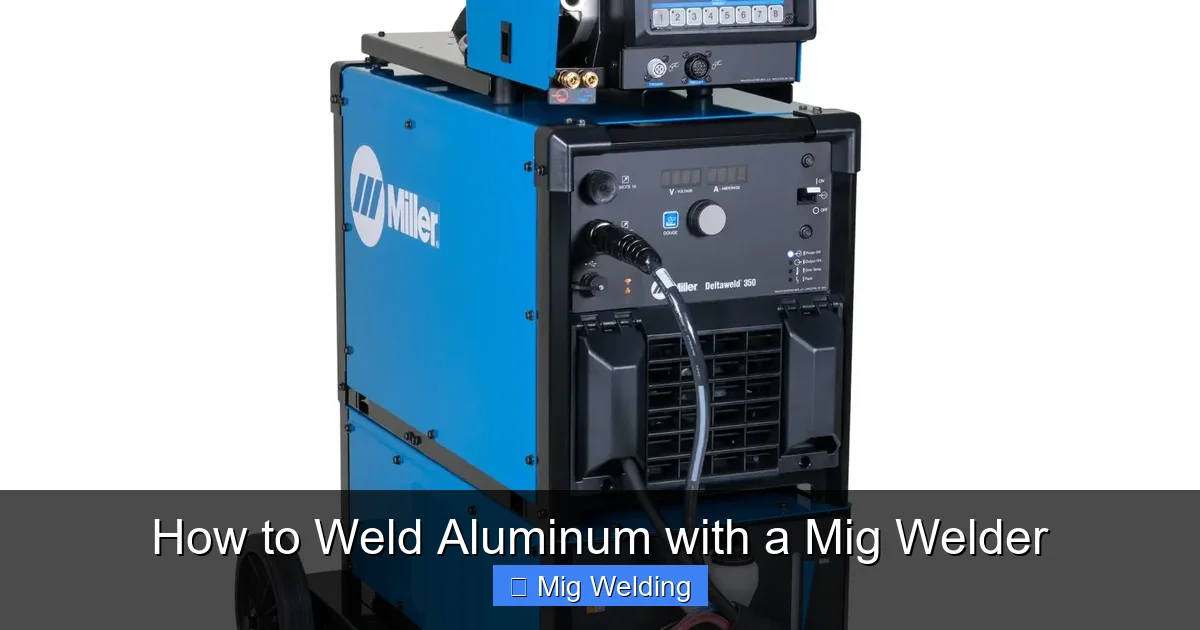
Not all MIG welders are suitable for aluminum. Make sure your machine can handle the required amperage and has adjustable voltage and wire feed controls. A spool gun is highly recommended for welding aluminum, especially for thin materials, as it helps feed soft wire smoothly.
Visual guide about How to Weld Aluminum with a Mig Welder
Image source: norsemensafety.co.uk
Select the right filler wire
- ER4043: Good for general-purpose aluminum welding, easier to use, and produces a smoother finish.
- ER5356: Stronger and more corrosion-resistant, ideal for structural applications.
Pick the appropriate shielding gas
- Use 100% Argon for most aluminum welding tasks.
- For thicker sections, a mix of Argon and Helium (such as 75% Argon/25% Helium) can improve penetration and weld quality.
Gather safety gear
- Welding helmet with proper shade
- Gloves, apron, and protective clothing
- Ventilation equipment or work in a well-ventilated area
Step 2: Prepare the Aluminum Surface
Clean thoroughly
Remove any dirt, grease, oil, or paint. Use a degreaser or clean with acetone. Proper cleaning prevents contamination that can cause porosity or weak welds.
Visual guide about How to Weld Aluminum with a Mig Welder
Image source: m.media-amazon.com
Remove oxidation
Aluminum forms a tough oxide layer that must be removed before welding. Use a stainless steel wire brush or grinding wheel dedicated only to aluminum. Brush along the weld line until you see shiny metal.
Clamp and secure
Ensure your aluminum pieces are firmly clamped to prevent movement during welding. Proper fixturing helps maintain consistent welds.
Step 3: Set Up Your MIG Welder
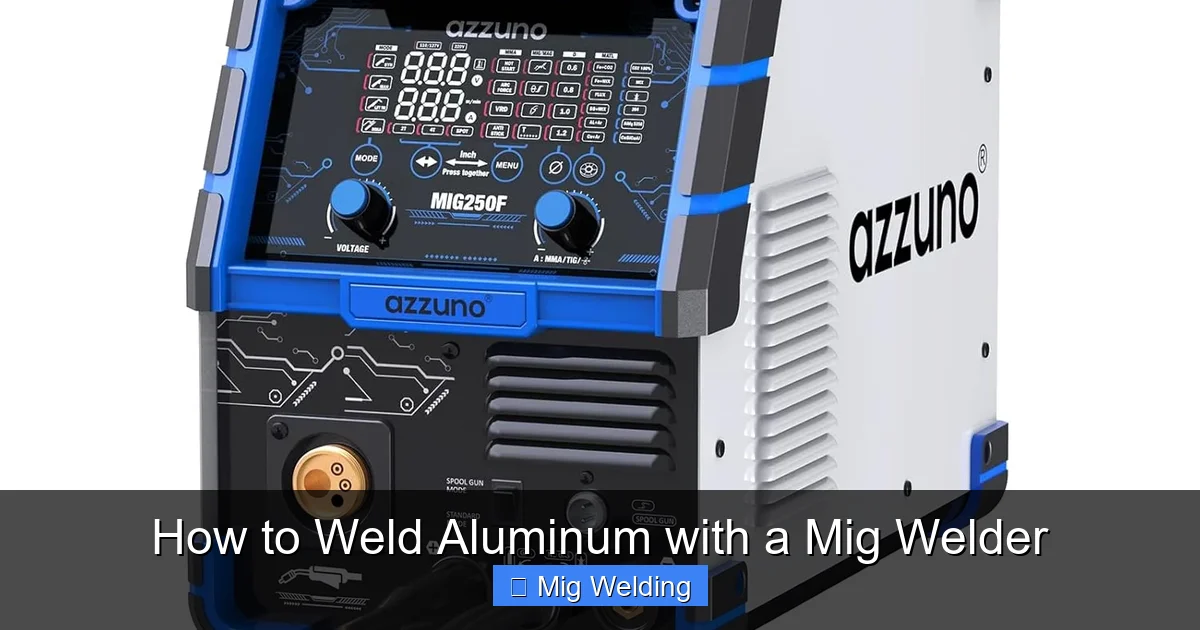
Configure the machine
- Set the wire feed speed based on the wire diameter and material thickness. Typically, for aluminum, a higher wire feed speed is needed.
- Adjust the voltage to suit the thickness—consult your welder’s manual or a welding chart for guidance.
- Set the shielding gas flow rate to around 20-30 CFH (cubic feet per hour).
Install the spool of aluminum wire
Use a spool gun if available, as it simplifies feeding soft aluminum wire and reduces jams. Ensure the wire is clean and free of kinks.
Visual guide about How to Weld Aluminum with a Mig Welder
Image source: i.ytimg.com
Step 4: Practice Your Technique
Maintain proper torch angle and distance
- Hold the gun at about 10-15 degrees from perpendicular to the workpiece.
- Keep the nozzle about 1/4 inch (6 mm) from the weld puddle.
Control your travel speed
Move steadily along the joint. Too fast can cause weak, incomplete welds; too slow may lead to burn-through.
Use the right travel technique
- Start with a puddle, then move smoothly along the joint.
- Maintain consistent speed and angle to produce uniform weld beads.
Step 5: Welding Process
Begin welding
- Pull the trigger to start the shield gas flow.
- Begin feeding the wire into the joint, maintaining your torch angle and distance.
- Move steadily along the joint, watching the molten pool.
Adjust as needed
If the weld appears rough or has porosity, check your gas coverage, clean your materials, or adjust your parameters. Practice on scrap pieces before welding your actual project.
Step 6: Post-Weld Cleanup and Inspection
- Allow the weld to cool naturally.
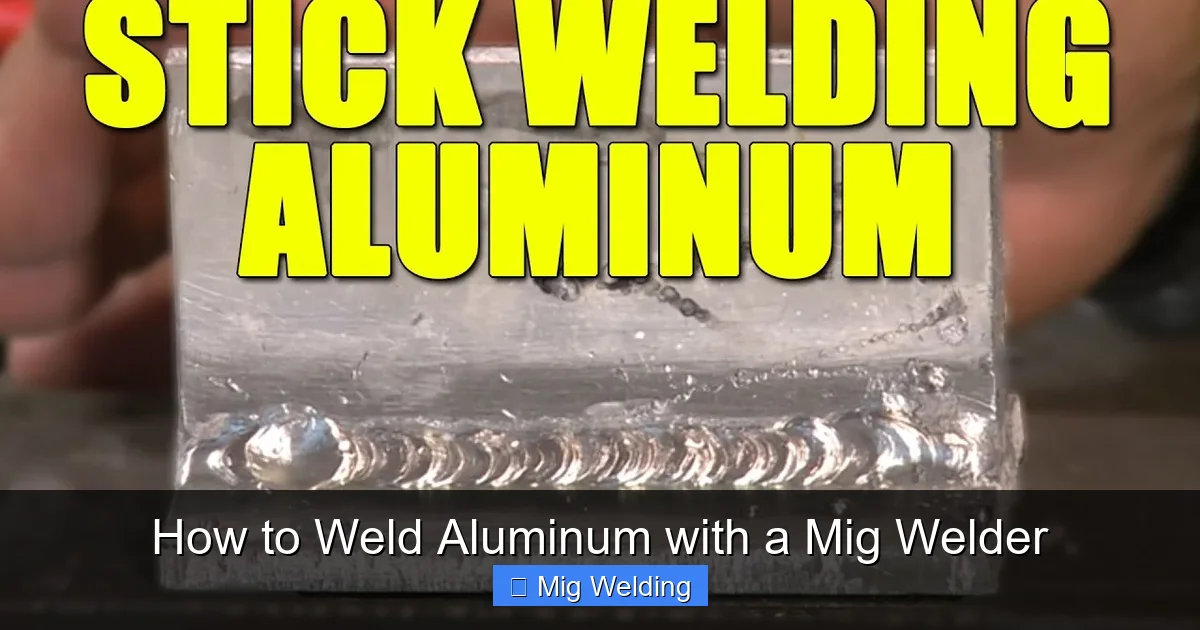
- Inspect for porosity, cracks, or weak spots.
- If necessary, grind or clean the weld area to assess quality.
- Apply protective coating or paint if needed to prevent corrosion.
Common Troubleshooting Tips
- Porosity: Usually caused by contaminated surfaces or inadequate shielding gas. Ensure thorough cleaning and proper gas flow.
- Weak welds or cracking: Check your welding parameters and ensure proper heat input. Use the correct filler wire.
- Burn-through: Reduce heat or increase travel speed for thin materials.
- Wire feeding issues: Ensure the spool gun is properly loaded and free of kinks or debris.
Conclusion
Welding aluminum with a MIG welder is achievable with proper setup, preparation, and technique. Always prioritize safety and practice on scrap pieces before working on your main project. With patience and experience, you’ll produce strong, clean aluminum welds that last. Remember, practice makes perfect—so keep welding and refining your skills!
