


Welding aluminum with a MIG welder can seem tricky at first, but with the right techniques, it’s quite manageable. In this guide, you’ll learn the essential steps, equipment setup, and tips to produce strong, clean welds on aluminum. Whether you’re a beginner or looking to improve your skills, this comprehensive guide will help you weld aluminum confidently.
Key Takeaways
- Use the correct wire: Choose a spool of aluminum-specific MIG wire, typically 4043 or 5356, for best results.
- Set proper welding parameters: Adjust voltage, wire feed speed, and shielding gas properly for aluminum welding.
- Prepare your materials: Clean aluminum thoroughly to remove dirt, oil, and oxidation for smooth, strong welds.
- Use the right shielding gas: Typically 100% argon or a mix of argon and helium to improve weld quality.
- Maintain proper technique: Keep a steady travel speed and maintain the correct torch angle for consistent welds.
- Practice safety: Wear protective gear and work in a well-ventilated area to avoid fumes and injuries.
Introduction
Welding aluminum with a MIG welder is a useful skill for many projects — from automotive repairs to building furniture or marine applications. Aluminum is lightweight and corrosion-resistant, making it a popular choice. However, it requires specific techniques and equipment to weld successfully. In this guide, we’ll walk through every step needed to weld aluminum with a MIG welder, from preparing your materials to finishing your welds. Whether you’re new to welding or want to refine your skills, you’ll find practical tips to help you succeed.
Understanding the Basics of MIG Welding Aluminum
MIG (Metal Inert Gas) welding is a process that uses a continuous wire feed and shielding gas to create a weld. Aluminum welding requires special considerations because aluminum conducts heat differently than steel and oxidizes rapidly. Using the right wire, setting proper parameters, and proper preparation are key to good results.

Visual guide about How to Weld Aluminum with Mig Welder
Image source: weldguru.com
Step 1: Gather Your Equipment and Materials
Essential Equipment
- MIG welder capable of welding aluminum: Ensure your machine is suitable for aluminum welding or has a spool gun attachment.
- Aluminum wire: Use 4043 or 5356 aluminum MIG wire, typically 0.035″ or 0.045″ diameter.
- Spool gun (recommended): A spool gun helps feed soft aluminum wire smoothly and prevents jamming.
- Shielding gas: 100% argon is standard; a mix of argon and helium can be used for thicker materials.
- Proper safety gear: Welding helmet, gloves, protective clothing, and eye protection.
Materials
- Aluminum workpieces: Clean, smooth, and free of oil, dirt, and oxidation.
- Cleaning supplies: Wire brush, grinder, or chemical cleaner to prep the aluminum surface.
Step 2: Prepare Your Work Area and Materials
Clean the Aluminum
Proper cleaning is vital. Use a stainless steel wire brush dedicated for aluminum to remove oxidation and dirt. If needed, use a chemical cleaner designed for aluminum. Avoid using steel brushes that can contaminate the aluminum surface.
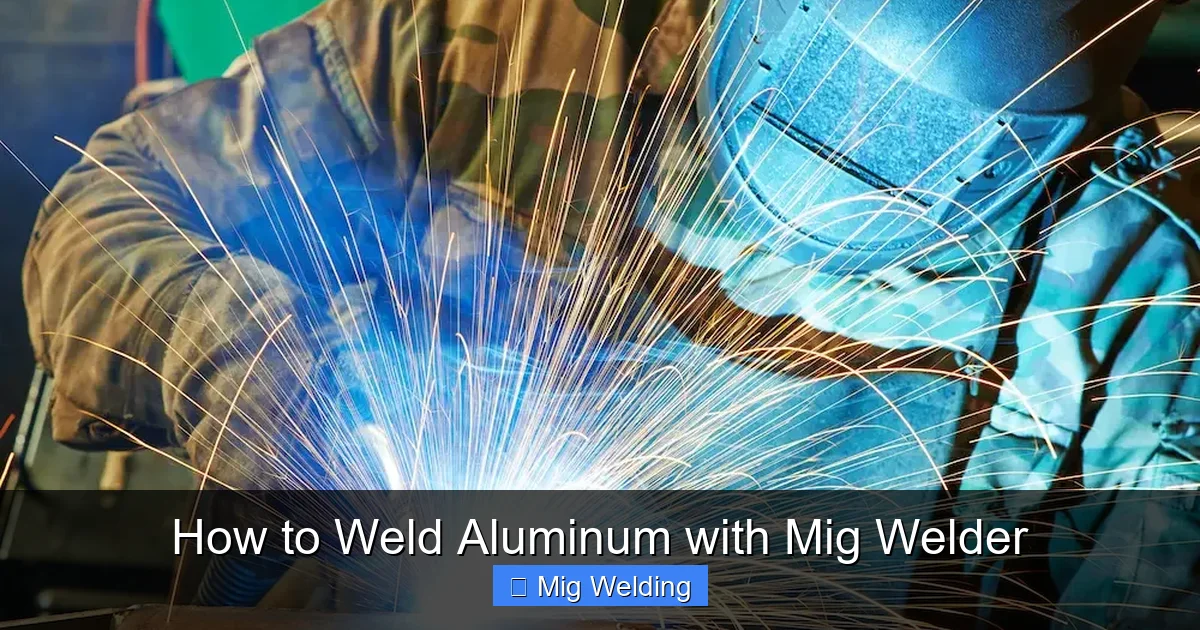
Visual guide about How to Weld Aluminum with Mig Welder
Image source: migweldingexpert.com
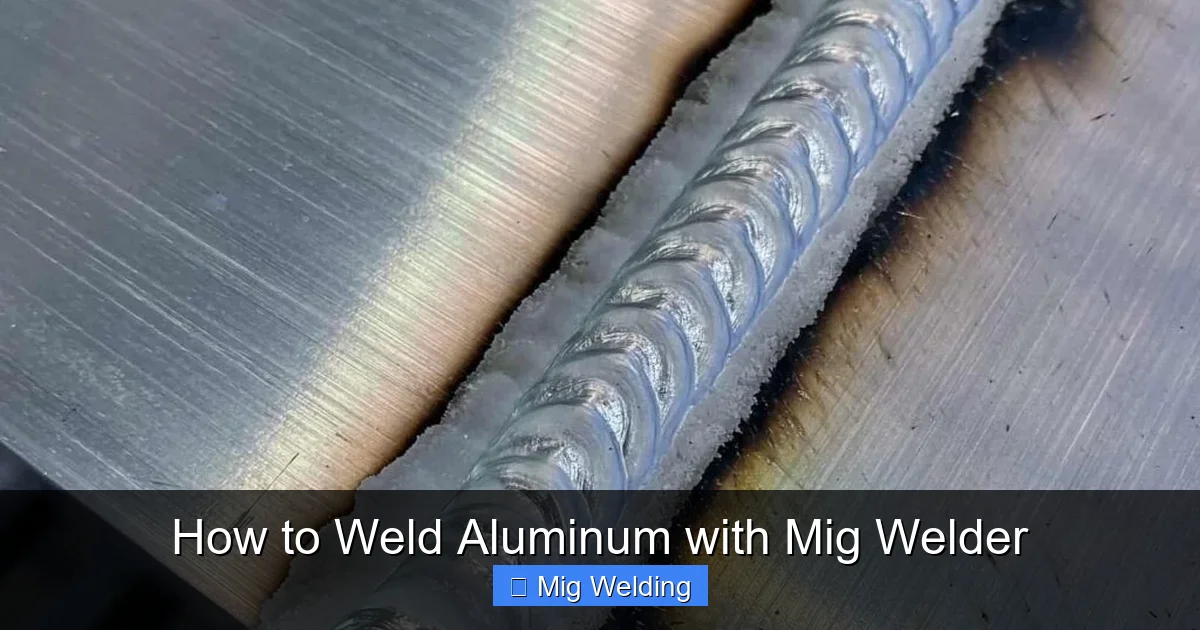
Visual guide about How to Weld Aluminum with Mig Welder
Image source: wholesale.yeswelder.com
Cut and Fit Your Pieces
Use a clean, sharp saw or grinder to cut your aluminum pieces. Fit them together tightly, as gaps can cause weak welds. Clamp the pieces securely to prevent movement during welding.
Step 3: Set Up Your MIG Welder
Install the Correct Wire
Insert the aluminum wire spool into your welder or spool gun. Ensure it feeds smoothly without tangles or jams. Use the recommended wire size for your project.
Adjust the Welding Parameters
- Voltage: Typically between 16-22 volts, depending on material thickness.
- Wire feed speed: Usually between 200-400 inches per minute; adjust for smooth feeding.
- Shielding gas flow: Set to around 20-30 CFH (cubic feet per hour).
Consult your welder’s manual for specific settings. Start with recommended values and fine-tune based on test welds.
Set Up the Shielding Gas
Attach the gas hose securely and turn on the gas. Ensure there are no leaks. Use a regulator to control flow. For aluminum, pure argon is the standard choice.
Step 4: Practice and Test Welds
Before working on your actual project, do test welds on scrap aluminum. This helps you dial in your settings and get comfortable with the technique. Observe the weld pool’s appearance and adjust your parameters accordingly.
Step 5: Welding Technique
Positioning
Hold the MIG gun at about a 10-15 degree angle. Keep a steady hand and maintain a consistent travel speed. Avoid letting the wire touch the workpiece or the weld pool become too cold or too hot.
Welding Process
- Start with a short arc and gradually increase to full length.
- Move smoothly along the joint, maintaining a consistent speed.
- Keep the gun close enough for the weld pool to fuse properly, but not so close as to cause burn-through.
Common Techniques
- Stringer bead: A straight, steady movement for flat, simple joints.
- Weaving: Moving side to side for wider or thicker joints, but use sparingly on thin aluminum.
Step 6: Finishing Your Weld
Allow the weld to cool naturally. Use a wire brush or grinder to clean the weld area, removing any oxidation or excess weld metal. For a smoother finish, polish with a fine abrasive or aluminum polish.
Troubleshooting Common Issues
- Porosity or holes in weld: Check shielding gas flow and cleanliness of the aluminum. Ensure no drafts or contaminants.
- Poor penetration: Increase voltage or adjust torch angle. Make sure the wire feed is steady.
- Cold welds or weak joints: Increase heat or travel speed. Confirm proper cleaning of the aluminum surface.
- Wire jam or feeding issues: Use a spool gun designed for aluminum and ensure smooth feeding.
Conclusion
Welding aluminum with a MIG welder is achievable with the right setup and technique. Remember to clean your materials, set correct parameters, and practice on scrap first. With patience and practice, you’ll be able to produce strong, clean welds on aluminum for various projects. Keep safety in mind, and don’t be discouraged by initial challenges. Happy welding!
