

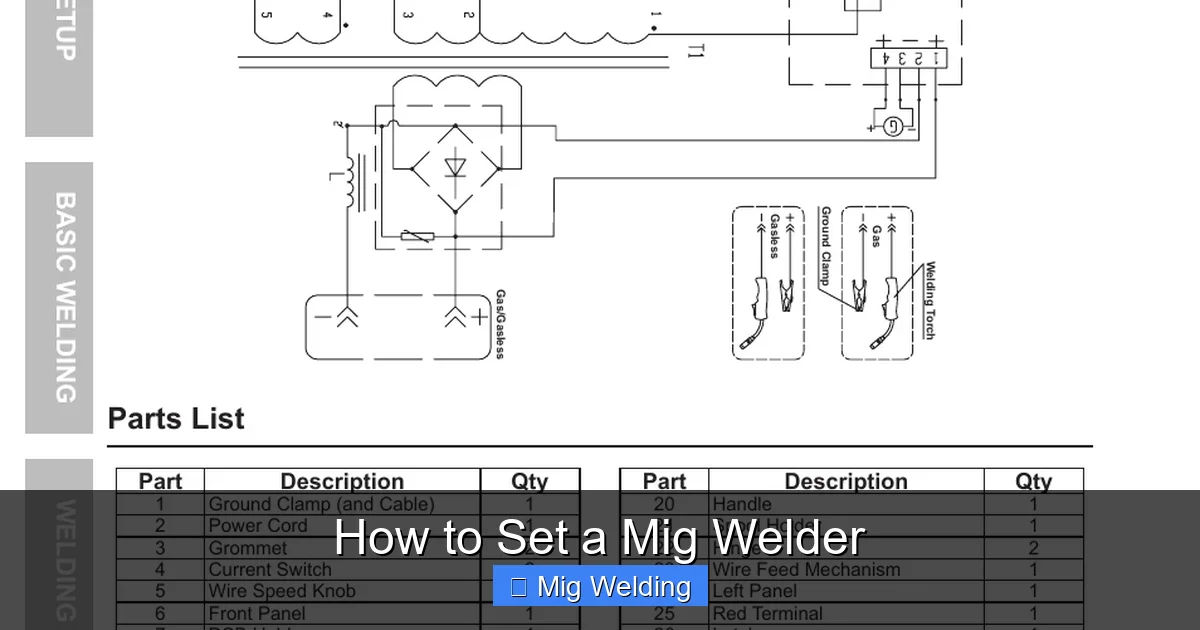
Learning how to set a MIG welder is essential for quality welding. This guide covers everything from choosing the right settings to troubleshooting common issues, ensuring you weld safely and effectively.
How to Set a MIG Welder
MIG welding is one of the easiest welding methods for beginners and professionals alike. Properly setting your MIG welder is crucial for strong, clean welds. Whether you’re working on a small project or a large fabrication, this guide will walk you through the process step by step. By the end, you’ll know how to set your MIG welder confidently and achieve professional-quality results.
Key Takeaways
- Proper machine setup: Always ensure your MIG welder is correctly powered and connected before starting.
- Understand wire type and gauge: Different projects require specific wire types and thicknesses for optimal results.
- Adjust voltage and wire speed: Correct settings depend on material thickness and type; fine-tuning improves weld quality.
- Use proper shielding gas: Selecting the right gas mixture prevents contamination and ensures strong welds.
- Safety first: Wear protective gear and work in a well-ventilated area to stay safe during welding.
- Troubleshooting tips: Learn common issues and how to fix them, such as porosity or poor penetration.
Understanding the Basics of MIG Welding
MIG (Metal Inert Gas) welding uses a continuous wire electrode fed through a welding gun, combined with shielding gas, to protect the weld pool from contamination. It’s popular because it’s fast, versatile, and relatively easy to learn. But to get the best results, you need to set your machine correctly based on the material, wire type, and project requirements.
Step 1: Prepare Your Workspace and Equipment
Ensure Safety First
- Wear protective gear: welding helmet, gloves, long sleeves, and safety glasses.
- Work in a well-ventilated area to avoid inhaling fumes.
- Keep a fire extinguisher nearby and remove flammable materials.
Check Your Equipment
- Inspect the welder for damage or loose connections.
- Make sure the power source matches your welder’s specifications.
- Ensure the wire spool is properly loaded and free of tangles.
Step 2: Select the Right Wire and Shielding Gas
Choose the Correct Wire Type and Diameter
- Solid wire: common for mild steel; available in sizes like 0.023″, 0.030″, 0.035″.
- Flux-cored wire: ideal for outdoor or rust-prone environments.
- Select the wire gauge based on your material thickness; thicker materials require larger wire.
Select the Appropriate Shielding Gas
- Pure CO2: affordable, good for general steel welding but produces more spatter.
- Mixed gases (e.g., 75% Argon / 25% CO2): smoother welds and less spatter, ideal for thin materials.
Step 3: Set the Voltage and Wire Feed Speed
Understanding the Settings
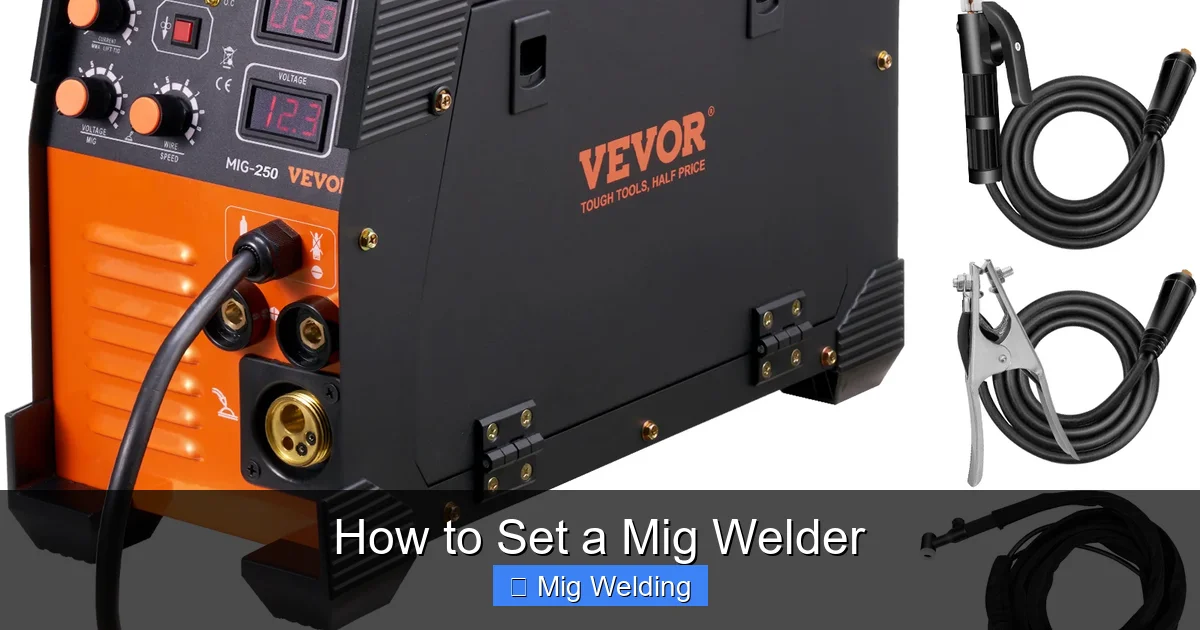
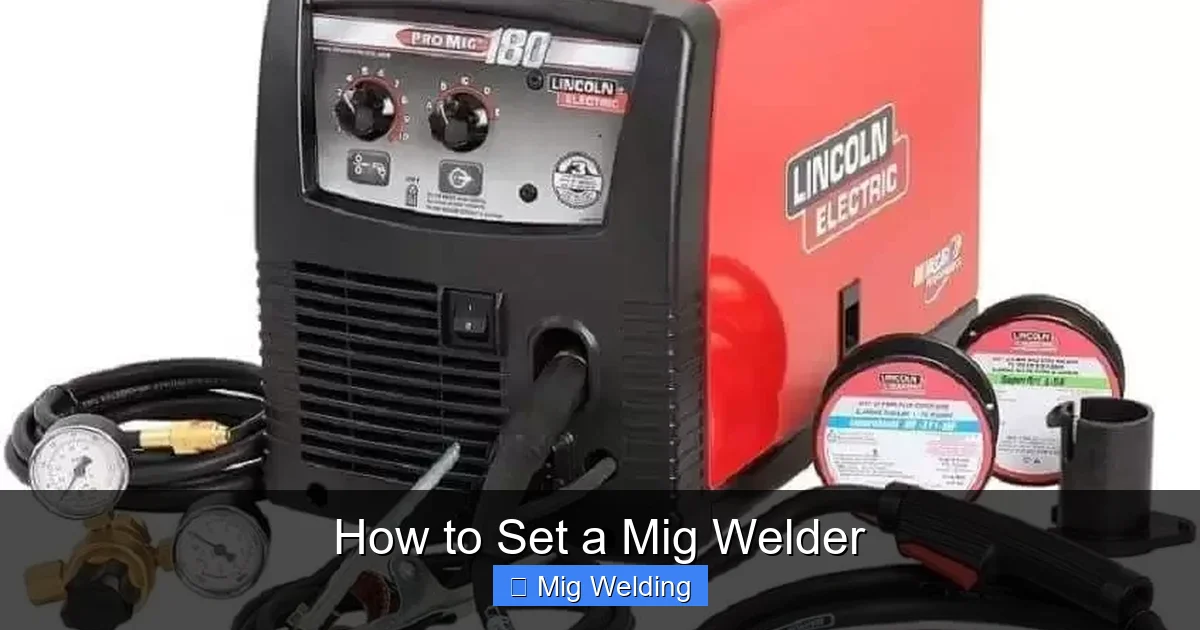
Voltage controls the heat of the arc. Wire feed speed determines how fast the wire is fed into the weld pool. Both need to be balanced for good penetration and bead appearance.
Visual guide about How to Set a Mig Welder
Image source: d2qc09rl1gfuof.cloudfront.net
Visual guide about How to Set a Mig Welder
Image source: welderchoice.com
Visual guide about How to Set a Mig Welder
Image source: wcwelding.com
Consult the Manufacturer’s Chart
Most welders have a chart indicating recommended voltage and wire speed based on wire size and material thickness. Use this as a starting point.
Adjustments
- Set the voltage first, based on your material and wire size.
- Adjust the wire feed speed until you get a steady, smooth arc without excessive spatter.
- Test on scrap metal and fine-tune as needed.
Step 4: Set the Welding Parameters Based on Material
For Thin Materials
- Use lower voltage and wire feed speed to prevent burn-through.
- Shorter, controlled welds are better.
For Thicker Materials
- Increase voltage and wire speed for deeper penetration.
- Use longer welds with proper travel speed to ensure strong welds.
Step 5: Adjust Travel Speed and Technique
Maintain a Consistent Travel Speed
- Move steadily along the joint to ensure even heat distribution.
- Too slow causes excessive heat, warping, or burn-through.
- Too fast results in weak, incomplete welds.
Practice Proper Technique
- Hold the gun at a 10-15 degree angle to the weld joint.
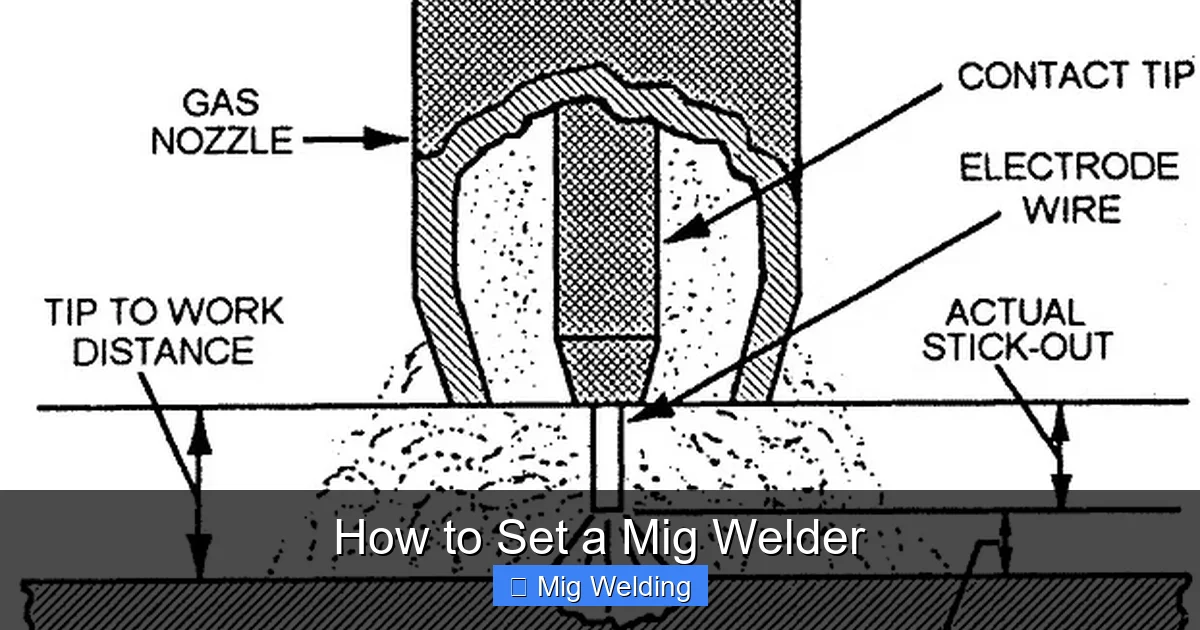
- Maintain a consistent distance from the tip to the workpiece (about ¼ inch).
- Use steady, smooth motions for a clean bead.
Step 6: Test and Fine-Tune Your Settings
Always test your settings on scrap metal before welding your actual project. Observe the weld bead:
- Look for uniformity, proper penetration, and minimal spatter.
- If the weld is too flat or porous, adjust voltage or wire speed accordingly.
- Make small adjustments and test again until satisfied.
Troubleshooting Common MIG Welding Issues
Porosity or Holes in the Weld
Likely caused by contaminated gas, moisture, or dirty metal. Clean your workpiece and check your gas supply.
Spatter Excess
Reduce voltage or wire feed speed. Check your shielding gas mixture.
Inconsistent Arc
Ensure proper wire feeding and inspect the contact tip for wear or damage.
Poor Penetration
Increase voltage or wire feed speed. Confirm the gun angle and travel speed are correct.
Conclusion
Setting a MIG welder properly is key to achieving strong, clean welds. Start with manufacturer recommendations, then fine-tune based on your project and materials. Practice makes perfect, so take your time, test frequently, and always prioritize safety. With these steps, you’ll be welding like a pro in no time.
Additional Tips for Success
- Keep your gun and contact tip clean for consistent results.
- Use a clamp or fixture to hold pieces securely.
- Regularly check your equipment for wear and tear.
