
MIG welding with pure argon is uncommon but useful for specific materials like aluminum. This guide walks you through setup, technique, and safety to help you achieve clean, strong welds without spatter or burn-through.
Key Takeaways
- Pure argon is ideal for aluminum welding: It provides a stable arc and clean penetration on non-ferrous metals.
- Use a spool gun or push-pull system: Aluminum wire is soft and prone to birdnesting in standard MIG guns.
- Adjust voltage and wire speed carefully: Too much heat causes burn-through; too little results in poor fusion.
- Clean the base metal thoroughly: Aluminum oxide prevents proper fusion—always scrub and degrease before welding.
- Use 100% argon shielding gas only: Mixtures like 75/25 argon/CO2 won’t work—they’re for steel, not aluminum.
- Practice on scrap first: Aluminum behaves differently than steel—get comfortable with the puddle and travel speed.
- Store gas properly: Keep cylinders upright and secure to prevent leaks or accidents.
Introduction: Why Use Pure Argon in MIG Welding?
If you’ve ever tried MIG welding aluminum, you know it’s not as straightforward as welding steel. That’s where pure argon comes in. Unlike the common 75% argon / 25% CO2 mix used for steel, 100% argon is the go-to shielding gas for welding aluminum with a MIG setup. It creates a smooth, stable arc and helps prevent oxidation, giving you clean, strong welds with minimal spatter.
In this guide, you’ll learn exactly how to set up your MIG welder for pure argon, choose the right equipment, and master the technique for welding aluminum—or other non-ferrous metals—safely and effectively. Whether you’re a hobbyist or a professional, this step-by-step walkthrough will help you avoid common pitfalls and get professional-looking results.
Understanding Pure Argon in MIG Welding
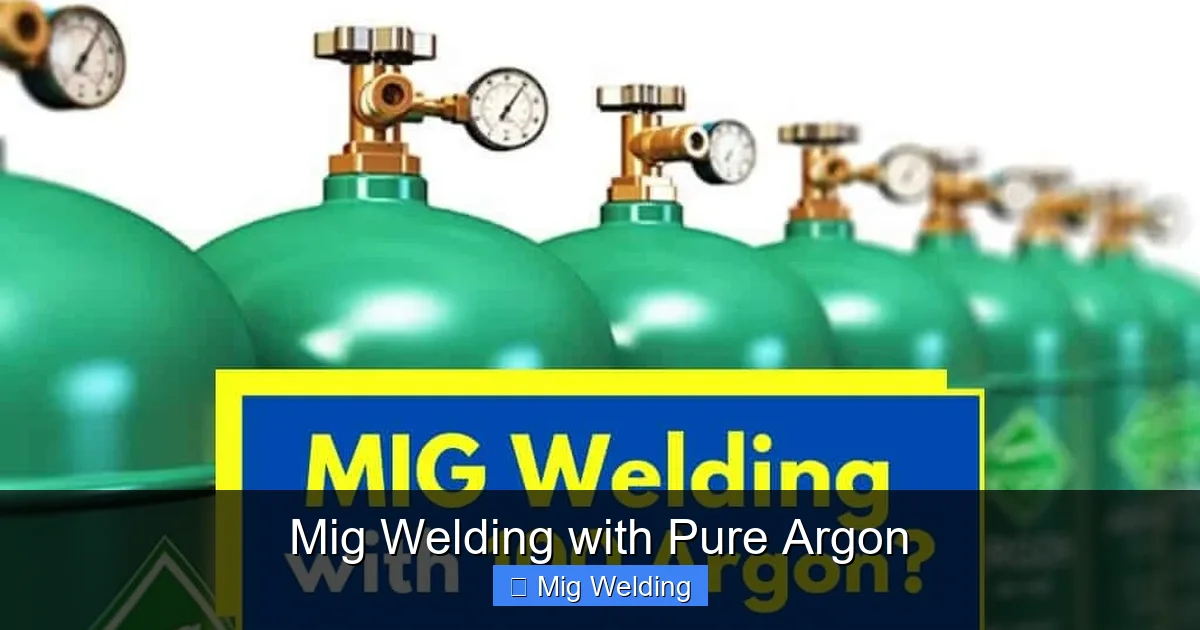
Visual guide about Mig Welding with Pure Argon
Image source: weldingtroop.com
Argon is an inert gas, meaning it doesn’t react with molten metal. When used in MIG welding, it shields the weld pool from oxygen and nitrogen in the air, which can cause porosity, brittleness, and weak joints.
Pure argon (100% Ar) is primarily used for welding non-ferrous metals like aluminum, magnesium, and copper. It produces a softer arc with less spatter and better arc stability on these materials. However, it’s not suitable for steel—using pure argon on steel leads to poor penetration and an unstable arc.
Why Not Use Argon-CO2 Mixes?
Most MIG welders use a 75/25 argon/CO2 blend for steel because CO2 improves penetration and arc stability on ferrous metals. But CO2 is reactive and can contaminate aluminum welds, causing porosity and cracking. That’s why pure argon is essential when welding aluminum.
Equipment Setup for MIG Welding with Pure Argon
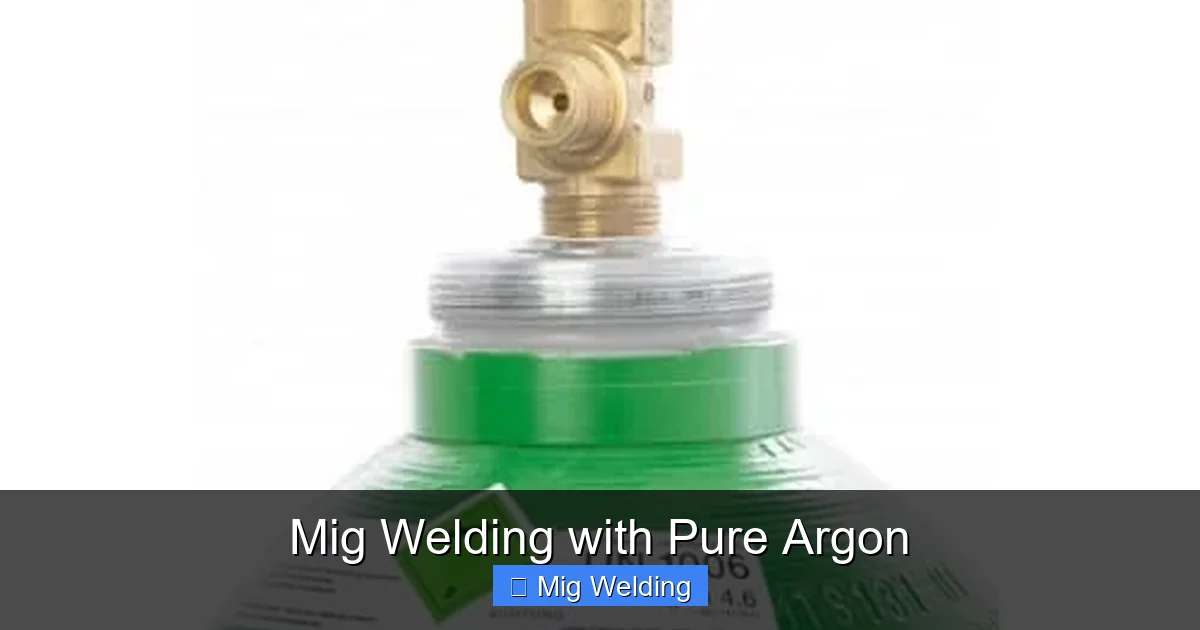
Visual guide about Mig Welding with Pure Argon
Image source: weldingtroop.com
Getting your equipment right is half the battle. Here’s what you need:
1. Choose the Right MIG Welder
Not all MIG welders can handle aluminum. Look for a machine with:
- Spool gun capability – Aluminum wire is soft and bends easily, so it often jams in standard MIG guns.
- Pulse welding option (optional but helpful) – Pulsing reduces heat input, minimizing warping on thin aluminum.
- DC TIG compatibility (bonus) – Some welders allow TIG welding with argon, which is another great option for aluminum.
2. Use a Spool Gun or Push-Pull System
Aluminum wire (typically ER4043 or ER5356) is soft and prone to “birdnesting” — tangling inside the liner. A spool gun holds a small spool of wire right at the gun, reducing feeding issues. Alternatively, a push-pull system uses a motor in the gun to pull the wire while the welder pushes it, ensuring smooth feeding.
3. Select the Correct Wire
For most aluminum projects:
- ER4043 – Good for general-purpose welding, especially on 6000-series aluminum. It has a lower melting point and resists cracking.
- ER5356 – Stronger and more ductile, ideal for 5000-series aluminum and structural work.
Use a liner designed for aluminum—standard steel liners can cause friction and wire deformation.
4. Set Up Your Gas System
Use a high-quality argon regulator with a flow meter. Set the flow rate between 20–30 CFH (cubic feet per hour). Too little gas won’t protect the weld; too much can create turbulence and draw in air.
Step-by-Step Welding Process
Now that your equipment is ready, let’s weld.
Step 1: Prepare the Metal
Aluminum forms a thin layer of oxide that melts at a much higher temperature than the base metal. If not removed, it prevents proper fusion.
- Scrub the surface with a stainless steel brush (dedicated to aluminum only—never use on steel).
- Degrease with acetone or alcohol to remove oils and contaminants.
- Weld within a few hours of cleaning—oxide forms quickly.
Step 2: Set Your Welder Parameters
Aluminum conducts heat quickly, so you need higher voltage and wire speed than steel.
- Voltage: Start around 18–22 volts (check your welder’s chart).
- Wire speed: Typically 300–500 inches per minute (IPM), depending on thickness.
- Use DC electrode positive (DCEP) – This is standard for MIG welding.
Tip: Always refer to your welder’s manual or a welding parameter chart for your specific wire and material thickness.
Step 3: Practice Your Technique
Aluminum welding requires a different touch than steel.
- Push the puddle – Unlike steel, where you drag, push the gun slightly forward at a 10–15 degree angle. This helps the gas shield the molten pool better.
- Maintain a short arc length – Keep the gun close to the workpiece (about ¾ inch).
- Travel speed: Move steadily—too slow causes burn-through; too fast leads to lack of fusion.
Practice on scrap pieces first. Watch the puddle: it should be shiny and fluid, not dull or bubbly.
Step 4: Start Welding
- Strike an arc by touching the wire to the metal.
- Begin welding with a steady hand, maintaining consistent speed and angle.
- Use a weave or straight bead depending on joint type—straight beads work well for most butt and lap joints.
- Avoid excessive heat input—aluminum warps easily.
Troubleshooting Common Issues
Even with the right setup, problems can happen. Here’s how to fix them:
Porosity (Bubbles in the Weld)
Cause: Contaminated base metal, moisture, or insufficient gas coverage.
Fix: Clean the metal thoroughly, check gas flow, and ensure no drafts are blowing across the weld area.
Burn-Through
Cause: Too much heat or slow travel speed.
Fix: Reduce voltage or wire speed, increase travel speed, or use a heat sink (like copper backing bar).
Wire Feeding Problems (Birdnesting)
Cause: Poor wire feed due to incorrect tension, dirty liner, or wrong drive rolls.
Fix: Use U-groove drive rolls (not V-groove), clean the liner, and adjust tension—just tight enough to feed smoothly.
Poor Penetration
Cause: Low voltage or fast travel speed.
Fix: Increase voltage slightly or slow down. Ensure the joint is properly prepared and fit-up is tight.
Unstable Arc or Spatter
Cause: Incorrect voltage/wire speed balance or dirty contact tip.
Fix: Adjust settings, replace the contact tip, and clean the gun nozzle.
Safety Tips for Welding with Pure Argon
Safety should always come first.
- Wear proper PPE: Auto-darkening helmet, flame-resistant jacket, gloves, and safety glasses.
- Ensure good ventilation: Argon is non-toxic but can displace oxygen in confined spaces.
- Secure gas cylinders: Always chain them upright to prevent tipping.
- Check for leaks: Use soapy water on connections—bubbles indicate a leak.
- Fire safety: Keep a fire extinguisher nearby and remove flammable materials from the area.
When to Use Pure Argon vs. Other Gases
While pure argon is excellent for aluminum, it’s not a one-size-fits-all solution.
- Use pure argon for: Aluminum, magnesium, copper, and other non-ferrous metals.
- Use argon/CO2 mix for: Mild steel and stainless steel.
- Use tri-mix (argon/helium/CO2) for: Thick aluminum or high-speed welding (requires specialized equipment).
Never use pure argon for steel—it will result in a weak, unstable weld.
Conclusion: Mastering MIG Welding with Pure Argon
MIG welding with pure argon opens up new possibilities, especially when working with aluminum. While it requires different equipment and techniques than steel welding, the results—clean, strong, professional-looking welds—are well worth the effort.
By using the right gas, proper wire, a spool gun, and correct settings, you can overcome the challenges of aluminum welding. Remember to clean your material, practice your technique, and always prioritize safety.
With patience and practice, you’ll soon be welding aluminum like a pro. Whether you’re building a custom bike frame, repairing a boat, or crafting decorative metalwork, pure argon gives you the control and quality you need.
So gear up, set your flow meter, and start welding with confidence.