
MIG welding no gas wire—also known as flux-cored arc welding (FCAW)—lets you weld outdoors and in windy conditions without shielding gas. This guide walks you through setup, technique, and safety so you can achieve strong, professional-quality welds using a standard MIG welder and flux-cored wire.
Key Takeaways
- Flux-cored wire eliminates the need for external gas: The wire contains flux that creates its own shielding gas when burned, protecting the weld pool from contamination.
- Works great outdoors and in drafty areas: Unlike solid MIG wire, flux-cored welding isn’t affected by wind, making it ideal for garages, farms, and job sites.
- Requires polarity adjustment on your welder: Most flux-cored wires run on DCEN (direct current electrode negative), so you’ll need to switch the gun lead to the negative terminal.
- Proper technique prevents slag and spatter: Use a drag (pull) angle of 10–15 degrees and maintain a consistent travel speed for clean, strong welds.
- Post-weld cleanup is essential: Always chip away slag and wire brush the weld to inspect for defects and prepare for painting or further passes.
- Choose the right wire for your project: E71T-11 is a popular all-position flux-cored wire for mild steel, while E71T-GS is better for flat/horizontal use.
- Safety first—wear proper PPE: Always use a welding helmet, gloves, flame-resistant clothing, and work in a well-ventilated area due to fumes.
What Is MIG Welding No Gas Wire?
If you’ve ever tried MIG welding outdoors only to watch your weld get blown apart by the wind, you’re not alone. Traditional MIG welding uses solid wire and requires a constant flow of shielding gas—usually a mix of argon and CO₂—to protect the molten weld pool from oxygen and nitrogen in the air. But what if you don’t have a gas cylinder or are working in a breezy garage? That’s where MIG welding no gas wire comes in.
This method uses flux-cored wire, a hollow electrode filled with flux compounds. When the arc burns, the flux creates a protective gas shield around the weld and forms a slag layer that covers the cooling metal. Because it doesn’t rely on external gas, it’s perfect for outdoor projects, repairs, and DIY welding where portability and convenience matter.
In this guide, you’ll learn exactly how to set up your MIG welder for flux-cored welding, choose the right wire, master the technique, and troubleshoot common issues—all without needing a gas tank.
Why Choose Flux-Cored Wire Over Gas-Shielded MIG?
You might be wondering: if gas-shielded MIG gives such clean, spatter-free welds, why bother with no-gas wire? The answer lies in versatility and environment.
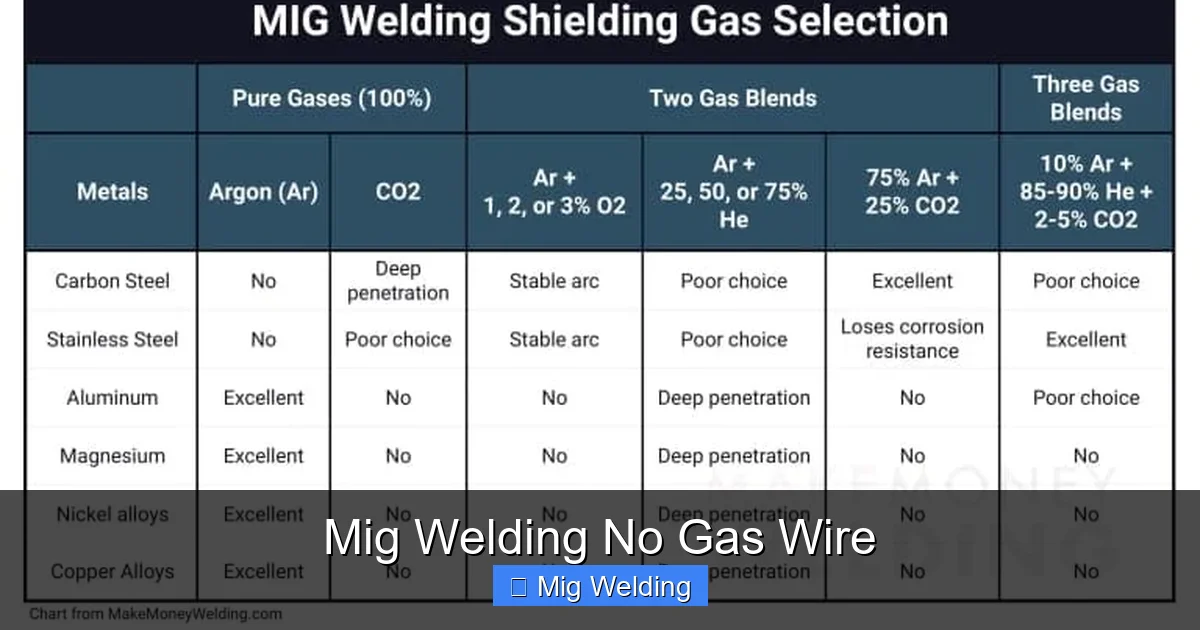
Visual guide about Mig Welding No Gas Wire
Image source: makemoneywelding.com
Flux-cored welding excels in:
- Outdoor use: Wind won’t disrupt the shielding because it’s generated internally.
- Rusty or dirty metal: The flux helps clean the base metal, making it more forgiving on less-than-perfect surfaces.
- Thicker materials: Flux-cored wires often penetrate deeper than solid wires, ideal for heavy steel.
- Portability: No gas cylinders mean lighter setups—great for field repairs or mobile welding.
However, it’s not perfect. Flux-cored welding produces more spatter and requires slag cleanup. But for many hobbyists and professionals, the trade-off is worth it.
Step-by-Step Setup for MIG Welding No Gas Wire
Setting up your MIG welder for flux-cored wire is simple, but a few key adjustments are crucial. Follow these steps carefully.

Visual guide about Mig Welding No Gas Wire
Image source: weldguru.com
1. Switch the Polarity
Most flux-cored wires (like E71T-11 or E71T-GS) require DCEN (Direct Current Electrode Negative). This means the welding gun connects to the negative terminal, and the ground clamp connects to the positive.
- Turn off and unplug your welder.
- Open the wire feeder compartment.
- Swap the gun lead to the negative (-) terminal and the ground clamp to the positive (+) terminal.
- Double-check your welder’s manual—some models have a polarity switch instead of physical leads.
2. Load the Flux-Cored Wire
Flux-cored wire is softer than solid wire, so handle it gently to avoid birdnesting (tangling inside the feeder).
- Remove the spool and insert the new flux-cored wire spool.
- Make sure the spool spins freely—use a tension knob if needed.
- Feed the wire through the liner and into the drive rolls. Use the correct groove size (usually marked).
- Close the feeder door and turn on the welder. Press the trigger to feed wire until it comes out the nozzle.
3. Adjust Voltage and Wire Speed
Start with the manufacturer’s recommended settings for your wire diameter and material thickness. For example:
- 18-gauge steel: 14–16 volts, 150–200 IPM (inches per minute)
- 1/4-inch steel: 18–20 volts, 250–300 IPM
Use a welding calculator or chart as a starting point, then fine-tune by test welding on scrap metal. A good weld should have a smooth, rope-like appearance with minimal spatter.
4. Install a Gasless Nozzle (Optional but Recommended)
Even though you’re not using gas, some welders come with a gas nozzle. Swap it for a gasless nozzle or remove the gas diffuser to prevent clogging from slag and spatter.
How to Weld with Flux-Cored Wire: Technique Tips
Your welding technique makes a huge difference in the quality of your no-gas welds. Here’s how to do it right.
Use the Drag (Pull) Technique
Unlike solid MIG welding, where you can push or drag, flux-cored welding always uses the drag method. Pull the gun toward you at a 10–15 degree angle.
- This allows the slag to float on top of the weld pool.
- It improves visibility and penetration.
- Helps prevent slag entrapment (a common defect).
Maintain a Consistent Travel Speed
Too slow = excessive buildup and burn-through. Too fast = lack of fusion and narrow, weak welds.
- Aim for a steady, smooth motion.
- Listen for a steady “frying” sound—this indicates good arc stability.
- If the arc sounds erratic or the wire stubs into the metal, adjust voltage or speed.
Keep the Stick-Out Short
The “stick-out” is the length of wire extending from the nozzle. Keep it between 1/2 to 3/4 inch.
- Too long = poor arc control and increased spatter.
- Too short = risk of burning back into the nozzle.
Overlap Beads for Multi-Pass Welds
For thicker materials, build up the weld in layers. Overlap each bead by about 1/3 to ensure full fusion.
- Clean slag between passes with a chipping hammer and wire brush.
- Peen the weld slightly with a hammer to relieve stress (optional).
Troubleshooting Common Issues
Even with proper setup, you might run into problems. Here’s how to fix the most common ones.
Excessive Spatter
- Cause: Too high voltage, too fast wire speed, or incorrect polarity.
- Fix: Lower voltage by 1–2 volts or reduce wire feed speed. Double-check polarity settings.
Slag Entrapment
- Cause: Wrong travel angle, too fast travel speed, or poor interpass cleaning.
- Fix: Use a consistent drag angle, slow down slightly, and always remove slag between passes.
Poor Penetration
- Cause: Low voltage, slow travel speed, or incorrect wire type.
- Fix: Increase voltage, use a wire with better penetration (like E71T-11), or reduce travel speed.
Wire Birdnesting
- Cause: Incorrect drive roll tension, wrong liner, or poor spool feeding.
- Fix: Adjust tension so the wire feeds smoothly without crushing. Use a Teflon or plastic liner for flux-cored wire.
Arc Instability or Stubbing
- Cause: Too low voltage, dirty metal, or long stick-out.
- Fix: Increase voltage, clean the base metal with a grinder or wire brush, and shorten the stick-out.
Safety Tips for No-Gas MIG Welding
Welding is inherently dangerous, and flux-cored welding produces more fumes and sparks than gas-shielded MIG. Protect yourself with these safety practices:
- Wear a welding helmet with auto-darkening lens: Protects your eyes from UV/IR radiation.
- Use flame-resistant clothing: Leather gloves, apron, and long sleeves prevent burns.
- Work in a ventilated area: Flux fumes can be harmful—use an exhaust fan or respirator if welding indoors.
- Keep a fire extinguisher nearby: Sparks can ignite flammable materials up to 35 feet away.
- Inspect equipment regularly: Check cables, connections, and grounding for wear or damage.
Choosing the Right Flux-Cored Wire
Not all flux-cored wires are the same. Here are two common types for mild steel:
- E71T-11: All-position wire (flat, horizontal, vertical, overhead). Great for general fabrication and repair. Requires DCEN polarity.
- E71T-GS: Designed for flat and horizontal welding only. Easier to use for beginners but less versatile.
Avoid using flux-cored wire on aluminum—it’s only for steel and some stainless alloys. Always check the manufacturer’s specs.
Conclusion
MIG welding no gas wire is a powerful, practical solution for welding without the hassle of gas cylinders. With the right setup, technique, and safety habits, you can produce strong, durable welds on everything from car frames to farm equipment—even in windy conditions.
Remember: switch your polarity, use the drag technique, keep your stick-out short, and always clean your welds. Practice on scrap metal until you’re confident, and don’t skip safety gear. Whether you’re a weekend warrior or a professional welder, flux-cored welding expands your capabilities and keeps your projects moving—no gas tank required.