
Welding aluminum with a standard MIG setup is possible—even without a spool gun. This guide walks you through the essential steps, tools, and techniques to achieve smooth, high-quality aluminum welds using a regular MIG welder. You’ll learn how to overcome common challenges like wire feeding issues and porosity.
Key Takeaways
- Use the right aluminum wire: Choose 4043 or 5356 aluminum MIG wire, which flows smoothly and resists birdnesting.
- Upgrade your liner and drive rolls: A Teflon or plastic liner and U-groove drive rolls prevent wire deformation and feeding problems.
- Clean the base metal thoroughly: Aluminum oxide forms quickly—remove it with a stainless steel brush and acetone before welding.
- Adjust your MIG settings correctly: Use DCEN polarity, higher voltage, and faster wire feed speed for clean penetration and arc stability.
- Maintain a short contact tip-to-work distance: This improves arc stability and reduces spatter when welding thin aluminum.
- Preheat thick aluminum: Heating to 300–400°F helps prevent cracking and improves fusion in thicker sections.
- Practice on scrap metal first: Aluminum behaves differently than steel—test your settings and technique before welding your final piece.
Can You Really MIG Weld Aluminum Without a Spool Gun?
Yes—you absolutely can. While a spool gun makes MIG welding aluminum easier by placing the wire close to the weld area, it’s not always necessary. Many welders successfully join aluminum using a standard MIG welder with a few smart modifications. The key is understanding aluminum’s unique properties and adjusting your setup accordingly.
Aluminum is softer than steel, conducts heat faster, and forms a tough oxide layer. These traits make it prone to feeding issues, porosity, and burn-through if not handled correctly. But with the right wire, equipment tweaks, and technique, you can produce strong, clean welds—even without a spool gun.
This guide will show you exactly how to do it, step by step.
Why Weld Aluminum Without a Spool Gun?
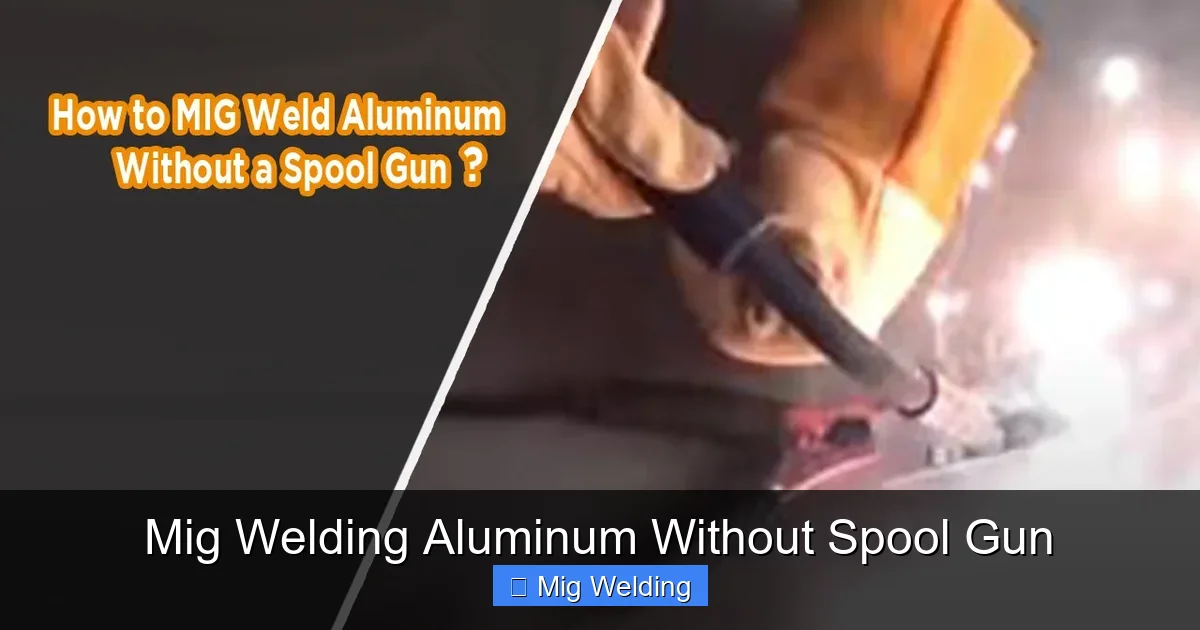
Visual guide about Mig Welding Aluminum Without Spool Gun
Image source: weldingproperty.com
Spool guns are great for portability and reducing wire feeding distance, but they’re not always practical. They add cost, require extra setup, and can be bulky for tight spaces. If you’re working in a shop with a stationary MIG welder, you might prefer to avoid the spool gun altogether.
Welding aluminum without one saves money and simplifies your rig—especially if you’re already set up for steel. With a few upgrades and careful technique, your regular MIG welder can handle aluminum just fine.
What You’ll Need
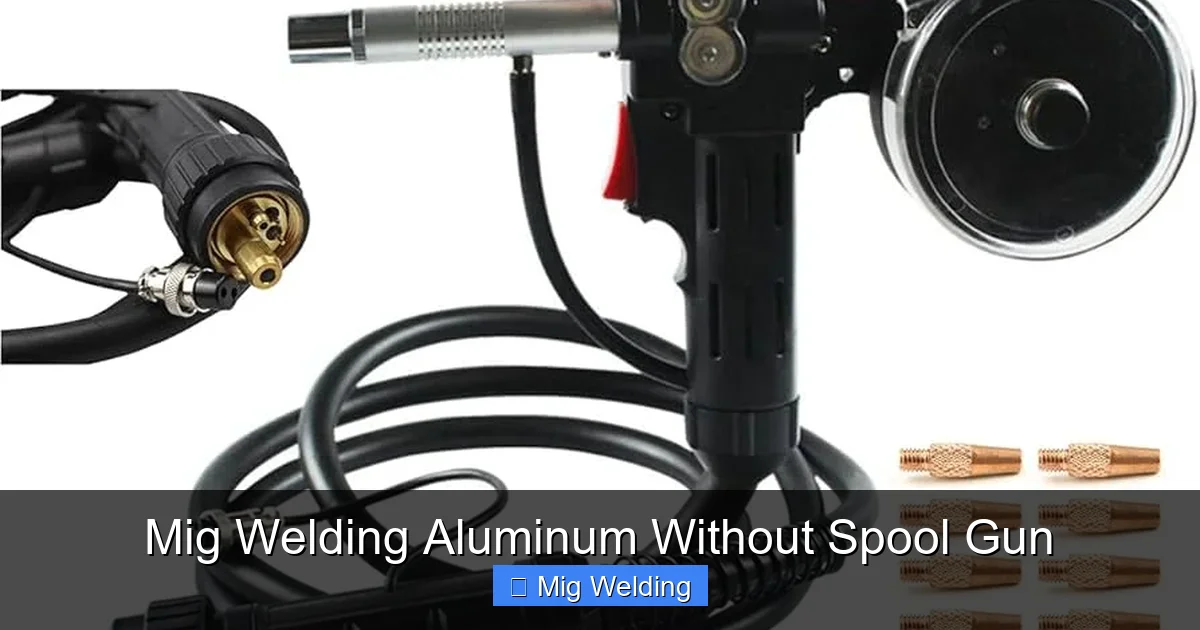
Visual guide about Mig Welding Aluminum Without Spool Gun
Image source: m.media-amazon.com
Before you start, gather the right tools and materials:
- Standard MIG welder with DC output: Make sure it’s capable of running on DCEN (direct current electrode negative).
- Aluminum MIG wire (4043 or 5356): 0.035″ or 0.045″ diameter works best. 4043 is more forgiving; 5356 offers higher strength.
- Teflon or plastic MIG liner: Steel liners can crush soft aluminum wire—swap to a non-metallic liner.
- U-groove drive rolls: These gently grip the wire without deforming it.
- Stainless steel wire brush: Dedicated to aluminum only—never use on steel to avoid contamination.
- Acetone or aluminum cleaner: For removing grease and oxide.
- Argon shielding gas (100%): Use a flow rate of 20–30 CFH. Never use CO2 or mixed gases.
- Preheating tools (optional): Torch or heat blanket for thicker aluminum (1/4″ or more).
Step 1: Prepare Your MIG Welder
Switch to DCEN Polarity
Unlike steel, aluminum requires DCEN (direct current electrode negative). This means the electrode (wire) is negative, and the workpiece is positive. Check your welder’s manual to confirm how to switch polarity—most have internal jumpers or external switches.
Install the Right Drive Rolls and Liner
Remove your current steel drive rolls and replace them with U-groove rolls designed for aluminum. These have a rounded groove that cradles the wire without pinching or flattening it.
Next, swap out the steel MIG liner for a Teflon or plastic one. Aluminum wire is soft and can easily kink or birdnest in a metal liner. A smooth, non-metallic liner ensures consistent feeding.
Adjust Tension Settings
Too much tension will crush the wire; too little causes slippage. Set the drive roll tension slightly looser than you would for steel. Test by feeding wire into a bucket—it should come out straight and smooth, not tangled.
Step 2: Clean the Aluminum Surface
Aluminum forms a thin, hard oxide layer (alumina) that melts at a much higher temperature than the base metal. If you don’t remove it, the weld will be weak and porous.
Mechanical Cleaning
Use a stainless steel wire brush (dedicated to aluminum only) to scrub the weld area. Brush in one direction to avoid embedding particles. Clean at least 1–2 inches around the joint.
Chemical Cleaning
Wipe the surface with acetone or a specialized aluminum cleaner to remove oils, grease, and residual oxide. Let it dry completely before welding.
Never use the same brush or rag on steel and aluminum—cross-contamination ruins welds.
Step 3: Set Your Welding Parameters
Aluminum requires different settings than steel. Start with these general guidelines and adjust based on your material thickness.
Voltage and Wire Feed Speed
For 1/8″ (3mm) aluminum:
- Voltage: 19–21 volts
- Wire feed speed: 300–400 inches per minute (IPM)
For 1/4″ (6mm) aluminum:
- Voltage: 21–23 volts
- Wire feed speed: 400–500 IPM
Use a MIG welding calculator or your welder’s chart as a starting point, then fine-tune by listening to the arc. A smooth, crackling sound means good settings. Popping or sputtering indicates issues.
Shielding Gas Setup
Use 100% argon gas at 20–30 CFH. A larger nozzle or gas lens can improve coverage, especially on open joints. Make sure your regulator and hoses are clean—moisture in the gas causes porosity.
Step 4: Welding Technique
Gun Angle and Travel Speed
Hold the MIG gun at a 10–15 degree push angle (pushing the weld pool, not dragging). This helps the gas shield the molten metal better.
Move steadily—too slow causes burn-through; too fast leads to lack of fusion. Aim for a smooth, consistent travel speed.
Contact Tip-to-Work Distance (CTWD)
Keep the gun close to the workpiece—about 3/8″ to 1/2″. A shorter CTWD improves arc stability and reduces spatter. Aluminum’s high conductivity means the arc can become unstable if the distance is too great.
Puddle Control
Watch the weld puddle closely. It should be shiny and fluid, not dull or bubbling. If it looks cloudy or porous, you may have contamination or incorrect gas flow.
Step 5: Preheat Thick Aluminum (If Needed)
For aluminum thicker than 1/4″, preheating is highly recommended. Aluminum conducts heat rapidly, so without preheat, the edges may not fuse properly, leading to cold laps or lack of penetration.
How to Preheat
Use a propane torch or electric heat blanket to warm the metal to 300–400°F (150–200°C). Use an infrared thermometer to monitor temperature. Preheating slows cooling, improves fusion, and reduces cracking risk.
Troubleshooting Common Problems
Birdnesting or Wire Jamming
This happens when the wire kinks in the liner or drive rolls. Fix it by:
- Ensuring proper liner and drive roll installation
- Reducing drive roll tension
- Using high-quality, clean wire
Porosity in the Weld
Tiny holes in the weld usually mean contamination or poor gas coverage. Solutions:
- Clean the base metal thoroughly
- Check for gas leaks in hoses or connections
- Increase gas flow slightly or use a larger nozzle
- Avoid welding in windy areas
Lack of Fusion or Penetration
This often results from low heat input or incorrect technique. Try:
- Increasing voltage or wire feed speed
- Preheating thick sections
- Slowing travel speed
- Ensuring proper joint fit-up
Burn-Through on Thin Aluminum
Thin aluminum (under 1/8″) burns easily. Prevent it by:
- Using lower voltage and faster travel speed
- Welding in short bursts with pauses
- Using a heat sink (copper bar) behind the weld
Practice Makes Perfect
Aluminum welding takes practice—don’t expect perfect results on your first try. Start with scrap pieces of the same thickness you’ll be working with. Test different settings, angles, and speeds until you get a smooth, shiny weld with good penetration.
Keep a welding log to track what works. Note voltage, wire speed, gas flow, and results. Over time, you’ll develop a feel for aluminum’s behavior.
Final Thoughts
MIG welding aluminum without a spool gun is not only possible—it’s practical for many shop applications. By upgrading your liner and drive rolls, using the right wire and gas, and mastering clean technique, you can produce strong, professional-quality aluminum welds.
It may take a few tries to get it right, but the payoff is worth it. You’ll save money, simplify your setup, and gain confidence in handling one of welding’s trickiest materials.
With patience and practice, your standard MIG welder can become a reliable tool for aluminum projects—no spool gun required.