
This guide walks you through setting up a MIG welder without gas using flux-cored wire, a cost-effective and portable welding solution. You’ll learn the essential steps, safety tips, and troubleshooting advice to get strong, clean welds—even in windy outdoor conditions.
Key Takeaways
- Flux-cored wire eliminates the need for shielding gas: The flux inside the wire creates its own protective atmosphere, making it ideal for outdoor welding.
- Reverse polarity is required: Unlike gas-shielded MIG welding, flux-cored setups use DC electrode negative (DCEN), so you must switch your welder’s polarity.
- Proper wire feed speed and voltage matter: Adjust these settings based on material thickness and wire type to avoid spatter and weak welds.
- Use the right drive roll and liner: Knurled drive rolls and a compatible liner prevent wire deformation and feeding issues.
- Clean your workpiece thoroughly: Flux-cored welding is less forgiving of rust, oil, or paint, so prep is crucial for strong welds.
- Weld in a well-ventilated area: Flux-cored welding produces more fumes than gas-shielded methods, so safety gear and airflow are essential.
- Practice on scrap metal first: Fine-tune your technique and settings before working on your final project.
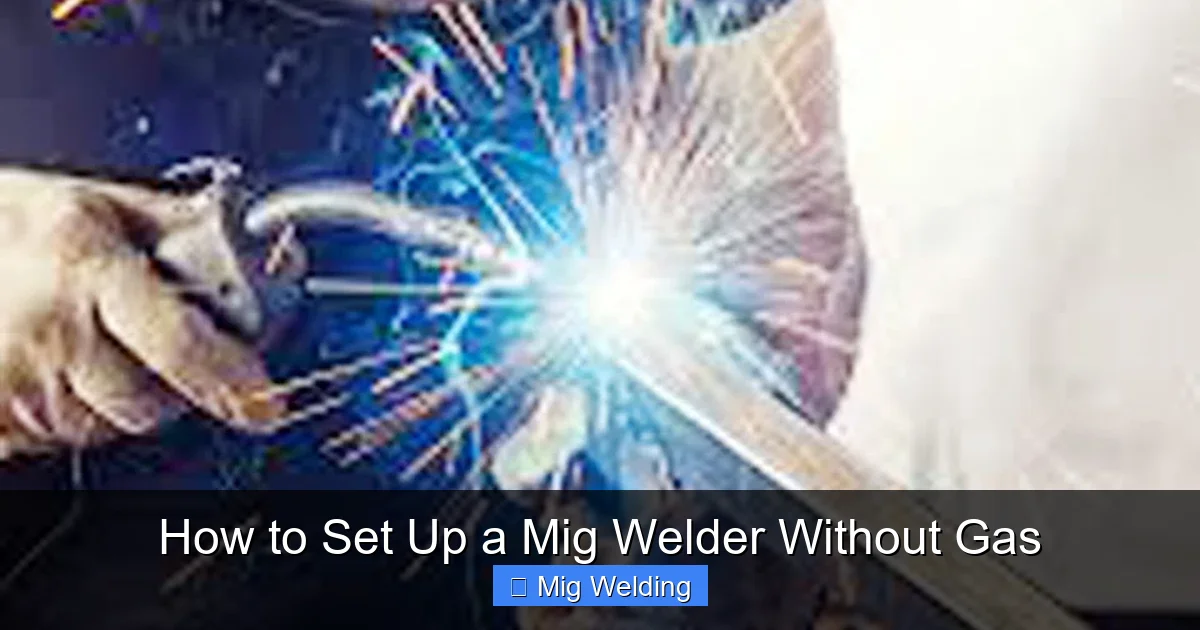
How to Set Up a MIG Welder Without Gas
If you’re new to welding or looking for a more portable, outdoor-friendly option, setting up a MIG welder without gas might be the perfect solution. Unlike traditional MIG welding that relies on external shielding gas (like argon or CO2), gasless MIG welding uses **flux-cored wire**—a hollow wire filled with flux that creates its own shielding when heated. This makes it ideal for windy conditions, remote job sites, or home garages without gas cylinders.
In this guide, you’ll learn exactly how to set up your MIG welder for gasless operation, step by step. We’ll cover everything from choosing the right wire to adjusting your machine settings and troubleshooting common issues. Whether you’re repairing a fence, building a trailer, or tackling DIY metal projects, this method is reliable, affordable, and beginner-friendly.
What You’ll Need
Visual guide about How to Set Up a Mig Welder Without Gas
Image source: giftendow.com
Before you begin, gather these essential tools and materials:
- A MIG welder capable of running flux-cored wire (most modern MIG welders can)
- Flux-cored wire (typically E71T-GS or E71T-11, 0.030″ or 0.035″ diameter)
- Wire cutters or pliers
- Wire brush or grinder (for cleaning metal)
- Safety gear: welding helmet, gloves, flame-resistant clothing, and safety glasses
- Work clamps (ground clamps)
- Optional: welding table or sturdy work surface
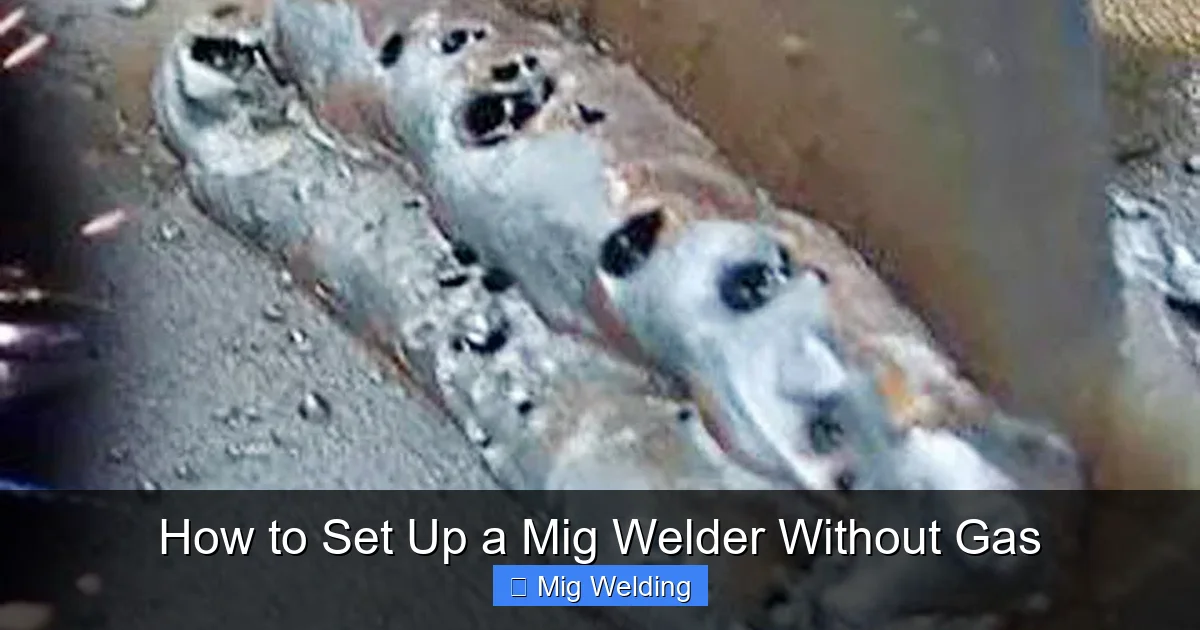
Step 1: Choose the Right Flux-Cored Wire
Visual guide about How to Set Up a Mig Welder Without Gas
Image source: weldinginto.com
Not all welding wires are created equal. For gasless MIG welding, you need **self-shielding flux-cored wire**. Look for labels like **E71T-GS** or **E71T-11**—these are designed to work without external gas.
Why Flux-Cored Wire Works Without Gas
The flux inside the wire melts during welding and releases shielding gases that protect the molten weld pool from contamination. It also forms a slag layer that covers the weld as it cools, preventing oxidation. This dual protection means you don’t need a gas cylinder, making setup faster and more portable.
Wire Diameter Matters
Most beginners start with **0.030-inch** wire for thin materials (like 18-gauge to 1/4-inch steel). For thicker metals, use **0.035-inch** wire. Always check your welder’s manual for compatible wire sizes.
Step 2: Prepare Your Welder
Now it’s time to configure your machine for flux-cored welding.
Switch to Reverse Polarity
This is the most critical step. Gasless MIG welding requires **DC electrode negative (DCEN)**, also known as reverse polarity. Here’s how to do it:
- Turn off and unplug your welder.
- Locate the polarity terminals inside the wire feeder compartment.
- Disconnect the positive (+) and negative (–) leads.
- Swap them: connect the welding lead (gun) to the negative (–) terminal and the ground clamp to the positive (+) terminal.
Pro Tip: Some newer welders have a polarity switch or auto-detect feature. Check your manual—if yours does, simply flip the switch to “Flux” or “Gasless” mode.
Install the Correct Drive Roll
Flux-cored wire is softer than solid wire and can be damaged by V-groove drive rolls. Use **knurled drive rolls** (also called U-groove or flux-cored rolls) to grip the wire without crushing it.
- Open the wire feeder cover.
- Remove the existing drive roll.
- Install the knurled drive roll and secure it.
- Ensure the tension knob is set to the recommended level (usually marked on the machine).
Thread the Wire
Follow these steps to load the wire correctly:
- Cut the wire cleanly with wire cutters.
- Open the wire feeder and guide the wire through the inlet, into the liner, and up to the drive roll.
- Close the feeder and turn the tension knob until the wire feeds smoothly.
- Turn on the welder and press the trigger to feed wire through the gun (do this over a trash can to catch the first few inches).
- Trim the wire to about 1/2 inch from the contact tip.
Step 3: Set Your Welding Parameters
Now that your welder is set up, it’s time to dial in the right settings.
Voltage and Wire Feed Speed
These two settings control heat and penetration. Start with the manufacturer’s recommendations on the welder’s chart, then adjust based on your material.
- For 1/8-inch steel: Try 18–20 volts and 200–250 inches per minute (IPM) wire feed speed.
- For 1/4-inch steel: Use 20–22 volts and 250–300 IPM.
Tip: If your welder has a “flux-cored” setting, use that as a starting point. Otherwise, refer to the wire manufacturer’s data sheet.
Ground Clamp Placement
Place the ground clamp as close to the weld area as possible—ideally on the same piece of metal you’re welding. A poor ground connection causes erratic arcs and weak welds.
Step 4: Prepare Your Workpiece
Flux-cored welding is less tolerant of dirty or rusty metal than gas-shielded MIG. Take time to prep:
- Use a wire brush or angle grinder to remove rust, paint, oil, or grease.
- Clamp your pieces securely to prevent movement.
- Ensure the joint fit-up is tight—gaps can cause burn-through or weak welds.
Step 5: Start Welding
You’re ready to weld! Follow these best practices:
Welding Technique
- Hold the gun at a 10–15 degree angle, pushing (not pulling) the weld puddle.
- Maintain a short arc length—about 1/4 inch from the metal.
- Move at a steady pace. Too slow = burn-through; too fast = lack of fusion.
- Use a straight bead or slight weave for wider joints.
Watch for Common Issues
- Excessive spatter: Lower voltage or wire feed speed.
- Poor penetration: Increase voltage or slow down travel speed.
- Wire stubbing: Check for liner blockage or incorrect drive roll tension.
Troubleshooting Common Problems
Even with proper setup, issues can arise. Here’s how to fix them:
Wire Won’t Feed
- Check for kinks in the liner or wire spool.
- Ensure the drive roll tension isn’t too tight or too loose.
- Verify the wire isn’t jammed in the gun or contact tip.
Erratic Arc or No Arc
- Confirm polarity is set to reverse (DCEN).
- Check ground clamp connection—clean the contact point.
- Ensure the contact tip isn’t worn or clogged.
Porous or Weak Welds
- Clean the base metal thoroughly.
- Reduce wind exposure—flux-cored welding can still be affected by strong drafts.
- Increase voltage slightly for better fusion.
Safety Tips for Gasless MIG Welding
Safety should always come first:
- Wear a welding helmet with auto-darkening lens (shade 10–13).
- Use flame-resistant clothing—no synthetic fabrics.
- Work in a well-ventilated area or use a fume extractor—flux fumes can be hazardous.
- Keep a fire extinguisher nearby.
- Never weld on galvanized steel without proper ventilation—it releases toxic zinc fumes.
Conclusion
Setting up a MIG welder without gas is a smart, practical choice for DIYers, farmers, and outdoor welding projects. By using **flux-cored wire** and following the steps in this guide—switching polarity, installing the right drive roll, and adjusting your settings—you can achieve strong, clean welds without the hassle of gas cylinders.
Remember: practice makes perfect. Start with scrap metal to fine-tune your technique, and always prioritize safety. With the right setup and a little patience, you’ll be welding like a pro in no time.
Whether you’re fixing equipment, building structures, or exploring a new hobby, gasless MIG welding gives you freedom, flexibility, and reliability—all without the extra cost and complexity of shielding gas.