

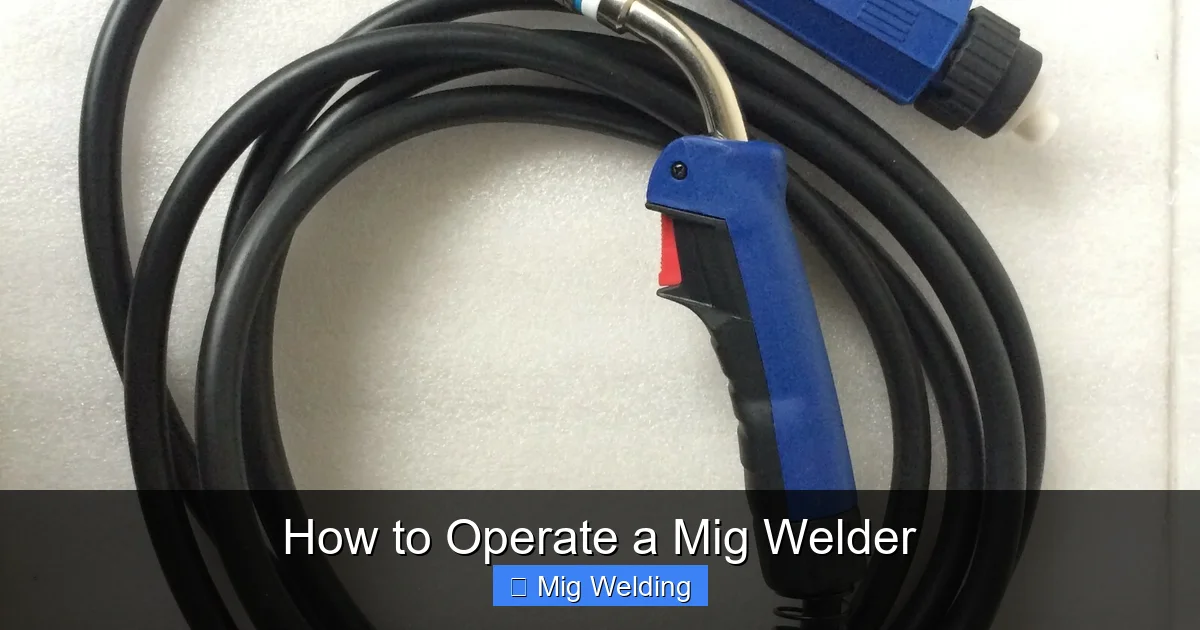
Operating a MIG welder is a valuable skill for DIYers and professionals alike. This guide walks you through the entire process, from safety precautions to troubleshooting common issues. By following these steps, you’ll be welding confidently and safely in no time.
How to Operate a MIG Welder
Welding is a useful skill that can save you money and give you a sense of accomplishment. MIG welding, or Metal Inert Gas welding, is popular because it’s easier for beginners and produces clean, strong welds. This guide will help you understand how to operate a MIG welder safely and effectively. Whether you’re a DIY enthusiast or a beginner welder, you’ll learn everything you need to start welding confidently.
Key Takeaways
- Safety First: Always wear protective gear and work in a well-ventilated area.
- Proper Setup: Correctly set up your MIG welder, including wire, gas, and voltage settings.
- Material Preparation: Clean and prepare your metal surfaces for the best welds.
- Welding Technique: Maintain the right distance and angle for smooth, strong welds.
- Practice: Start with scrap metal to hone your skills before working on your project.
- Troubleshooting: Learn common issues and how to fix them for better weld quality.
- Safety Equipment: Always use gloves, helmet, and protective clothing to stay safe.
1. Understand the Basics of MIG Welding
MIG welding uses a wire fed through a welding gun, which melts and fuses the metal pieces together. It requires a power source, shielding gas (usually argon or a mix), and your metal workpieces. The process is fast, clean, and versatile, suitable for various metals like steel, stainless steel, and aluminum.
Before starting, familiarize yourself with your specific MIG welder model. Read the user manual and understand the controls, safety features, and recommended settings. Safety is paramount, so always wear proper protective gear and work in a safe environment.
2. Prepare Your Workspace and Safety Equipment
Set Up a Safe Work Area
- Choose a well-ventilated space to avoid inhaling harmful fumes.
- Clear the area of flammable materials.
- Ensure good lighting and a stable work surface.
Wear Protective Gear
- Welding Helmet: Protects your eyes and face from sparks and UV rays.
- Gloves: Heavy-duty, flame-resistant gloves to protect your hands.
- Clothing: Long sleeves, long pants, and closed-toe shoes made of non-flammable material.
- Respirator: Optional but recommended in poorly ventilated areas.
3. Set Up Your MIG Welder
Select the Right Wire and Gas
- Wire Type: Choose the appropriate wire for your metal—solid wire for steel, ER70S-6 for general use, or aluminum wire for aluminum welding.
- Wire Diameter: 0.025″ or 0.030″ are common for beginner projects.
- Shielding Gas: Use a mixture of argon and CO2 (commonly 75% argon, 25% CO2) for steel or 100% argon for aluminum.
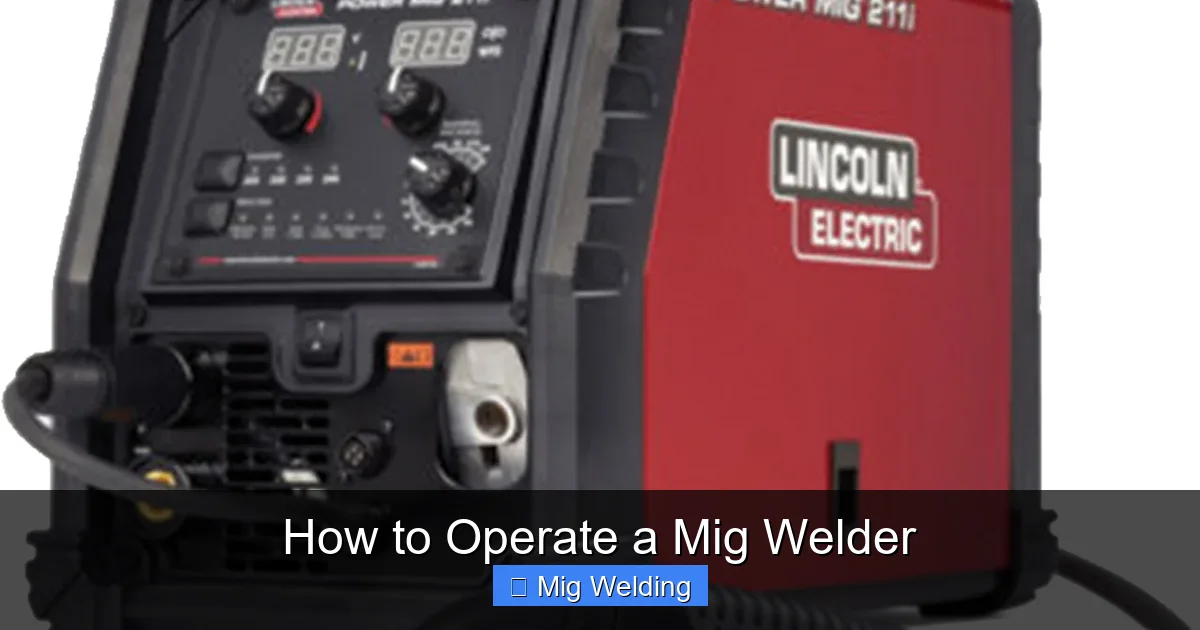
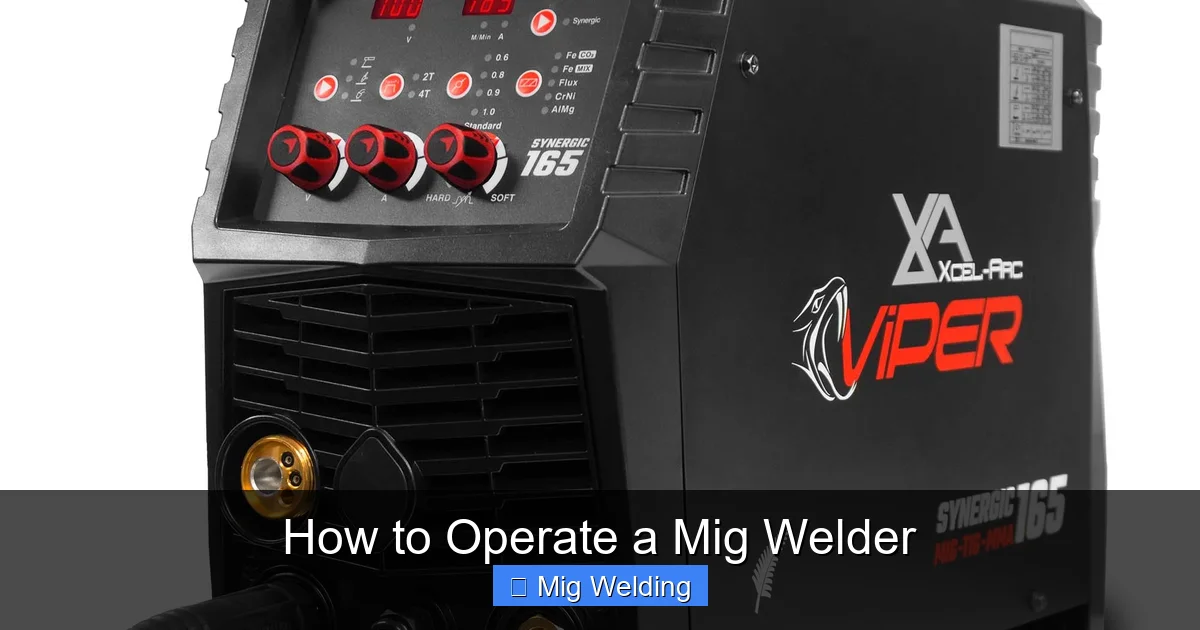
Set Your Power and Wire Feed Speed
Adjust the voltage and wire feed speed according to your material thickness and wire type. Refer to your welder’s manual for recommended settings. Start with lower settings and increase gradually.
Visual guide about How to Operate a Mig Welder
Image source: cdn11.bigcommerce.com
Visual guide about How to Operate a Mig Welder
Image source: centurytool.net
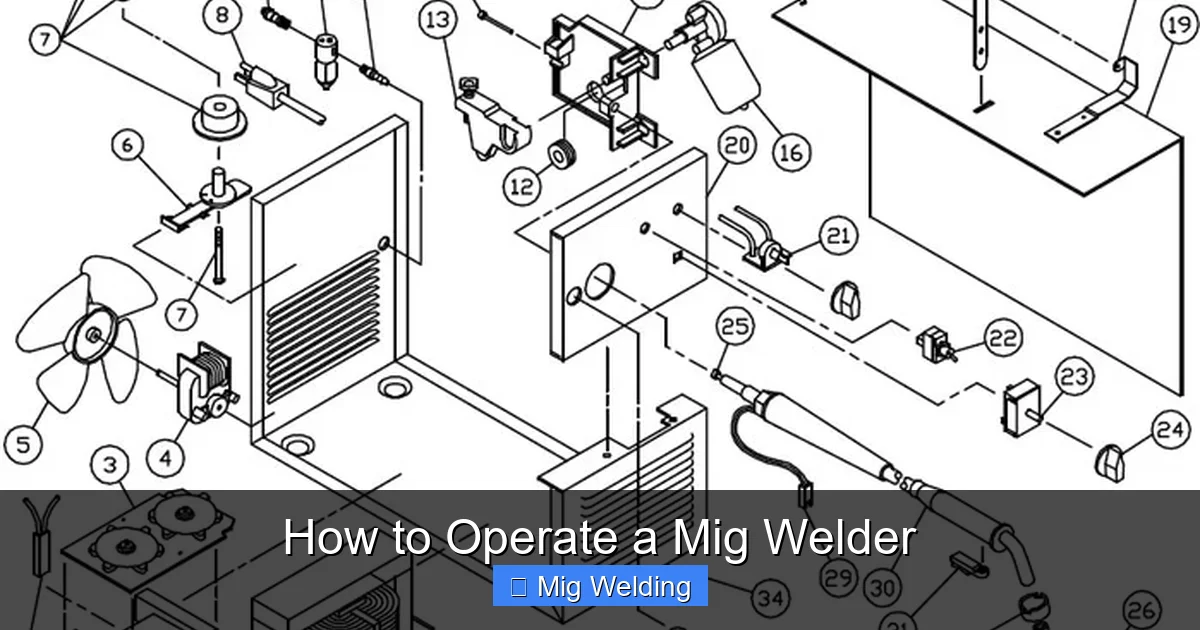
Connect Your Equipment
- Attach the gas hose to your gas cylinder and regulator.
- Connect the wire spool to the wire feed assembly.
- Plug in the welder and turn it on.
4. Prepare Your Metal Workpieces
- Clean the Surface: Remove rust, paint, oil, or dirt with a wire brush or grinder.
- Clamp the Pieces: Secure the metal pieces firmly so they don’t move during welding.
- Fit-up: Ensure the pieces are aligned properly for a strong weld.
5. Start Welding: Step-by-Step
Set Up the Gun and Position Yourself
- Hold the welding gun with a comfortable grip.
- Position yourself at a 15-20 degree angle from the workpiece.
- Maintain a steady hand and good posture.
Begin Welding
- Press the trigger to start the wire feed and create an arc.
- Maintain a consistent distance (about ¼ inch) from the wire to the workpiece.
- Move the gun smoothly along the joint, using a steady pace.
Control the Heat and Speed
- Move at a rate that allows the weld pool to form evenly.
- Adjust your speed if the weld is too narrow or too wide.
- Avoid stopping abruptly, which can cause weak spots.
6. Finishing and Cleaning
- Once done, release the trigger and allow the wire to retract.
- Let the weld cool naturally.
- Clean the weld area with a wire brush or grinder to remove slag or spatter.
7. Troubleshooting Common Welding Issues
- Porosity or holes: Check for drafts or contaminated gas; ensure the metal is clean.
- Inconsistent welds: Verify wire feed speed and voltage settings; keep a steady hand.
- Burn-through: Use lower heat or move faster on thin materials.
- Spatter: Adjust the wire feed or change the gas mixture.
Conclusion
Learning to operate a MIG welder takes practice, patience, and attention to safety. Start with small projects and gradually increase complexity as you gain confidence. Remember, proper setup, safety gear, and technique are key to achieving strong, clean welds. Keep practicing, and soon you’ll be welding like a pro!
Visual guide about How to Operate a Mig Welder
Image source: xcelarc.nz
Additional Tips for Successful MIG Welding
- Practice on scrap metal before working on your actual project.
- Maintain a consistent speed and angle to ensure uniform welds.
- Regularly check and replace worn parts like nozzles and contact tips.
- Stay relaxed and steady to avoid sudden movements.
