
MIG welding galvanized metal requires extra caution due to toxic zinc fumes, but with proper preparation and technique, it’s entirely doable. This guide walks you through safety, surface prep, welding settings, and post-weld cleanup for strong, clean welds.
Key Takeaways
- Safety first: Always weld galvanized metal in a well-ventilated area or with a fume extractor to avoid inhaling toxic zinc oxide fumes.
- Remove the zinc coating: Grind or sand the weld area to expose bare steel before welding to prevent porosity and weak joints.
- Use the right wire and gas: A 75% argon / 25% CO2 mix with ER70S-6 solid wire works best for galvanized steel.
- Adjust your MIG settings: Lower voltage and wire speed help prevent burn-through and control spatter on thin galvanized metal.
- Clean after welding: Brush or grind off zinc residue (“zinc smoke”) and apply a rust-inhibiting primer to protect the weld zone.
- Weld in short bursts: Use a stitch or backstep technique to manage heat and reduce warping.
- Test on scrap first: Practice on similar material to fine-tune your machine settings and technique.
How to MIG Weld Galvanized Metal
If you’ve ever tried welding galvanized metal, you know it can be tricky—and potentially dangerous—if you don’t take the right precautions. Galvanized steel is coated with a layer of zinc to prevent rust, which is great for durability but problematic during welding. When heated, zinc releases toxic fumes that can cause metal fume fever—a flu-like condition that’s no fun at all. But don’t worry: with the right approach, you can MIG weld galvanized metal safely and get strong, reliable results.
In this guide, you’ll learn everything you need to know—from safety gear and surface prep to machine settings and post-weld cleanup. Whether you’re fixing a trailer, building a metal frame, or working on automotive parts, these steps will help you weld galvanized steel like a pro.
Why Galvanized Metal Is Tricky to Weld
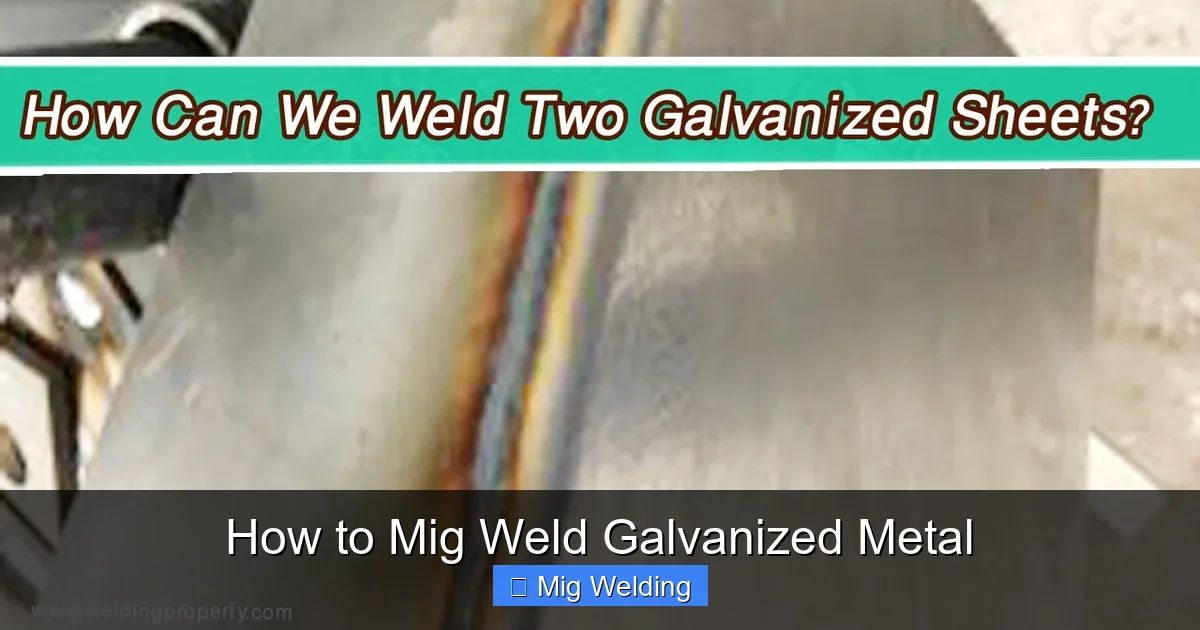
Visual guide about How to Mig Weld Galvanized Metal
Image source: weldingproperty.com
Galvanized steel is everywhere—fences, ductwork, vehicle frames, and HVAC systems—because the zinc coating protects against corrosion. But that same coating becomes a hazard when welding. Zinc has a much lower melting point (around 787°F) than steel (over 2,500°F), so it vaporizes quickly when exposed to the arc. This creates thick, white smoke full of zinc oxide particles.
Inhaling these fumes can cause metal fume fever, with symptoms like fever, chills, nausea, and muscle aches. Long-term exposure may lead to more serious respiratory issues. That’s why safety isn’t optional—it’s essential.
Additionally, the zinc layer can trap moisture and contaminants, leading to porosity, cracking, or weak welds if not properly removed. The key is preparation: remove the coating where you plan to weld, control your heat input, and clean up afterward.
Step 1: Safety First—Protect Yourself
Visual guide about How to Mig Weld Galvanized Metal
Image source: weldpundit.com
Before you even turn on your MIG welder, make sure you’re protected.
Wear Proper PPE
- Respirator or fume extractor: Use a NIOSH-approved respirator with organic vapor and particulate filters, or better yet, a powered air-purifying respirator (PAPR). If possible, weld near an industrial fume extractor or in a well-ventilated outdoor area.
- Welding helmet with auto-darkening lens: Protects your eyes from UV radiation and sparks.
- Fire-resistant clothing: Wear a welding jacket, gloves, and long sleeves to shield your skin from sparks and UV exposure.
- Closed-toe shoes: Leather boots are ideal to protect your feet from hot metal and spatter.
Work in a Safe Environment
- Avoid confined spaces where fumes can build up.
- Use fans to direct fumes away from your breathing zone—but don’t point them directly at the weld, as this can disrupt shielding gas.
- Keep a fire extinguisher nearby, especially if working near flammable materials.
Step 2: Prepare the Surface
Proper prep is the difference between a strong weld and a weak, porous mess.
Remove the Zinc Coating
Use an angle grinder with a flap disc or a wire brush to grind off the galvanized coating in the weld area—about 1–2 inches on either side of the joint. You want to expose clean, bare steel. This prevents zinc from contaminating the weld pool and reduces fume production.
Pro tip: Grind at a slight angle to avoid embedding zinc particles into the steel. A clean surface ensures better fusion and fewer defects.
Clean the Metal
After grinding, wipe the area with a clean cloth and acetone or a degreaser to remove oil, dirt, and residue. Any contamination can cause porosity or lack of fusion.
Check for Damage
Inspect the metal for cracks, warping, or thinning. Galvanized steel is often used in thin applications (like sheet metal), so be mindful of burn-through.
Step 3: Set Up Your MIG Welder
Using the right equipment and settings is crucial for success.
Choose the Right Wire and Gas
- Wire: Use ER70S-6 solid wire. It’s versatile, handles mild steel well, and works great on galvanized metal after coating removal.
- Shielding gas: A 75% argon / 25% CO2 mix (C25) is ideal. It provides good arc stability, low spatter, and deep penetration without excessive heat.
Adjust Your Machine Settings
Galvanized steel is often thin, so you’ll need lower heat to avoid burning through.
- Voltage: Start around 18–20 volts for 18-gauge steel. Increase slightly for thicker material.
- Wire speed: Set between 200–300 inches per minute (IPM). Too fast = spatter; too slow = weak arc.
- Stick-out: Keep the wire stick-out short (about ½ inch) for better control and gas coverage.
Example: For 16-gauge galvanized steel, try 19 volts and 250 IPM. Test on scrap first and adjust as needed.
Use the Right Technique
- Push vs. pull: Use a push technique (nozzle pointing in the direction of travel) for better visibility and reduced spatter.
- Travel speed: Move steadily—too slow causes burn-through; too fast leads to lack of fusion.
- Welding pattern: For long welds, use a stitch welding or backstep method to control heat buildup and minimize warping.
Step 4: Weld the Joint
Now it’s time to make the weld—carefully and consistently.
Start with a Test Weld
Always test on a piece of scrap galvanized metal with similar thickness. This helps you dial in your settings and practice your technique.
Maintain a Short Arc
Keep the arc tight and consistent. A short arc improves penetration and reduces spatter. If you hear a crackling sound, your arc is too long.
Watch for Zinc Residue
Even after grinding, some zinc may remain near the edges. You might see white smoke or a powdery residue (zinc oxide) forming around the weld. This is normal, but it can weaken the joint if not cleaned later.
Avoid Overheating
Galvanized steel conducts heat differently than bare steel. Use intermittent welding (stitch welding) on long seams to let the metal cool between passes. This prevents warping and burn-through.
Step 5: Post-Weld Cleanup and Protection
Your job isn’t done when the weld cools.
Remove Zinc Residue
Use a wire brush or grinder to clean off the white, powdery zinc oxide around the weld. This residue is corrosive and can lead to rust if left untreated.
Inspect the Weld
Check for:
- Porosity (tiny holes in the weld)
- Cracks or undercutting
- Lack of fusion
If you spot issues, grind them out and re-weld.
Apply Rust Protection
Since you’ve removed the galvanized coating, the weld area is now vulnerable to rust. Apply a rust-inhibiting primer or cold galvanizing spray (like zinc-rich paint) to protect the metal. Let it dry completely before painting or coating.
Troubleshooting Common Problems
Even with careful prep, issues can arise. Here’s how to fix them:
Porosity in the Weld
- Cause: Trapped zinc, moisture, or poor gas coverage.
- Fix: Ensure the coating is fully removed, clean the metal, and check your gas flow (aim for 20–25 CFH).
Burn-Through
- Cause: Too much heat on thin metal.
- Fix: Reduce voltage and wire speed. Use a copper backup bar to dissipate heat.
Excessive Spatter
- Cause: Incorrect voltage, wire speed, or stick-out.
- Fix: Lower voltage slightly, shorten stick-out, and ensure proper gas mix.
Weak or Cracked Welds
- Cause: Poor fusion due to contamination or incorrect technique.
- Fix: Re-clean the joint, adjust travel speed, and ensure full penetration.
Final Thoughts
MIG welding galvanized metal isn’t impossible—it just takes extra care. By prioritizing safety, removing the zinc coating, using the right settings, and protecting the weld afterward, you can achieve strong, durable results. Remember: always work in a ventilated area, wear proper PPE, and practice on scrap before tackling your main project.
With these steps, you’ll not only protect your health but also produce clean, professional-looking welds that stand the test of time. So grab your gear, prep your metal, and weld with confidence!