
This guide teaches you how to use gasless stainless steel MIG welding wire for strong, clean welds without needing external shielding gas. You’ll learn setup, technique, and common mistakes to avoid.
Key Takeaways
- Gasless welding uses flux-cored wire: This wire contains flux that creates its own shielding gas when heated, eliminating the need for external gas cylinders.
- Works best on outdoor or drafty jobs: Since no external gas is used, wind won’t blow away shielding, making it ideal for outdoor repairs and farm work.
- Requires proper polarity settings: Always set your MIG welder to DC electrode negative (DCEN) or reverse polarity for optimal performance with gasless wire.
- Clean metal is essential: Rust, paint, and oil prevent good fusion—always grind or wire brush the surface before welding.
- Use a push technique: Push the weld pool away from you (instead of pulling) to improve slag coverage and reduce spatter.
- Expect some slag cleanup: Unlike solid wire, gasless wire leaves slag that must be chipped and brushed off after welding.
- Not all stainless steel is the same: Match your wire type (e.g., 308L, 316L) to your base metal for corrosion resistance and strength.
What Is Gasless Stainless Steel MIG Welding Wire?
Gasless stainless steel MIG welding wire—also known as flux-cored stainless wire—is a self-shielding welding electrode designed to work without external shielding gas. Unlike traditional solid MIG wire that requires a constant flow of argon or argon-CO2 mix, this wire has a hollow core filled with flux compounds. When the arc melts the wire, the flux vaporizes and creates a protective gas shield around the weld pool. This makes it perfect for outdoor welding, mobile repairs, or any situation where dragging a gas cylinder isn’t practical.
This type of wire is especially useful for welding stainless steel in windy conditions, on farm equipment, or during field maintenance. While it doesn’t produce the ultra-clean, cosmetic welds of gas-shielded methods, it delivers strong, durable joints with minimal equipment setup.
Why Choose Gasless Stainless Steel Wire?
There are several compelling reasons to use gasless stainless steel MIG wire:
- Portability: No gas tank means you can weld almost anywhere—no need to refill or transport heavy cylinders.
- Wind resistance: Outdoor welding becomes far more reliable since wind won’t disrupt the shielding gas.
- Cost-effective: Eliminating gas costs can save money over time, especially for hobbyists or small shops.
- Ease of use: Great for beginners learning MIG welding, as it simplifies setup and reduces variables.
However, it’s important to note that gasless welding produces more spatter and slag than gas-shielded methods. The welds may also have slightly less corrosion resistance if not properly cleaned and post-weld treated. But for structural and functional applications, it’s a solid choice.
Tools and Materials You’ll Need
Before you start, gather the following:
- A MIG welder compatible with flux-cored wire (most modern MIG welders are)
- Gasless stainless steel flux-cored wire (common sizes: 0.035″ or 0.045″)
- Wire brush or grinder for cleaning metal
- Welding gloves, helmet, and protective clothing
- C-clamps or magnets to hold workpieces
- Chipping hammer and wire brush for slag removal
- Safety glasses and proper ventilation
Make sure your welder can handle the wire diameter you’ve chosen. Most home-use machines support 0.035″ wire, which is a great starting point.
Step-by-Step Guide to Gasless Stainless Steel MIG Welding
Step 1: Prepare Your Workpiece
Cleanliness is critical. Stainless steel is prone to contamination, and any dirt, oil, or rust will weaken the weld.
- Use a stainless steel wire brush (dedicated to stainless only—never use on carbon steel) to scrub the joint area.
- Remove paint, grease, or oxidation with a solvent if needed.
- Ensure tight fit-up—gaps larger than 1/16″ can cause burn-through or lack of fusion.
Step 2: Set Up Your Welder
Proper machine settings are key to success.
- Switch to flux-cored mode: Most MIG welders have a switch or setting for “flux” or “gasless.”
- Set polarity to DCEN (reverse polarity): This is crucial. Gasless wire requires electrode negative. Check your welder’s manual if unsure.
- Adjust voltage and wire speed: Start with the manufacturer’s recommended settings for your wire diameter and material thickness. For 1/8″ stainless steel, try 18–20 volts and medium wire speed.
- Load the wire: Feed the gasless wire into the liner, making sure it’s seated properly in the drive roll. Use U-groove or knurled drive rolls designed for flux-cored wire.
Step 3: Choose the Right Technique
Gasless welding works best with a push technique—point the gun slightly ahead of the weld pool and push it forward.
- Hold the gun at a 10–15 degree angle.
- Maintain a short stick-out (about 1/2″ from the contact tip to the metal).
- Move steadily—too slow causes buildup; too fast leads to lack of penetration.
For flat joints, use a straight bead or slight weave. For vertical welding, weld upward with a slight oscillation to control the pool.
Step 4: Start Welding
Begin with a test weld on scrap metal to fine-tune your settings.
- Strike the arc by tapping the gun against the metal or using the trigger.
- Listen for a steady, crackling sound—this indicates good arc stability.
- If you hear popping or see excessive spatter, reduce voltage or wire speed slightly.
Keep the weld pool small and controlled. Stainless steel conducts heat poorly, so it’s easy to overheat and warp thin material. Use intermittent welding or allow cooling between passes if needed.
Step 5: Clean the Weld
After welding, you’ll notice a layer of slag covering the bead.
- Wait a few seconds for the slag to cool slightly.
- Use a chipping hammer to knock off the slag.
- Follow up with a stainless steel wire brush to remove any residue.
- Inspect the weld for cracks, porosity, or incomplete fusion.
Proper cleaning improves appearance and corrosion resistance. Never skip this step—trapped slag can lead to rust over time.
Troubleshooting Common Issues
Porosity (holes in the weld)
This is usually caused by contamination or moisture. Make sure your base metal is clean and dry. Also, check that your wire hasn’t absorbed moisture—store it in a dry place.

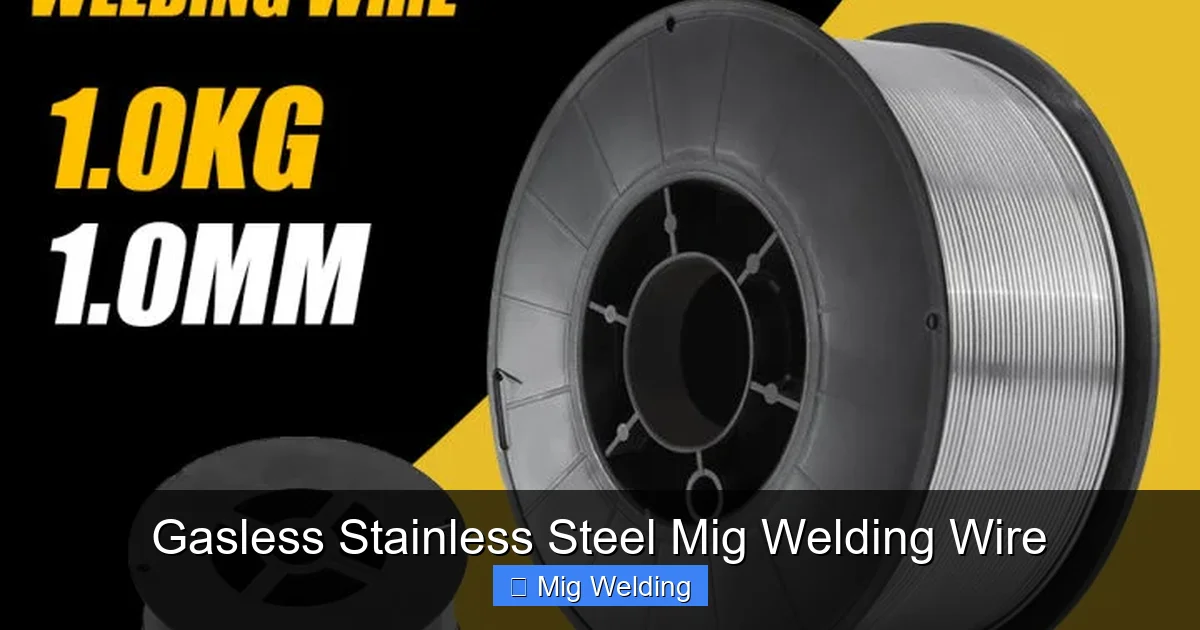
Visual guide about Gasless Stainless Steel Mig Welding Wire
Image source: 5.imimg.com
Visual guide about Gasless Stainless Steel Mig Welding Wire
Image source: img.lazcdn.com
Excessive Spatter
Too much spatter often means incorrect voltage or wire speed. Try lowering the voltage slightly or increasing travel speed. Also, ensure you’re using the correct polarity (DCEN).
Lack of Fusion
If the weld isn’t bonding to the base metal, your settings may be too low, or you’re moving too fast. Increase voltage or slow down. Also, double-check that the metal is clean.
Wire Feeding Problems
If the wire jams or birds-nests, check your drive rolls—use the correct type for flux-cored wire. Also, inspect the liner for wear or kinks.
Weld Discoloration
Stainless steel can discolor (turn blue or brown) if overheated. This reduces corrosion resistance. Use lower heat input, shorter welds, or consider post-weld passivation with a stainless cleaner.
Safety Tips
Welding involves heat, sparks, UV light, and fumes—always prioritize safety.
- Wear a welding helmet with auto-darkening lens (shade 10–13).
- Use flame-resistant clothing, gloves, and closed-toe shoes.
- Work in a well-ventilated area—stainless steel fumes can contain chromium, which is hazardous when inhaled.
- Keep a fire extinguisher nearby, especially when welding near flammable materials.
- Never weld on containers that may have held flammable substances.
When Not to Use Gasless Stainless Wire
While versatile, gasless wire isn’t ideal for every job.
- High-precision or cosmetic welds: For visible joints (like kitchen sinks or railings), gas-shielded MIG or TIG welding gives cleaner results.
- Thin materials under 18 gauge: Gasless wire runs hotter and can burn through thin stainless steel.
- Critical structural applications: In aerospace or medical devices, gas-shielded methods are preferred for maximum integrity.
For most DIY, repair, and outdoor projects, however, gasless stainless wire is a reliable and convenient option.
Conclusion
Gasless stainless steel MIG welding wire offers a practical solution for welding stainless steel without the hassle of shielding gas. With the right setup, technique, and safety practices, you can produce strong, durable welds suitable for a wide range of applications. Remember to clean your metal, set your welder to DCEN, use a push technique, and always remove slag after welding. While it may not replace gas-shielded methods for fine work, it’s an excellent tool for field repairs, farm equipment, and hobby projects. With practice, you’ll gain confidence and consistency—making gasless welding a valuable skill in your welding toolkit.