
This guide explains how to set up argon gas for MIG welding with clear steps, ideal flow rates, and troubleshooting tips. You’ll learn why argon is essential and how to avoid common mistakes for professional-grade welds.
Key Takeaways
- Argon is the most common shielding gas for MIG welding because it creates a stable arc and clean welds, especially on non-ferrous metals like aluminum.
- Use a 75% argon / 25% CO2 mix for steel to balance penetration, arc stability, and reduced spatter.
- Set your gas flow rate between 20–30 CFH (cubic feet per hour) for most applications—too low causes porosity, too high wastes gas and disrupts the arc.
- Always perform a gas leak test before welding to ensure safety and proper shielding coverage.
- Use 100% argon for aluminum welding to prevent oxidation and achieve smooth, strong welds.
- Check your regulator and hose connections regularly—loose fittings or damaged hoses can ruin your shielding gas performance.
- Adjust settings based on environment: windy or drafty areas may require higher flow rates or a welding tent for protection.
What Is Argon Gas and Why Is It Used in MIG Welding?
If you’re new to MIG welding, you might wonder why gas matters so much. The truth is, shielding gas is just as important as your machine settings. Without it, your weld pool reacts with oxygen and nitrogen in the air, leading to weak, porous, and ugly welds.
Argon is a noble gas, meaning it doesn’t react easily with other elements. This makes it perfect for protecting the molten weld pool from contamination. In MIG welding, argon is used alone or mixed with other gases like CO2 or oxygen, depending on the material you’re welding.
For example, pure argon is ideal for welding aluminum, while a blend of argon and CO2 works best for steel. Argon helps create a smooth, stable arc, reduces spatter, and improves bead appearance. It’s no surprise that it’s the go-to gas for both beginners and professionals.
Choosing the Right Argon Gas Mix for Your Project
Not all argon gas is the same—what matters is the mixture. Here’s a quick breakdown of the most common argon blends and when to use them:
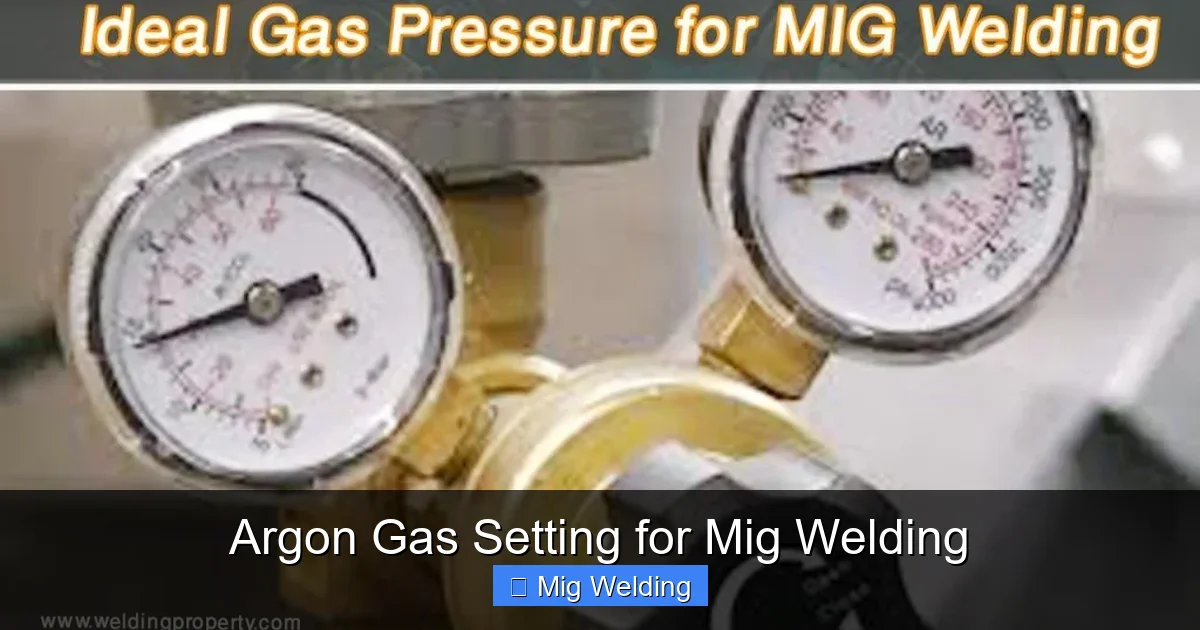
Visual guide about Argon Gas Setting for Mig Welding
Image source: weldingproperty.com
100% Argon
This is the best choice for welding aluminum and other non-ferrous metals. Pure argon provides excellent arc stability and prevents oxidation, which is critical when working with reactive metals. It also produces a cleaner, more controlled weld pool, making it easier to manage thin materials.
75% Argon / 25% CO2 (C25)
This is the most popular mix for welding mild steel. The CO2 adds deeper penetration and helps stabilize the arc, while argon keeps spatter low and improves weld appearance. It’s a great all-around choice for automotive, fabrication, and home projects.
90% Argon / 10% CO2
A softer mix that’s ideal for thin steel or when you want minimal spatter. It offers good arc control and is often used in precision welding or when appearance matters more than deep penetration.
98% Argon / 2% Oxygen
Used mainly in industrial settings for stainless steel welding, this mix improves arc stability and wetting action. However, it’s less common for hobbyists and requires careful handling due to oxygen’s reactivity.
Pro Tip: Always check your welding wire manufacturer’s recommendations. Some flux-cored wires don’t require external gas at all, but for solid wire MIG welding, argon-based mixes are essential.
How to Set Up Your Argon Gas for MIG Welding
Now that you know which gas to use, let’s walk through the setup process step by step. Proper setup ensures consistent shielding and high-quality welds.
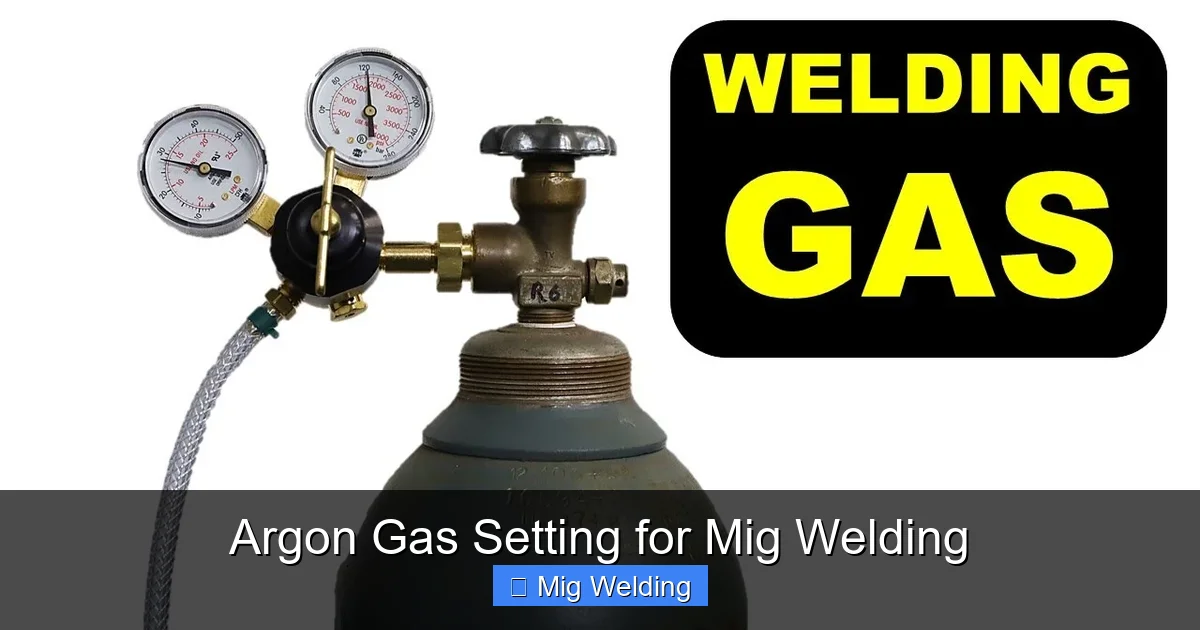
Visual guide about Argon Gas Setting for Mig Welding
Image source: i.ytimg.com
Step 1: Inspect Your Gas Cylinder and Regulator
Before connecting anything, make sure your argon cylinder is securely fastened in an upright position. Check for damage, rust, or leaks. Then, inspect the regulator—look for cracks, worn seals, or loose parts.
Attach the regulator to the cylinder valve and tighten it by hand, then use a wrench for a snug fit. Never overtighten, as this can damage the threads.
Step 2: Connect the Gas Hose
Connect the gas hose from the regulator to your MIG welder’s gas inlet. Make sure the connection is tight and secure. Use hose clamps if necessary to prevent leaks.
Run a quick visual check along the entire length of the hose. Look for kinks, cracks, or wear that could restrict gas flow.
Step 3: Set the Gas Flow Rate
This is where many beginners go wrong. The ideal argon gas flow rate for MIG welding is between 20 and 30 CFH (cubic feet per hour). Start at 25 CFH and adjust based on your environment and material.
To set the flow:
- Open the cylinder valve slowly.
- Turn the regulator knob to adjust pressure—most regulators show both tank pressure and flow rate.
- Watch the flow meter (usually a float ball in a glass tube) and set it to your desired CFH.
Example: If you’re welding aluminum indoors with no drafts, 22 CFH is a great starting point. For outdoor welding or windy conditions, you might need to increase it to 28–30 CFH.
Step 4: Perform a Gas Leak Test
Before you strike an arc, always test for leaks. Mix a small amount of dish soap with water and apply it to all connections—cylinder valve, regulator, hose fittings, and welder inlet.
Open the gas and watch for bubbles. If you see any, tighten the connection or replace the faulty part. Even a small leak can ruin your weld by allowing air into the shielding zone.
Step 5: Purge the Line
Turn on the gas and let it flow for 10–15 seconds before welding. This purges any air from the hose and ensures pure argon reaches the weld area.
Some welders have a “gas test” button—press it to verify flow without striking an arc.
Tips for Optimizing Argon Gas Performance
Even with the right settings, environmental factors can affect your gas shielding. Here are some practical tips to get the best results:
Use a Welding Tent or Windbreak
If you’re welding outdoors or in a drafty garage, wind can blow away your shielding gas. Use a portable welding tent or build a simple windbreak with welding screens. This keeps the argon blanket intact over the weld pool.
Keep Your Nozzle Clean
Spatter buildup inside the gas nozzle can block gas flow. Clean it regularly with a nozzle cleaning tool or compressed air. A clogged nozzle leads to uneven shielding and porosity.
Position the Gun Correctly
Hold the MIG gun at a 10–15 degree angle and keep the nozzle ½ to ¾ inch from the workpiece. This ensures the gas covers the weld pool effectively. Too far away, and the gas dissipates; too close, and you risk blocking flow with spatter.
Monitor Gas Usage
Argon cylinders can last a long time, but it’s easy to forget to check the pressure. Keep a log of usage or mark the cylinder with tape to track how much gas remains. Running out mid-weld can ruin your project.
Troubleshooting Common Argon Gas Issues
Even experienced welders run into gas-related problems. Here’s how to fix the most common ones:
Porosity in the Weld
If your weld looks like Swiss cheese, it’s likely due to inadequate shielding. Causes include:
- Low gas flow rate
- Leaks in the system
- Wind or drafts
- Dirty base metal
Solution: Increase gas flow, check for leaks, clean the metal, and shield the area from air movement.
Excessive Spatter
While argon reduces spatter, too much can still be a problem. This often happens with incorrect voltage or wire speed, but poor gas coverage can also contribute.
Solution: Double-check your gas flow and ensure the nozzle is clean and properly positioned.
Weak or Inconsistent Arc
A shaky arc can result from gas contamination or incorrect mix. If you’re using the right blend and still have issues, check for air leaks or a faulty regulator.
Solution: Perform a leak test and replace any damaged components.
Gas Not Flowing
If no gas comes out when you pull the trigger, check:
- Is the cylinder valve open?
- Is the regulator set correctly?
- Is the hose kinked or blocked?
Solution: Open the valve fully, adjust the regulator, and inspect the hose.
Conclusion
Setting up argon gas for MIG welding doesn’t have to be complicated. By choosing the right gas mix, setting the correct flow rate, and maintaining your equipment, you’ll achieve cleaner, stronger, and more professional welds.
Remember: argon is your weld’s best friend—it protects, stabilizes, and enhances. Whether you’re welding steel or aluminum, take the time to set up your gas properly. Your results will speak for themselves.
With this guide, you’re ready to tackle any MIG welding project with confidence. Happy welding!