
Arc and MIG welding are two popular techniques, each with unique strengths. This guide breaks down their differences, setup processes, and best uses to help you pick the right method for your welding needs.
Key Takeaways
- Arc welding uses a stick electrode and is great for outdoor or heavy-duty jobs. It’s durable and works well on rusty or dirty metal.
- MIG welding uses a wire feed and shielding gas, making it faster and easier for beginners. It produces cleaner welds with less cleanup.
- Arc welding is more portable and works without electricity in some cases. It’s ideal for construction and repair work.
- MIG welding offers better control and speed for thin materials. It’s perfect for automotive and home projects.
- Arc welding requires more skill to master due to arc blow and slag cleanup. Practice is key to getting consistent results.
- MIG welding needs a gas supply and clean metal for best results. It’s less forgiving on dirty surfaces.
- Choose arc for tough conditions and MIG for precision and speed. Your project type and experience level matter most.
Introduction: Arc vs MIG Welding – What You’ll Learn
If you’re new to welding or trying to decide between arc and MIG welding, you’re in the right place. Both methods are widely used, but they work very differently. In this guide, we’ll walk you through the basics of each process, compare their pros and cons, and help you choose the best option for your project. Whether you’re fixing a fence, building a car part, or working on a construction site, knowing the difference between arc and MIG welding can save you time, money, and frustration.
By the end of this guide, you’ll understand how each method works, what equipment you need, and when to use one over the other. We’ll also share practical tips and troubleshooting advice to help you get the best results—no matter your skill level.
What Is Arc Welding?
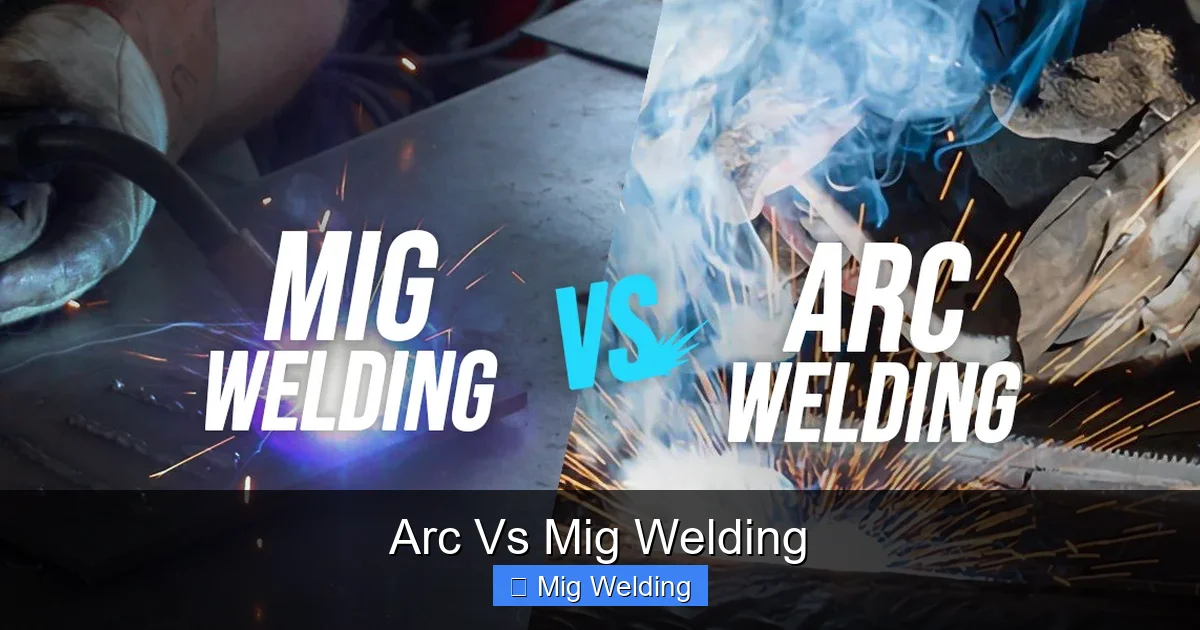
Visual guide about Arc Vs Mig Welding
Image source: weldingwatch.com
Arc welding, also known as Shielded Metal Arc Welding (SMAW) or “stick” welding, is one of the oldest and most reliable welding methods. It uses a consumable electrode (the “stick”) that melts to form the weld. The electrode is coated in flux, which creates a protective gas shield around the weld pool and forms slag to protect the cooling metal.
How Arc Welding Works
When you strike an arc between the electrode and the metal, it creates intense heat—over 6,000°F. This melts both the electrode and the base metal, fusing them together. As the weld cools, the flux turns into a brittle layer called slag, which must be chipped off afterward.
Common Uses for Arc Welding
Arc welding is popular in construction, pipeline work, and heavy machinery repair. It’s great for thick metals and works well outdoors because it’s less affected by wind. It’s also commonly used on rusty or painted surfaces where other methods might fail.
Pros and Cons of Arc Welding
- Pros: Works on dirty or rusty metal, portable, no need for external gas, good for thick materials.
- Cons: Slower than MIG, requires slag cleanup, harder to learn, produces more spatter.
What Is MIG Welding?
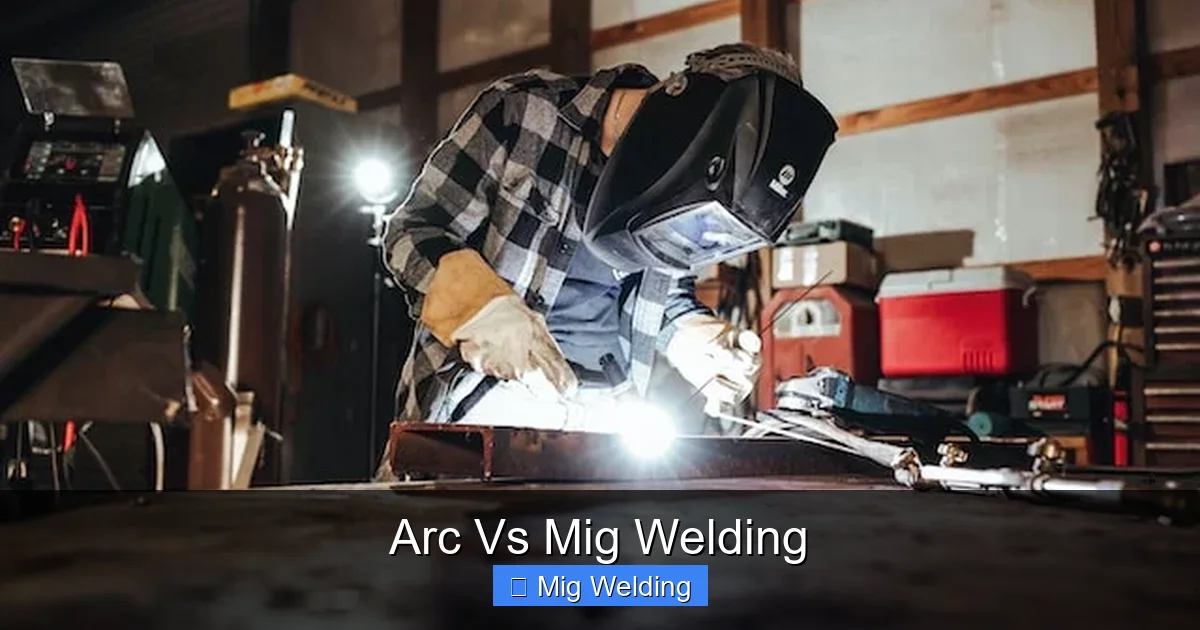
Visual guide about Arc Vs Mig Welding
Image source: welderstream.com
MIG welding, or Gas Metal Arc Welding (GMAW), uses a continuous wire electrode fed through a welding gun. A shielding gas (usually argon or a mix) protects the weld from contamination. MIG is known for its speed, ease of use, and clean results.
How MIG Welding Works
The welding machine feeds a thin wire from a spool through the gun and into the weld pool. At the same time, shielding gas flows around the arc to prevent oxygen and nitrogen from ruining the weld. The result is a smooth, strong bond with minimal cleanup.
Common Uses for MIG Welding
MIG welding is ideal for automotive repair, fabrication, and home DIY projects. It works best on thin to medium-thickness metals like steel, stainless steel, and aluminum. Because it’s fast and precise, it’s a favorite in workshops and manufacturing.
Pros and Cons of MIG Welding
- Pros: Fast, easy to learn, clean welds, great for thin metals, minimal slag.
- Cons: Needs clean metal, requires gas supply, less effective in wind, more equipment needed.
Step-by-Step: How to Set Up for Arc Welding
Setting up for arc welding is straightforward, but it requires attention to safety and equipment.
Step 1: Gather Your Equipment
You’ll need:
- Arc welder (stick welder)
- Electrodes (e.g., 6011 or 7018)
- Welding helmet with auto-darkening lens
- Heavy-duty gloves and flame-resistant clothing
- Chipping hammer and wire brush
- C-clamps or magnets to hold metal in place
Step 2: Prepare the Metal
Clean the surface as much as possible. Remove rust, paint, or grease with a wire brush or grinder. Clamp the pieces securely to prevent movement.
Step 3: Set the Welder
Choose the right electrode and set the amperage according to the electrode size and metal thickness. For example, a 1/8-inch 7018 electrode typically runs at 90–130 amps.
Step 4: Strike the Arc
Hold the electrode at a 15–20 degree angle. Tap it against the metal like striking a match, then lift slightly to create the arc. Move steadily along the joint.
Step 5: Clean the Weld
After welding, let the slag cool, then chip it off with a hammer and brush the area clean.
Step-by-Step: How to Set Up for MIG Welding
MIG welding setup is a bit more involved due to the gas and wire feed system.
Step 1: Gather Your Equipment
You’ll need:
- MIG welder with wire feed
- Wire spool (e.g., ER70S-6 for steel)
- Shielding gas (75% argon / 25% CO2 for steel)
- Welding helmet, gloves, and protective clothing
- Wire brush or grinder
- C-clamps or magnets
Step 2: Prepare the Metal
MIG welding needs clean metal. Remove rust, paint, and oil. Even small contaminants can cause porosity or weak welds.
Step 3: Load the Wire and Gas
Insert the wire spool and thread the wire through the liner into the gun. Connect the gas cylinder and open the valve. Set the flow rate to 20–25 CFH.
Step 4: Adjust Settings
Set voltage and wire speed based on metal thickness. Most machines have a chart inside the door. For 1/8-inch steel, start with 18 volts and medium wire speed.
Step 5: Weld with a Steady Hand
Hold the gun at a 10–15 degree angle and push (not pull) along the joint. Keep a consistent travel speed for even beads.
Step 6: Inspect and Clean
Check for smooth, consistent welds. There should be little to no slag—just a light spatter that’s easy to remove.
Arc vs MIG Welding: Side-by-Side Comparison
Let’s compare the two methods across key factors:
- Ease of Use: MIG is easier for beginners. Arc requires more skill to control the arc and manage slag.
- Speed: MIG is faster due to continuous wire feed. Arc requires frequent electrode changes.
- Portability: Arc wins here. No gas tanks or complex setups—just a welder and electrodes.
- Material Thickness: Arc handles thick metals better. MIG is best for thin to medium materials.
- Outdoor Use: Arc works well in wind. MIG struggles without wind protection.
- Cost: Arc welders are cheaper. MIG setups cost more due to gas and wire.
- Weld Quality: MIG produces cleaner, smoother welds. Arc welds are strong but rougher.
Practical Tips for Better Results
No matter which method you choose, these tips will help you weld like a pro.
For Arc Welding:
- Practice your arc strike on scrap metal before starting.
- Keep the arc short—about the diameter of the electrode.
- Use a weaving motion for wider beads on thick materials.
- Always clean slag thoroughly to avoid cracking.
For MIG Welding:
- Keep the gun nozzle clean to ensure proper gas flow.
- Use a drag technique for stronger penetration.
- Adjust wire stick-out to 3/8 inch for best results.
- Store wire in a dry place to prevent rust.
Troubleshooting Common Problems
Even experienced welders run into issues. Here’s how to fix common problems.
Arc Welding Issues
- Arc Blow: The arc wanders due to magnetic fields. Try changing your ground clamp position or use AC current.
- Porosity: Caused by moisture or wind. Use dry electrodes and shield the weld area.
- Undercut: A groove along the weld edge. Reduce amperage or slow your travel speed.
MIG Welding Issues
- Wire Burnback: Wire melts into the tip. Increase wire speed or check for clogged liner.
- Porosity: Often from dirty metal or low gas flow. Clean the metal and check gas connections.
- Spatter: Caused by high voltage or wrong wire speed. Adjust settings and use anti-spatter spray.
When to Choose Arc vs MIG Welding
Your project type and environment should guide your choice.
- Choose Arc Welding If: You’re working outdoors, on thick or dirty metal, or need a portable setup. Great for structural work, farms, or repair jobs.
- Choose MIG Welding If: You’re working indoors, on thin materials, or want fast, clean welds. Ideal for automotive, DIY, or fabrication projects.
Conclusion: Making the Right Choice
Arc and MIG welding each have their place in the welding world. Arc is tough, versatile, and perfect for harsh conditions. MIG is fast, clean, and beginner-friendly. The best choice depends on your project, skill level, and workspace.
If you’re just starting out, MIG welding is often the easier path. But if you’re tackling heavy-duty jobs or working in remote areas, arc welding might be your best bet. Many welders eventually learn both—because having options makes you more capable and confident.
No matter which method you choose, practice makes perfect. Start with scrap metal, follow safety rules, and keep learning. With time, you’ll develop the skills to handle any welding challenge.