

This guide teaches you how to MIG weld using flux cored wire, a versatile method ideal for outdoor projects and thick materials. You’ll learn setup, technique, and troubleshooting to achieve strong, clean welds every time.
Key Takeaways
- Flux cored wire doesn’t require external shielding gas in most cases, making it great for windy or outdoor welding.
- Use the right polarity—flux cored wire typically runs on DC electrode negative (DCEN) for best results.
- Adjust your MIG welder settings based on material thickness and wire diameter for optimal penetration and bead appearance.
- Maintain a consistent travel speed and angle to avoid porosity, undercutting, or weak welds.
- Clean your base metal thoroughly before welding to prevent contamination and ensure strong fusion.
- Choose the right flux cored wire—E71T-11 is common for general use, while E71T-8 suits higher-strength applications.
- Always wear proper safety gear, including a welding helmet, gloves, and flame-resistant clothing.
What Is MIG Welding with Flux Cored Wire?
MIG welding with flux cored wire combines the ease of MIG (Metal Inert Gas) welding with the versatility of flux-cored arc welding (FCAW). Unlike solid MIG wire, flux cored wire has a hollow core filled with flux—similar to the coating on stick electrodes. This flux creates its own shielding gas when heated, protecting the weld pool from contamination.
This method is especially useful when welding outdoors or in drafty environments where traditional MIG shielding gas might get blown away. It’s also excellent for welding thicker materials, rusty or dirty steel, and projects where setting up gas cylinders isn’t practical.
In this guide, you’ll learn how to set up your welder, choose the right wire, and master the technique for strong, professional-looking welds—even if you’re a beginner.
Choosing the Right Flux Cored Wire
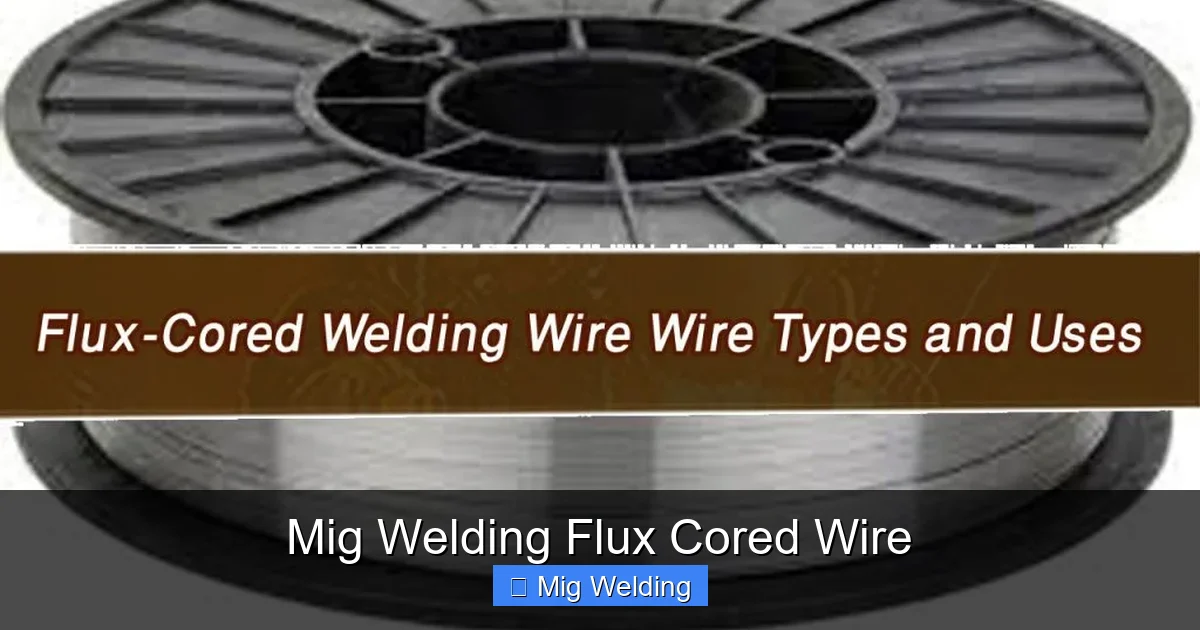
Visual guide about Mig Welding Flux Cored Wire
Image source: weldingproperty.com
Not all flux cored wires are the same. The type you choose depends on your project, material, and welding position.
Common Types of Flux Cored Wire
- E71T-11: Ideal for general-purpose welding on mild steel. Works well in flat and horizontal positions and doesn’t require external gas. Great for beginners.
- E71T-8: Offers deeper penetration and higher tensile strength. Suitable for structural steel and heavy-duty applications. Also gasless.
- Dual-shield wires (e.g., E71T-1): Require external shielding gas (usually 75% argon / 25% CO2) for cleaner, stronger welds. Best for indoor, high-quality work.
For most DIYers and hobbyists, E71T-11 is the go-to choice. It’s forgiving, easy to use, and works well on common materials like car panels, trailers, and farm equipment.
Wire Diameter Matters
Flux cored wire comes in various diameters, typically ranging from 0.030″ to 0.045″.
- 0.030″: Best for thin materials (18–14 gauge). Offers better control and less heat input.
- 0.035″: A versatile middle ground—good for 14–11 gauge steel.
- 0.045″: Ideal for thicker materials (1/8″ and up). Delivers more power and penetration.
Match your wire diameter to your material thickness for the best results.
Setting Up Your MIG Welder for Flux Cored Wire
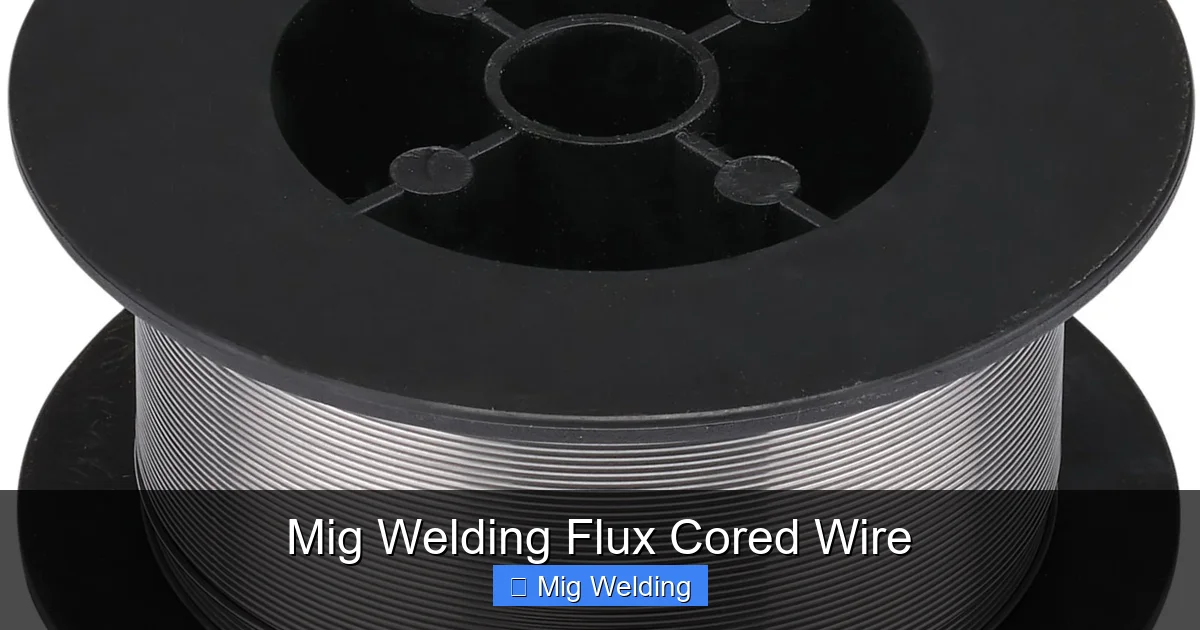
Visual guide about Mig Welding Flux Cored Wire
Image source: static.rapidonline.com
Before you strike an arc, your welder needs the right setup. Here’s how to do it step by step.
Step 1: Switch to Flux Cored Mode
Most modern MIG welders have a switch or setting for flux cored welding. This changes the polarity and often the wire feed mechanism.
- Turn off the welder.
- Locate the polarity switch or terminal connections.
- Set the welder to DC electrode negative (DCEN)—this is crucial. Flux cored wire runs on negative polarity, unlike solid wire which uses DC positive.
If your welder doesn’t have a switch, you may need to reverse the electrode and work leads manually.
Step 2: Install the Flux Cored Wire
Flux cored wire is stiffer than solid wire, so proper feeding is essential.
- Open the wire feeder cover and remove any old wire.
- Cut the end of the new spool cleanly with wire cutters.
- Feed the wire through the guide tube and into the drive rolls.
- Use the correct drive roll groove—usually labeled “V” or “U” for flux cored. Avoid knurled rolls, which can crush the soft wire.
- Close the feeder and turn on the welder. Press the trigger to feed wire until it comes out of the gun.
Tip: Keep the wire spool upright and free-spinning to prevent tangling.
Step 3: Adjust Voltage and Wire Speed
These settings depend on your material thickness and wire diameter. Most welders have a chart inside the door.
- Start with the recommended voltage and wire feed speed (WFS) for your setup.
- For example, 0.035″ wire on 1/8″ steel might use 18–20 volts and 200–250 inches per minute (IPM).
- Make a test weld on scrap metal and adjust as needed.
Too little voltage causes a cold, lumpy weld. Too much creates excessive spatter and burn-through.
Step 4: Skip the Gas (Unless Using Dual-Shield)
Most flux cored wires are “self-shielding,” meaning they don’t need external gas. Simply leave the gas cylinder off and close the valve.
Only use gas if you’re welding with a dual-shield wire. In that case, use 75% argon / 25% CO2 at 20–25 CFH.
Preparing Your Workpiece
Good welds start with clean metal. Even flux cored welding can fail on dirty or oily surfaces.
Clean the Base Metal
- Use a wire brush or grinder to remove rust, paint, oil, and mill scale.
- Wipe the area with a clean rag and acetone if needed.
- For best results, grind a small bevel on thick joints to improve penetration.
Flux helps with minor contamination, but it’s not magic—clean metal = strong welds.
Clamp and Fit-Up
Secure your pieces with clamps or magnets. Gaps larger than 1/16″ can cause burn-through or lack of fusion. Use tack welds to hold everything in place.
Welding Technique: How to MIG Weld with Flux Cored Wire
Now for the fun part—making the weld. Technique makes all the difference.
Gun Angle and Position
- Hold the gun at a 10–15 degree push angle (pointing slightly in the direction of travel). This helps the flux shield the weld pool.
- Keep the nozzle ½” to ¾” away from the workpiece.
- For flat and horizontal welds, use a drag or backhand technique—pulling the gun toward you.
Avoid a steep angle or side-to-side weaving unless you’re filling a wide gap.
Travel Speed and Movement
- Move at a steady, consistent pace. Too slow = excessive heat and warping. Too fast = lack of fusion.
- Use a slight side-to-side motion (called “walking the cup”) for wider beads on thick materials.
- Keep the arc on the leading edge of the puddle—don’t let it lag behind.
Tip: Listen to the arc. A smooth, crackling sound means you’re on track. Sputtering or popping indicates issues.
Starting and Stopping the Arc
- Start the arc by tapping the gun against the metal or using a scratch start.
- Begin welding just before the joint and move into it smoothly.
- At the end, pause briefly to fill the crater, then release the trigger.
Avoid stopping in the middle of a weld—it can create a weak spot.
Troubleshooting Common Problems
Even with the best setup, issues can happen. Here’s how to fix them.
Porosity (Holes in the Weld)
Caused by trapped gas. Fix it by:
- Cleaning the base metal better.
- Reducing travel speed to let gas escape.
- Checking for wind or drafts that disrupt the flux shield.
Excessive Spatter
Usually due to high voltage or incorrect wire speed.
- Lower the voltage slightly.
- Increase wire feed speed.
- Ensure proper gun angle and distance.
Lack of Fusion
The weld isn’t bonding to the base metal.
- Increase voltage or slow down.
- Make sure you’re not too far ahead of the puddle.
- Check that polarity is set to DCEN.
Wire Feeding Problems
If the wire jams or birdnests:
- Check for proper drive roll type and tension.
- Ensure the liner is clean and not kinked.
- Use a high-quality spool that unwinds smoothly.
Safety Tips You Can’t Ignore
Welding is safe when done right—but only if you respect the risks.
- Always wear a welding helmet with auto-darkening lens (shade 10–13).
- Use flame-resistant clothing—no synthetic fabrics.
- Wear leather gloves and closed-toe shoes.
- Work in a well-ventilated area—flux fumes can be harmful.
- Keep a fire extinguisher nearby and remove flammable materials.
Never skip safety. A few seconds of protection can prevent serious injury.
Conclusion
MIG welding with flux cored wire is a powerful, flexible method that works well for everything from farm repairs to automotive projects. By choosing the right wire, setting up your welder correctly, and using proper technique, you can produce strong, clean welds—even outdoors or on dirty metal.
Start with a quality E71T-11 wire, keep your metal clean, and practice on scrap pieces until your beads look smooth and consistent. With a little patience, you’ll master flux cored welding and expand your DIY capabilities.
Remember: great welding is 10% equipment and 90% practice. So grab your helmet, fire up the welder, and start building something awesome.