

This guide explains whether to push or pull when MIG welding and when each method works best. You’ll learn how travel angle, material type, and weld quality are affected by your technique.
Key Takeaways
- Pull (Drag) Technique: Most common in MIG welding, especially for beginners. Offers better visibility and deeper penetration on steel.
- Push Technique: Used for thin materials or when minimizing distortion is key. Provides a flatter, wider bead with less spatter.
- Material Thickness Matters: Thick steel benefits from pulling; thin sheets often require pushing to avoid burn-through.
- Weld Appearance vs. Strength: Pulling gives deeper fusion; pushing gives cleaner, flatter beads ideal for cosmetic work.
- Gun Angle is Crucial: Maintain a 10–15 degree angle whether pushing or pulling for optimal shielding gas coverage.
- Aluminum Requires Special Care: Push technique is preferred for aluminum to reduce porosity and improve gas shielding.
- Practice Both Methods: Mastering both push and pull lets you adapt to different welding situations and materials.
Do You Push or Pull MIG Welding? A Complete How-To Guide
If you’re new to MIG welding—or even if you’ve been at it for a while—you’ve probably asked yourself: *Should I push or pull the welding gun?* It’s one of the most common questions in the welding world, and for good reason. The direction you move the MIG gun—whether you push it away from you or pull it toward you—can dramatically affect your weld quality, penetration, appearance, and even safety.
In this guide, we’ll break down the push vs. pull debate in MIG welding, explain when to use each technique, and give you step-by-step instructions to help you choose the right method for your project. Whether you’re welding thick steel for a trailer frame or thin aluminum for a custom car part, knowing when to push or pull will make you a more confident and skilled welder.
Understanding Push vs. Pull in MIG Welding
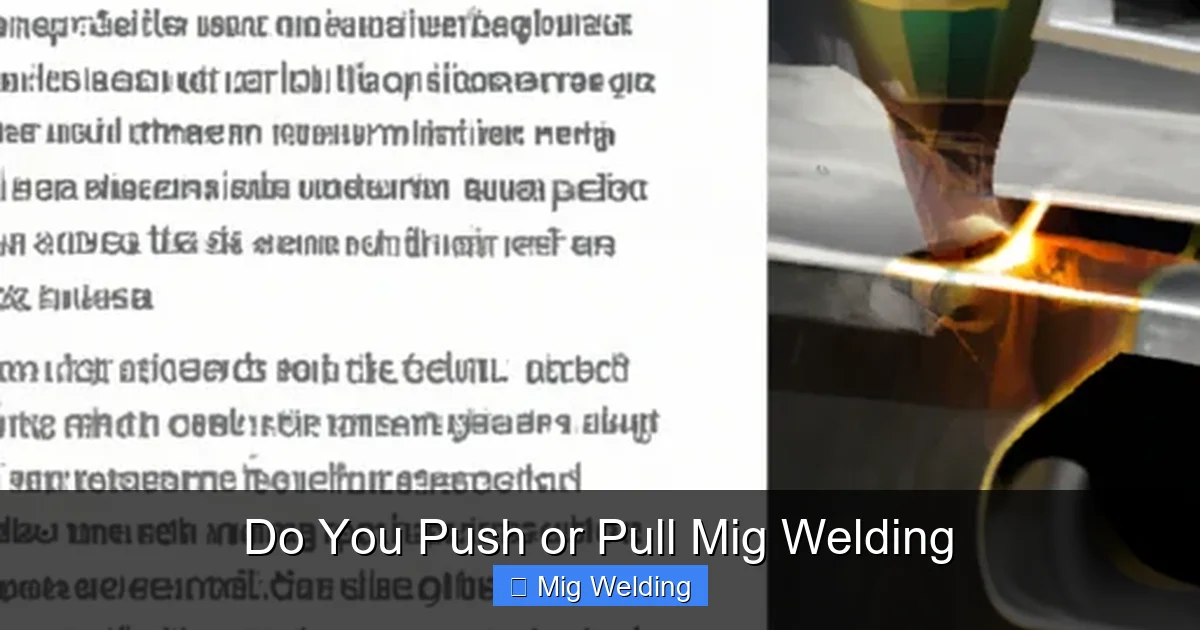
Visual guide about Do You Push or Pull Mig Welding
Image source: theweldingapprentice.com
Before diving into techniques, let’s define what we mean by “push” and “pull” in MIG welding.
– Pull (also called Drag): You pull the welding gun toward you as you weld. The gun trails behind the weld pool.
– Push: You push the welding gun away from you, leading the weld pool.
Both methods are valid, but they serve different purposes. The key is understanding how each affects the weld pool, shielding gas coverage, and final bead profile.
When to Pull (Drag) the MIG Gun

Visual guide about Do You Push or Pull Mig Welding
Image source: theweldingapprentice.com
The pull technique is the most commonly taught method in MIG welding, especially for beginners. It’s often recommended for welding steel because it offers better control and deeper penetration.
Why Pulling Works Best for Steel
When you pull the gun toward you, the arc leads the weld pool. This allows you to see the molten metal clearly, giving you better visibility and control. The arc also penetrates deeper into the base metal, which is ideal for thicker materials like structural steel, automotive frames, or heavy machinery.
For example, if you’re welding a ¼-inch steel plate for a trailer hitch, pulling gives you the deep fusion needed to create a strong, durable joint.
Steps to Pull (Drag) Correctly
- Set your MIG welder to the appropriate voltage and wire feed speed for your material thickness.
- Hold the gun at a 10–15 degree angle pointing back toward the weld start point.
- Start the arc and let the puddle form.
- Move the gun slowly toward you in a steady, consistent motion.
- Keep the arc length short—about 1/4 inch—to maintain good penetration and gas coverage.
- Use a slight side-to-side weave if needed for wider beads, but keep the motion smooth.
Pros of Pulling
- Better visibility of the weld pool
- Deeper penetration on thick materials
- Stronger welds for structural applications
- Easier for beginners to learn
Cons of Pulling
- Can cause more spatter on thin materials
- Higher risk of burn-through on sheet metal
- Less control over bead width on delicate work
When to Push the MIG Gun
Pushing the MIG gun forward—leading the weld pool—is less common but highly effective in specific situations. It’s especially useful for thin materials and when appearance matters.
Why Pushing Works for Thin Materials
When you push, the arc is behind the weld pool. This reduces heat input and gives you a flatter, wider bead. Because the heat is distributed more evenly, there’s less chance of burning through thin steel or aluminum.
For instance, if you’re welding 18-gauge sheet metal for a car body panel or a custom exhaust, pushing helps you avoid warping and burn-through while maintaining a clean, professional look.
Steps to Push Correctly
- Adjust your settings for lower heat if working with thin metal.
- Hold the gun at a 10–15 degree angle pointing forward, away from the weld start.
- Start the arc and let the puddle form slightly ahead of the gun.
- Move the gun away from you in a smooth, steady motion.
- Keep the travel speed consistent—too fast causes lack of fusion; too slow causes buildup.
- Use a slight push angle to help the shielding gas protect the molten pool.
Pros of Pushing
- Reduced risk of burn-through on thin materials
- Flatter, wider, and more aesthetically pleasing beads
- Less spatter and cleaner welds
- Better for aluminum and stainless steel
Cons of Pushing
- Reduced visibility of the weld pool
- Shallower penetration—not ideal for structural welds
- Harder to master for beginners
Material Matters: Steel vs. Aluminum
The type of metal you’re welding plays a big role in deciding whether to push or pull.
Steel: Pull for Strength, Push for Thin Sheets
For most steel welding—especially structural or heavy-duty applications—pulling is the go-to method. It delivers the deep penetration needed for strong joints.
However, when working with thin steel (under 1/8 inch), switching to a push technique can prevent burn-through and give you better control.
Aluminum: Push for Best Results
Aluminum is tricky. It conducts heat quickly and is prone to porosity if the shielding gas doesn’t fully protect the weld pool. That’s why the push technique is strongly recommended for aluminum.
Pushing helps the shielding gas (usually 100% argon) stay in place longer, reducing contamination. It also minimizes spatter and gives a smoother, more consistent bead.
For example, when welding aluminum tubing for a bicycle frame or a boat part, always use the push method with a push angle of 10–15 degrees.
Welding Position and Technique Adjustments
Your welding position—flat, horizontal, vertical, or overhead—can also influence whether you should push or pull.
Flat and Horizontal Welding
These are the easiest positions. You can use either push or pull, depending on material thickness and desired bead profile. Most beginners start here with the pull technique.
Vertical Welding
For vertical-up welding (stronger joints), use a pull technique with a slight weave to control the pool. For vertical-down (faster, thinner welds), a push or straight drag can work, but pull is still more common.
Overhead Welding
Overhead welding is challenging. Use a pull technique with short arcs and low heat to prevent the molten metal from dripping. Keep your movements quick and controlled.
Troubleshooting Common Issues
Even with the right technique, problems can arise. Here’s how to fix common issues related to push and pull welding.
Burn-Through on Thin Metal
Cause: Too much heat or pulling technique on thin material.
Solution: Switch to push technique, reduce voltage, increase travel speed, and use a heat sink if needed.
Poor Penetration on Thick Steel
Cause: Using push technique or too fast travel speed.
Solution: Switch to pull technique, increase voltage slightly, and slow down your travel speed.
Excessive Spatter
Cause: Incorrect voltage/wire speed, dirty metal, or wrong technique.
Solution: Clean the metal, adjust settings, and ensure proper gun angle. Push technique often reduces spatter.
Porosity in Aluminum Welds
Cause: Poor gas coverage, often from pulling.
Solution: Use push technique, ensure clean gas lines, and check for drafts in your workspace.
Practice Tips to Master Both Techniques
The best welders aren’t stuck on one method—they adapt. Here’s how to practice both push and pull:
- Start with scrap metal of different thicknesses.
- Practice straight beads using both push and pull on the same material.
- Compare the results—look at penetration, bead shape, and spatter.
- Film yourself welding to check your gun angle and travel speed.
- Ask for feedback from experienced welders or instructors.
Over time, you’ll develop a feel for which technique works best in different situations.
Final Thoughts: Push or Pull? It Depends.
So, do you push or pull when MIG welding? The short answer: it depends.
– Pull (drag) when you need deep penetration on thick steel or want better visibility.
– Push when working with thin materials, aluminum, or when a clean, flat bead is important.
There’s no one-size-fits-all answer. The best approach is to understand the strengths of each method and choose based on your material, thickness, and project goals.
By mastering both techniques, you’ll become a more versatile and confident welder. Whether you’re building a trailer, repairing a car, or crafting custom metal art, knowing when to push or pull will help you get the job done right—every time.