

MIG welding problems like poor penetration, wire feeding issues, and excessive spatter can frustrate even experienced welders. This guide walks you through the most common issues and offers practical, easy-to-follow solutions to improve your weld quality.
Key Takeaways
- Check your gas flow: Low or inconsistent shielding gas causes porosity—aim for 20–25 CFH and inspect for leaks.
- Clean your materials: Dirt, rust, or oil leads to weak welds—always grind and wipe metal before welding.
- Adjust wire feed speed and voltage: Mismatched settings cause burn-through or lack of fusion—match them to your material thickness.
- Use the right contact tip and drive rolls: Worn parts cause erratic wire feeding—replace them regularly.
- Maintain proper gun angle and travel speed: Incorrect technique leads to poor bead shape—keep a 10–15° push angle and steady pace.
- Prevent birdnesting: This wire jam often stems from incorrect drive roll tension or misaligned liners—adjust and realign as needed.
- Store welding wire properly: Moisture-absorbed wire causes spatter and porosity—keep spools in dry, sealed containers.
Introduction: Why MIG Welding Problems Happen—And How to Fix Them
MIG welding is popular for its speed and ease, but even small mistakes can lead to frustrating issues like weak welds, excessive spatter, or wire feeding problems. Whether you’re a beginner or a seasoned welder, understanding the root causes of these problems is the first step to cleaner, stronger welds.
In this guide, you’ll learn how to identify and solve the most common MIG welding problems. We’ll cover everything from equipment setup to technique adjustments, with clear, step-by-step instructions. By the end, you’ll have the knowledge to troubleshoot issues on the fly and improve your welding results consistently.
Common MIG Welding Problems and Step-by-Step Solutions
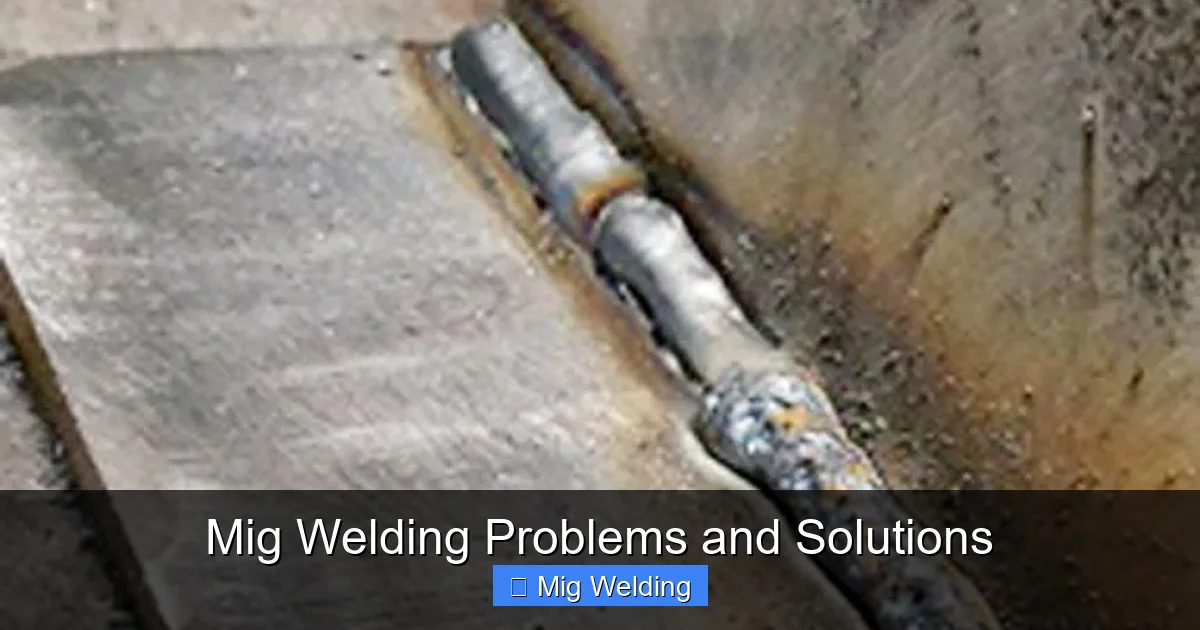
Visual guide about Mig Welding Problems and Solutions
Image source: garagewelding.com
Problem 1: Porosity (Air Bubbles in the Weld)
Porosity looks like tiny holes or bubbles in your weld and weakens its strength. It’s usually caused by contamination or poor shielding gas coverage.
Step 1: Check Your Shielding Gas
Make sure your gas cylinder isn’t empty and the regulator is set correctly. For most mild steel welding, use 75% argon / 25% CO2 at 20–25 cubic feet per hour (CFH). Use a flow meter to verify.
Step 2: Inspect for Leaks
Bubbles in the weld can come from air getting into the gas stream. Check all connections—hose fittings, regulator, and gun—for loose parts or cracks. Use soapy water to spot leaks; bubbles will form where air escapes.
Step 3: Clean the Base Metal
Oil, paint, rust, or moisture on the metal traps gas in the weld pool. Always grind the surface with a wire brush or angle grinder, then wipe it with a clean rag and acetone or alcohol.
Step 4: Avoid Drafts
Wind or strong airflow blows away shielding gas. Weld indoors or use a welding screen to block drafts.
Problem 2: Excessive Spatter (Molten Metal Droplets)
Spatter sticks to your workpiece and welding gun, making cleanup a hassle and wasting wire. It’s often due to incorrect voltage, wire speed, or dirty materials.
Step 1: Adjust Voltage and Wire Feed Speed
Too high voltage or wire speed creates an unstable arc. Use a MIG welding chart to match settings to your material thickness. Start low and increase gradually until the arc sounds smooth and steady.
Step 2: Use Anti-Spatter Spray
Apply a light coat of anti-spatter spray to the workpiece and contact tip. This reduces sticking and makes cleanup easier.
Step 3: Check Your Ground Clamp
A poor ground causes erratic arcs and spatter. Attach the clamp directly to clean, bare metal—not painted or rusty surfaces.
Problem 3: Burn-Through (Holes in Thin Metal)
Burn-through happens when too much heat melts completely through the metal. It’s common on thin sheets (under 1/8 inch).
Step 1: Reduce Voltage and Wire Speed
Lower heat input by decreasing voltage and wire feed speed. Use short bursts (stitch welding) instead of long continuous passes.
Step 2: Use a Backing Bar
Place a copper or aluminum bar behind the weld to absorb excess heat and support the molten pool.
Step 3: Increase Travel Speed
Move the gun faster to reduce heat buildup. Keep a steady, smooth motion—don’t linger in one spot.
Problem 4: Poor Penetration (Weak Fusion)
If your weld doesn’t fuse deeply into the base metal, it will fail under stress. This is often due to low heat or incorrect technique.
Step 1: Increase Voltage and Wire Speed
Boost heat input to improve penetration. But don’t overdo it—too much heat causes burn-through.
Step 2: Use the Correct Gun Angle
Hold the gun at a 10–15° push angle (pointing in the direction of travel). This directs gas and heat into the joint for better fusion.
Step 3: Wider Groove or Bevel
For thick materials, bevel the edges to create a V-groove. This gives the arc better access to the root of the joint.
Problem 5: Wire Feeding Issues (Birdnesting, Skipping)
Birdnesting is when wire jams in the drive rolls, forming a tangled mess. Skipping or jerky feeding ruins weld consistency.
Step 1: Check Drive Roll Tension
Too tight or too loose tension causes feeding problems. Adjust until the wire feeds smoothly without slipping or deforming.
Step 2: Inspect Contact Tip and Liner
A worn contact tip or clogged liner restricts wire movement. Replace the tip if it’s enlarged or damaged. Blow out the liner with compressed air or replace it if kinked.
Step 3: Use the Right Drive Rolls
Use U-groove rolls for aluminum and V-groove for steel. Mismatched rolls crush or slip on the wire.
Problem 6: Erratic Arc or Arc Blow
Arc blow causes the arc to wander or deflect, especially near the end of a weld. It’s common on thick steel or when using DC current.
Step 1: Change Your Ground Position
Move the ground clamp closer to the weld area. This balances magnetic fields and stabilizes the arc.
Step 2: Use AC or Pulsed MIG
If available, switch to AC or pulsed MIG welding, which reduces arc blow on thick materials.
Step 3: Weld Toward the Ground
Position your weld so you’re moving toward the ground clamp. This helps maintain arc stability.
Preventative Maintenance Tips
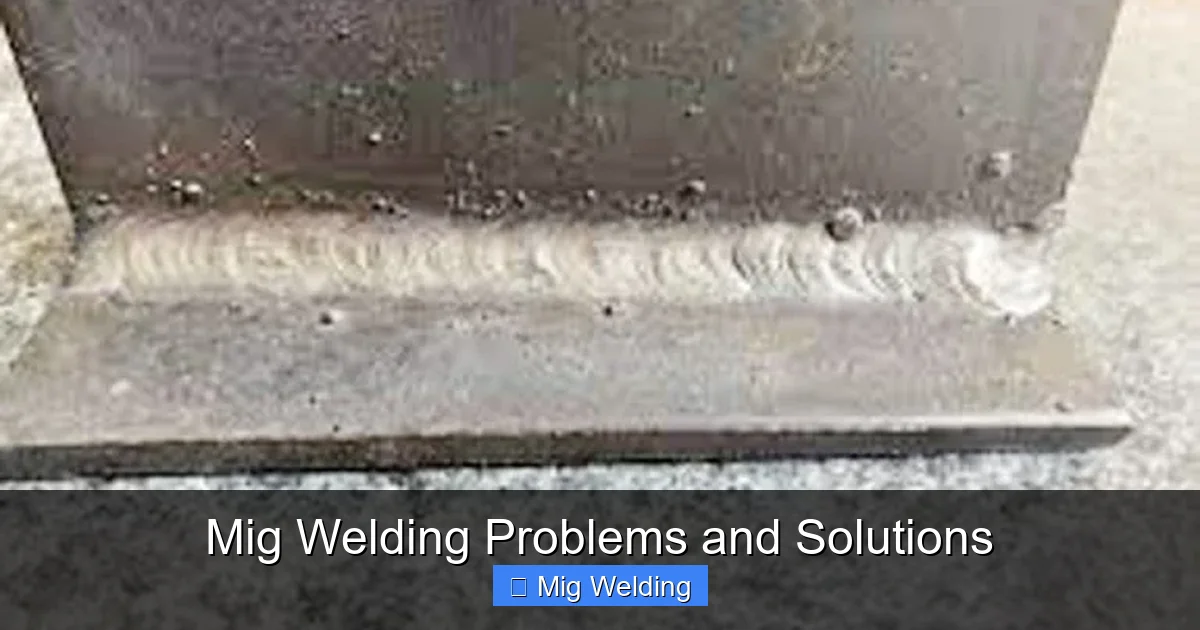
Visual guide about Mig Welding Problems and Solutions
Image source: weldinginto.com
Regular maintenance prevents many MIG welding problems before they start.
Clean and Inspect Equipment Weekly
Wipe down the welding gun, check for loose connections, and inspect hoses for cracks. Clean the drive rolls with a wire brush to remove metal dust.
Store Welding Wire Properly
Keep wire spools in a dry, sealed container with desiccant packs. Moisture causes porosity and spatter.
Replace Worn Parts Promptly
Contact tips, nozzles, and liners wear out over time. Replace them every few weeks or when you notice feeding issues.
Troubleshooting Quick Reference
Use this quick guide to diagnose and fix common issues:
- Porosity? Check gas flow, clean metal, and block drafts.
- Spatter? Lower voltage, clean ground, use anti-spatter.
- Burn-through? Reduce heat, use backing bar, increase speed.
- Poor penetration? Increase heat, adjust angle, bevel edges.
- Birdnesting? Adjust tension, replace tip, check liner.
- Arc blow? Reposition ground, use AC, weld toward clamp.
Conclusion: Master MIG Welding with Confidence
MIG welding problems don’t have to slow you down. By understanding the causes—and knowing how to fix them—you can produce strong, clean welds every time. Start with proper setup: clean materials, correct gas flow, and matched voltage/wire speed. Then refine your technique with the right gun angle and travel speed.
Remember, even small adjustments make a big difference. Keep your equipment maintained, store wire properly, and don’t skip prep work. With these solutions in your toolbox, you’ll spend less time troubleshooting and more time welding with confidence.