

This guide explains why polarity matters in MIG welding aluminum and how to set it up correctly. You’ll learn the right machine settings, common mistakes, and tips for smooth, high-quality welds.
Key Takeaways
- Use DCEN (Direct Current Electrode Negative) polarity for MIG welding aluminum—this ensures proper heat distribution and arc stability.
- Never use DCEP (Direct Current Electrode Positive) with standard MIG setups on aluminum, as it causes poor penetration and erratic arcs.
- Match your wire feed speed and voltage to the material thickness for consistent results.
- Clean the aluminum surface thoroughly before welding to avoid contamination and porosity.
- Use a spool gun or push-pull system to prevent wire feeding issues caused by aluminum’s softness.
- Shielding gas must be 100% argon—mixtures with CO2 or oxygen can ruin aluminum welds.
- Practice on scrap metal first to fine-tune your settings and technique.
Why Polarity Matters in MIG Welding Aluminum
If you’ve ever tried MIG welding aluminum and ended up with a messy, weak, or inconsistent weld, the problem might be as simple as incorrect polarity. Unlike steel, aluminum requires very specific electrical settings to weld properly—and polarity is at the top of that list.
In MIG welding, polarity refers to the direction of electrical current flow between the electrode (welding wire) and the workpiece. The two main types are DCEN (Direct Current Electrode Negative) and DCEP (Direct Current Electrode Positive). For aluminum, DCEN is the only correct choice when using a standard MIG setup.
Why? Because DCEN directs more heat into the workpiece, which is essential for melting aluminum’s high thermal conductivity. Aluminum dissipates heat quickly, so you need maximum heat at the base metal to achieve good penetration and fusion. DCEP, on the other hand, puts more heat into the electrode, which can cause wire burnback, poor arc starts, and lack of fusion.
Understanding this fundamental setting will save you time, money, and frustration. Let’s walk through how to set it up correctly.
Step 1: Confirm Your Welder Supports DCEN for Aluminum

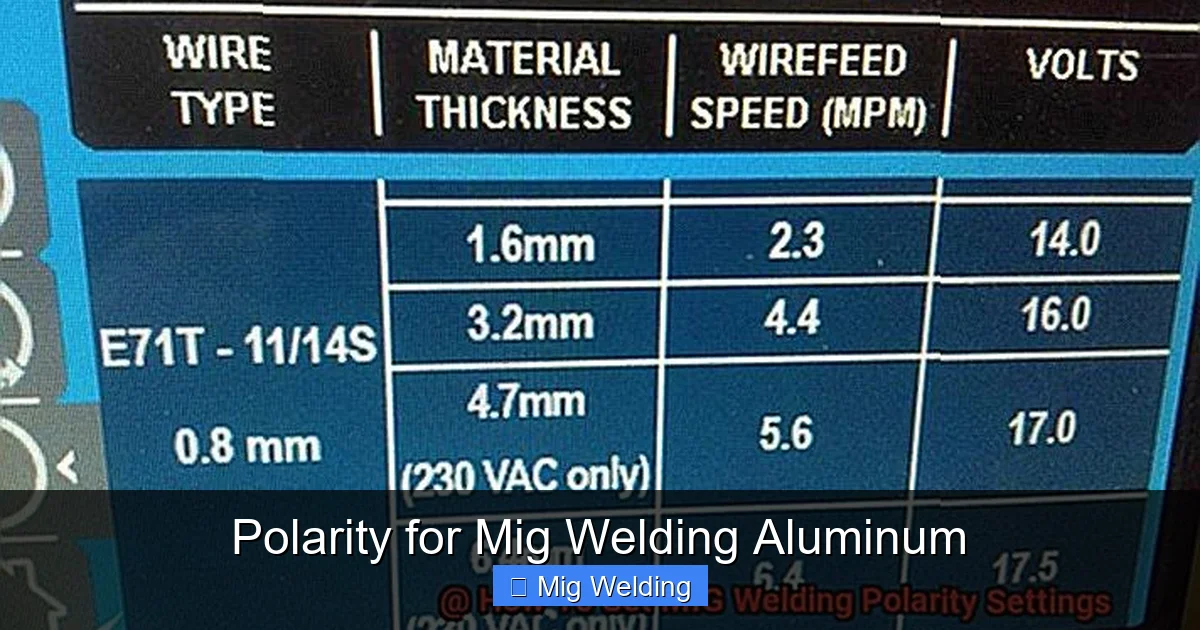
Visual guide about Polarity for Mig Welding Aluminum
Image source: theweldguru.com
Not all MIG welders are created equal—especially when it comes to welding aluminum. Before you even think about polarity, make sure your machine is capable of handling aluminum.
Most modern MIG welders have a polarity switch or dual-voltage setup. Look for a machine labeled as “aluminum-ready” or one that supports spool guns. Entry-level MIG welders often only support steel and may not have the right polarity or wire feed options for aluminum.
Check the Polarity Switch
Locate the polarity switch on your welder. It’s usually near the wire feeder or inside the machine cover. You’ll see markings like “DCEN” and “DCEP” or symbols indicating electrode negative and positive.
For aluminum MIG welding, always set the switch to DCEN. This ensures the electrode (wire) is negative and the workpiece is positive. This configuration allows the electrons to flow from the wire to the metal, concentrating heat where it’s needed most—on the aluminum surface.
Verify Wire Compatibility
Make sure you’re using the right wire. For aluminum, use ER4043 or ER5356 filler wire, both designed for MIG welding aluminum. These wires work best with DCEN polarity and 100% argon shielding gas.
Never use steel wire or flux-cored wire for aluminum—they’re incompatible and will cause major issues.
Step 2: Set Up Your MIG Welder for Aluminum
Visual guide about Polarity for Mig Welding Aluminum
Image source: theweldguru.com
Once you’ve confirmed your welder supports DCEN, it’s time to configure the machine properly.
Switch to DCEN Mode
Turn off the welder and switch the polarity to DCEN. If your machine uses quick-change leads, make sure the gun lead is connected to the negative terminal and the ground clamp to the positive terminal.
This setup is the opposite of what you’d use for steel (which typically uses DCEP), so double-check your connections.
Install the Correct Drive Rolls
Aluminum wire is soft and can easily flatten or deform in standard V-groove drive rolls. Use U-groove or knurled drive rolls designed for aluminum to prevent wire damage and feeding issues.
If your machine doesn’t have these, consider upgrading or using a spool gun, which has its own feeding mechanism.
Load the Aluminum Wire
Carefully load the aluminum wire into the feeder, making sure it feeds smoothly. Avoid kinking or bending the wire, as this can cause jams.
If you’re using a spool gun, connect it to the welder and load the wire according to the manufacturer’s instructions. Spool guns are highly recommended for aluminum because they reduce the distance the wire must travel, minimizing feeding problems.
Step 3: Choose the Right Shielding Gas
Shielding gas plays a critical role in aluminum welding. For MIG welding aluminum, use 100% argon gas. Do not use argon-CO2 mixes—they’re for steel and will cause porosity and oxidation in aluminum.
Argon provides a stable arc, good cleaning action, and protects the weld pool from atmospheric contamination. Set your flow rate between 20 and 30 cubic feet per hour (CFH), depending on your environment and joint design.
Use a Gas Lens and Diffuser
To improve gas coverage, especially in drafty areas, use a gas lens and diffuser in your MIG gun. These accessories help distribute the argon more evenly around the weld pool, reducing the risk of porosity.
Step 4: Adjust Voltage and Wire Feed Speed
Now that your polarity, wire, and gas are set, it’s time to dial in your welding parameters.
Aluminum requires higher voltage and wire feed speeds than steel due to its high thermal conductivity. Start with these general guidelines:
– 1/8-inch (3mm) aluminum: 18–20 volts, 200–250 inches per minute (IPM)
– 1/4-inch (6mm) aluminum: 20–22 volts, 250–300 IPM
These are starting points—always adjust based on your specific machine, joint design, and desired weld appearance.
Use a Welding Calculator or Chart
Many welders come with a parameter chart inside the door or in the manual. Use it as a reference, but remember: every setup is slightly different. Fine-tune your settings by testing on scrap aluminum.
Watch the Arc
A good aluminum weld has a smooth, steady arc with a “frying” sound. If the arc is erratic, popping, or sputtering, your voltage or wire feed may be off. Increase voltage slightly if the weld is too cold; decrease if it’s burning through.
Step 5: Prepare the Aluminum Surface
Aluminum forms a thin oxide layer that melts at a much higher temperature than the base metal. If not removed, this oxide can cause lack of fusion and porosity.
Clean the Metal
Use a stainless steel wire brush dedicated only to aluminum (never use one that’s touched steel). Brush the weld area in one direction to remove oxides.
Then, wipe the surface with acetone or a dedicated aluminum cleaner to remove oils, grease, and dirt. Let it dry completely before welding.
Avoid Contamination
Never touch the cleaned surface with bare hands or tools that have contacted steel. Even small amounts of iron can contaminate the weld.
Step 6: Welding Technique Tips
Proper technique is just as important as correct polarity.
Use a Push Angle
Hold the MIG gun at a 10–15 degree push angle (pointing in the direction of travel). This helps the shielding gas protect the weld pool and improves penetration.
Maintain a Short Arc Length
Keep the arc length short—about the diameter of the wire. A long arc causes instability and porosity.
Weld in a Draft-Free Area
Even slight air movement can disrupt argon coverage. Weld indoors or use wind shields if necessary.
Troubleshooting Common Issues
Even with correct polarity, you might run into problems. Here’s how to fix them:
Porosity in the Weld
Cause: Contaminated base metal, poor gas coverage, or moisture.
Fix: Clean the aluminum thoroughly, check gas flow, and ensure no drafts are present.
Wire Feeding Problems
Cause: Wrong drive rolls, kinked liner, or excessive tension.
Fix: Use U-groove rolls, inspect the liner, and reduce tension.
Lack of Fusion
Cause: Low voltage, incorrect polarity, or dirty metal.
Fix: Increase voltage slightly, confirm DCEN polarity, and clean the joint.
Burn-Through
Cause: Too much heat or slow travel speed.
Fix: Reduce voltage or wire feed speed, and increase travel speed.
Conclusion
Getting the polarity right is the foundation of successful MIG welding on aluminum. By setting your welder to DCEN, using the correct wire and gas, and following proper technique, you’ll achieve strong, clean, professional-looking welds every time.
Remember, aluminum is unforgiving—small mistakes can lead to big problems. Take your time, practice on scrap, and always double-check your settings before welding. With the right setup and a little patience, you’ll master aluminum MIG welding in no time.